
Table of Contents
Ready to transform ordinary paper into extraordinary art? This guide dives into the captivating world of paper cutting, offering a comprehensive look at this ancient and endlessly fascinating craft. We'll explore everything from gathering the right tools and materials to mastering various techniques and styles. You'll discover how to create intricate designs, handle tricky areas, and even fix those inevitable little mistakes. Forget those boring, generic instructions – we’re going beyond the basics! We'll showcase a range of paper cutting examples, from simple beginner projects to more complex designs, inspiring you to unleash your creativity. Whether you're a complete novice or looking to refine your skills, this article is your roadmap to paper cutting success. Get ready to be amazed by what you can achieve with just a sharp blade and a little imagination. Prepare to be inspired by the incredible detail and artistry possible with this accessible craft. Let's explore the world of paper cutting examples together!
Essential Tools and Materials for Paper Cutting
Essential Tools and Materials for Paper Cutting
Essential Tools: The Paper Cutting Arsenal
First things first: you'll need a sharp blade! A craft knife or scalpel is ideal for precise cuts. Don't skimp here – a dull blade will frustrate you and lead to uneven lines. For intricate designs, consider a pair of detail scissors, but a good craft knife is usually your best bet. You'll also need a self-healing cutting mat to protect your work surface from those inevitable slips. Think of it as your personal superhero cape for protecting your table! A ruler is essential for straight lines and measuring, while tweezers will come in handy for picking up tiny pieces of paper.
Tool | Purpose | Alternatives |
|---|---|---|
Sharp Craft Knife/Scalpel | Precise cutting | X-Acto knife, hobby knife |
Self-Healing Cutting Mat | Protects your work surface | Thick cutting board |
Metal Ruler | Straight lines and measurements | Wooden ruler (less durable) |
Tweezers | Handling small pieces | Fine-tipped forceps |
Choosing the right paper is just as important! Thicker cardstock is great for larger, bolder designs, while thinner paper is better for more delicate work. Experiment to find what you like best. Want to learn more about choosing the best paper? Check out our guide on scissors for cutting paper—it's surprisingly relevant!
- Sharp craft knife or scalpel
- Self-healing cutting mat
- Metal ruler
- Tweezers
- Variety of cardstock or paper weights
Beyond the essentials, you might want to consider investing in additional tools as you improve your skills. A paper cutter, like the Fiskars 9-inch paper cutter, is perfect for precise, straight cuts and can save you a lot of time. Stencils can be incredibly helpful for creating consistent designs. Don't forget good lighting—it's surprisingly important for detailed work. And finally, a pencil and eraser for planning your design are essential!
Paper Selection: The Foundation of Your Art
The type of paper you choose significantly impacts the final look and feel of your paper cut design. Thicker cardstock provides stability and allows for intricate details without tearing easily. However, it can be more challenging to cut through. Thinner paper, on the other hand, is easier to manipulate, but requires more precision to prevent tearing. Think of it like building a house – you wouldn't use flimsy cardboard for the foundation, would you? Experiment with different weights to find your perfect match! For more inspiration on tools, check out our essential guide on essential paper cutting tools.
Techniques and Tips for Creating Stunning Paper Cut Designs
Techniques and Tips for Creating Stunning Paper Cut Designs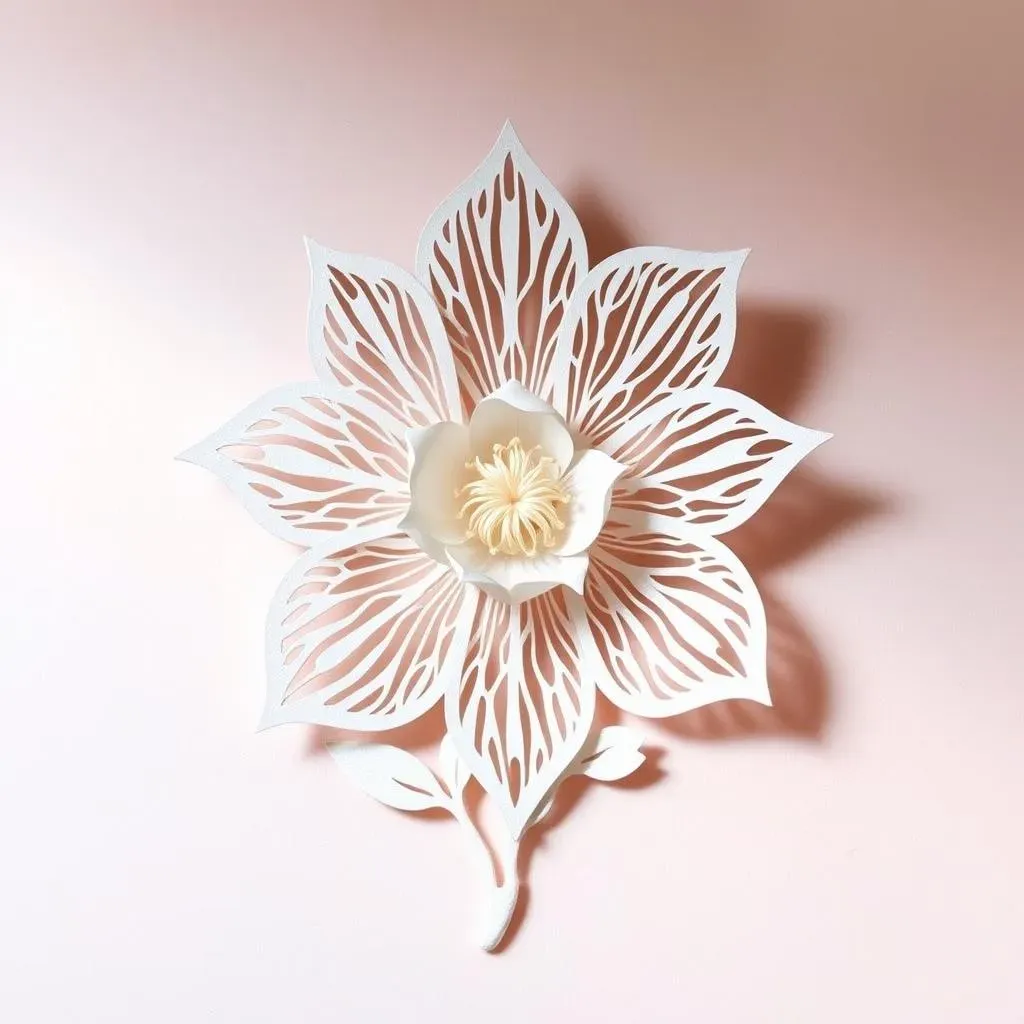
Mastering the Art of the Cut
Let's talk technique! The key to beautiful paper cutting is control. Hold your blade at a consistent angle, and let the weight of the blade do the work. Avoid pressing too hard; it'll lead to jagged edges. Think of it like drawing – smooth, controlled movements are key. For really sharp corners, try pivoting the paper rather than forcing the blade. This is especially helpful when working with intricate designs. Practice makes perfect, so don't be afraid to experiment! Need some extra guidance? Check out our guide on paper cutting design techniques for more inspiration.
- Maintain a consistent blade angle.
- Avoid excessive pressure.
- Pivot the paper for sharp corners.
- Practice regularly.
Remember, patience is your greatest ally. Take your time, and don't rush the process. Rushing will almost certainly lead to mistakes. It's better to take breaks and return to your project with fresh eyes. This approach helps prevent errors and allows you to maintain focus. Sometimes, stepping away for a short time helps you to approach your work with a renewed perspective. For more tips on mastering intricate designs, check out our article on easy and intricate paper cutting crafts.
Working with Intricate Designs: Precision and Patience
Intricate designs require a different approach. Start with the outermost shapes, working your way towards the center. This ensures that smaller pieces remain supported while you cut. Remember to leave small bridges of paper connecting delicate sections until you're ready to remove them. This prevents accidental tears or loss of small pieces. It’s like building a bridge — you wouldn’t remove the supports until the entire structure is complete, would you? These bridges provide stability and help you maintain control. For additional help, explore our beginner tutorials.
Step | Action | Tip |
|---|---|---|
1 | Cut outermost shapes | Work slowly and deliberately |
2 | Leave connecting bridges | Maintain structural integrity |
3 | Remove bridges carefully | Use tweezers if needed |
When dealing with tight curves or small details, use a smaller blade or even fine-tipped scissors. A magnifying glass can be incredibly helpful for seeing those tiny details. And don't be afraid to use tweezers to carefully remove small pieces. These tools are your secret weapons for achieving precision and detail in your work. Remember, even experienced paper cutters make mistakes. It’s all part of the learning process. For more tips on handling challenging areas, check out our guide on paper cutting crafts.
Troubleshooting and Finishing Touches: Perfecting Your Paper Cut
Mistakes happen – it's part of the learning process. If you accidentally cut too far, don't panic! Small tears can often be fixed with a tiny bit of glue or even sticky tape. For larger breaks, you may need to carefully glue a thin sliver of card to repair the damage. Think of it as a paper surgery! It's surprising how easily these little mishaps can be corrected. Learning from your mistakes is a great way to improve your overall skills.
Once you've completed your cut, carefully remove any excess paper. You can use a sharp blade or tweezers to carefully remove small pieces. If you're creating a card, consider adding a contrasting paper to the inside for an extra touch of elegance. The final touches often make the biggest difference. And remember to display your creation proudly! Want to learn more about different paper cutting styles? Explore our guide on types of paper cutting.
Exploring Different Paper Cutting Styles and Projects
Exploring Different Paper Cutting Styles and Projects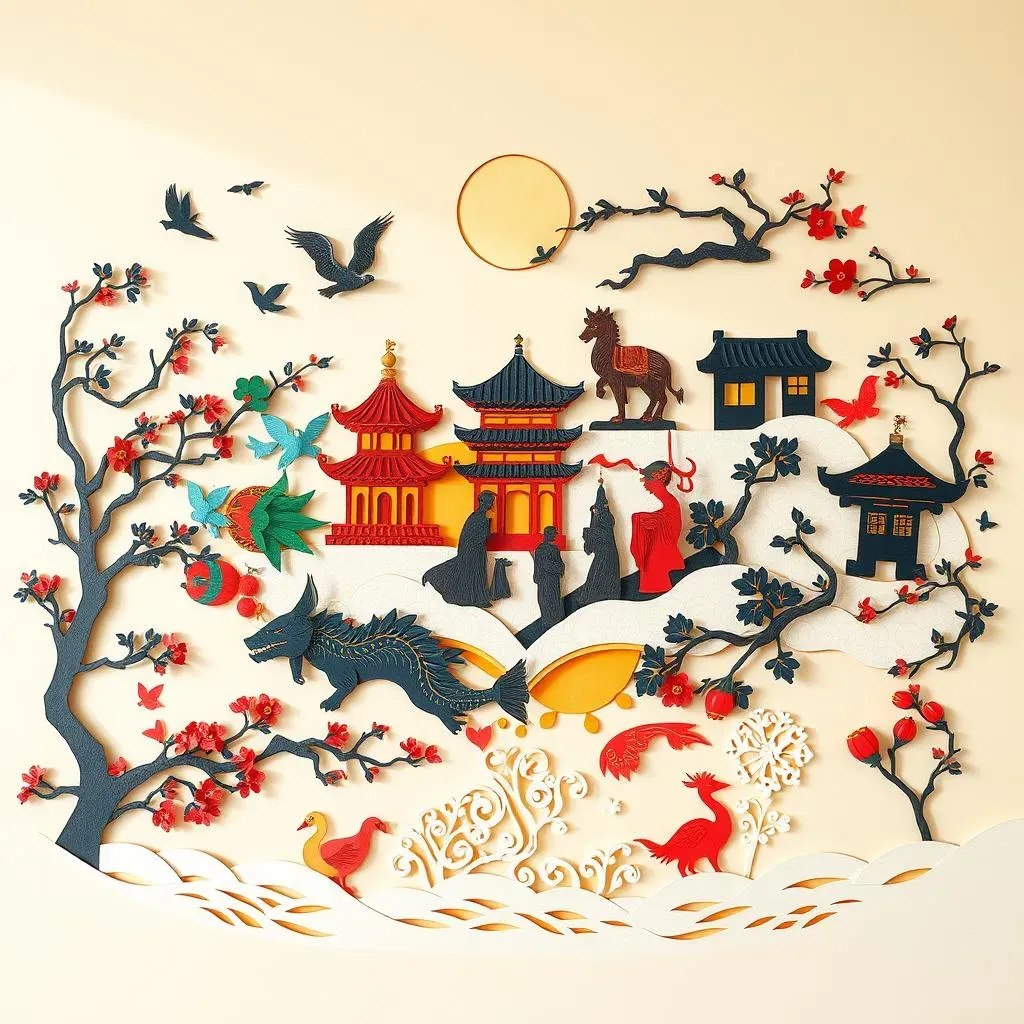
Exploring Traditional Paper Cutting Styles
The world of paper cutting boasts a rich tapestry of styles, each with its unique history and aesthetic. From the intricate, symmetrical designs of Chinese Jianzhi to the vibrant, colorful Papel Picado of Mexico, the variations are stunning. Each culture has imbued paper cutting with its own distinct character, reflecting its history, beliefs, and artistic traditions. Think of it as a global conversation, each style speaking its own visual language. For instance, the delicate silhouettes of Scherenschnitt, originating in Germany, contrast sharply with the bold, geometric patterns often seen in Polish Wycinanki. This diversity provides endless inspiration for exploring new techniques and developing your own unique style. Learning about different styles can spark fresh ideas and improve your own cutting techniques. Want to know more about the different types of paper cutting? Check out our article on paper cutting types.
- Jianzhi (China)
- Papel Picado (Mexico)
- Scherenschnitt (Germany)
- Wycinanki (Poland)
Creating Your Own Paper Cutting Projects
Once you've mastered the basics, the possibilities are endless! You can create stunning greeting cards, intricate wall art, or even delicate paper sculptures. Consider starting with simple shapes and patterns before moving on to more complex designs. Remember, practice is key to refining your skills. Think about what inspires you – nature, geometric patterns, or even your favorite characters. Translate those inspirations into your paper cutting designs. Experiment with different paper types and colors to add depth and visual interest. Don't be afraid to try new things. You can even create your own stencils to achieve unique and repeatable designs. For more inspiration on projects, check out our guide to easy and intricate paper cutting crafts.
Project Idea | Skill Level | Materials |
|---|---|---|
Greeting Cards | Beginner | Cardstock, craft knife |
Wall Art | Intermediate | Thicker cardstock, stencils (optional) |
Paper Sculptures | Advanced | Variety of paper weights, glue |