Table of Contents
Have you ever been captivated by the intricate beauty of paper cut designs? The delicate lacework, the stunning silhouettes, the sheer artistry – it's truly mesmerizing! This article is your passport to unlocking that same creativity. We'll guide you through everything you need to know about how to do paper cutting design, from gathering the right supplies to mastering essential techniques and exploring advanced design ideas. Forget complicated instructions and confusing jargon; we're keeping it simple and fun. Whether you're a complete beginner or looking to refine your skills, this comprehensive guide will empower you to create breathtaking paper cut masterpieces. Get ready to transform ordinary paper into extraordinary works of art! We'll cover the essential tools and materials you'll need, providing a step-by-step guide to help you navigate the process with confidence. Later, we'll delve into more advanced techniques and explore a range of design ideas to inspire your creativity. By the end of this article, you'll not only understand how to do paper cutting design but also feel inspired to create your own unique and stunning pieces. So grab your tools, let your imagination run wild, and let's embark on this exciting creative journey together!
Essential Tools and Materials for Paper Cutting Design
Essential Tools and Materials for Paper Cutting Design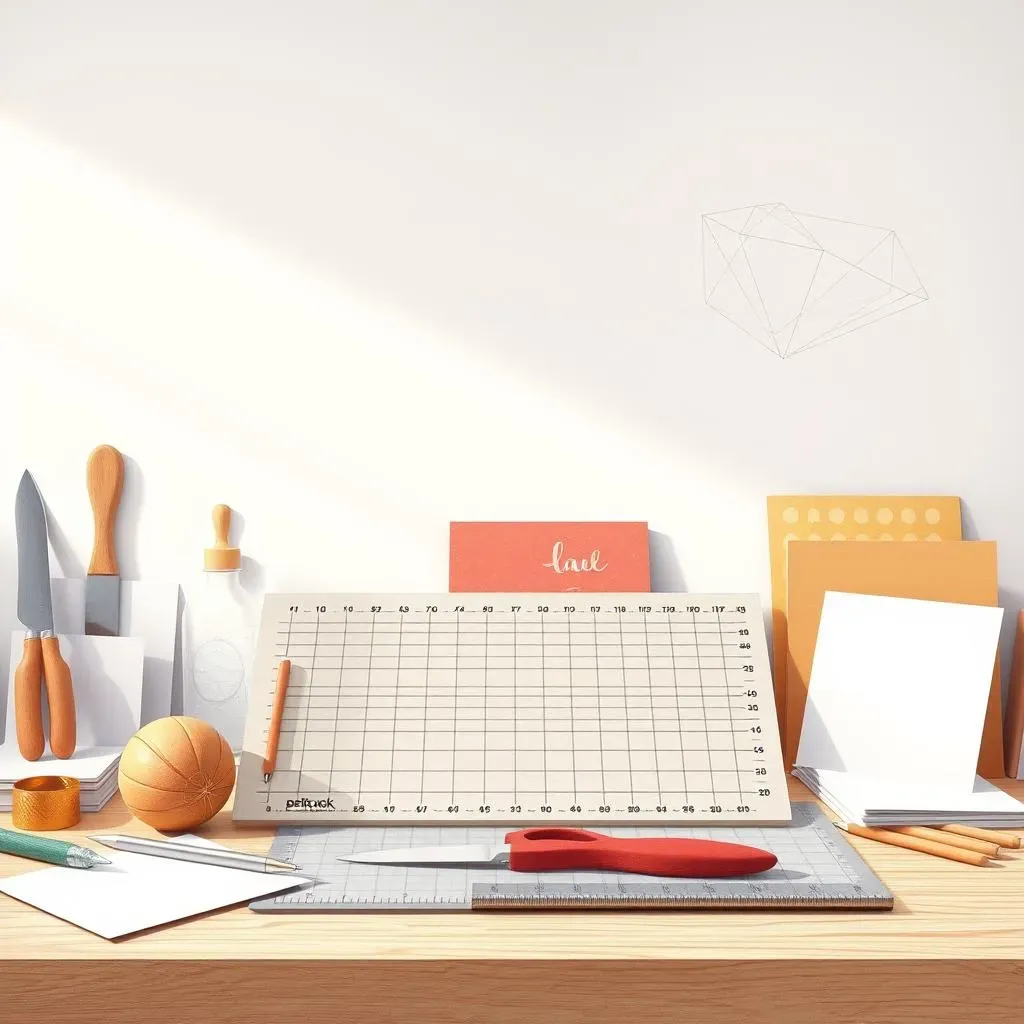
Choosing Your Cutting Tools
First up, you'll need a sharp blade! A craft knife with replaceable blades is ideal; a dull blade makes clean cuts nearly impossible. Check out our guide to learn more about selecting the perfect blade for your needs. You'll also want a self-healing cutting mat to protect your work surface from those inevitable slips. Trust me, it's worth the investment!
Next, consider adding a metal ruler to your toolkit. A metal ruler is essential for precise straight cuts and adds a level of control you'll appreciate as you progress in your paper cutting journey. For intricate designs, you might even consider adding a pair of fine-tipped scissors for the smaller details. Don't forget about your trusty pencil for sketching your designs.
Tool | Purpose | Alternatives |
|---|---|---|
Craft Knife | Precise cutting | X-ACTO knife, Scalpel |
Self-Healing Mat | Protects work surface | Thick cutting board |
Metal Ruler | Straight lines | Hard plastic ruler |
Paper Selection: The Foundation of Your Art
The type of paper you choose significantly impacts the final look of your design. Thinner paper is easier to cut but more prone to tearing; thicker paper is more durable but requires more force. Experiment to find your preference! Our guide will help you choose the perfect paper for your project.
Consider the color and texture of your paper, too. Darker papers create striking contrast, while lighter papers offer a more delicate aesthetic. Experiment with different types of paper to discover the unique qualities each brings to your paper cutting projects. For example, cardstock is perfect for creating sturdy cards, while watercolor paper adds a beautiful texture to your artwork.
- Cardstock (various weights)
- Watercolor paper
- Construction paper
- Specialty papers (e.g., metallic, textured)
Additional Supplies for Enhanced Creativity
While not strictly essential, adding some extra supplies can significantly enhance your paper cutting experience. For instance, a pair of tweezers can be incredibly helpful for removing small cut-out pieces. A good eraser is essential for correcting mistakes while sketching. And don’t underestimate the power of a well-lit workspace. Good lighting is crucial for detail work.
Finally, think about how you'll display your finished artwork. Do you want to frame your creations? Then you'll need appropriate frames and possibly some acid-free matting to protect your work. Explore our ideas for displaying your paper cutting masterpieces.
"The beauty of paper cutting lies not just in the final product, but in the journey of creation itself." - Anonymous
StepbyStep Guide: How to Do Paper Cutting Design
StepbyStep Guide: How to Do Paper Cutting Design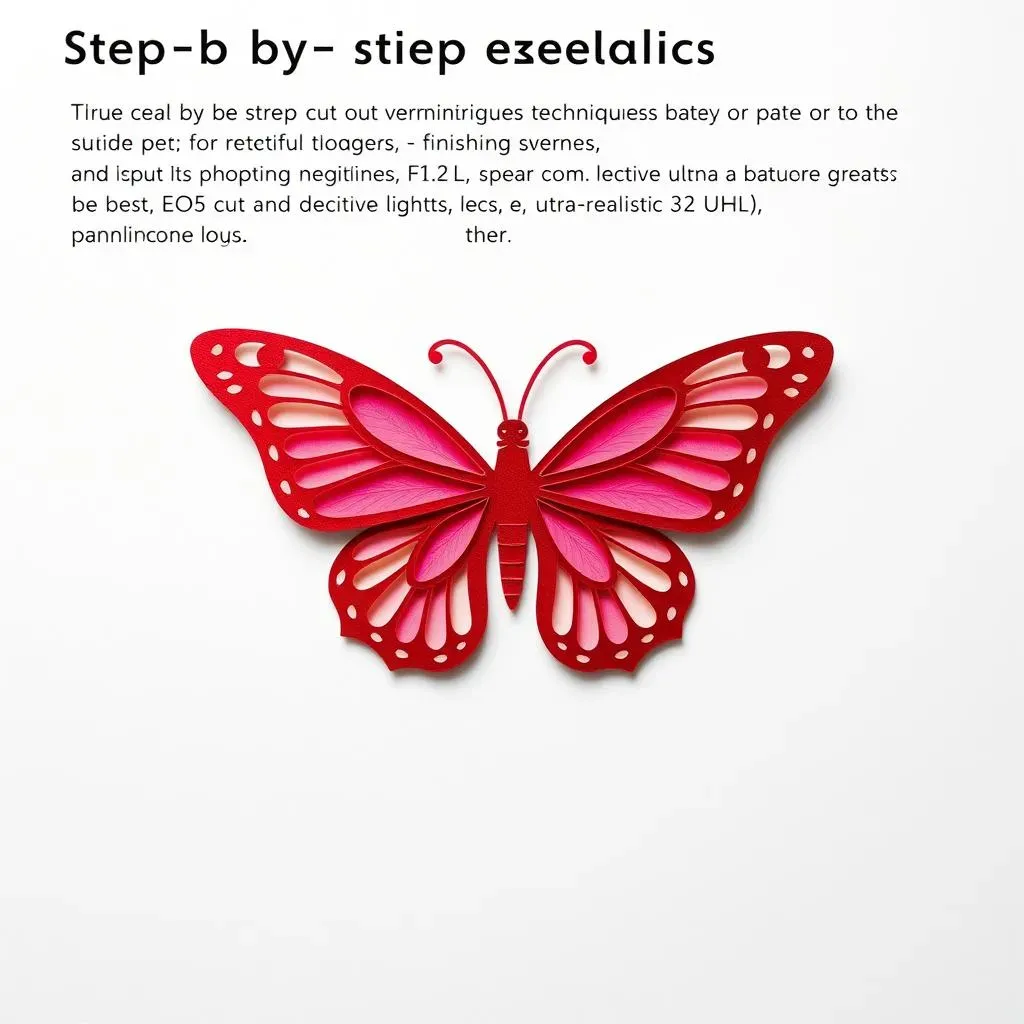
Sketching Your Design
Start by sketching your design on paper. Don't worry about perfection; this is just a blueprint. Consider the overall composition: where will the main focus be? What kind of negative space will you use? Keep it simple for your first attempts! Try simple shapes and patterns to get a feel for the process. Once you're happy with your sketch, you can trace it onto your chosen paper. Remember, you can always find inspiration online or in books. Check out some free templates to get started.
For your first project, think about something relatively simple, like a flower, a star, or a simple geometric shape. You can gradually move on to more complex designs as you improve your skills and become more comfortable with your tools. Remember, practice makes perfect! It's a great idea to practice on scrap paper before working on your final piece.
- Start with simple shapes.
- Practice on scrap paper.
- Don't be afraid to experiment.
Cutting Your Design
Now for the fun part—cutting! Place your paper on your cutting mat and use your craft knife to carefully follow the lines of your design. Always cut away from yourself to avoid accidents. Remember, sharp blades are your friend; they make cleaner cuts with less effort. Start with the smaller, more intricate details first. These are easier to manage before the paper becomes too fragile.
If you are cutting out intricate designs, work slowly and carefully, paying attention to the details. Use your spare hand to hold the paper steady while cutting, especially on curved lines. Remember, it’s okay to take breaks if you feel your hand getting tired. Take your time and enjoy the process! Learn more about advanced techniques once you master the basics.
Step | Action | Tip |
|---|---|---|
1 | Secure paper on mat | Use weights if needed |
2 | Cut small details first | Avoid tearing |
3 | Use steady hand | Take breaks |
Finishing Touches and Display
Once you've finished cutting, carefully remove any excess paper from your design. You can use tweezers to help with this. Admire your handiwork! You’ve created something beautiful. Now, it's time to think about how you'll display your creation. You could frame it, add it to a card, or use it as a decorative element in a scrapbook. Consider the overall aesthetic you want to achieve.
Framing your paper cut design is a great way to showcase your artwork. Choose a frame that complements your design's style and color. You might also want to add a mat to further enhance the presentation. For a more unique approach, consider mounting your paper cut onto a contrasting background. Experiment with different colors and textures to find the perfect combination. Check out more framing ideas here.
"The most beautiful things are those that happen unexpectedly." - Unknown
Advanced Techniques and Design Ideas for Paper Cutting
Advanced Techniques and Design Ideas for Paper Cutting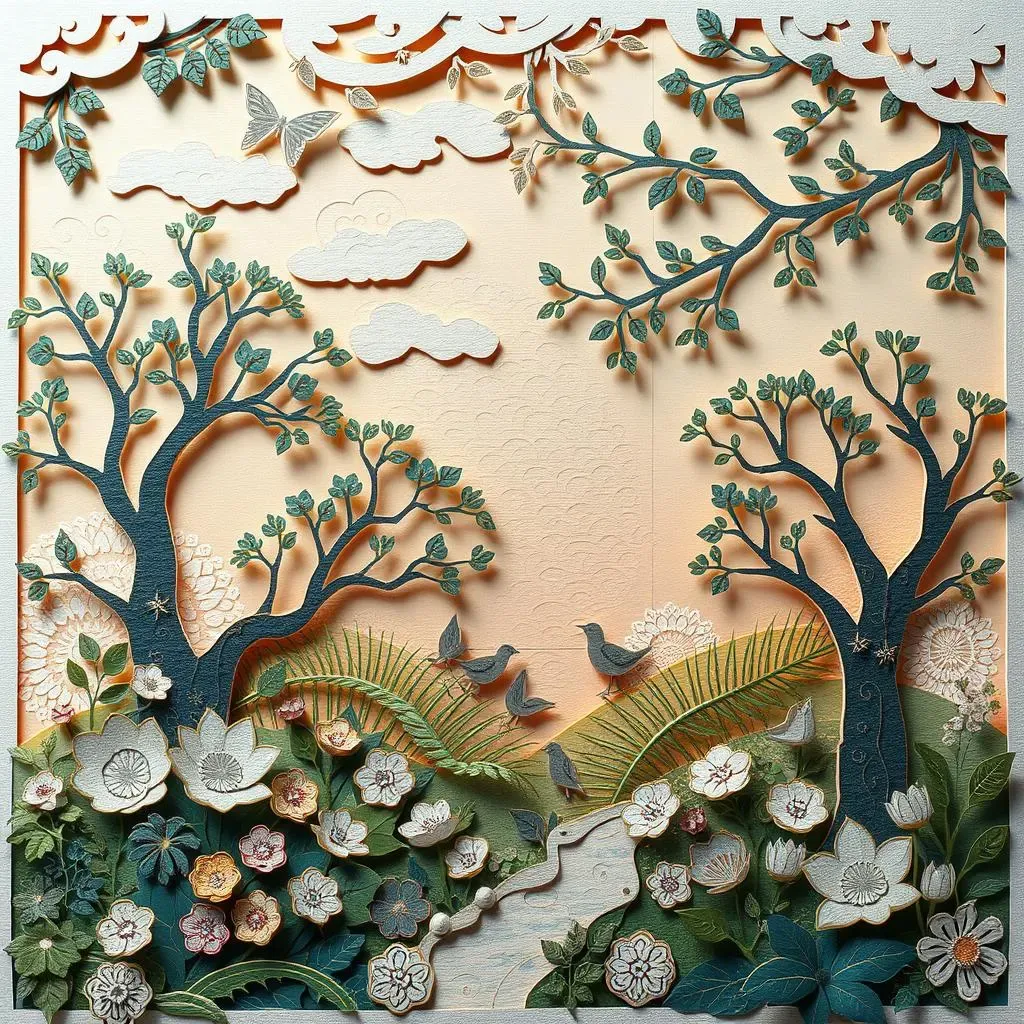
Layering and Shadowing for Depth
Once you've mastered basic cuts, layering takes your designs to another dimension. Think of it like adding shadows in a drawing—it creates depth and visual interest. Cut multiple pieces of paper in different shapes and sizes, then carefully layer them to create a 3D effect. Experiment with different colors and textures to add complexity. Don't be afraid to overlap pieces to create shadows and highlights. This adds a whole new level of intricacy and visual appeal to your paper cutting projects. For example, you can layer multiple cutouts of leaves to create a lush forest scene, or layer different shades of blue to create a realistic ocean. The possibilities are endless!
Remember to experiment with different paper weights and colors when layering. Thinner papers are ideal for creating delicate details, while thicker papers provide a solid base. Use contrasting colors to create striking effects, or use similar shades to create a more subtle look. You can even try using metallic or textured papers to add some extra flair. Check out our guide to advanced techniques for more inspiration.
- Experiment with different paper weights.
- Use contrasting colors for striking effects.
- Try using metallic or textured papers.
Incorporating Intricate Patterns and Motifs
Moving beyond simple shapes, explore the world of intricate patterns and motifs. Think about incorporating geometric designs, floral patterns, or even repeating shapes. These can add visual rhythm and complexity to your work. You can find inspiration from various sources, including nature, architecture, and even abstract art. Start by practicing simple patterns before moving on to more complex designs. Remember to pay attention to the details and use a sharp blade to ensure clean cuts.
Consider using stencils or templates to help you create intricate patterns. These can be particularly helpful when working with repeating motifs. You can also use a lightbox to trace designs onto your paper. This can help you to create precise and detailed cuts. Don't forget to experiment with different cutting techniques. You can use a combination of straight and curved lines to create more dynamic designs. You can also use different tools, like scissors or punches, to create a variety of textures and effects. Browse our stencil resources for some free templates to get you started.
Pattern Type | Description | Example |
|---|---|---|
Geometric | Lines, shapes, angles | Tessellations |
Floral | Flowers, leaves, vines | Botanical illustrations |
Abstract | Non-representational designs | Kaleidoscopic patterns |
Exploring Different Paper Cutting Styles
Did you know there are different styles of paper cutting? From the delicate silhouettes of Chinese paper cutting to the intricate designs of Kirigami, the possibilities are vast! Researching these styles can spark new ideas and inspire unique approaches to your own work. Each style offers a unique aesthetic and set of techniques. Experimenting with different styles can help you to expand your creative horizons and develop your own unique style. You might discover a particular style that resonates with your personal aesthetic.
For instance, exploring Kirigami, which incorporates folding, opens up a whole new world of possibilities. Or perhaps the clean lines of geometric paper cutting will appeal to your sense of order. Don't be afraid to mix and match techniques from different styles to create your own unique approach. The beauty of paper cutting is its versatility; you can adapt and experiment to find what works best for you. Remember, the most important thing is to have fun and let your creativity flow. Learn more about different paper cutting styles.
"Creativity takes courage." - Henri Matisse