Table of Contents
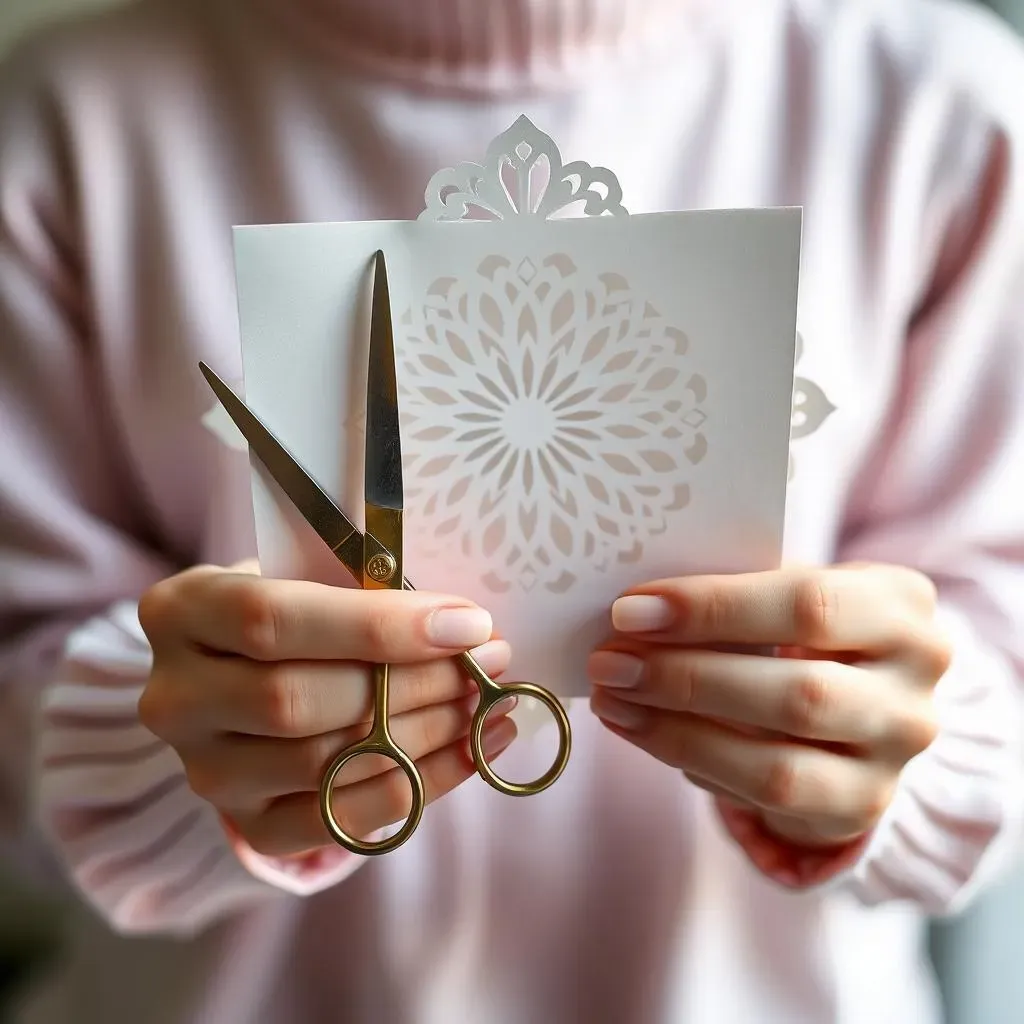
Ever wanted to create beautiful, intricate designs from a simple sheet of paper? Learning how to make paper cutting designs is easier than you think! This comprehensive guide will take you on a journey from absolute beginner to confident paper artist. We'll cover everything you need to know, from gathering the essential tools and materials to mastering various techniques, and finally, discovering a world of creative projects to inspire you. Whether you're looking for simple shapes or complex, breathtaking designs, this article will equip you with the knowledge and inspiration to unlock your inner artist. Get ready to transform ordinary paper into extraordinary works of art! We’ll start with the basics, ensuring you have the right tools before moving on to fundamental techniques. Then, we'll explore a range of projects, from simple greeting cards to intricate wall art, showing you how to make paper cutting designs that will amaze you. So, let's dive in and discover the joy of paper cutting!
Essential Tools and Materials for Paper Cutting
Essential Tools and Materials for Paper Cutting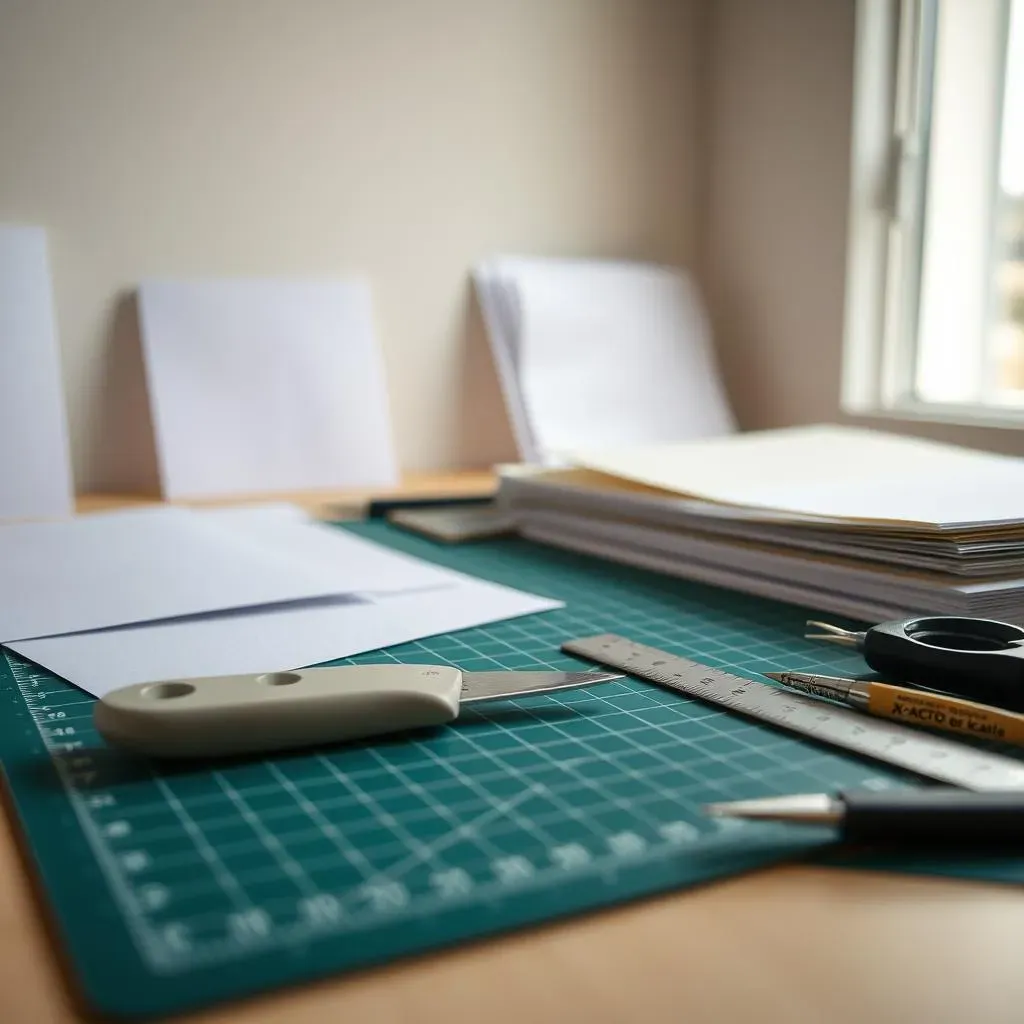
Essential Tools for Precision Cuts
First off, you'll need a sharp blade. X-ACTO knives are popular, offering different blade sizes for varying levels of detail. For more intricate work, consider an X-Acto knife with a swivel head for better control. Remember safety first! Always cut on a self-healing mat to protect your work surface and prevent accidental damage to your table. Check out our guide for more cutting tools.
Next up, paper! The type of paper you choose significantly impacts the final look of your design. Thicker cardstock holds details better, while thinner paper is easier to manipulate. Experiment with different weights and textures to find your favorite. For those really fancy projects, you might want to explore specialty papers. Learn more about what paper cutting is all about to help you choose your paper.
Tool | Description | Importance |
|---|---|---|
X-ACTO Knife | Sharp blade for precise cuts | Essential for detail work |
Self-Healing Mat | Protects your work surface | Prevents damage to your table |
Paper (various weights) | Influences design detail and texture | Experiment to find your preference |
Beyond the Basics: Enhancing Your Paper Cutting Experience
While a sharp blade and good paper are essential, some extra tools can elevate your paper-cutting game. A metal ruler is invaluable for straight lines and precise measurements. Tweezers are handy for picking up small pieces, especially when working on delicate designs. A good light source is also crucial, particularly when dealing with intricate details. Need help finding the right tools? Check out our guide on essential paper cutting tools.
Don't underestimate the power of good lighting! A bright, even light source minimizes shadows and allows you to see every detail of your design. This is especially important when working on intricate pieces. If you're working on larger projects, consider using a lightbox for maximum visibility. For inspiration on designs, check out our guide on master paper cutting designs.
- Metal Ruler
- Tweezers
- Bright Light Source/Lightbox
From Simple Shapes to Intricate Designs: Techniques for Beginners and Beyond
From Simple Shapes to Intricate Designs: Techniques for Beginners and Beyond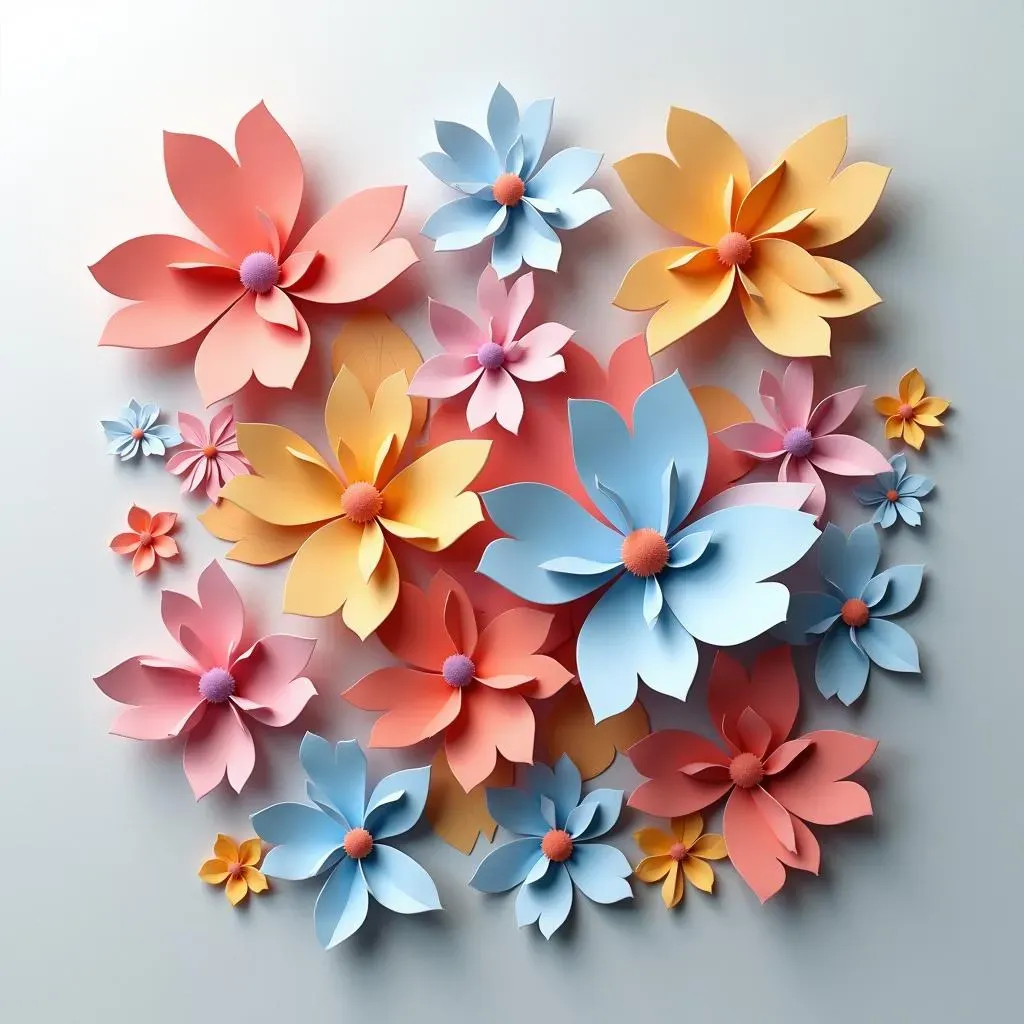
Mastering Basic Shapes
Let's start with the fundamentals! Begin by practicing simple shapes like squares, circles, and triangles. These might seem boring at first, but mastering clean, precise cuts in these basic shapes is crucial. Think of it as building your paper-cutting muscle memory. It's like learning scales on a piano—essential for more complex pieces later on. Once you're comfortable with these, try combining them to create simple patterns or designs. For example, you could arrange several squares to make a checkerboard pattern, or use circles to create a sun. Need some inspiration? Check out these free paper cutting templates to get you started!
Don't be afraid to experiment! Try different paper weights and see how they affect your cuts. Thicker cardstock will give you sharper lines, while thinner paper is more forgiving if you make a mistake. Consider adding different textures—perhaps using some textured paper to create a more dynamic design. Remember, practice makes perfect! The more you cut, the better you'll become at controlling your blade and achieving precise cuts. For more advanced techniques, learn about master paper cutting techniques.
- Practice basic shapes (squares, circles, triangles)
- Experiment with different paper weights and textures
- Combine shapes to create simple patterns
Moving to Intricate Designs
Once you've mastered the basics, it's time to tackle more complex designs. Start by choosing a design that challenges you but isn't overwhelming. Think about using simple, symmetrical designs initially before moving on to more intricate and asymmetric patterns. A good strategy is to start with a simple outline and gradually add more detail as you gain confidence. Remember to take your time and be patient – intricate designs require precision and attention to detail. Need some ideas? Check out how to do paper cutting design for inspiration!
Consider using a pencil to lightly sketch your design onto the paper before you begin cutting. This will help you to visualize the finished product and prevent mistakes. Remember to use a light touch when sketching so that the pencil lines are easy to erase. If you're using a template, make sure to secure it firmly to your paper to prevent it from moving during the cutting process. For more guidance on intricate designs, see our article on master paper cutting designs. Remember, even experienced artists make mistakes! Don’t get discouraged, just keep practicing and experimenting.
Step | Description |
|---|---|
1 | Sketch your design lightly in pencil. |
2 | Secure templates firmly. |
3 | Cut slowly and carefully. |
Creative Paper Cutting Projects: Inspiration and Ideas
Creative Paper Cutting Projects: Inspiration and Ideas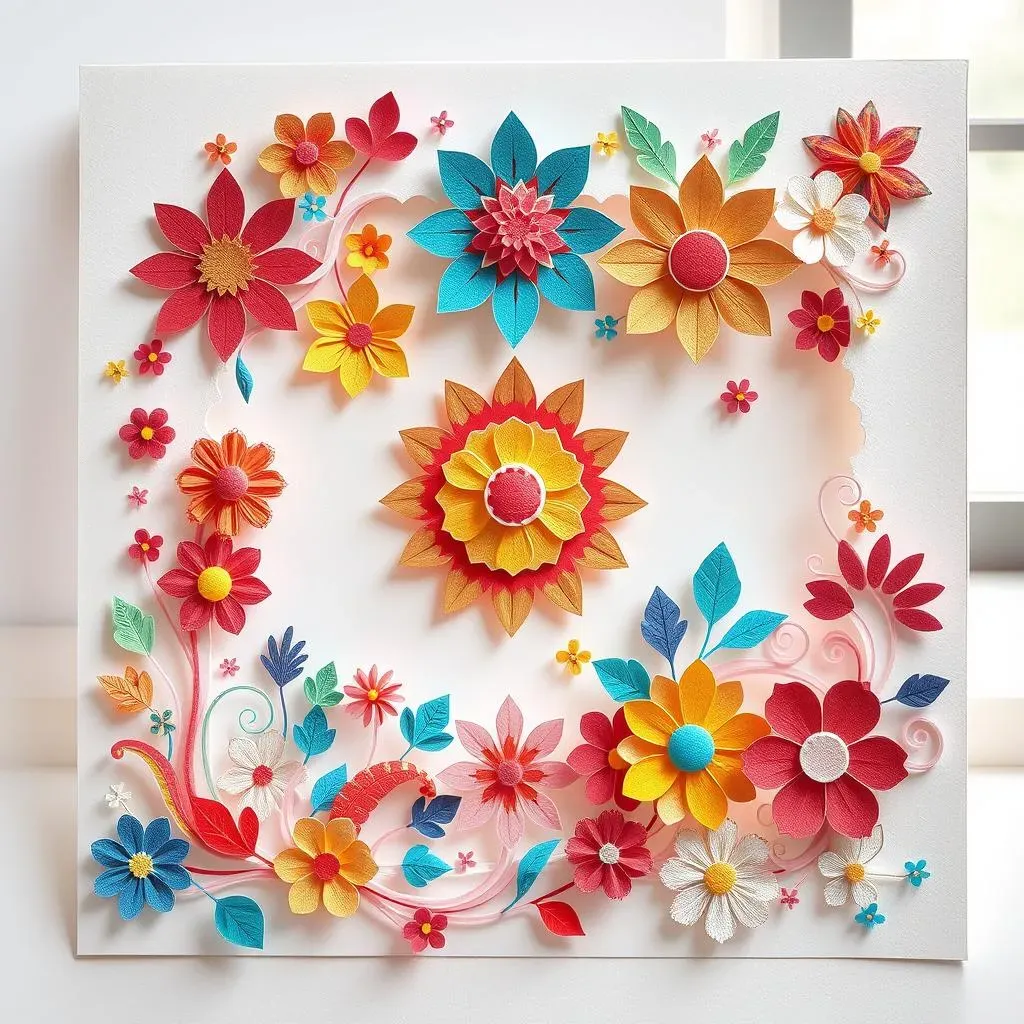
Greeting Cards and Invitations
Start with something simple and fun! Create unique greeting cards for birthdays, holidays, or just to brighten someone's day. Experiment with different shapes and patterns to personalize your cards. You can even incorporate photos or other embellishments to make them extra special. Check out our free templates for extra inspiration!
Think outside the box! Don't limit yourself to traditional card shapes. Try cutting out unique shapes, like animals, flowers, or geometric patterns. You can even create 3D pop-up cards for an extra wow factor. For more advanced projects, explore paper cutting design ideas to inspire your creativity.
- Birthdays
- Holidays
- Special Occasions
Wall Art and Home Decor
Transform your walls into stunning works of art! Create intricate wall hangings, framed pieces, or even decorative mobiles. Experiment with different paper colors and textures to create unique looks. You can also incorporate other materials, like beads or ribbons, to add extra dimension and interest. For more ideas on home decor, take a look at our paper cutting frame ideas.
Consider the overall aesthetic of your home when choosing your designs. If you have a minimalist style, opt for simple, geometric patterns. If you prefer a more eclectic look, experiment with bolder colors and more complex designs. Don't forget to consider the lighting in your space when choosing your paper colors. For more intricate designs, check out our guide on master paper cutting designs.
Project | Paper Type | Design Ideas |
|---|---|---|
Wall Hanging | Cardstock | Floral, geometric, abstract |
Framed Piece | Specialty paper | Landscapes, portraits, calligraphy |
Mobile | Thin paper | Animals, shapes, stars |