Table of Contents
Got a paper cutter with blades duller than a week-old pencil? Frustrated with jagged edges and frustrating jams? You're not alone! Finding the right place to sharpen your paper cutter blades can feel like searching for a needle in a haystack. That's why we created this guide on "where to sharpen paper cutter blades," designed to help you get those crisp, clean cuts back. We'll explore the pros and cons of tackling the job yourself, guiding you through DIY sharpening methods. Then, we'll unveil the secrets of finding professional sharpening services—because sometimes, it's best to leave it to the experts. Finally, we'll even discuss when replacement blades are the smarter choice. This isn't just about sharpening; it's about maximizing your paper cutter's lifespan and ensuring your projects look as sharp as your tools. Get ready to say goodbye to frustratingly wonky cuts and hello to perfectly precise paper creations! Let's dive in and discover the best solution for your paper-cutting needs.
DIY Sharpening Methods: Sharpening Your Blades at Home
DIY Sharpening Methods: Sharpening Your Blades at Home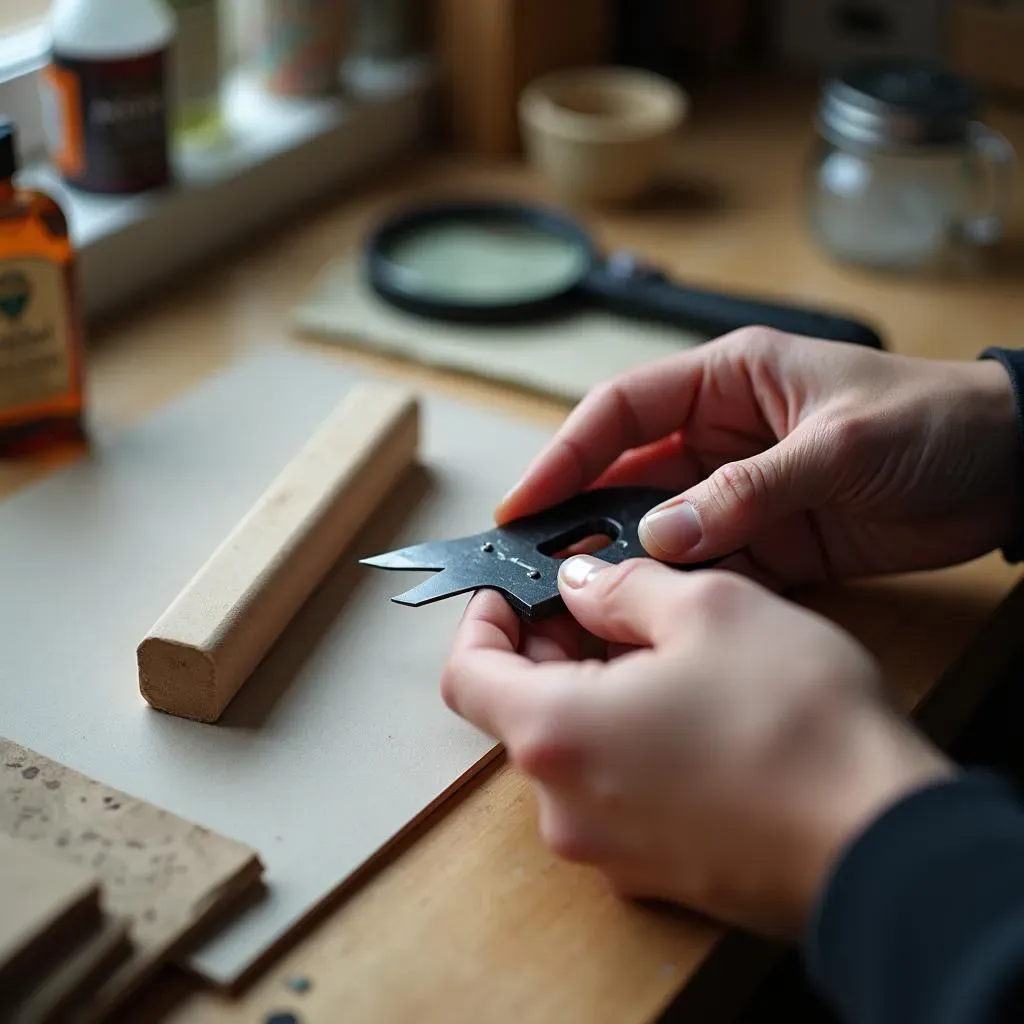
Assessing Your Blades: The First Step
Before you even THINK about sharpening, you need to inspect your blades. Are they just a little dull, or are we talking about something that could be used as a butter knife? Look for nicks, significant rust, or bends. If the damage is extensive, replacing the blades might be more cost-effective than trying to revive them. Think of it like this: trying to sharpen a severely damaged blade is like trying to fix a broken bicycle with duct tape—it might work for a little while, but it's not a long-term solution. For minor dullness, however, let's proceed!
Remember safety first! Always unplug the paper cutter before attempting any DIY repairs. You don't want to end up with a shocking surprise. Also, be mindful of the blade's material. Knowing what you're working with will dictate your sharpening approach. Some blades are better suited to certain sharpening methods than others. This is super important, so don't skip this step!
Honing Your Blades: A Gentle Approach
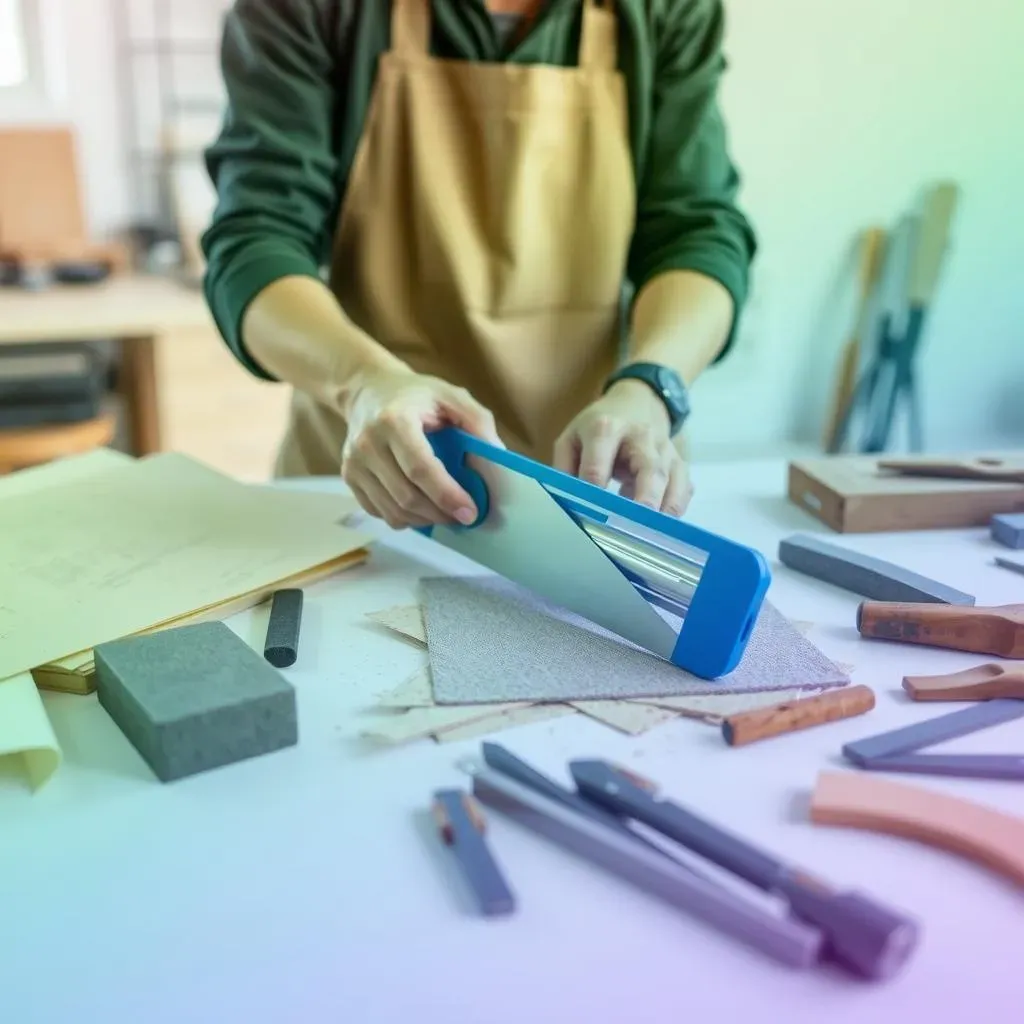
For minor dullness, honing is your best friend. Think of honing as "stroking" the blade to realign its edge. You can use a honing rod or even a piece of fine-grit sandpaper (folded several times for a firm surface). Gently draw the blade across the honing tool at a consistent angle. Repeat this process several times, always maintaining a consistent angle and light pressure. It's a bit like polishing a gemstone—gentle, consistent pressure is key for a flawless finish. Don't expect miracles; this method is best for keeping your blades sharp rather than fixing severely damaged ones.
Here's a handy tip: Before you begin honing, clean your blades thoroughly. Any debris or sticky residue can interfere with the honing process and even damage your honing tool. A clean blade is a happy blade! Consider using a soft cloth and isopropyl alcohol to wipe down your blades. For more advanced cleaning techniques, you might want to check out our article on how to properly clean your scissors—the principles are quite similar.
Honing Tool | Best For | Caution |
|---|---|---|
Honing Rod | Minor Dullness | Requires Practice |
Fine Grit Sandpaper | Minor Dullness | Use Light Pressure |
Sharpening Your Blades: The More Aggressive Method
If honing doesn't do the trick, you might need to resort to actual sharpening. This is a more aggressive approach and requires more skill and the right tools. You'll likely need a sharpening stone or a specialized tool designed for sharpening paper cutter blades. This is not a task for the faint of heart, and it's crucial to follow the manufacturer's instructions carefully. Sharpening incorrectly can easily damage your blades beyond repair. Think of it as brain surgery—one wrong move, and you're in big trouble.
If you're uncomfortable tackling this yourself, don't hesitate to seek professional help. It's better to spend a little extra on professional sharpening than to risk ruining your blades completely. Plus, you'll avoid the potential for injury. Remember, a perfectly sharpened blade is a joy to use, and a damaged one is a recipe for frustration. If you're interested in learning more about paper cutting tools, check out our article on paper cutting tools.
- Always use the correct type of sharpening stone for your blade material.
- Maintain a consistent angle throughout the sharpening process.
- Use light, even pressure to avoid damaging the blade.
Professional Sharpening Services: Finding Experts for Your Paper Cutter
Professional Sharpening Services: Finding Experts for Your Paper Cutter
Locating Professionals: Your Search Begins
Okay, so DIY sharpening isn't your cup of tea (or maybe your blades are beyond saving!). Time to find a professional. Start by searching online for "paper cutter blade sharpening services" along with your city or region. Check out online reviews and compare prices. Don't just go for the cheapest option; consider the reputation and experience of the service provider. A poorly done sharpening job could damage your blades beyond repair, costing you more in the long run. Think of it like choosing a mechanic—you want someone reliable and experienced.
Word-of-mouth referrals can also be incredibly valuable. Ask around your office or within your network of contacts. Someone might have a trusted sharpening service they can recommend. Personal recommendations often provide a more reliable assessment of quality than generic online reviews. If you are interested in other paper cutting services, check out our article on Staples paper cutting services.
- Check online reviews and ratings.
- Compare prices and services offered.
- Ask for referrals from trusted sources.
Communicating with Professionals: Clear and Concise
Once you've identified a few potential candidates, it's time to contact them. Clearly explain the type of paper cutter you have and the condition of your blades. Be as specific as possible. A clear description will help them estimate the cost and turnaround time more accurately. Also, confirm their experience with your specific type of blade. You don't want to send your blades to someone who's only worked on sewing machine needles! This is also a good time to ask about their sharpening process and any guarantees they offer.
Before you send your blades, get everything in writing. This includes the cost, estimated turnaround time, and any guarantees or warranties. A written agreement protects both you and the service provider. It also helps avoid any misunderstandings or disputes later. If you're curious about the history of paper cutting, check out our piece on the history of paper cutting.
Item | Description |
|---|---|
Paper Cutter Model | Specify the exact model |
Blade Condition | Describe any damage (nicks, rust, etc.) |
Turnaround Time | Confirm the expected return date |
Picking the Right Professional: Making Your Decision
Once you've gathered all the necessary information, it's time to make a decision. Consider the overall value proposition. Is the price reasonable for the quality of service offered? Do they have a good reputation and positive reviews? Do they offer guarantees or warranties on their work? These factors will help you choose the best professional for your needs. Remember, a well-sharpened blade is an investment in the quality of your work.
Don't hesitate to ask questions! A reputable service provider will be happy to answer your questions and provide all the information you need to make an informed decision. Remember, you're entrusting them with a valuable part of your equipment, so make sure you're comfortable with their process and their approach. To learn about different types of paper used in cutting, check out our article on paper types for paper cutting.
Replacement Blades: When Sharpening Isn't Enough – A Guide to Replacement Blades
Replacement Blades: When Sharpening Isn't Enough – A Guide to Replacement Blades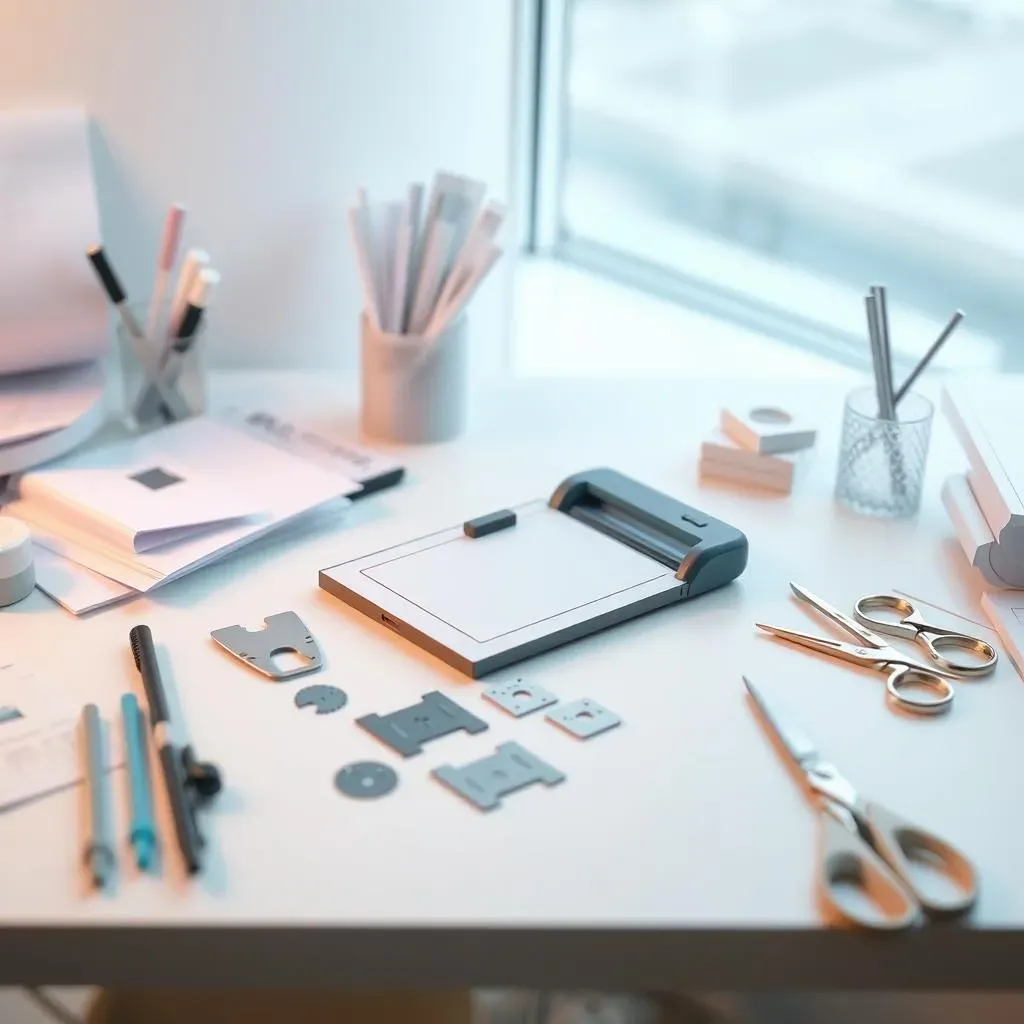
Knowing When to Replace: Recognizing the Signs
Sometimes, despite your best efforts, sharpening just won't cut it (pun intended!). There are certain signs that indicate it's time to replace your paper cutter blades. Significant nicks or damage, for instance, are a clear indication. Think of it like this: Would you try to repair a severely cracked windshield with tape? Probably not! Similarly, severely damaged blades compromise the quality of your cuts and could even damage your paper cutter. Persistent uneven cuts, despite honing and sharpening, are another red flag. If your cuts consistently look ragged or uneven, the blades are likely worn out and need replacing.
Another sign is a noticeable decrease in cutting efficiency. If your paper cutter suddenly requires more force to cut through paper, or if it jams frequently, the blades are probably dull and worn. This could be due to a variety of factors, including prolonged use and improper maintenance. Remember, a well-maintained paper cutter is a happy paper cutter! For more on paper cutter maintenance, you might find our article on paper cutter safety helpful.
- Significant nicks or damage to the blades
- Persistent uneven or ragged cuts
- Increased cutting effort or frequent jams
Finding the Right Replacements: A Detailed Guide
Replacing your blades might seem daunting, but it's usually a straightforward process. The first step is to identify the exact model of your paper cutter. This information is crucial for finding compatible replacement blades. You'll often find this information on a sticker on the machine itself or in the user manual. Once you know your model, finding the right replacement blades is as easy as a quick online search. Many online retailers specialize in paper cutter parts, offering a wide variety of blades to suit different models and needs. Think of it like finding the right shoes – you wouldn't wear running shoes for a formal event, right?
When ordering replacements, always double-check the specifications to ensure compatibility. Ordering the wrong blades is a common mistake, and it can lead to wasted money and further frustration. Once you have the correct blades, installing them is usually simple, and instructions are often included with the replacement parts. However, if you're unsure about the process, consult your paper cutter's user manual or check out our article on Swingline replacement blades (if applicable) for a more detailed walkthrough. Remember, a sharp blade makes all the difference!
Step | Action |
|---|---|
1 | Identify your paper cutter model. |
2 | Search online for compatible replacement blades. |
3 | Verify blade specifications before ordering. |
4 | Follow manufacturer instructions for installation. |