Table of Contents
Ever looked at intricate paper art and thought, "Wow, I wish I could do that"? Well, you can! This article will take you on a journey into the world of simple paper cutting design. Forget complicated tools and years of practice, we’re diving into easy-to-learn techniques that anyone can master. We'll start with the basics, showing you how to make your first cuts with confidence. Then, we’ll explore some super-fun patterns that will have you creating amazing designs in no time. Finally, we'll spark your imagination with ideas for using your new skills to craft unique cards, decorations, and gifts. Whether you're a total beginner or just looking for a relaxing hobby, this guide to simple paper cutting design is your starting point. So, grab some paper, scissors, and let's get cutting!
Getting Started with Simple Paper Cutting Design
Getting Started with Simple Paper Cutting Design
Gather Your Supplies
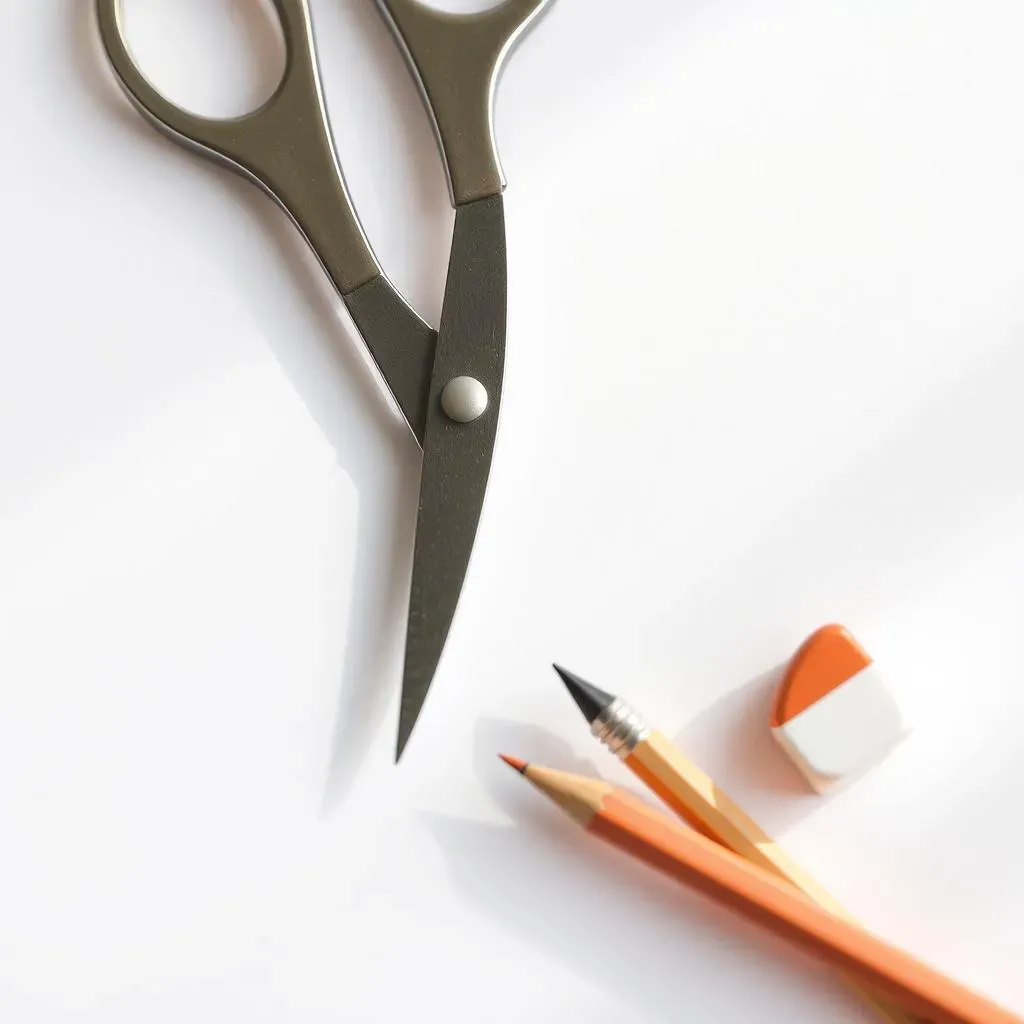
so you're itching to try some paper cutting? Awesome! First things first, let's get our hands on the right stuff. You don't need a fancy art studio; we're keeping it simple here. Think of it like gathering ingredients for a cake, but instead of flour and sugar, we're grabbing paper and scissors. I usually start with some basic copy paper, the stuff you probably have lying around. It's cheap and great for practicing. You’ll also need a pair of scissors. Small, sharp ones are your best friend for those detailed cuts. Don’t use those dull safety scissors from school, those will just make you mad. And finally, a pencil and maybe an eraser, just in case you get a little carried away with your drawing.
Don't stress about getting everything perfect right away. I remember my first attempt; my scissors were so dull, it looked like a squirrel had attacked my paper. The point is, just get started! A simple paper and scissor combination is where everyone starts. It's all about having fun and seeing what you can create. So, go ahead and collect those basic tools, and let's get ready to cut some magic.
Basic Cutting Techniques
Alright, now that you have your tools ready, let’s talk technique. It's not about speed or perfection, it’s about control and having fun. Start with simple straight cuts. Hold the paper steady with one hand, and guide the scissors with the other. Try to cut in one smooth motion, rather than little choppy snips. Think of it like driving a car, you want to steer smoothly, not jerk the wheel around. Next, practice making curves. This is where things get a bit trickier, but don't worry, you’ll get the hang of it. Imagine you're drawing with your scissors, making gentle turns. The key is to move the paper with your other hand to help guide the direction of the cut.
After you get the basics down, try some simple shapes, like triangles and squares. Remember, practice is your best friend. I used to spend hours just cutting random shapes, and it really helped me get a feel for how the paper and scissors work together. It’s like learning to ride a bike, a bit wobbly at first, but soon enough you'll be cruising along with ease. Don’t get frustrated if your first attempts are not perfect. Just keep practicing and you'll see improvement in no time.
Tool | Purpose | Tip |
|---|---|---|
Copy Paper | Practice and basic designs | Start with cheap paper |
Sharp Scissors | Precise cuts | Small and sharp is better |
Pencil and Eraser | Sketching and correcting | Lightly draw your design |
Easy Paper Cutting Design Techniques and Patterns
Easy Paper Cutting Design Techniques and Patterns
so you've got the hang of basic cuts, now let's get into some fun techniques! One super easy way to create cool designs is by folding your paper. It's like making paper snowflakes, but with a bit more pizzazz. Fold your paper in half, then in half again, or even into a triangle. The more you fold, the more intricate the pattern. Then, make some cuts along the folded edges. Remember, what you cut out on one side will be mirrored on the other. It’s like a magic trick, you never know exactly what you'll get until you unfold it. I love this method, because every time it's a surprise and usually, I end up with something unexpected. I think that's the fun of it.
Another cool technique is using stencils. You can find all kinds of stencils online or even make your own with cardboard. Simply trace the stencil onto your paper, and then cut along the lines. This is great for creating repeating patterns or shapes. I remember when I first started, I'd trace simple shapes like stars and hearts. It was so satisfying to see them come to life with just a few snips. Don’t be afraid to experiment with your own designs. The best part of paper cutting is that there's no right or wrong way. It's all about playing around and seeing what you can discover. It's like a personal adventure for your scissors and paper.
Technique | Description | Best for |
|---|---|---|
Folding | Fold paper before cutting | Symmetrical patterns |
Stencils | Trace shapes and cut | Repeating designs |
Freehand | Cut without guidelines | Unique and organic shapes |
Now, let’s talk about patterns. A super simple one to start with is a basic repeating shape. Draw a simple shape like a circle, triangle, or square and then repeat that shape across your paper. Then, you cut it out. It's like making a chain of paper shapes. Another fun pattern is a spiral. Start at the edge of your paper and cut in a swirling motion towards the center. You can make the spiral as tight or as loose as you like. It's a great way to add a bit of movement to your designs. And if you're feeling a bit more adventurous, try cutting out geometric patterns. Think of things like hexagons, diamonds, and zigzags. These can create a super modern and stylish look. Remember, the key is to keep it simple at first, and then as you get more comfortable, you can start experimenting with more complex designs.
Don't be afraid to mix and match different patterns and techniques. You can combine the folding method with stencils, or use freehand cutting to create unique shapes within your patterns. The possibilities are endless! I remember one time I was trying to create a flower design, and I accidentally cut out a weird shape that looked like a little monster. It was so funny, and I ended up using it in a completely different project. So, embrace those happy accidents, because they can sometimes lead to the most amazing results. Think of paper cutting like a sandbox, you have all the tools, just play around and see what happens.
Creative Projects Using Simple Paper Cutting Design
Creative Projects Using Simple Paper Cutting Design
Personalized Greeting Cards
so you've got the basics down, and you're itching to create something awesome. Let's talk greeting cards! Forget those generic, store-bought cards; let's make something special. Imagine a birthday card with a unique paper-cut design, a heartfelt message, and a touch of your own creativity. It’s way more personal than anything you could buy. Start by folding your card in half, then sketch a simple design, maybe some balloons, flowers, or even a cute animal. Then, cut out your design, and boom! You've got a one-of-a-kind card that's sure to make someone smile. I remember the first time I made a card for my grandma. She loved it so much, she framed it! It was a pretty basic design, but the fact that I made it myself made it super special to her.
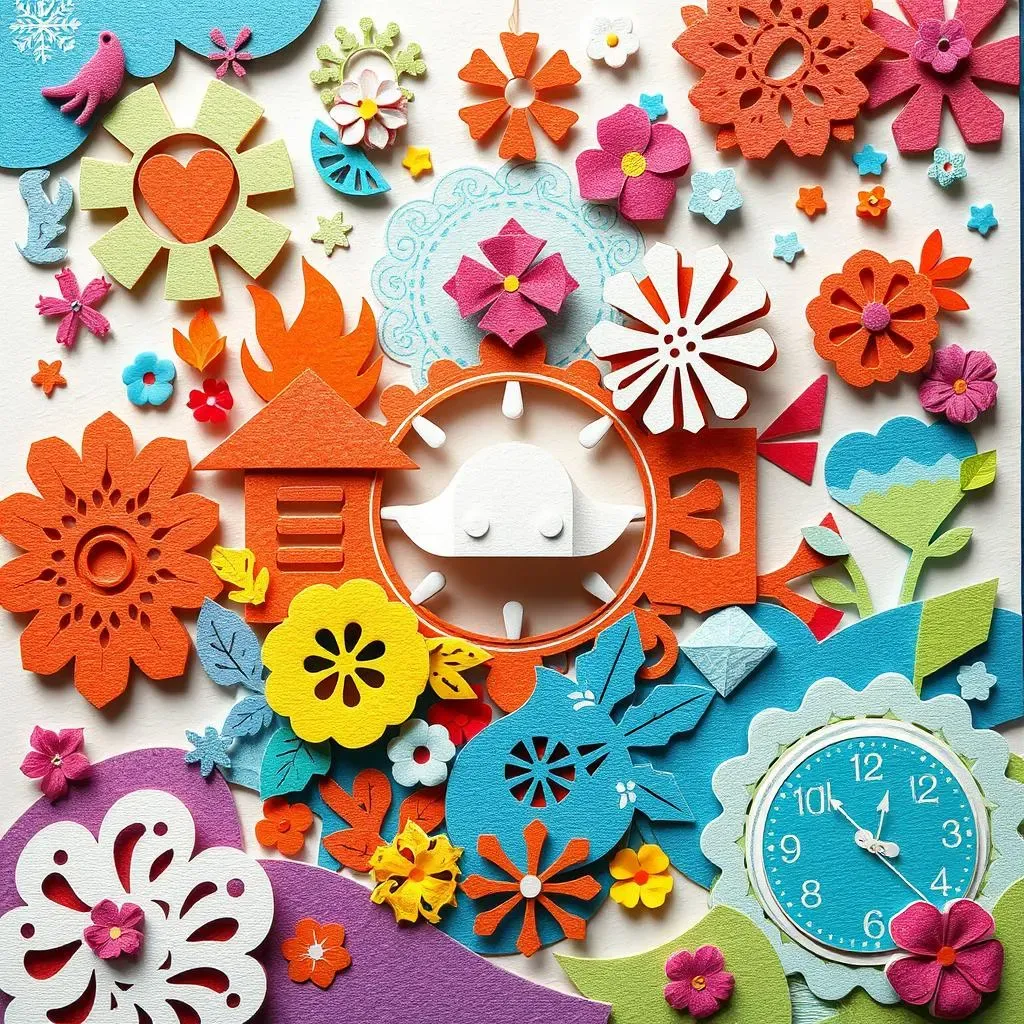
You can also get creative with the paper you use. Try using colored paper, or even some glittery paper for extra flair. You can also layer different paper cuts on top of each other to create a 3D effect. It's like creating a mini-sculpture on a card! I like to add a little bit of ribbon or some washi tape to make it even more decorative. The key is to let your personality shine through. Don't be afraid to experiment with different designs and techniques. It's your card, so make it awesome! Think of it as sending a little piece of yourself to someone you care about. It's way more impactful than just picking something off the shelf.
Home Decorations and Gifts
Now, let's think beyond cards and explore how we can use paper cutting for home decorations and gifts. Imagine creating a beautiful paper-cut garland for your room or a unique wall hanging to add some personality to your space. Start with simple shapes like circles, squares, and triangles, then string them together with some twine or ribbon. It's an easy way to add a touch of handmade charm to your home. I once made a paper-cut mobile for my niece's room, and it was such a fun project. She loved watching the shapes move around, and it added a sweet touch to her room. It's amazing how simple paper can transform a space.
Paper cutting also makes for amazing gifts. Think about creating a custom framed paper-cut design for a friend's birthday or a personalized ornament for the holidays. You can even make paper-cut lanterns by attaching your designs to some simple paper bags or jars. These make amazing gifts that people will cherish for a long time. The fact that they're handmade makes them even more special. It's all about putting your heart into your work, and that's what makes it truly meaningful. Don’t forget, sometimes the best gifts are the ones that are made with love and a little bit of paper and scissors.
Project | Description | Tips |
|---|---|---|
Greeting Cards | Personalized cards for any occasion | Use colored or glitter paper |
Garlands | Decorative hanging for your room | Use string or ribbon to connect |
Framed Art | Paper cut designs as wall decor | Layer paper for a 3D effect |
Lanterns | Paper cut designs on bags or jars | Add light for a magical effect |
Wrapping Up Your Simple Paper Cutting Journey
So, you've taken your first steps into the world of simple paper cutting design. You've learned some basic techniques, experimented with patterns, and maybe even crafted a few of your own unique creations. Remember, this is a skill that gets better with practice, so don’t be discouraged if your first attempt isn't perfect. The most important thing is to have fun and let your creativity flow. Whether you use your paper cuts for personal projects or to make gifts for friends, you are now equipped with the skills to make something beautiful. Now go forth and create!