Table of Contents
Ready to transform ordinary paper into extraordinary decorations? This article is your guide to the wonderful world of simple paper cutting border designs. We'll explore a range of easy-to-follow projects, perfect for beginners and seasoned crafters alike. Whether you're decorating a classroom bulletin board, adding a touch of whimsy to a birthday card, or simply want a fun and creative activity, simple paper cutting border designs offer endless possibilities. Forget complicated templates and fussy instructions; we’re focusing on straightforward techniques that yield stunning results. Inside, you'll discover inspiring ideas, step-by-step instructions, and even tips for taking your simple paper cutting border designs to the next level. Get ready to unleash your creativity and learn how to create beautiful, personalized borders with just a few simple cuts. Let's dive into the world of simple paper cutting border design and discover the joy of crafting!
Simple Paper Cutting Border Design Ideas
Simple Paper Cutting Border Design Ideas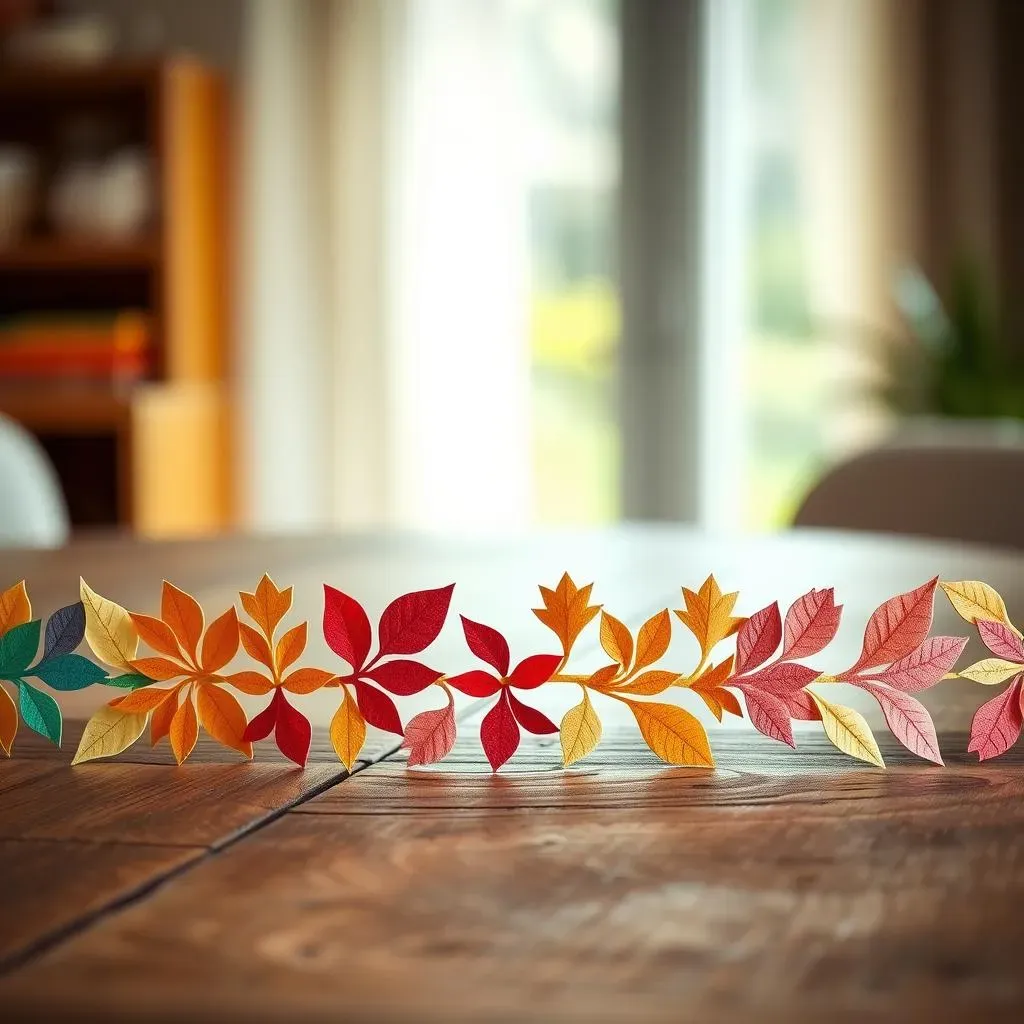
Let's kick things off with some basic but beautiful simple paper cutting border design ideas! Think about classic shapes – scalloped edges are super easy to achieve with simple curves. Just fold your paper, cut a gentle curve along the fold, and unfold to reveal a pretty, repeating pattern. Zigzags are another winner; they’re quick to cut and add a fun, energetic vibe. Try varying the size of your zigzags for extra visual interest. For a more intricate look, you could try a repeating leaf pattern. Start with a simple leaf shape, cut it out, and then use it as a template to create a whole row of leaves along the edge of your paper. Remember, the beauty of simple paper cutting border designs is in their simplicity; don't overcomplicate things! Even a simple straight line, adorned with small, evenly spaced notches, can create a really effective border.
Design | Difficulty | Best For |
|---|---|---|
Scalloped Edge | Easy | Cards, invitations, scrapbooking |
Zigzag | Easy | Posters, banners, classroom decorations |
Leaf Pattern | Medium | Invitations, book covers, gift wrap |
Notched Line | Easy | Simple projects, kids’ crafts |
Don't be afraid to experiment with different types of paper! Construction paper is a great choice for its vibrant colors and sturdy texture. Thicker cardstock is ideal for projects that need to be more durable. Even patterned scrapbook paper can add a fun, decorative touch to your simple paper cutting border designs. Consider the overall look you’re going for; a bold, geometric design might look best on a plain background, while a delicate floral pattern could complement a more textured paper. And remember, you can always combine different techniques and patterns to create something truly unique!
- Use different colors of paper for a vibrant look.
- Experiment with different paper textures.
- Combine different patterns for a unique design.
- Don't be afraid to make mistakes – it's all part of the learning process!
Creating Your Simple Paper Cutting Border Design: StepbyStep Guide
Creating Your Simple Paper Cutting Border Design: StepbyStep Guide
Gathering Your Supplies
Before you embark on your paper-cutting adventure, gather your essential supplies. You'll need paper, of course! Construction paper is a great starting point due to its vibrant colors and ease of cutting. Consider thicker cardstock for more durable projects or even patterned scrapbook paper to add a decorative flair. Next, you'll need a sharp pair of scissors. Kids' scissors are fine for simpler designs, but for more intricate work, a pair of craft scissors with sharp blades will make the process much smoother. A ruler can be helpful for creating straight lines or measuring consistent patterns. Finally, a pencil for sketching your design before cutting is a good idea, especially for more complex shapes. Having a pencil lets you make changes easily before committing to the cut.
- Paper (construction paper, cardstock, scrapbook paper)
- Sharp scissors (craft scissors recommended for intricate designs)
- Ruler (for straight lines and consistent measurements)
- Pencil (for sketching your design)
Cutting Your Simple Paper Cutting Border Design
Now for the fun part – the cutting! Start by sketching your chosen design lightly onto your paper. If you're working with a repeating pattern, it's helpful to mark the points where the pattern should repeat to ensure consistency. Once your design is sketched, carefully cut along the lines you've drawn. Take your time; rushing can lead to uneven cuts and a less polished final product. For intricate designs, start with the inner shapes first and work your way outwards to avoid accidentally cutting into other parts of your design. Remember, practice makes perfect! Don't be discouraged if your first few attempts aren't perfect; keep practicing, and you'll quickly improve your skills. Once you've cut your border, you're ready to use it to decorate!
Step | Action | Tip |
|---|---|---|
1 | Sketch your design | Use light pencil strokes so you can easily erase any mistakes |
2 | Cut along the lines | Take your time and use sharp scissors for clean cuts |
3 | Repeat the pattern | Use a ruler to ensure consistent spacing |
Beyond the Basics: More Advanced Simple Paper Cutting Border Designs
Beyond the Basics: More Advanced Simple Paper Cutting Border Designs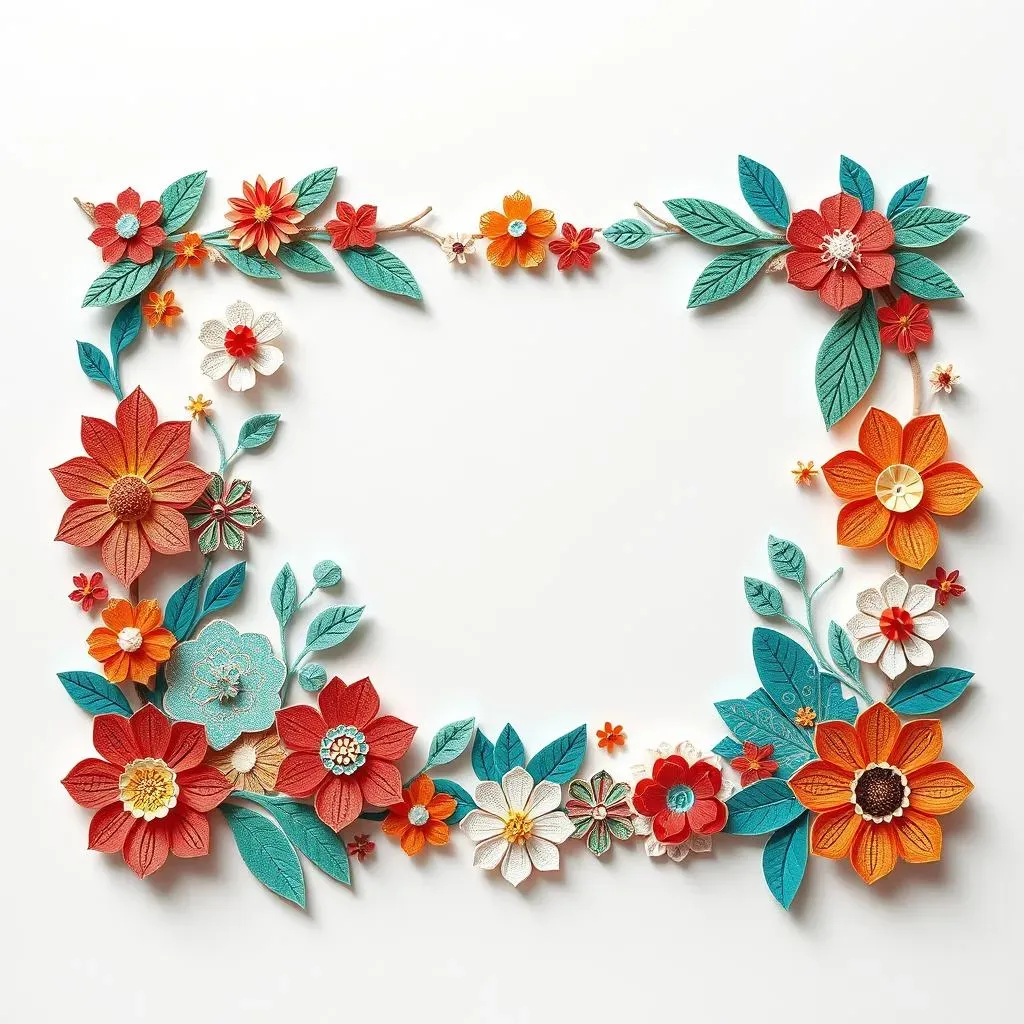
Adding Intricate Details
Once you've mastered the basics, it's time to add some flair! Think about incorporating more complex shapes into your simple paper cutting border designs. Instead of just straight lines or simple curves, try incorporating small, detailed shapes like flowers, leaves, or geometric patterns within the border itself. You could create a border with a series of small, interconnected circles, or a border made up of repeating floral motifs. Remember to keep the overall design relatively simple; don't try to cram too many details into a small space. A few well-placed, intricate elements can make a big difference!
- Experiment with different shapes and sizes.
- Use a variety of cutting techniques (e.g., scoring, perforating).
- Combine simple and intricate elements for a balanced design.
Incorporating Different Textures and Patterns
To elevate your simple paper cutting border designs, experiment with different textures and patterns. Use patterned paper or add texture with embossing or other techniques. You could create a layered border by cutting multiple layers of paper in different patterns and colors and layering them on top of each other. Consider using textured cardstock or even fabric scraps for added visual interest. You could even combine different paper types within a single border design. For example, you could use a plain paper base and then add patterned paper cutouts on top to create a more dynamic look. The possibilities are endless!
Texture | Effect | Paper Type |
|---|---|---|
Smooth | Clean, modern look | Construction paper, cardstock |
Embossed | Adds depth and dimension | Cardstock, specialty paper |
Textured | Rustic, handmade feel | Specialty paper, fabric scraps |
Creating 3D Effects
Take your simple paper cutting border designs to the next dimension by adding 3D elements! This could involve cutting out shapes and then layering them to create a sense of depth. You could also create simple 3D shapes like flowers or butterflies by folding and cutting the paper. Consider adding small embellishments, like glitter or beads, to further enhance the 3D effect. Remember to keep the 3D elements relatively simple and proportionate to the overall design. Overly complex 3D elements can make the border look cluttered. The key is to add just enough depth and dimension to make the border visually interesting without overwhelming it.
"The beauty of paper cutting lies in its simplicity and the endless possibilities it offers." - Unknown
Simple Paper Cutting Border Designs for Special Occasions
Simple Paper Cutting Border Designs for Special Occasions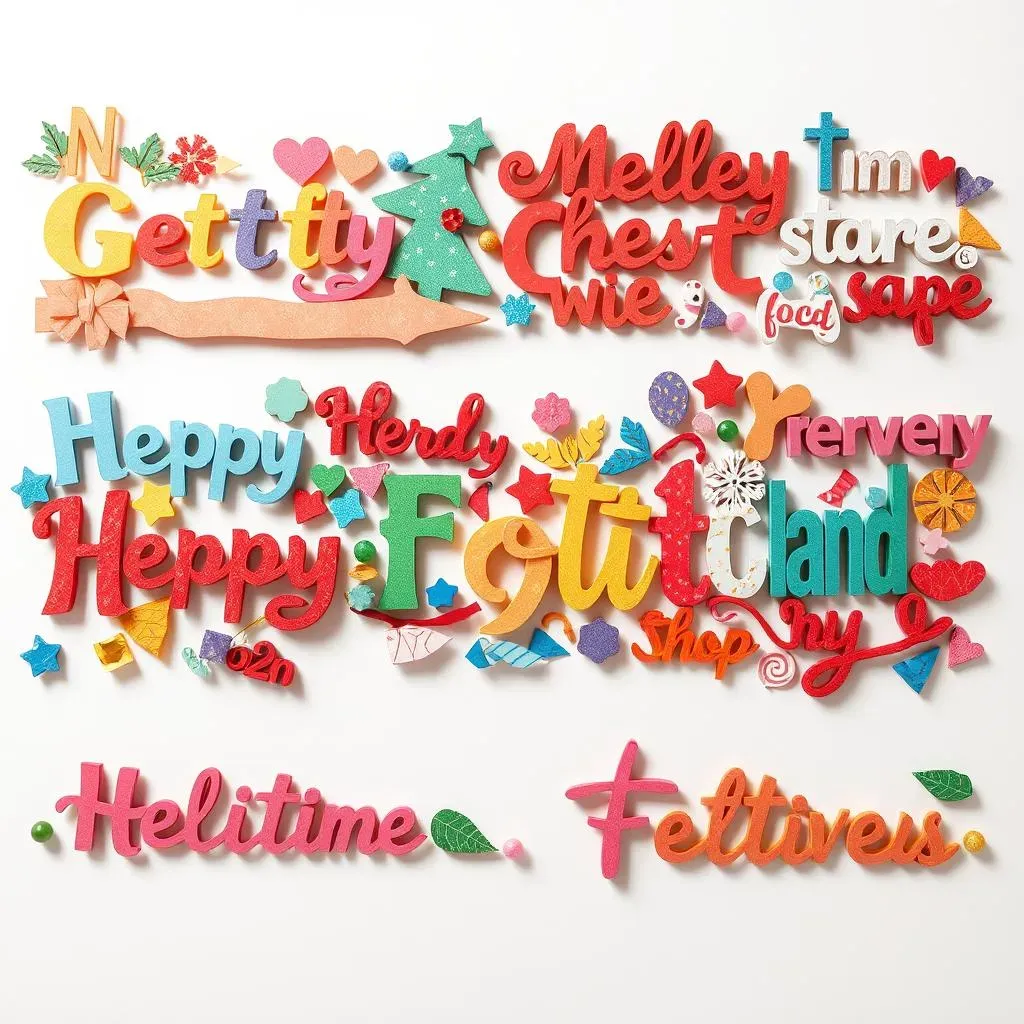
Let's face it: plain borders are, well, plain. But simple paper cutting border designs can easily be transformed into festive masterpieces for any occasion! For birthdays, think cheerful confetti shapes or playful balloons. Cut out small circles and squares in bright colors, or create simple balloon shapes with curved lines and strings. For holidays like Halloween, you could make spooky silhouettes of bats, cats, or ghosts. Christmas offers opportunities for snowflakes, stars, or even miniature Christmas trees. For a patriotic celebration, cut out stars and stripes or simple shapes in red, white, and blue. The key is to choose shapes and colors that evoke the spirit of the celebration. Remember to keep it simple; a few well-placed celebratory shapes can make a huge difference!
- Birthdays: Confetti, balloons, presents
- Halloween: Bats, ghosts, spiders
- Christmas: Stars, snowflakes, Christmas trees
- Valentine's Day: Hearts, flowers, Cupid's arrows
- 4th of July: Stars, stripes, fireworks
Don't limit yourself to just shapes! You can easily incorporate words or short phrases into your simple paper cutting border designs. For a birthday, you could cut out "Happy Birthday!" in a simple font. For a holiday, you might cut out a festive greeting like "Merry Christmas" or "Happy Halloween." Remember to choose a font that is easy to cut and complements the overall design. For a more sophisticated look, you could use a calligraphy-style font or even create your own unique lettering. Consider using different colored papers to add visual interest. A simple black and white design can be very effective, but you can also add pops of color for a more festive look.
Occasion | Design Ideas | Color Palette |
|---|---|---|
Birthday | Confetti, balloons, presents, "Happy Birthday!" | Bright, cheerful colors |
Halloween | Bats, ghosts, spiders, pumpkins, "Boo!" | Orange, black, purple |
Christmas | Stars, snowflakes, Christmas trees, "Merry Christmas!" | Red, green, white, gold |