Table of Contents
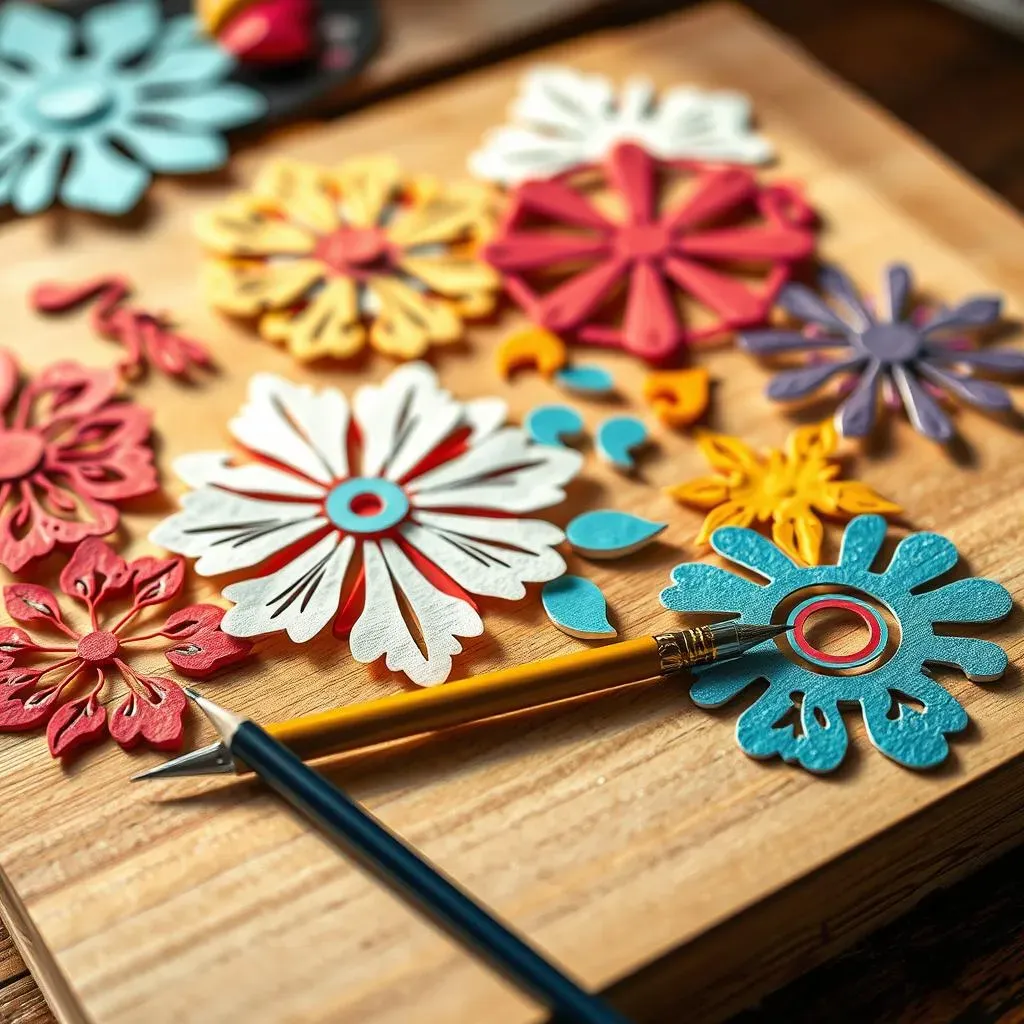
Ever seen a piece of paper transform into something amazing? That's the magic of paper cutting tricks! It's not just about scissors and paper; it's a craft that lets you turn simple sheets into intricate designs. You might think it's super hard, but trust me, anyone can learn the basics. This article will show you how to get started with paper cutting, even if you've never tried it before. We'll go over the tools you need, like a sharp scalpel and a cutting board, and the best kind of paper for the job. We'll walk through some easy paper cutting tricks, step-by-step, and then explore some more advanced techniques, perfect for those who want to level up. Plus, we’ll tackle common problems that pop up when you're learning, so you can avoid the frustration. Whether you're looking for a relaxing hobby or a way to create unique decorations, get ready to unlock the art of paper cutting tricks. So, grab your supplies, and let's get started on this creative adventure!
Essential Tools and Materials for Paper Cutting Tricks
Essential Tools and Materials for Paper Cutting Tricks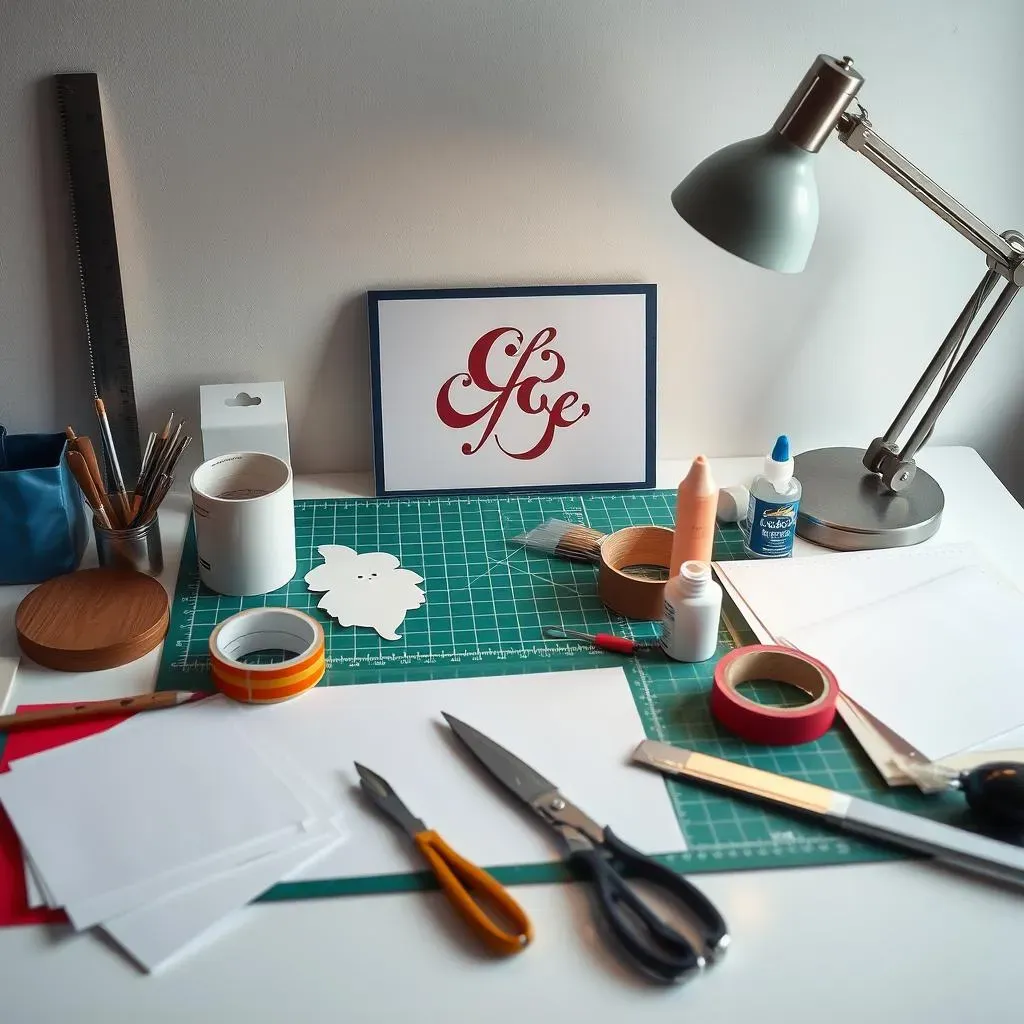
The Cutting Edge: Scalpels and Blades
Alright, let's talk tools! You can't do any fancy paper cutting tricks without a good scalpel. Forget those clunky craft knives; we’re going for precision here. I like using a scalpel with a super sharp blade. It's like using a hot knife on butter, but for paper. Think of it as your magic wand for paper, you don't want it to be dull. Make sure you have extra blades. Seriously, you'll be changing them more than you think. A dull blade is a paper cutter's worst enemy; it'll tear and snag, and no one wants that.
The Foundation: Cutting Mats and Paper
Next up, a self-healing cutting mat is a must. It's like a little shield for your table, and it saves your blades too. These mats are great because they don't show every cut you make, unlike your poor desk. Now, let's talk about paper. You can’t just use any old paper! Thinner paper is easier to cut, but it's also easier to tear. I usually start with something like printer paper or light cardstock. It's a good balance between being easy to cut and not being too flimsy. But feel free to experiment with different types. It's all part of the fun!
Tool | Why You Need It | My Recommendation |
|---|---|---|
Scalpel | For precise cuts | A good quality craft scalpel with replaceable blades |
Cutting Mat | Protects your work surface | Self-healing mat, medium size |
Paper | The canvas for your art | Printer paper or light cardstock for beginners |
Other Helpful Extras
Beyond the basics, some extras can really make your paper cutting tricks easier. A metal ruler is helpful, especially if you’re doing straight lines or cutting out squares and rectangles. It's like having a guide for your scalpel. Also, having some good tape and glue on hand is a lifesaver. Mistakes happen, and sometimes, you need to patch things up. It's all part of the learning process, so don’t sweat it. Finally, a good lamp is essential for seeing the details, especially if you're working on intricate designs. Good lighting is key to prevent eye strain and to make sure you're cutting exactly where you want to cut. Trust me, your eyes will thank you for it!
StepbyStep Guide to Simple Paper Cutting Tricks
StepbyStep Guide to Simple Paper Cutting Tricks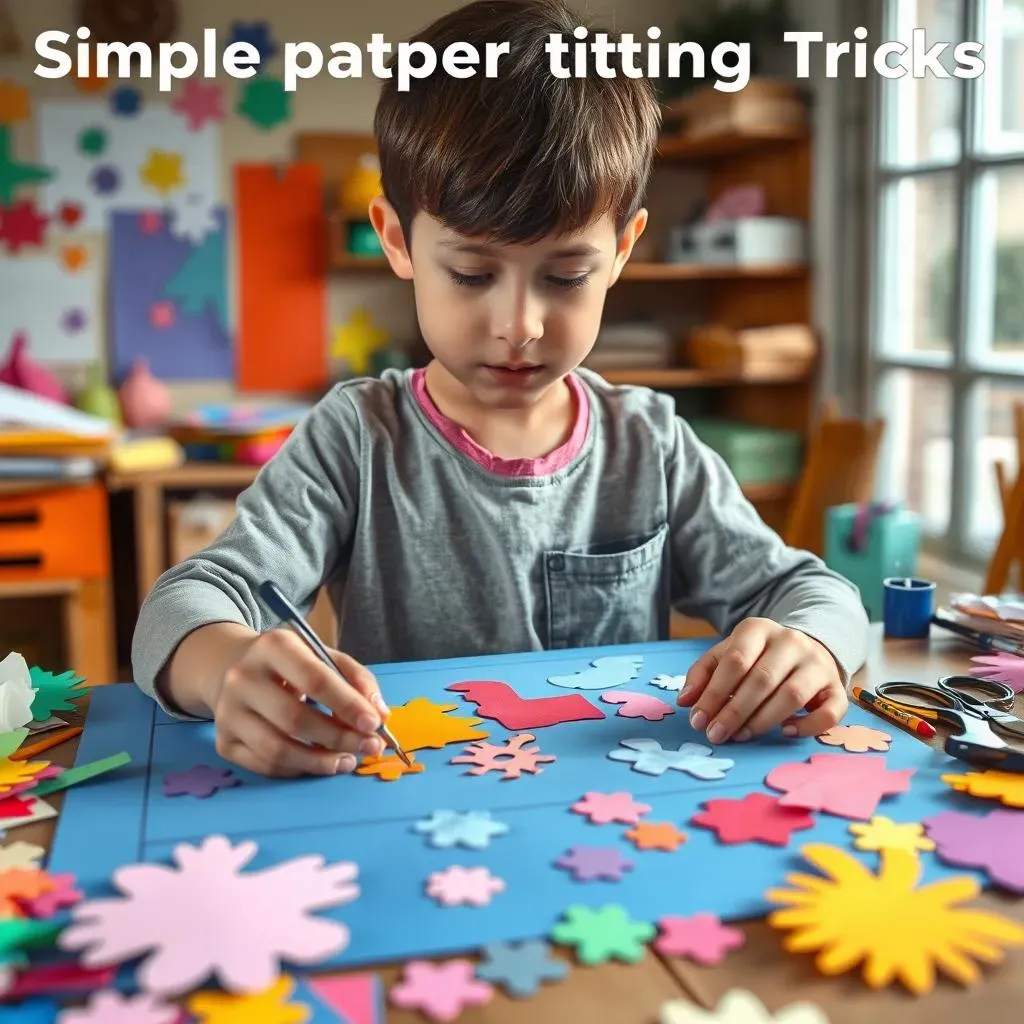
Getting Started: Simple Shapes
let's get cutting! Don't jump into super complex designs right away. Start with simple shapes like squares, triangles, and circles. It's like learning to walk before you run. Draw these shapes directly onto your paper or print them out, it’s up to you. I prefer drawing because it gives me more freedom to experiment. It doesn’t need to be perfect! Remember, the goal here is to get the feel of your scalpel. Take your time, and make sure you're cutting on your cutting mat. Light pressure is key here; you don't need to press hard. Just gently guide the blade along your lines. It's all about control, not force.
When cutting curves for circles, move the paper as you cut. This will give you a smooth line. If you try to twist the scalpel, you are likely to make a jagged cut. And always, always, make sure your fingers are out of the way. You don't want any accidental cuts. I learned that the hard way! Once you cut out a few simple shapes, try cutting them out of each other to see how it works. It is a good way to build your skills.
Moving On: Basic Patterns
Once you've got the hang of simple shapes, let’s try some basic patterns. Think simple geometric designs, like repeating lines or shapes. This is where you start seeing some real magic. I like starting with a simple grid and cutting out every other square or circle. It's like creating a tiny stained glass window. Remember to leave support lines. These are the parts of the design you don't cut out. They hold everything together, like the bones of your paper art. Without them, your design will fall apart.
As you cut, try to remove the cut pieces as you go. It is easier to see what you are doing this way. When you are starting, it is easy to get mixed up and cut the wrong lines. Removing the cut paper is like clearing the table after a meal, it makes space for your next steps. Keep practicing these simple patterns, and you’ll see how quickly your skills improve. It is about practice and patience. Paper cutting is a craft that gets better with practice.
Step | Action | Tip |
|---|---|---|
1 | Draw or print simple shapes | Start with squares, triangles, or circles |
2 | Cut along the lines | Use light pressure and move the paper for curves |
3 | Try basic patterns | Create grids or repeating shapes |
4 | Remove cut pieces | Clear the way for next cuts |
Advanced Paper Cutting Tricks: Techniques and Tips
Advanced Paper Cutting Tricks: Techniques and Tips
Intricate Designs: Layering and Details
so you've mastered the basics, huh? Now, let's get into the good stuff: intricate designs. This is where you move from simple shapes to creating real works of art. Layering is a big part of this. Instead of just cutting out one design, think about creating multiple layers that sit on top of each other. It adds depth and makes your paper cutting look way more complex. Imagine cutting out a forest scene, with trees in the foreground, middle ground, and background, each on its own piece of paper. When you stack them, boom – instant depth!
Another key to advanced paper cutting is adding small details. Think tiny dots, delicate lines, or repeating patterns. These details can take a simple design and make it look incredible. It’s like adding sprinkles to a cake; it’s the little things that count. But be warned: these details require a lot of patience and a very steady hand. This is where that sharp scalpel and good lighting become even more important. Start small and work your way up to more complex patterns.
The Art of Negative Space
Let's talk about negative space. It's not just about what you cut out, it's about what you leave behind. Negative space is the empty areas of your design, and how you use it can make or break your art. Think of it like this: the cut-out parts are like the musical notes, and the negative space is the silence between the notes. Both are equally important. Using negative space effectively can create a sense of balance and visual interest in your designs. For example, if you cut out a bird, the space around the bird is just as important as the bird itself. It's all about creating a relationship between the positive and negative elements.
One trick I love is to use the negative space to create patterns of their own. Instead of just leaving empty space, create patterns by cutting out small shapes or repeating lines within the negative area. It's like creating a secret message within your design, and it’s often the first thing that catches people’s eyes. It’s a great way to add an extra layer of complexity to your work without actually cutting more intricate shapes. Experiment with different ways of using negative space, and you’ll be amazed at the results.
Tips for Precision and Clean Cuts
Alright, let's get down to the nitty-gritty: precision and clean cuts. These are the hallmarks of a good paper cutting artist, and they take time and practice to master. First things first: always make sure your blade is sharp. Dull blades will tear and snag, and they'll make your cuts look messy. Change your blade regularly, even if it doesn't feel dull. It’s a cheap way to improve the quality of your work. Second, use a light touch. Don't press too hard on your blade. Let the sharpness of the blade do the work for you. It's more about guiding the blade along your lines than forcing it through the paper. It's like when you are painting, you don't want to press to hard on the brush.
Third, move the paper, not the blade. When cutting curves, it's easier to get a smooth line if you move the paper as you cut. This helps to avoid jagged edges. And finally, always take your time. Paper cutting is not a race. It’s a craft that requires patience and focus. If you feel yourself getting frustrated, take a break. Come back to it later with fresh eyes. It is always better to have a good cut, than a fast one. With these tips in mind, you'll be well on your way to creating paper cutting masterpieces.
Technique | Description | Tips |
|---|---|---|
Layering | Creating depth by stacking multiple cutouts | Plan your layers before cutting |
Negative Space | Using empty space for visual impact | Experiment with patterns in the negative space |
Precision Cuts | Clean, smooth lines and accurate details | Use a sharp blade and a light touch |
Troubleshooting Common Paper Cutting Tricks Problems
Troubleshooting Common Paper Cutting Tricks Problems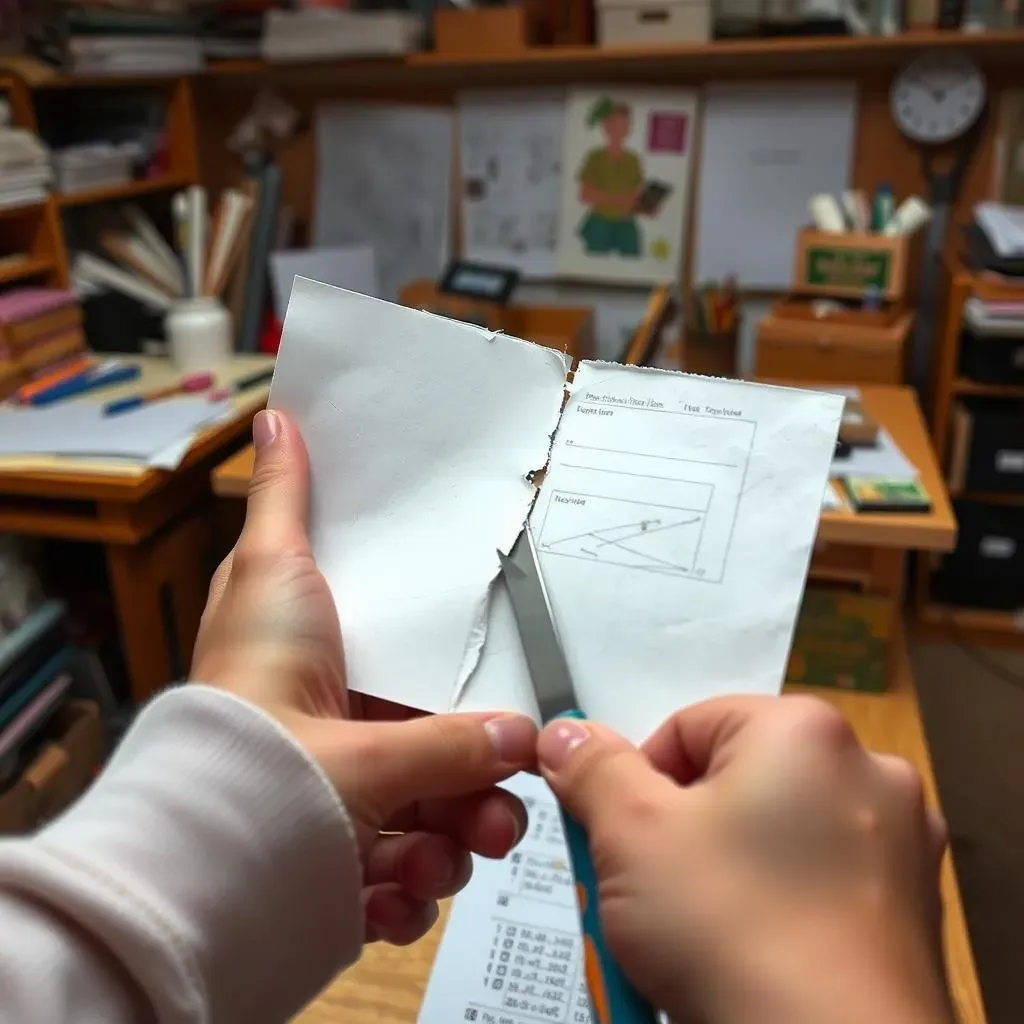
Tears and Snags: When Things Go Wrong
so you're trying these paper cutting tricks, and things aren't going as smoothly as you hoped? Don't worry, it happens to everyone. One of the most common problems is tearing and snagging. This usually means your blade is dull. Seriously, change that blade! A fresh blade makes a world of difference. Another reason could be the paper you’re using. If it’s too thin, it’s more likely to tear. Try using a slightly thicker paper, like light cardstock. Also, remember to lift your blade straight up after a cut, rather than dragging it. Dragging is a recipe for snags. It is like trying to pick up a glass with a towel, it will not work well. Finally, don't press too hard, let the blade do the work.
Sometimes, you can fix a tear with a bit of tape on the back of your paper. It’s not ideal, but it can save a design that you've spent a lot of time on. If you are cutting a complex design, try working in sections, this will help you to see where you are going, and it will also help you to avoid the issue of getting snagged on uncut parts of the design. With practice, these problems will become less frequent, but it’s always good to have a few tricks up your sleeve for when things go a little bit wrong. It is part of the learning process!
Problem | Likely Cause | Solution |
|---|---|---|
Tears and Snags | Dull blade, thin paper, dragging blade | Change blade, use thicker paper, lift blade straight up |
Messy Cuts | Inconsistent pressure, moving the blade | Use light pressure, move the paper instead |
Design falling apart | Not enough support lines | Add more support lines to your design |
Fixing Mistakes: Patches and Workarounds
So, you've made a mistake, and now you have a big hole in the wrong place? It's not the end of the world. We've all been there. One simple fix is to use a little bit of tape or glue on the back of your paper. It's not invisible, but it can save a design. For larger mistakes, you can cut out a small piece of paper and glue it into the hole. It is like a little patch. You can also try to incorporate the mistake into your design. Sometimes, the best art comes from happy accidents. It is like Bob Ross always says: "We don't make mistakes, we just have happy accidents".
Another common problem is accidentally cutting the support lines. If this happens, you can try to reinforce the area with a little bit of glue or tape. If the cut is too severe, it might mean that you have to start over, and that is okay. Every mistake is a chance to learn something. And remember, it is just paper. You can always try again. Paper cutting is a craft that is all about practice and patience, so don't get discouraged if you make a few mistakes. It is all part of the journey.
Preventing Future Problems: Tips and Tricks
so how do you avoid these problems in the future? First things first: plan your design. Don’t just jump into cutting without a clear idea of what you are trying to achieve. It is like going on a trip without a map, you might get there, but it is going to take longer and you might get lost. Before you start cutting, you can draw out your design, or make a copy of it. This way, you can keep your original design safe. Also, take breaks. If you’re working on a really intricate design, your eyes and hands will get tired. Taking a break will help you to stay focused and avoid mistakes. It is like taking a water break during a marathon, it will help you to keep going.
Another trick is to always cut on a clean, flat surface. If your cutting mat is dirty or bumpy, it can cause problems with your cuts. And finally, practice makes perfect. The more you cut, the better you will get. It is like learning to play a musical instrument, the more you practice, the better you will get. Don’t be afraid to experiment and try new things, it is the best way to learn. With a little bit of practice and patience, you’ll be cutting like a pro in no time. And remember, paper cutting should be fun. If you are not having fun, take a break and come back to it later.
- Plan your design before you start cutting.
- Use a clean, flat surface.
- Take breaks when you need them.
- Keep practicing, it is the best way to improve.
Wrapping Up Your Paper Cutting Tricks Journey
So, you've explored the world of paper cutting tricks, from the basic tools to some pretty cool techniques. Remember, like any skill, it takes practice to get really good. Don't get discouraged if your first few tries don’t look perfect. The key is to keep experimenting, try different designs, and most importantly, have fun with it. Now you've got the knowledge to cut out amazing things, whether it's a simple design or something super complex. Paper cutting isn't just a craft; it's a way to express your creativity and bring a little bit of magic into the world. So, keep cutting, keep creating, and see where your imagination takes you!
