Table of Contents
Ever tried to make a beautiful paper snowflake only to end up with jagged edges and frustration? It’s not you, it’s probably your tools! The world of paper cutting tools can seem simple, but it's packed with options, each designed for different tasks. Whether you're a seasoned crafter or just starting to explore the art of paper crafting, choosing the right paper cutting tools is key to bringing your visions to life. This article is your guide to navigating this landscape. We'll explore the variety of tools available, from basic scissors to more specialized craft knives and trimmers. You will learn essential techniques to get those clean, crisp cuts, and discover how to keep your tools in tip-top shape for years to come. So, grab your paper, and let's get cutting! We'll cover everything from basic snips to rotary trimmers, ensuring you're equipped for any paper project that comes your way.
Types of Paper Cutting Tools: Which One is Right for You?
Types of Paper Cutting Tools: Which One is Right for You?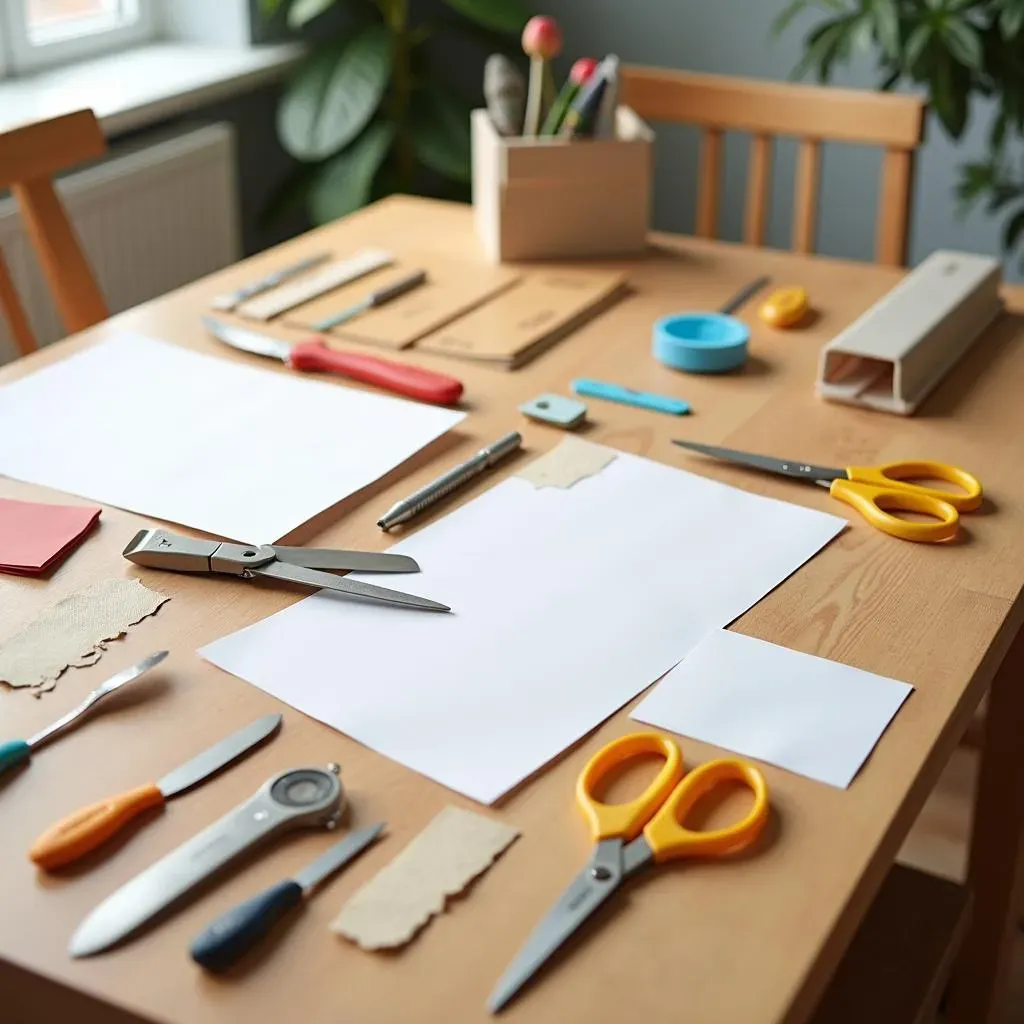
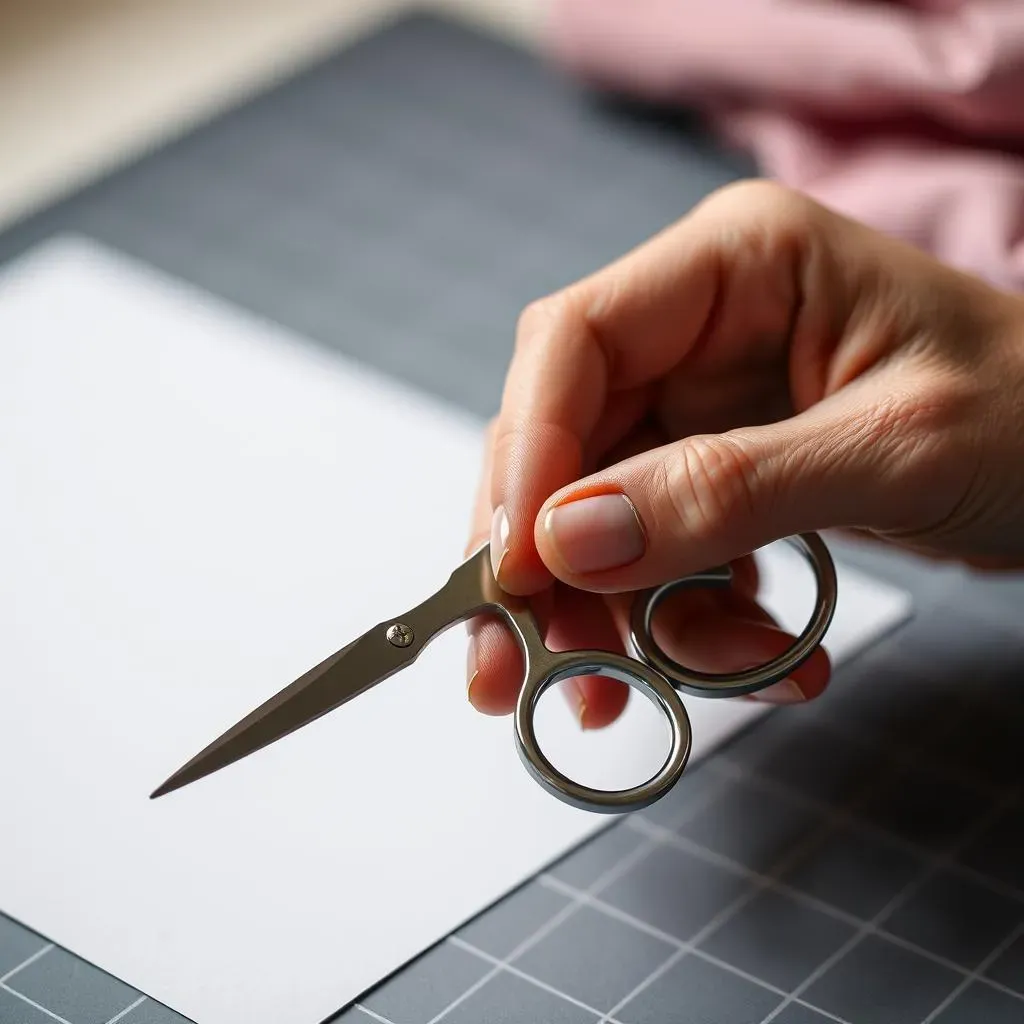
so you're staring at a mountain of paper and a drawer full of, well, stuff that might cut it. But, what should you be using? It's like choosing between a bicycle and a race car, they both get you moving, but one is definitely better for certain tasks. For starters, there are scissors, the trusty sidekick we all know. Then, you have craft knives, which are like the precision surgeons of the paper world, perfect for intricate designs. And don't forget paper trimmers, those glorious tools that make straight lines a breeze. Each tool has its own superpower, and knowing which one to grab for each project is half the battle won.
Tool Type | Best For | Pros | Cons |
|---|---|---|---|
Scissors | General cutting, curves | Easy to use, widely available | Can be less precise, not for straight lines |
Craft Knives | Intricate cuts, detailed designs | Very precise, good for small areas | Requires practice, can be dangerous |
Paper Trimmers | Straight lines, larger pieces | Fast, accurate for straight cuts | Not good for curves, can be bulky |
Essential Paper Cutting Techniques and Tips
Essential Paper Cutting Techniques and Tips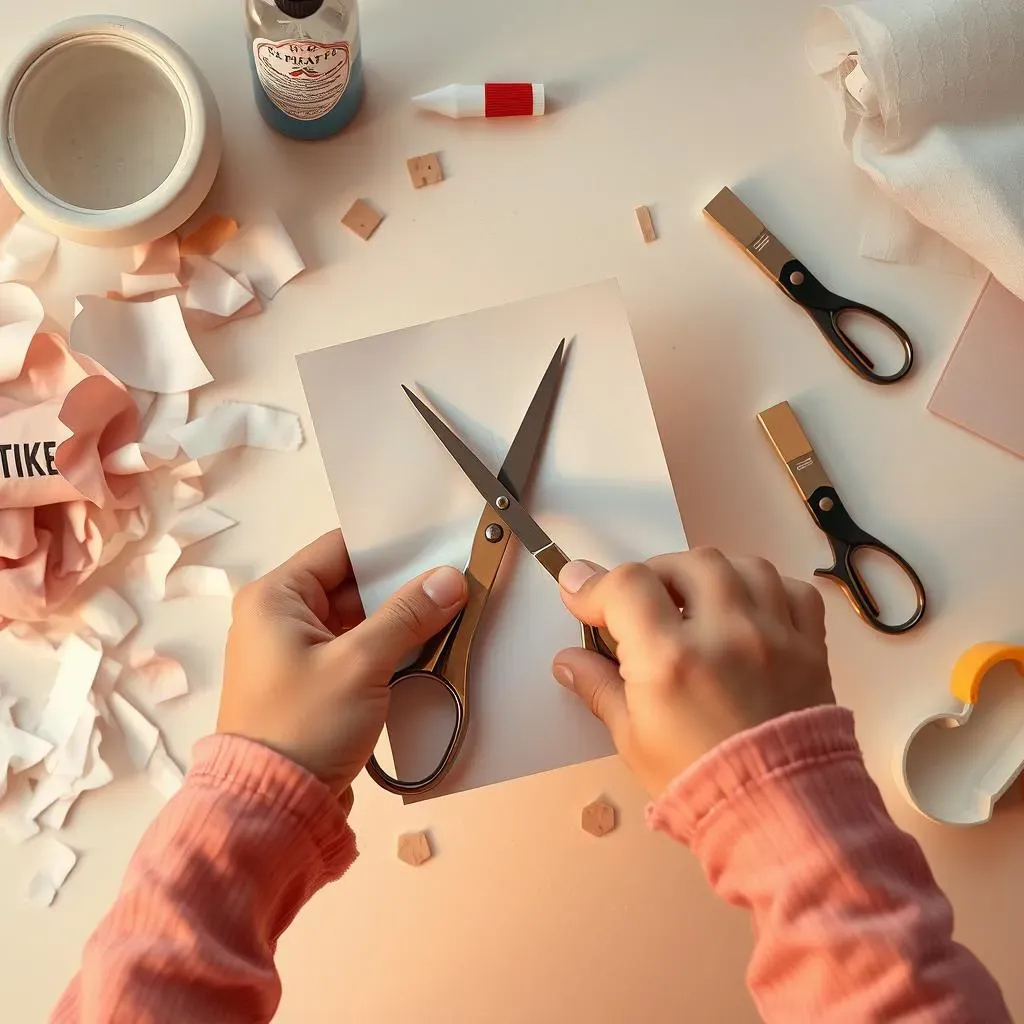
Getting Started: The Basics
so you’ve got your tools, now what? It’s not just about hacking away at the paper. First things first, always use a cutting mat. Trust me, your table will thank you. A cutting mat protects your surface and provides a bit of grip for cleaner cuts. Next, think about your grip. Hold your scissors or knife like you mean it, but not so tight that you cramp up. It’s a balance. For scissors, use the full length of the blade for longer cuts – it’s smoother that way. And when using a craft knife, go for light, multiple passes instead of trying to cut through the paper in one go, you'll get a cleaner edge.
And here’s a pro-tip: always cut towards yourself, but safely of course! If you’re using a craft knife, make sure your fingers are out of the way. It’s like a dance, you guide the tool, not the other way around. And don't rush! Paper cutting is a bit of a meditative process. Take your time, enjoy the process, and don’t be afraid to make mistakes. That’s how you learn. It's like learning to ride a bike, you might wobble a bit at first, but you’ll get there.
Advanced Techniques for Cleaner Cuts
Ready to kick it up a notch? Let’s talk about curves and corners. For curves with scissors, try turning the paper as you cut, rather than forcing the scissors to bend. It’s all about smooth, fluid movements. When using a craft knife, especially for tighter curves, try using a swivel knife. It will allow the blade to rotate, following the curve of your design. It’s like a little paper-cutting magic wand. For those sharp corners, make sure to stop your cut right at the corner, then lift the blade and reposition it for the next line. This prevents those unwanted little tears and jagged edges.
And here’s a trick that’s saved me countless times: use painter’s tape to hold your paper in place, especially when cutting complex shapes. It’s like having an extra set of hands without the complaining. Also, if you’re cutting multiple pieces of the same shape, use a template, you'll thank me later. It's like using a cookie cutter on dough, everything looks uniform and professional. And remember, practice makes perfect. Don’t be discouraged if your first few attempts aren't perfect. It’s all part of the process.
Technique | Description | Why it helps |
|---|---|---|
Cutting Mat | Use a self-healing mat. | Protects surfaces, improves cut quality. |
Light Passes | Multiple light cuts instead of one hard cut. | Produces cleaner edges, less strain. |
Turning Paper | Rotate the paper, not the scissors. | Smoother curves, better control. |
Painter's Tape | Secure paper with tape. | Prevents movement, aids in precise cuts. |
Maintaining and Storing Your Paper Cutting Tools
Maintaining and Storing Your Paper Cutting Tools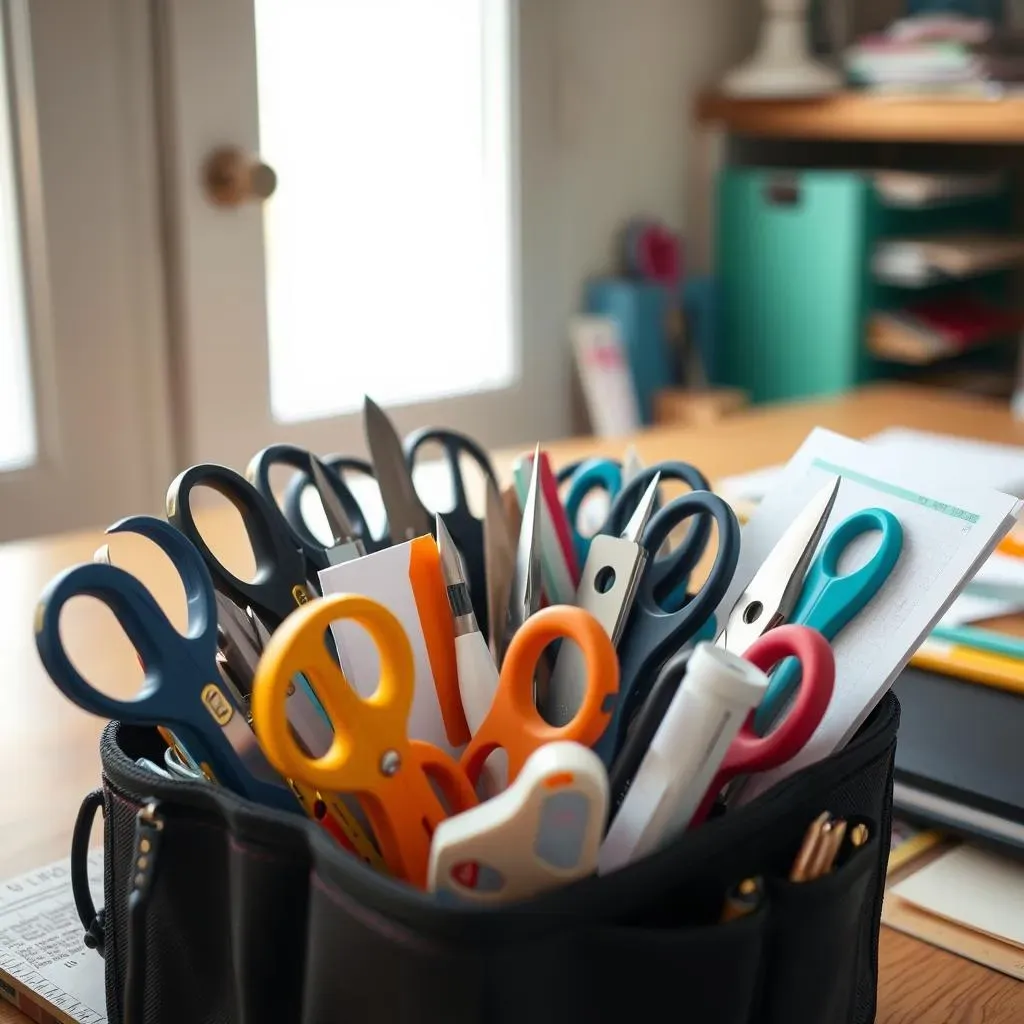
Keeping Your Tools Sharp and Ready
so you've got the perfect cuts, but what happens when your tools start acting dull? It’s like having a superhero with no powers! The key to keeping your blades sharp is regular cleaning and proper storage. For scissors, wipe them down with a soft cloth after each use to prevent any paper residue from building up. If you notice any sticky stuff, a little bit of rubbing alcohol on a cotton swab will do the trick. For craft knives, be extra careful when changing the blades. Always use a fresh blade, and if you are using a reusable blade, make sure to wipe it down, they can dull surprisingly fast! It’s like changing the oil in your car, regular maintenance keeps everything running smoothly. And when they are not in use, store them safely, away from moisture and dust. It’s like putting your tools to bed, you want them to wake up feeling refreshed.
Now, let's talk about paper trimmers. The blade on these guys can get dull too, so be on the lookout. If you have a rotary trimmer, clean the blade regularly with a dry cloth and check the track for paper bits. For guillotine trimmers, make sure the blade is aligned correctly and not chipped. It’s like tuning a guitar, a little adjustment can make a big difference in the sound, in this case, the cut! And remember, never force a cut. If the blade is catching or requiring extra pressure, it may be time to replace it. A dull blade is more dangerous than a sharp one, because it can slip easily. It’s better to be safe than sorry. Keep them clean, keep them sharp, and they will keep you creating.
Tool | Maintenance | Storage |
|---|---|---|
Scissors | Wipe clean after use, use rubbing alcohol for sticky residue. | Store in a dry place, blade covers can prevent damage. |
Craft Knives | Change blades regularly, wipe down with dry cloth. | Store in a case or sheath, blade facing down. |
Paper Trimmers | Clean blades, check alignment, replace blades as needed. | Store flat, away from moisture and dust, blade lock in place. |
Smart Storage Solutions
So, you’ve got all these amazing tools, but where do you put them? It’s not just about tossing them in a drawer and hoping for the best. Proper storage is essential for both safety and longevity. For scissors, consider a drawer organizer or a tool caddy with separate compartments. This keeps them from getting tangled and protects the blades. For craft knives, always store them with a blade cover or in a case. It’s like putting a helmet on a skateboarder, you are protecting both the tool and yourself. And for paper trimmers, store them flat, away from moisture and dust, and if it’s a guillotine, make sure the blade lock is engaged. It’s like parking a car with the handbrake on, you don’t want any unexpected movement.
Think about investing in a dedicated storage box or bag for all your paper cutting tools. This keeps everything in one place and makes it easy to grab what you need for a project. It's like having a tool belt, everything is neatly organized and within reach. You can use a toolbox, a craft supply organizer, or even a repurposed container. The key is to keep your tools separated from other items to prevent damage and make them easy to find. And remember, keeping your tools in good condition is not just about maintenance; it's also about respecting your materials. These tools are an investment, and taking care of them will ensure they can help you create beautiful things for years to come. It’s like a partnership, you take care of them, and they will take care of you.
Wrapping it Up: Mastering Your Paper Cutting Tools
So, there you have it – a complete rundown on paper cutting tools, from the basics to the more specialized. We've talked about the different types, how to use them effectively, and how to keep them in good condition. Remember, the best tool is the one that feels right in your hand and suits the task you're tackling. Don't be afraid to experiment and find what works best for you. With a little practice and the right tools, you'll be crafting intricate paper designs with ease. Now, go forth and create something amazing!