Table of Contents
Ready to dive into the delicate and delightful world of paper cutting? This age-old craft is more accessible than you might think, and with the right paper cutting tips, you'll be creating intricate designs in no time. Whether you're aiming to personalize greeting cards, add a unique touch to your scrapbook, or simply explore a new artistic outlet, paper cutting offers endless possibilities for creative expression. Forget complicated techniques and expensive equipment; we're breaking down the process into simple, manageable steps that anyone can follow.
Essential Tools and Materials for Paper Cutting Beginners
Essential Tools and Materials for Paper Cutting Beginners
Alright, so you're itching to start paper cutting? Awesome! First, let's gather the right gear. Don't worry, you don't need a ton of fancy stuff to begin. The most crucial item is a self-healing cutting mat. Seriously, don't skip this. It protects your work surface and keeps your blades sharp for longer. Next up, you'll need a scalpel or craft knife. Look for one with a comfortable grip and replaceable blades – a sharp blade is your best friend in paper cutting. And of course, you'll need paper! Cardstock is a great starting point. It's sturdy enough to hold its shape but still easy to cut. Finally, grab some adhesive – glue or tape – for assembling your finished pieces. With these essentials, you're ready to roll!
Mastering Basic Paper Cutting Techniques
Mastering Basic Paper Cutting Techniques
Alright, let's talk technique! First things first, always use a sharp blade. Dull blades are a paper cutter's worst nightmare. They tear, they snag, and they generally make your life miserable. Change your blade often – you'll be amazed at the difference it makes. When cutting, hold your scalpel like a pencil, with a light but firm grip. Apply consistent pressure and let the blade do the work. Avoid the temptation to press down too hard, which can lead to mistakes. Start with simple shapes and straight lines to get a feel for the paper and the blade. Practice makes perfect, so don't be afraid to experiment!
Now, here's a pro tip: instead of trying to cut everything in one go, use multiple light passes. It's like gently coaxing the paper apart, rather than forcing it. This technique creates cleaner, more precise cuts, especially when dealing with intricate details. Also, remember to rotate the paper, not the blade, whenever possible. This gives you more control and helps maintain a smooth, continuous line. Trust me, your wrists will thank you!
Another essential skill is understanding the difference between "cut" and "leave." Before you start cutting, take a moment to analyze your design and identify which areas need to be removed and which need to stay intact. It sounds obvious, but it's easy to get carried away and accidentally cut something you shouldn't. To avoid this, try shading the areas you want to remove with a pencil. This visual cue will help you stay on track and prevent costly mistakes. And finally, don't forget to breathe! Paper cutting requires focus and concentration, so take regular breaks to stretch your hands and clear your mind. A relaxed and focused approach will always yield better results.
Technique | Description | Benefit |
|---|---|---|
Sharp Blade | Use a new or freshly sharpened blade. | Clean, precise cuts; reduces tearing. |
Light Pressure | Apply consistent, gentle pressure. | Prevents mistakes and ragged edges. |
Multiple Passes | Make several light cuts instead of one deep cut. | Cleaner cuts, especially for intricate designs. |
Rotate Paper | Move the paper, not the blade, for curves. | Smoother lines and better control. |
Advanced Paper Cutting Tips and Tricks
Advanced Paper Cutting Tips and Tricks
Layering Techniques for Depth
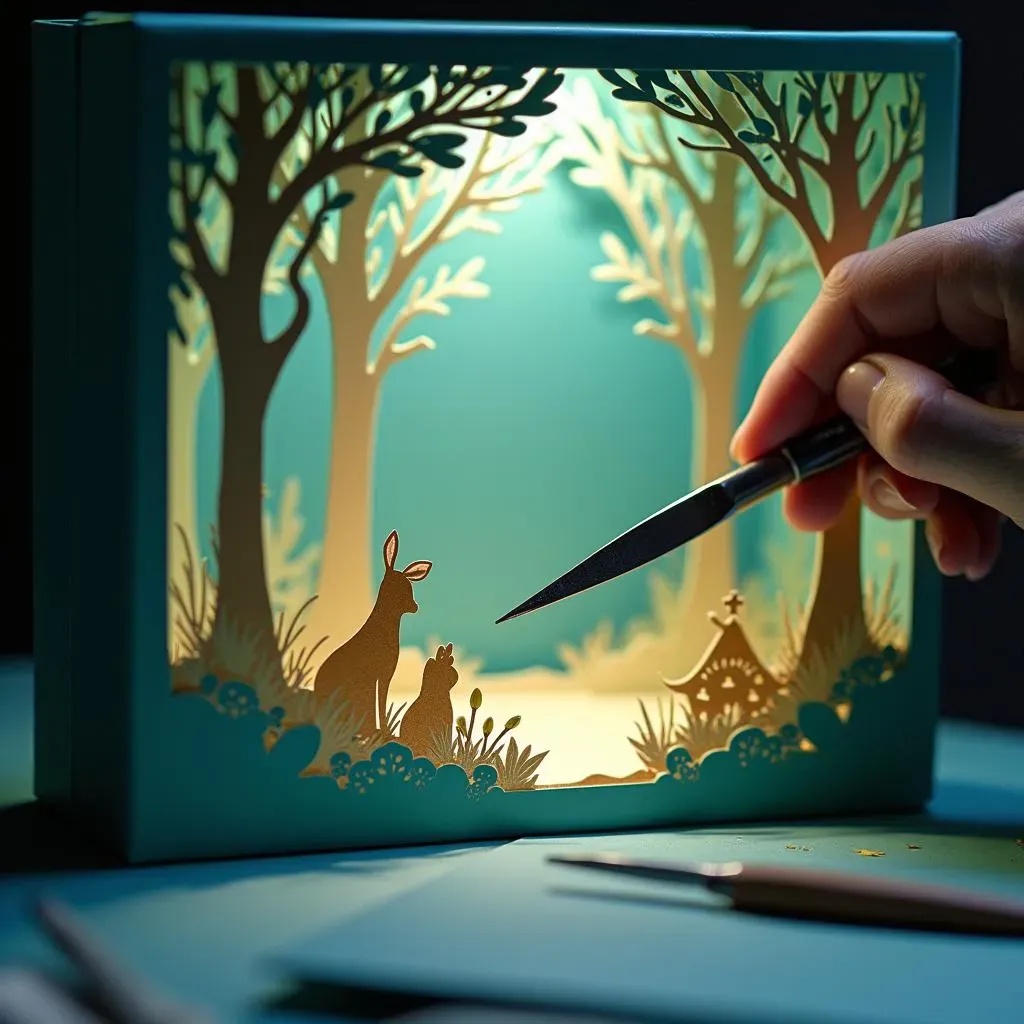
Want to take your paper cutting to the next level? Try layering! This technique adds depth and dimension to your designs, making them truly eye-catching. Start by cutting out the base layer of your design from a solid color cardstock. Then, cut out additional layers with varying details and colors. Use foam tape or small dots of glue to adhere the layers together, creating a raised effect. Experiment with different thicknesses of foam tape to achieve different levels of depth. You can also use transparent or translucent paper for some layers to create interesting light effects. Layering opens up a whole new world of possibilities for paper cutting, allowing you to create intricate and visually stunning pieces.
I have seen some artists that use this technique to create paper-cut dioramas inside shadow boxes, which is a really cool way to showcase their work! Don't be afraid to experiment and push the boundaries of what's possible with paper.
Creating Intricate Details
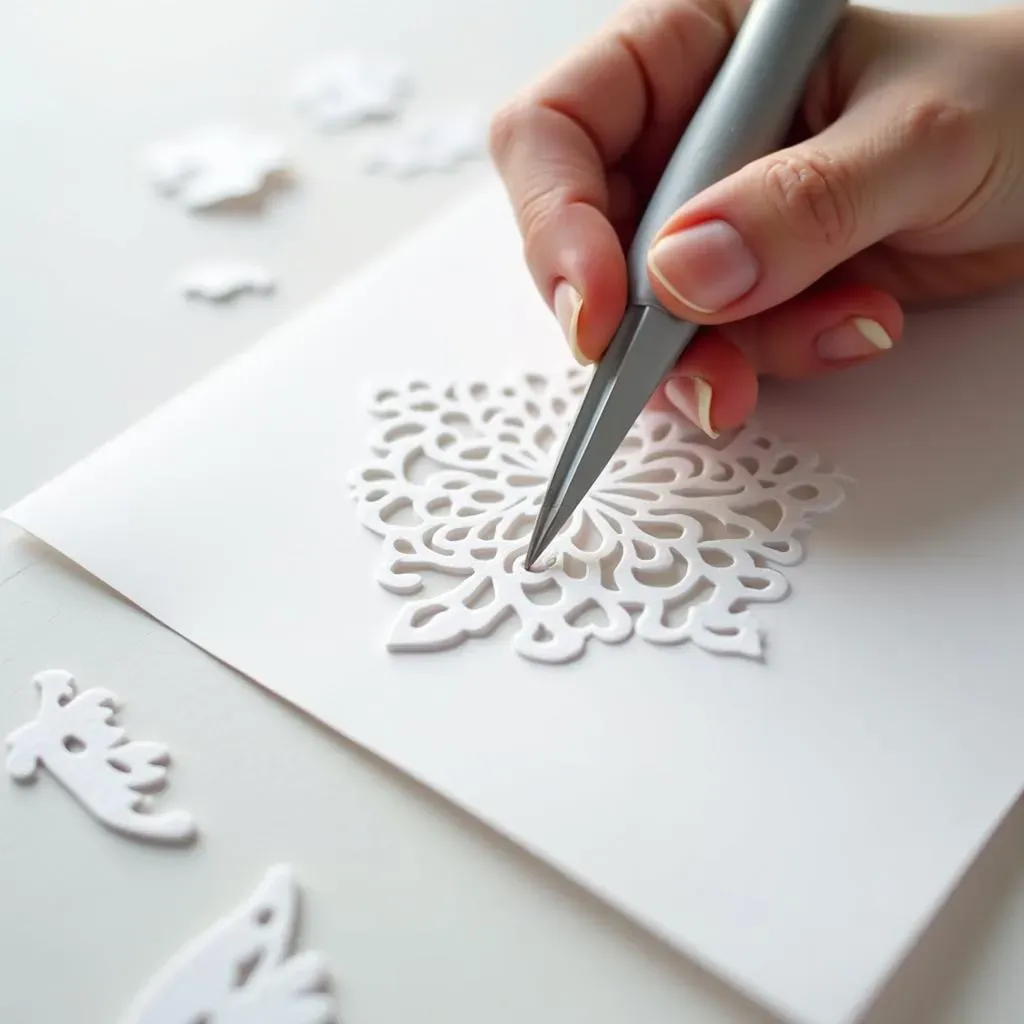
So, you're ready to tackle those super intricate designs? Awesome! The key to success here is patience and precision. First, make sure you have a super sharp blade – I cannot stress this enough. A dull blade will only lead to frustration and torn paper. Next, use a magnifying glass or a detailed task lamp to help you see those tiny lines and curves. It's like performing surgery on paper! When cutting intricate details, use a very light touch and make small, controlled movements. Rotate the paper frequently to keep the blade moving smoothly along the line. And don't be afraid to take breaks! Cutting intricate details can be mentally and physically exhausting, so step away from your project every now and then to rest your eyes and hands.
Also, consider using specialized paper for intricate cuts. Thinner, more flexible paper will be easier to maneuver and less likely to tear. Experiment with different types of paper to find what works best for you. And remember, mistakes happen! Don't get discouraged if you accidentally cut something you shouldn't. Just patch it up with a small piece of tape or glue and move on. No one will ever know!
Working with Templates and Stencils
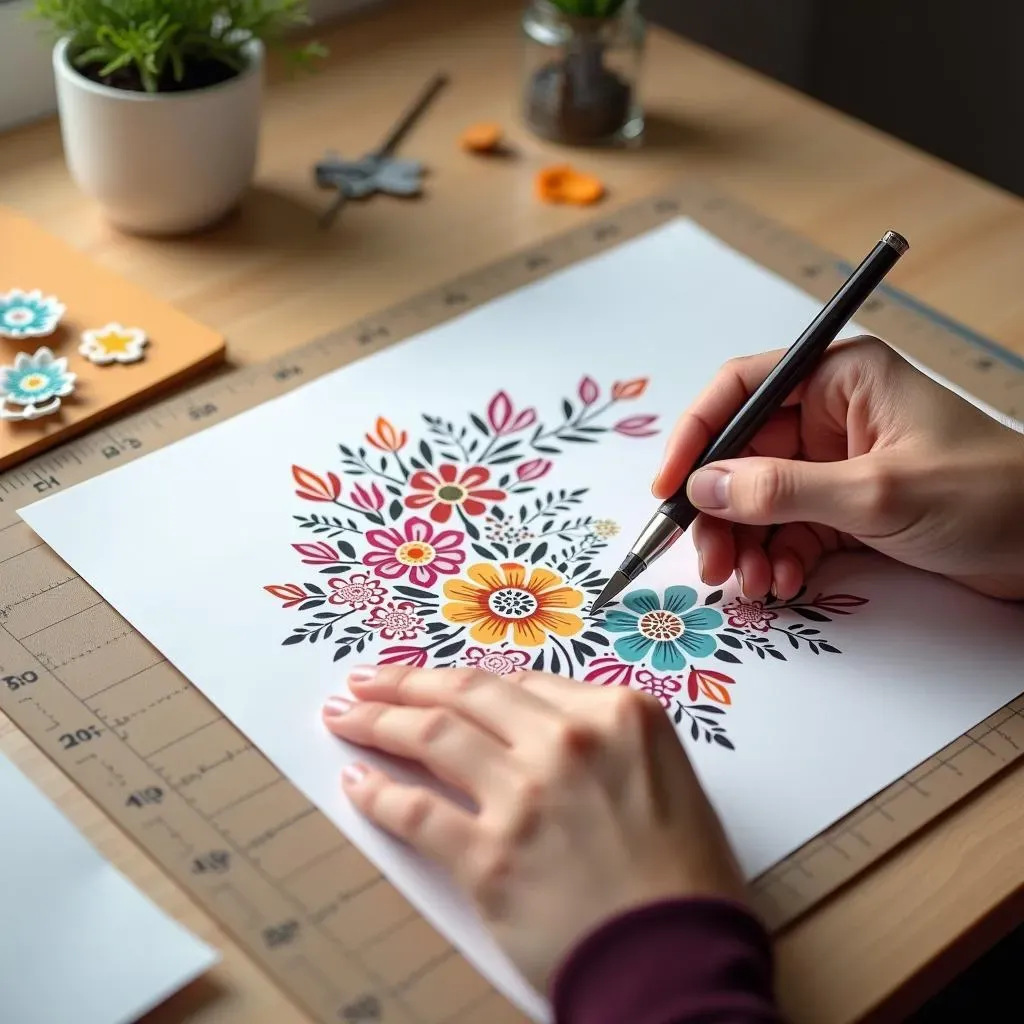
Templates and stencils can be a paper cutter's best friend, especially when tackling complex designs or repeating patterns. You can find a wide variety of paper cutting templates online or in craft stores. Alternatively, you can create your own templates using a design software or by simply drawing your design on paper. To use a template, attach it to your cardstock with tape or repositionable adhesive. Then, carefully cut along the lines of the template, using a sharp blade and light pressure. For stencils, hold the stencil firmly in place and use a small, sharp blade to cut out the desired areas. Be careful not to move the stencil while cutting, as this can result in jagged edges.
- Adhesive Stencils: These stick to the paper, preventing movement.
- Reusable Templates: Print your own designs for repeated use.
- Digital Cut Files: Use with cutting machines for perfect precision.
Experiment with different types of templates and stencils to find what works best for you. You can also combine templates and stencils to create unique and personalized designs. Templates and stencils are a great way to speed up the paper cutting process and achieve consistent results, especially when working on large or complex projects.
Troubleshooting Common Paper Cutting Problems
Troubleshooting Common Paper Cutting Problems
so you're knee-deep in a paper cutting project, and things aren't going quite as planned? Don't sweat it! Every paper cutter, from beginner to expert, runs into snags along the way. The key is to identify the problem, understand why it's happening, and know how to fix it. Let's tackle some common paper cutting problems and get you back on track to creating beautiful art.
Torn Paper
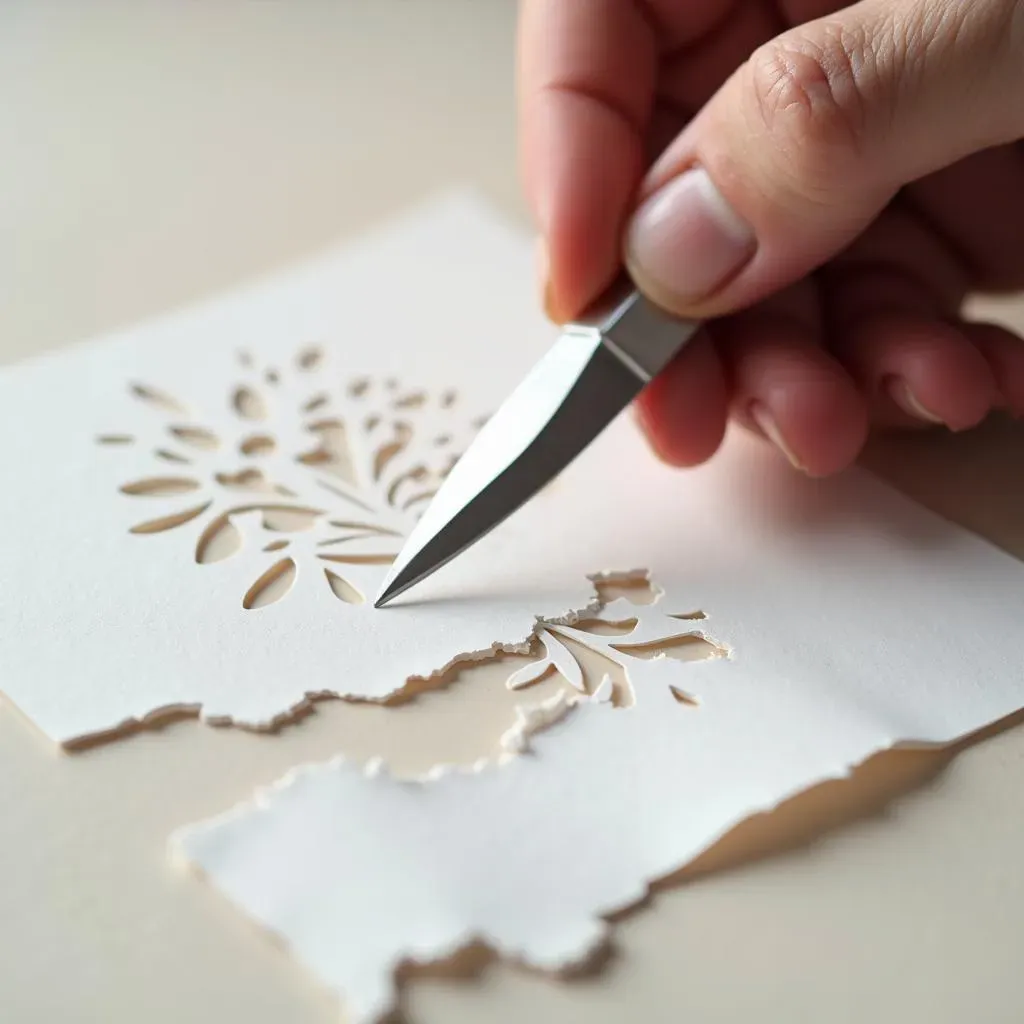
Torn paper is probably the most frustrating issue you'll encounter, especially when working on intricate designs. There are a few reasons why your paper might be tearing. First, check your blade. A dull blade is a prime suspect. If your blade is sharp, the problem might be the paper itself. Some papers are simply more prone to tearing than others, especially thinner or more delicate varieties. Try switching to a sturdier cardstock or using a paper designed specifically for paper cutting. Finally, consider your technique. Are you applying too much pressure? Are you trying to cut too quickly? Slow down, use a light touch, and let the blade do the work. Remember, multiple light passes are better than one heavy-handed cut.
Ragged Edges
Ragged edges can ruin the look of an otherwise beautiful paper cut. This problem is often caused by a dull blade or incorrect cutting technique. Make sure you're using a fresh, sharp blade and applying consistent pressure. Also, pay attention to the angle of your blade. Holding the blade at a slight angle can help create cleaner, smoother cuts. If you're still struggling with ragged edges, try using a sanding block or a fine-grit sandpaper to gently smooth them out. Be careful not to over-sand, as this can damage the paper. You can also try using a sealant or varnish to protect the edges and prevent further fraying.
Blade Dragging or Skipping
If your blade is dragging or skipping across the paper, it's likely a sign that your cutting mat is worn out or that your blade is dirty. Over time, cutting mats can develop grooves and imperfections that interfere with the blade's movement. Try rotating your cutting mat or using a different section of it. If that doesn't help, it might be time to invest in a new mat. Also, check your blade for any buildup of paper fibers or adhesive. Clean your blade regularly with a soft cloth or a blade cleaner to ensure smooth, consistent cuts. Sometimes, blade drag can also be caused by static electricity. Try wiping your cutting mat with a damp cloth to reduce static and improve blade glide.
Problem | Possible Cause | Solution |
|---|---|---|
Torn Paper | Dull blade, wrong paper, too much pressure | Change blade, use sturdier paper, lighter pressure |
Ragged Edges | Dull blade, incorrect angle, poor technique | Change blade, adjust angle, practice technique |
Blade Dragging | Worn mat, dirty blade, static electricity | Rotate/replace mat, clean blade, reduce static |
Accidental Cuts
Oops! We've all been there. You're concentrating intently on a delicate curve, and suddenly, your blade slips, creating an unwanted cut. Don't panic! In many cases, accidental cuts can be repaired. If the cut is small and clean, you can simply tape it back together with a small piece of clear tape. For larger or more noticeable cuts, you can use a small piece of matching paper to patch the area. Apply a thin layer of glue to the back of the patch and carefully position it over the cut. Press down gently and allow the glue to dry completely. You can also use a craft knife to trim the edges of the patch for a seamless blend. In some cases, you might be able to incorporate the accidental cut into your design, turning a mistake into a happy accident!
Conclusion: Unleash Your Creativity with Paper Cutting
So, there you have it – a comprehensive guide packed with paper cutting tips to get you started on your artistic journey. From selecting the right tools and mastering basic techniques to tackling intricate designs and fixing those inevitable slip-ups, you're now equipped with the knowledge and confidence to create stunning paper art. Remember, the beauty of paper cutting lies not just in the final product, but also in the process of bringing your creative visions to life. Don't be afraid to experiment, push your boundaries, and most importantly, have fun. Now go forth and transform simple sheets of paper into extraordinary works of art!
