
Table of Contents
Ever looked at a delicate paper creation and wondered, "How did they do that?" Well, you're in the right place! This article will take you on a fun journey into the world of paper cutting techniques. We're not talking about simple paper snowflakes here. Get ready to explore how to transform ordinary paper into amazing art using just a few tools and a bit of patience. We’ll start with the basics, like what you need to get started – think sharp blades and sturdy mats – and then walk through a simple cut-out project. It's a bit like a choose-your-own-adventure, but with paper. Don't worry if you're a beginner, this guide is designed to help you understand the core skills. You will learn how to make clean cuts, handle the paper, and even fix those oops moments. We will also look at the more challenging stuff, like cutting complex patterns and creating 3D effects. By the end of this, you'll not only know the theory, but have some hands-on experience with essential paper cutting techniques to kick start your own paper art project. So, grab your tools, and let's get cutting!
Essential Tools and Materials for Paper Cutting Techniques
Essential Tools and Materials for Paper Cutting Techniques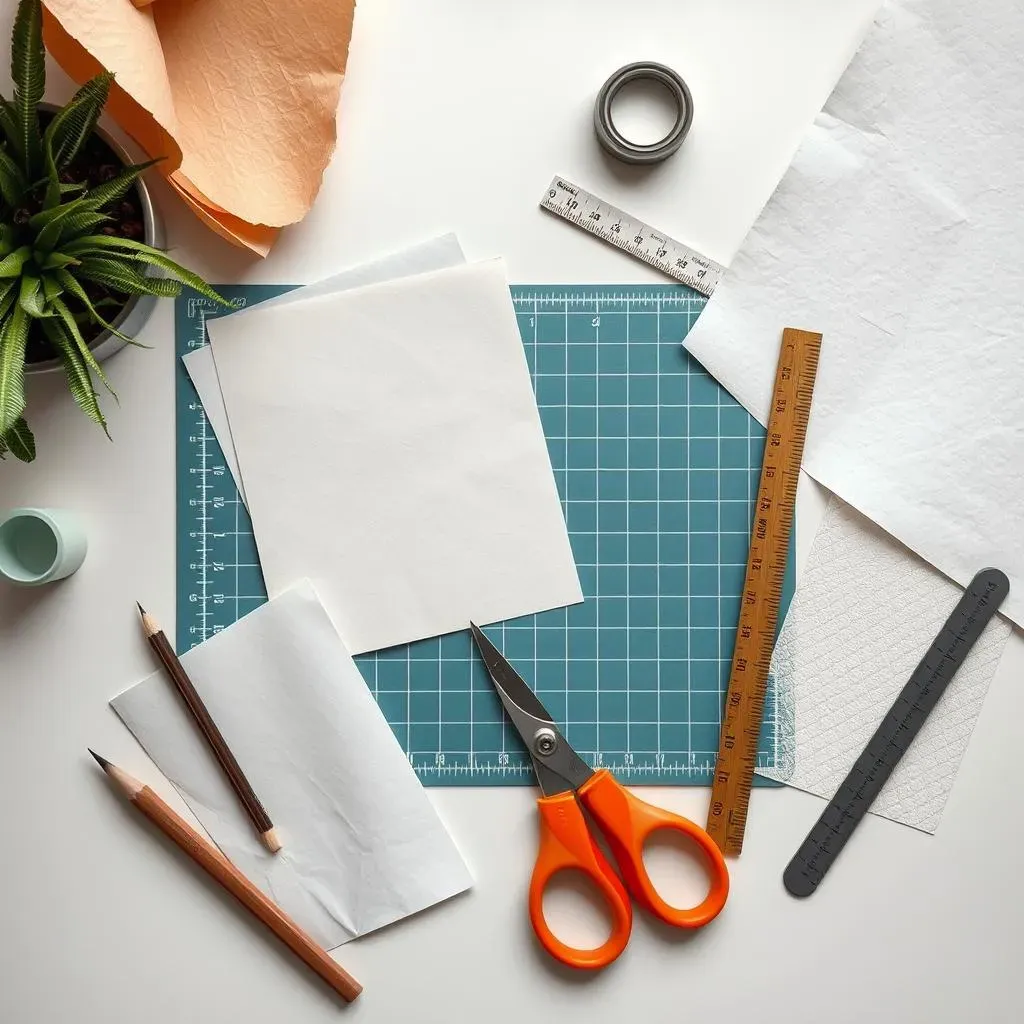
Alright, so you're curious about paper cutting? Awesome! Let's talk gear. It's not a huge list, but getting the right stuff makes a world of difference. First off, you'll need a good cutting mat. Seriously, don't skip this. It protects your table and keeps your blade sharp. Think of it as a tiny, personal bodyguard for your furniture. Then, of course, you need a scalpel or craft knife. I prefer one with a nice, comfortable grip because those tiny cuts can add up, and you don't want your hand cramping up. And, naturally, paper! Don't just grab any old sheet; the type of paper affects how easy it is to cut and how it looks in the end.
Let me give you a quick rundown:
Tool | Why You Need It |
|---|---|
Cutting Mat | Protects your work surface and your blades. |
Scalpel/Craft Knife | For making precise cuts. |
Paper | The canvas for your art; different types have different effects. |
Ruler/Straight Edge | Helpful for straight lines. |
Pencil | For sketching your designs. |
I know, it seems like a lot but trust me, once you have these, you're all set to start your paper cutting adventure. It’s like having all the right ingredients for a cake, without them, it's just not going to work.
StepbyStep Guide to Basic Paper Cutting Techniques
StepbyStep Guide to Basic Paper Cutting Techniques
so you've got your tools, now let's actually cut some paper! This part might seem a bit scary at first, but trust me, it's like learning to ride a bike—wobbly at the beginning, smooth sailing later. First, sketch your design on the paper. Keep it simple for your first try, think basic shapes like a star or heart. Don't worry about making it perfect, this is just practice. Then, place your paper on the cutting mat. Now, hold your scalpel like you're holding a pen, but be gentle. You're not trying to stab the paper, but rather slice through it smoothly. Start by cutting along the lines of your design slowly and steadily, and remember to rotate the paper rather than your hand, it keeps your cuts cleaner.
One of the most important things I've learned is not to rush. It's tempting to try and cut everything at once, but you'll end up with jagged edges. Instead, make several light passes over the same line. This helps to prevent tearing. When you're cutting curves, think of making lots of tiny straight lines instead of one big curve. It's a sneaky trick that makes curved lines so much easier. Also, always cut from the inside out. This means cut the small details in the middle first, then move to the outside lines and remove the cut pieces as you go. This keeps your paper stable while you work. If you get a tear, don't panic; a bit of tape can fix it. Think of it as a paper band-aid.
Step | Action |
|---|---|
1 | Sketch your design lightly on the paper. |
2 | Place your paper on the cutting mat. |
3 | Hold the scalpel like a pen, apply light pressure. |
4 | Cut along your lines slowly and steadily. |
5 | Rotate the paper, not your hand. |
6 | Cut from inside out. |
Remember, practice makes perfect. Don’t get discouraged if your first few attempts aren’t masterpieces. Each cut, even the wobbly ones, is a step toward getting better. Paper cutting is as much about patience as skill, and I promise, the more you do it, the more you will enjoy it.
Advanced Paper Cutting Techniques and Tips for Intricate Designs
Advanced Paper Cutting Techniques and Tips for Intricate Designs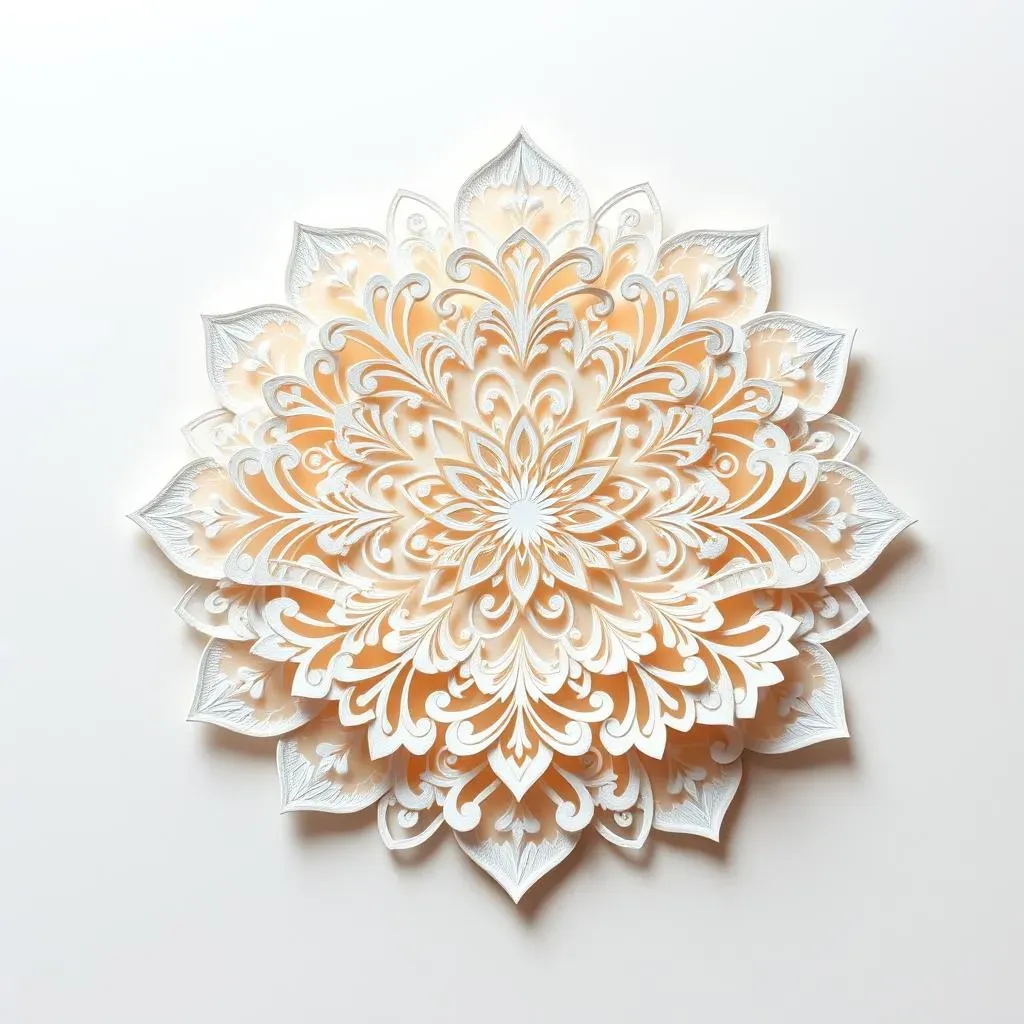
so you've nailed the basics, and you're itching to try something more challenging? I get it. Let's talk about taking your paper cutting up a notch. Intricate designs are where paper cutting really shines. It's like going from drawing stick figures to painting a masterpiece. First thing, patience. I know I said it before, but it becomes even more important now. When you're dealing with complex patterns, every cut matters. Think about your design carefully. Is it symmetrical? Are there repeating elements? If so, try cutting those sections first. It's like building a puzzle – start with the easy bits, and the rest falls into place. Another tip is to use different blades for different types of cuts, a sharper blade for curves and a sturdier one for straight lines. It's like having different types of paint brushes for different strokes. It makes a huge difference.
Now, let’s talk about layering. This is where you start to create depth and dimension in your paper cuts. It's similar to how artists use layers in digital art programs. Layering involves cutting out multiple pieces of paper and then placing them on top of each other to create a 3D effect. This is fantastic for creating shadows and highlights, giving your work a lot more visual interest. It's like adding a second layer to a cake - way more interesting! Also, try using different types of paper. Tissue paper, for example, allows light to pass through it, creating a beautiful effect when layered. Experimenting with different materials is a great way to find your style. It's all about pushing boundaries and seeing what happens. Remember, even the most complex designs start with a single cut. So don't be afraid to take your time, make mistakes, and most importantly, have fun with it.
Technique | Description | Why it Matters |
|---|---|---|
Layering | Cutting multiple pieces and placing them on top of each other. | Creates depth and 3D effects. |
Different Blades | Using sharper blades for curves, sturdier ones for straight lines. | Improves precision and reduces tearing. |
Paper Variety | Experimenting with tissue, cardstock, and other types of paper. | Adds texture, light effects, and new dimensions. |
Wrapping Up Your Paper Cutting Journey
So, there you have it – a beginner's peek into the world of paper cutting techniques! It might seem tricky at first, but like learning any new skill, the key is practice and patience. Remember, every snip and cut is a step forward, even the ones that don't go exactly as planned. Don't be afraid to experiment with different papers, designs, and tools. The beauty of paper cutting lies in the unique imperfections you create along the way. Now, it’s your turn to grab your scalpel and start creating. Share your paper masterpieces with the world, and most importantly, have fun with it!