Table of Contents
Ever thought about making art that's a little bit spooky and a whole lot of fun? We're diving into the world of the "paper cutting spider," where you'll transform simple sheets of paper into intricate, creepy crawly masterpieces. Forget about boring crafts; this is where art gets a little bit edgy. This article will guide you through the process, from the basic tools you'll need, to the techniques that will make your spider look like it's ready to scuttle off the page. We'll cover everything step-by-step, making sure even if you're new to paper cutting, you can create a cool, unique "paper cutting spider." Get ready to unleash your creativity and maybe give someone a little fright with your amazing paper art. So, grab your paper and let's get started on this thrilling art adventure!
Getting Started with Your Paper Cutting Spider
Getting Started with Your Paper Cutting Spider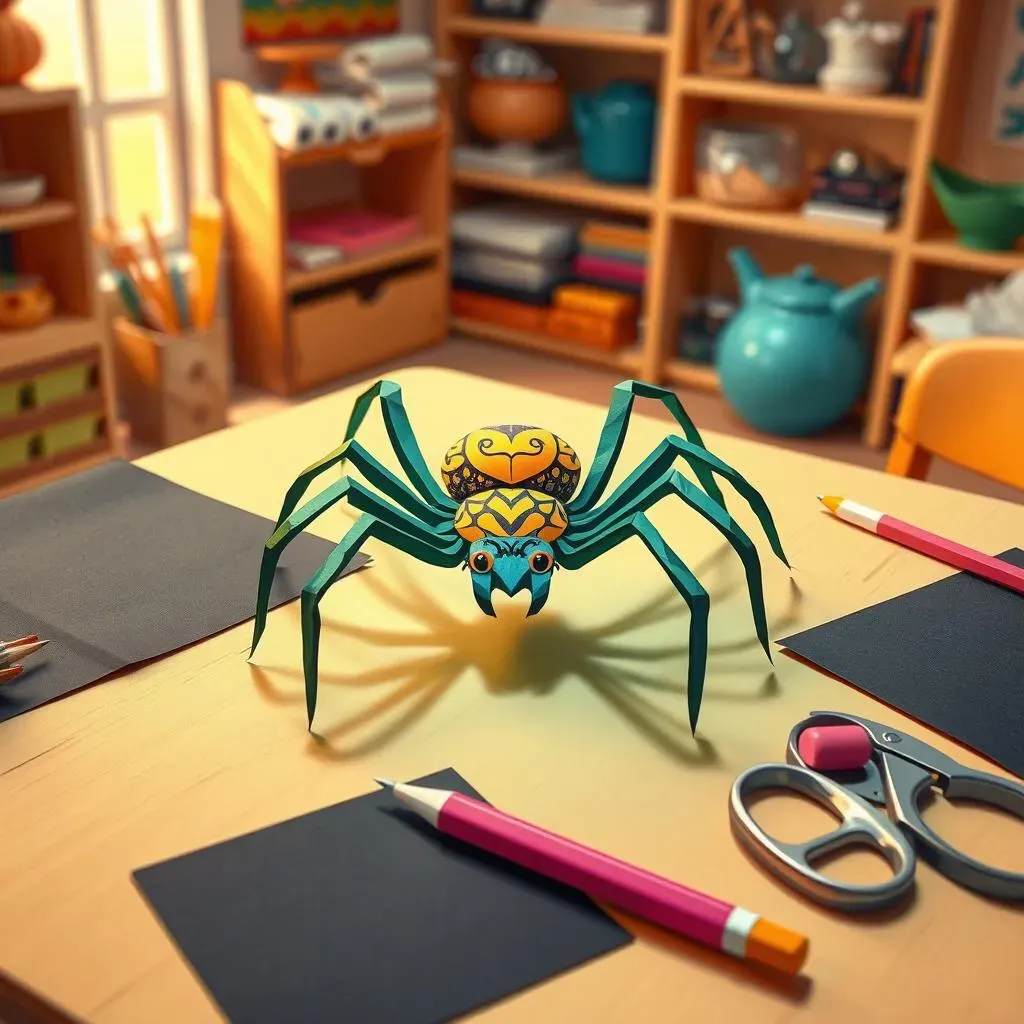
Alright, so you're itching to make your own paper cutting spider, huh? First things first, let's gather our gear. You don't need a fancy art studio; just some basic stuff you probably already have lying around. Think sharp scissors (the kind you use for paper, not for your hair!), some black paper (or any color if you're feeling rebellious), and a pencil. A good eraser is also a lifesaver for those little mistakes we all make. Oh, and a cutting mat is great if you want to keep your table from looking like a toddler went wild with scissors. Don't worry, you don't need to be a pro artist, just a little patience and a dash of creativity.
Now, before you even think about cutting, let's talk about designs. You can find tons of spider templates online, from super realistic to totally cartoony. Or, if you're feeling brave, why not design your own? Start simple, though. A basic spider shape with eight legs is a good starting point. Remember, this is supposed to be fun, not a test! Once you have your design, lightly sketch it onto your paper. Don't press too hard with your pencil; you don't want those lines to show later. And here's a pro-tip: think about the open spaces. Those are the parts you'll actually be cutting out, so make sure they're big enough for your scissors to work with.
Tool | Why You Need It |
|---|---|
Sharp Scissors | For precise cuts |
Black Paper | The base of your spider |
Pencil | To sketch your design |
Eraser | To fix those little mistakes |
Cutting Mat | To protect your work surface |
Paper Cutting Spider Techniques and Tips
Paper Cutting Spider Techniques and Tips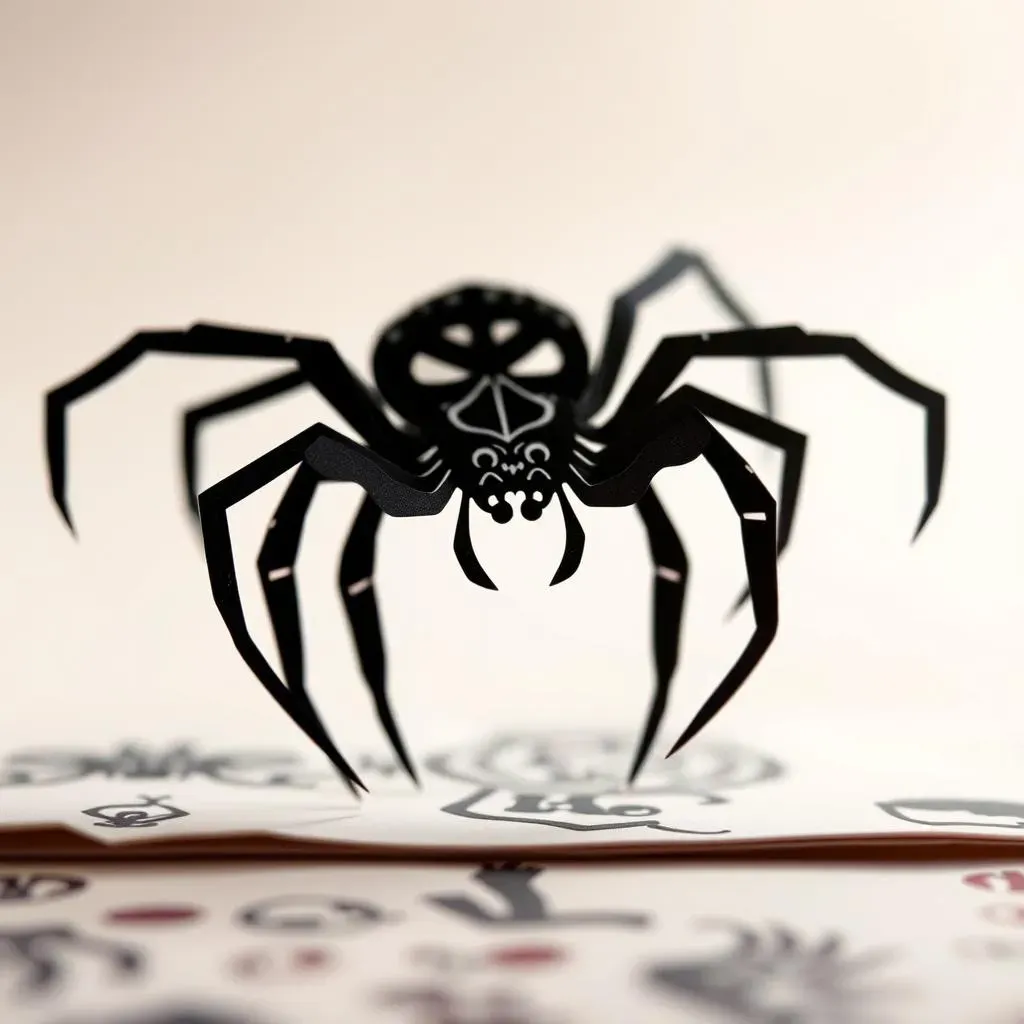
The Art of the Cut
so you've got your design sketched out, now comes the fun part: cutting! Remember, patience is key here. It's not a race, it's a slow and steady process. Start with the smaller, inside cuts first. This helps keep the paper stable as you work, so you won't accidentally rip anything. Think of your scissors as a tiny, precise scalpel, carefully following the lines you've drawn. Don't try to cut everything in one go; small, controlled snips are much better than big, clumsy ones. And if you mess up? Don't sweat it! That's what erasers are for. Just go back, redraw, and try again. We're all learning here!
When you're cutting, try to rotate the paper instead of the scissors. It gives you more control and helps you follow those tricky curves. It's like when you're driving a car, you turn the wheel instead of turning the whole car. Also, remember that the point of the scissors is the sharpest part, so use that for the most detailed cuts. Think of it as using the tip of a pen for writing – it gives you more precision than using the side. And lastly, if you’re having trouble with a particular area, take a break. Sometimes a fresh pair of eyes (or a less tired hand) can make all the difference.
Tips for Clean Cuts
- Start Small: Begin with the intricate inner cuts.
- Rotate the Paper: Not the scissors, for better control.
- Use the Tip: For detailed and sharp cuts.
- Take Breaks: If you're feeling frustrated, step away.
Adding Details and Flair
Alright, so your basic spider shape is cut out – awesome! But why stop there? You can add all sorts of cool details to make your paper cutting spider really stand out. Think about adding intricate patterns to the spider's body, maybe some cool shapes on its legs, or even some tiny details around the edges. You can also use different types of cuts to create texture. For instance, tiny snips can look like fur or tiny spikes. The possibilities are endless! Don’t be afraid to experiment and get creative. This is your spider, after all.
And don’t forget about adding layers! You can cut out multiple spiders of different sizes and glue them on top of each other to create a 3D effect. Or, you can cut out a background and glue your spider onto it. It’s like creating a mini-scene. You can use different colors of paper to make your spider pop. For example, a black spider on a bright yellow background is going to catch everyone's eyes. Remember, there are no wrong answers when it comes to art. The most important thing is that you're having fun and creating something unique.
Expert Advice
Displaying Your Paper Cutting Spider Creations
Displaying Your Paper Cutting Spider Creations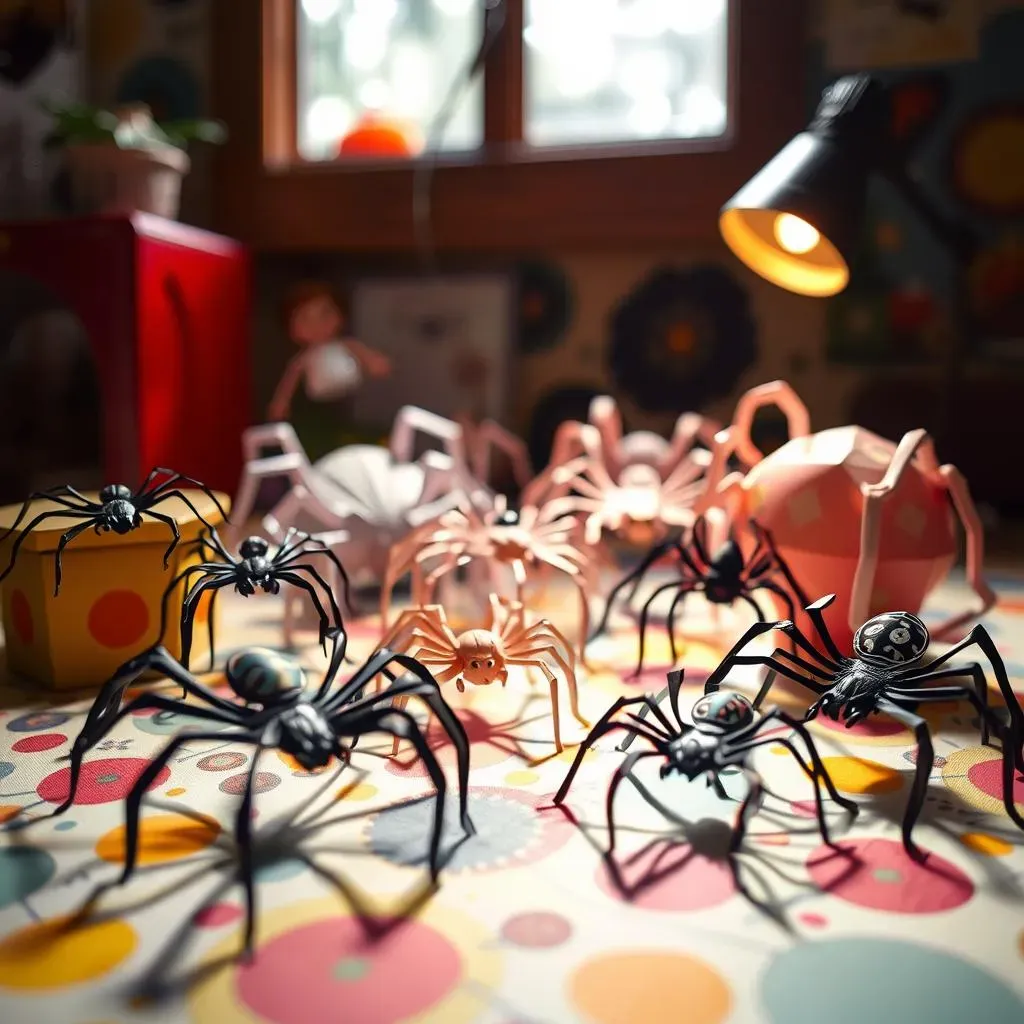
Finding the Perfect Spot
so you've spent all this time crafting your awesome paper cutting spider, now what? You can't just shove it in a drawer, that's just wrong! It deserves to be seen, admired, and maybe even give a few people a little startle. Let's talk about where to show off your creepy crawly masterpiece. First, think about the kind of vibe you want to create. Do you want it to be a subtle surprise? Then maybe tuck it into a bookshelf or hang it on a lampshade. Or do you want it to be the star of the show? Then a prominent spot on the wall is the way to go. It's all about creating the right atmosphere.
Consider the background too. A dark spider is going to pop way more on a light wall, and vice versa. You can even use different backgrounds to change the look of your spider. Try placing it on a piece of patterned paper, or even a piece of fabric. It's like giving your spider a little stage to perform on! And don't forget about lighting! A good spotlight can make your spider look extra dramatic, casting cool shadows and making it look even more intricate. So, take a look around your space and think about what will make your paper cutting spider truly shine.
Creative Display Ideas
Need some inspiration? Here are a few ideas to get those creative juices flowing:
- Framed Art: Put your spider in a frame for a classic look.
- Mobile Magic: Hang multiple spiders from a string for a spooky mobile.
- Window Wonders: Tape your spider to a window for a creepy silhouette.
- Shadow Play: Use a light to cast dramatic spider shadows.
- Greeting cards: Use your spider for a unique greeting card.
Adding the Finishing Touches
Now that you have your display spot picked out, let's talk about those little extra touches that can make all the difference. If you're hanging your spider, think about using different lengths of string to create a dynamic look. You can also add other elements like small beads, pieces of colored paper, or even tiny lights. It's all about creating a full scene, not just showing off the spider. And if you're framing your spider, think about the kind of frame you use. A simple black frame will give it a modern look, while a more ornate frame will give it a vintage feel.
And here's a fun idea: why not create a whole spider family? Cut out spiders of different sizes and shapes and display them together. It's like a little spider colony right in your home! You can even give each spider a name and create a little backstory for them. The possibilities are endless! Just remember, the most important thing is to have fun and let your creativity run wild. Your paper cutting spider is a reflection of your unique style, so be proud of what you've made, and show it off with confidence!
Wrapping Up Your Paper Cutting Spider Adventure
So, you've journeyed into the world of paper cutting spiders, and hopefully, you've got a few creepy crawlies to show for it. Remember, it’s not just about making a spider; it's about experimenting, having fun, and maybe even embracing a bit of the spooky side. Whether you're displaying your creations on a wall, using them for a Halloween decoration, or just enjoying the process, I hope this guide has inspired you to keep cutting and creating. The best part of art is there are no rules, so keep pushing your boundaries and see where your paper cutting spider can take you. Now go forth and unleash your inner arachnid artist!