
Table of Contents
Ever wondered how those intricate paper cut designs are made? It's not magic, it's just a bit of skill and a whole lot of fun! This guide will show you how to create your own amazing paper cutting shapes, even if you've never picked up a craft knife before. We'll start with the basics, covering the tools you'll need and how to choose the right paper. Then, we'll get into the nitty-gritty of cutting techniques, including how to handle the knife, and how to avoid common mistakes. You will learn how to make clean cuts, and how to keep your design from falling apart. We'll also tackle what to do when things go wrong (because they will!), and how to fix any oopsies. By the end of this, you’ll be ready to show off your stunning paper cutting shapes and maybe even start your own collection.
Getting Started with Paper Cutting Shapes
Getting Started with Paper Cutting Shapes
Gather Your Tools
Alright, so you're itching to make some cool paper cut shapes, huh? First things first, let's get our hands on the right stuff. You'll need a scalpel or a craft knife – the sharper, the better, trust me. A dull blade is a recipe for frustration, and it's way more dangerous. Then, you’ll want a cutting mat or board, something you don't mind slicing into. Think of it as your paper cutting playground. For the paper itself, anything goes, but cardstock is a good place to begin. And, finally, you'll need an image to cut. It can be something you find online, a drawing you made, or even a simple shape.
I remember when I started, I tried to use a regular kitchen knife – big mistake! My lines were all wobbly, and I almost cut myself. Lesson learned: the right tools make all the difference. Oh, and don't forget a ruler if you're aiming for straight lines or geometric shapes. It’s like having a co-pilot for your paper cutting adventure.
Choosing Your Paper and Image
Now that we have our tools, let’s talk paper. Thinner paper is easier to cut, but it tears more easily. Thicker cardstock is more forgiving but needs a bit more pressure. I suggest starting with something in the middle, like a standard cardstock. As for the image, don’t go for anything too crazy at first. Line art from the early 1900s is awesome because it often has simple, clear lines. You can print your image on a separate sheet of paper, then use a little bit of glue to stick it to your card. Just make sure you leave some space around the image for cutting.
One time, I tried to cut out a super detailed image with super thin paper and it was a total disaster. The paper ripped everywhere, and I ended up with a pile of confetti. So, start simple and work your way up. It is like learning to ride a bike; you wouldn't start with a mountain bike trail, right?
Tool | Why You Need It |
|---|---|
Scalpel or Craft Knife | For precise cutting. |
Cutting Mat or Board | To protect your work surface. |
Card or Paper | The canvas for your art. |
Image to Cut | Your design template. |
Ruler (Optional) | For straight lines. |
Techniques for Cutting Perfect Paper Shapes
Techniques for Cutting Perfect Paper Shapes
Understanding Paper and Cuts
so you've got your tools, your paper, and your design all set. Now, the fun part: actually cutting! Remember, paper is pretty strong when you pull on it, but it's weak when you try to slice it. Think of it like a piece of fabric. You can stretch it, but if you cut it, it comes apart easily. This means we need to be gentle but firm with our knife. Also, it's super important that each piece of your design is attached to the larger image by at least three points. If you don't do this, your design might just fall apart into pieces.
I learned this the hard way when I was making a paper snowflake. I thought I was being clever and cut out all these intricate details, but the whole thing just crumbled. It was like watching a beautiful sandcastle get washed away by the tide. So, keep those attachment points in mind.
Cutting Strategies and Tips
As you cut, remove the pieces of paper as you go. This helps you see what you are doing and prevents the paper from getting in your way. Don't try to remove big chunks at once, just remove the little pieces. Sometimes, you can use the edge of your knife to lift and remove the little paper slivers. It is like using a tiny shovel to clear away snow. Start by cutting the support lines first. Those are the lines that hold the whole design together. This will keep your design stable as you work. Think of them as the bones of your paper creation.
One really good tip I got was to rotate the paper, not your hand. It makes cutting curves so much easier. It’s like when you are drawing a circle, it's easier to move the paper, not your hand. And remember, take your time. Rushing will lead to mistakes and nobody wants that.
Tip | Description |
|---|---|
Remove as you go | Clear cut pieces right away. |
Use knife edge | Remove slivers of paper with knife. |
Cut support lines first | Keep design stable. |
Rotate the paper | Easier for curves. |
Take your time | Avoid mistakes. |
Dealing With Mistakes
Let's be real, you will make mistakes. It's part of the process. But it’s not the end of the world. If you break a line or accidentally cut something you shouldn't have, don’t panic. You can use a little bit of sticky tape or glue to fix it. Just be careful not to use too much. If you get a small tear in the paper, it's usually fixable. Sometimes, it's better to wait until the end to fix mistakes. Trying to fix them right away can sometimes make things worse. It’s like when you try to untangle a knot too quickly and it ends up getting tighter.
I remember once I made a huge cut in the wrong place, but I managed to fix it with a tiny piece of tape. You could barely tell. The key is to be patient and not get discouraged. Every mistake is just a lesson for the next time. It's like when you miss a shot in basketball; you don't give up, you just try again.
Troubleshooting and Finishing Your Paper Cut Shapes
Troubleshooting and Finishing Your Paper Cut Shapes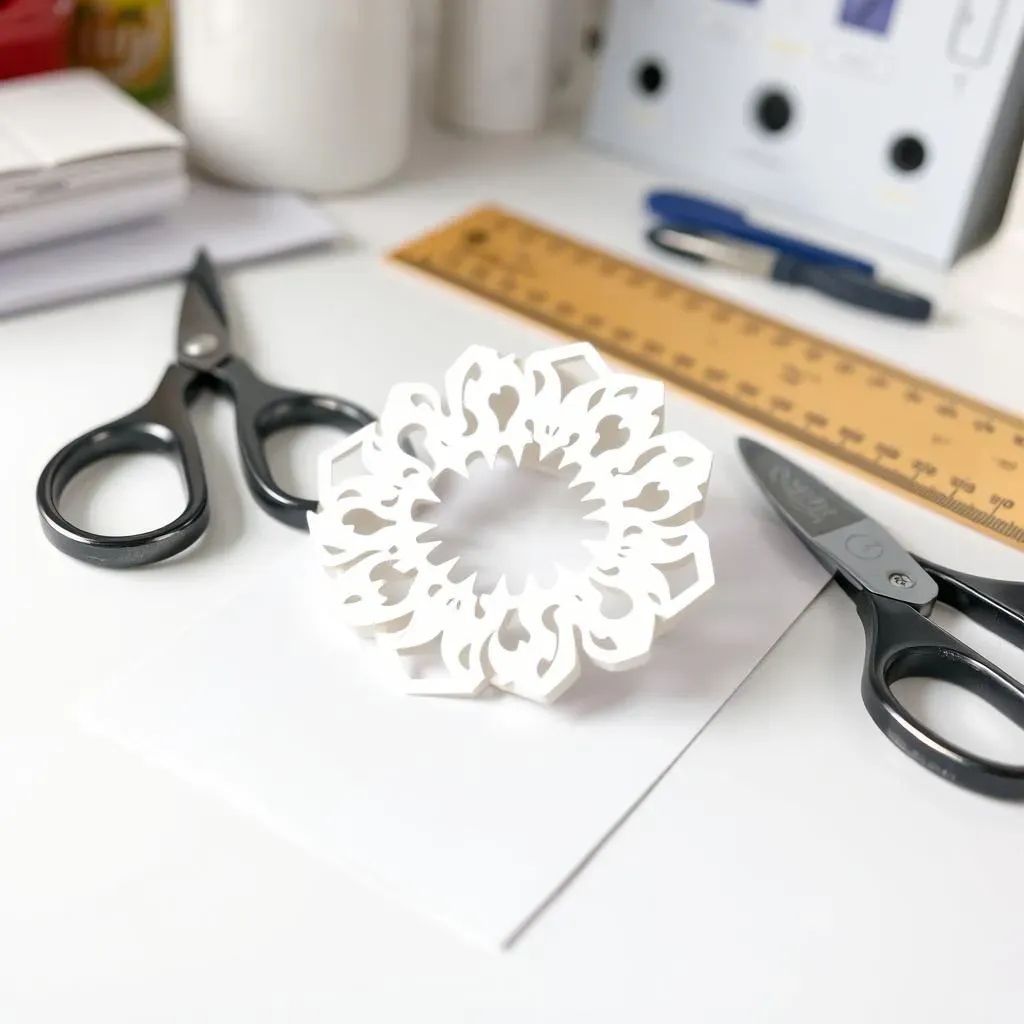
Final Touches and Clean Up
Alright, you've cut your design, fixed the oopsies, and now it's time for the grand finale. Carefully remove the paper design from the card. Go slow, and if there are any bits that are still attached, use your knife to gently separate them. Once the design is free, fold your card. You can use a bone folder or a ruler to make a nice, crisp fold. Now, for the inside of the card, cut a piece of contrasting paper that's just a little smaller than the card. This adds a clean finish and makes your design pop. Stick it in place with some glue, and boom! You've got a finished card.
I remember one time I was so excited to finish a card that I rushed the cleanup. I ended up tearing the design when I tried to separate it from the card. It was like trying to untangle your headphones too fast, and everything ends up in a mess. So, be patient and take your time with the final steps.
Taking Breaks and Assessing Your Work
Paper cutting can be intense, and it's easy to get lost in the process. But, it's important to take breaks. Get up, stretch, grab a drink, and come back with fresh eyes. When you take a break, you can see the design with a new perspective. This helps you notice if the design looks balanced or if there are any parts that need adjusting. Sometimes, you might think a design looks perfect while you are working on it, but after a break, you might see something that you want to change. It is like when you are drawing and you take a step back to look at it.
I have a habit of getting so focused on cutting that I forget to take breaks. But I’ve noticed that the designs I’ve made when I’ve taken breaks are always better. Taking a step back is a good way to look at your work. Remember it’s not a race, it is about enjoying the process. Even if your cuts aren't perfect, that’s okay. The important thing is that you are creating something, and with practice, you will get better. It is like learning to play an instrument, the more you practice the better you become.
Step | Description |
|---|---|
Remove Design | Carefully separate the cut design from the backing card. |
Fold Card | Create a crisp fold using a bone folder or ruler. |
Add Contrasting Paper | Glue a smaller piece of contrasting paper inside for a clean finish. |
Take Breaks | Step away to refresh your eyes and see the design with new perspective. |
Assess Composition | Check if the design is balanced and make any needed adjustments. |
Wrapping Up Your Paper Cutting Shapes Adventure
So, you've journeyed through the world of paper cutting shapes, from gathering your tools to fixing those inevitable little snags. Remember, like any skill, getting good at paper cutting takes practice. Don't worry if your first few attempts aren't perfect; each cut, even the wonky ones, teaches you something new. The important thing is to have fun, be patient, and keep experimenting. Now that you know the basics, go forth and create some amazing paper art! Who knows, maybe your next paper cut masterpiece is just a few snips away. You've got this!