Table of Contents
Hey there, crafty friends! Raksha Bandhan is just around the corner, and what better way to celebrate the bond with your brother than by crafting a unique, handmade rakhi? Forget the store-bought ones; this year, let's get creative with paper! This article is your go-to guide for making a stunning paper cutting rakhi. We're not just talking about simple snips; we're diving into techniques that will make your rakhi a true work of art. First, we'll explore some easy paper cutting methods, perfect for beginners. Then, get ready to be inspired with a bunch of creative designs. We'll walk you step-by-step through the process of making your own paper rakhi, with tips to help you nail it. Whether you are a seasoned crafter or just starting out, this guide will have you creating beautiful, heartfelt rakhis in no time. So, grab your scissors and let's get started!
Simple Paper Cutting Techniques for Rakhi
Simple Paper Cutting Techniques for Rakhi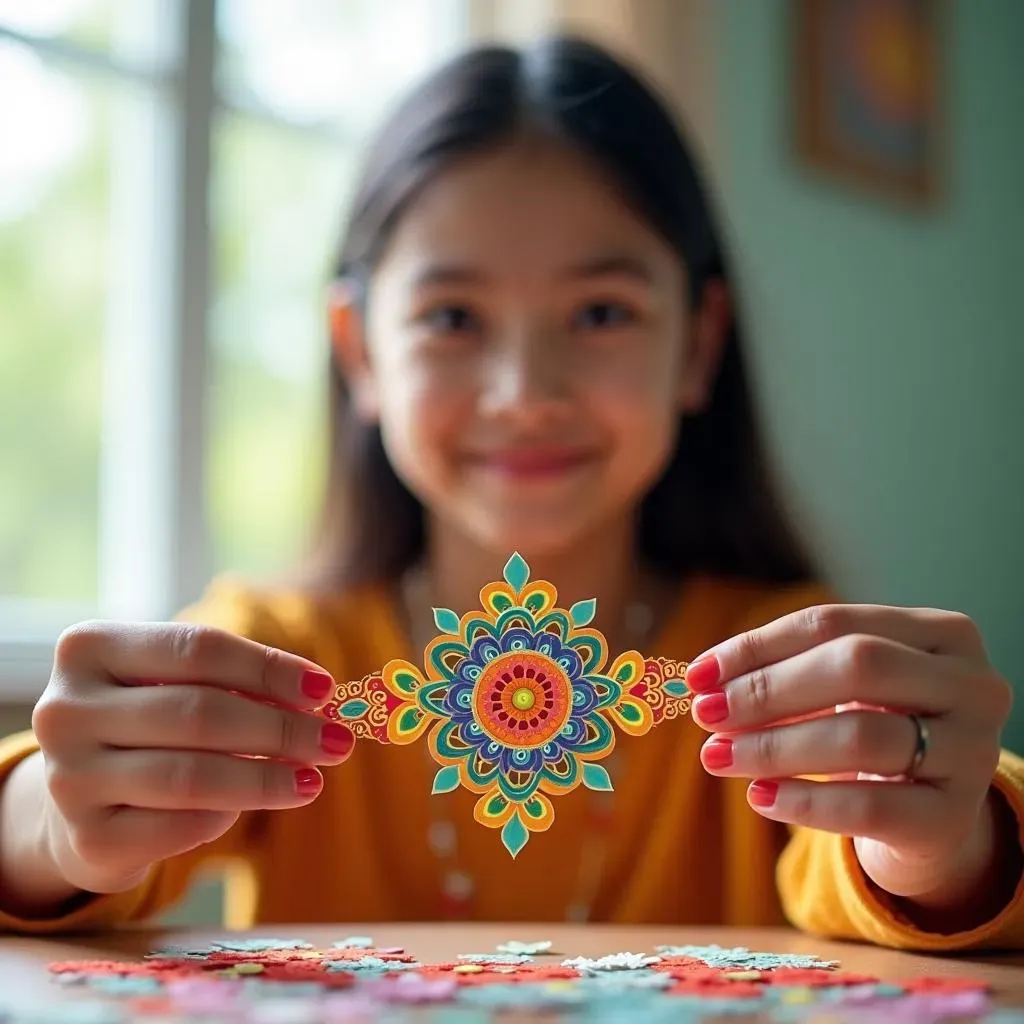
Getting Started with Basic Cuts
so you're wanting to make a paper cutting rakhi, right? First things first, let's talk about the basic cuts. Think of it like learning to write; you gotta start with the ABCs. We're talking straight lines, simple curves, and maybe a few zigzags. Don't overthink it. Grab a piece of paper and some scissors, and just start cutting! It's all about getting a feel for the paper and how it moves under the scissors. It doesn't need to be perfect. It's actually way more fun when it's a little wonky. I remember when I first started, my straight lines looked like they’d been through a washing machine, but hey, we all start somewhere.
Once you feel comfortable with the basics, start trying different shapes. Circles are your friends, and they are super versatile. You can do spirals by cutting a circle and then just going around and around. I find it’s like making a snail shell. Triangles are also awesome. You can make little flags or sharp points. Just remember, slow and steady wins the race. Don’t rush, or you will end up with more paper scraps than actual shapes. I’ve been there, trust me. It looked like a paper blizzard in my craft room.
Tools of the Trade
Now, before you go all Edward Scissorhands, let’s talk about tools. You don’t need anything fancy. A good pair of scissors is a must, but not those clunky school ones; get a sharp pair, the pointy ones work best for getting into those small corners. A craft knife can also be handy for finer details, but be careful, those things are sharp. It is like a tiny sword. I always keep a cutting mat under my work area. It saves my table from getting all scarred up. I learned that lesson the hard way when my mom threatened to ban me from all things crafts.
And don’t forget about paper, some are better than others. Thinner papers are easier to cut, but they can also tear easily. Cardstock is sturdier but requires a little more effort. Experiment and see what you like. I prefer using colorful craft paper, it just makes everything look more fun. And a pencil and ruler for drawing out your designs. Remember, it’s about having fun. If you make a mistake, just flip the paper over and try again. The beauty of paper crafts is that it's very forgiving. It is like a do-over button.
Tool | Use | Why it's helpful |
|---|---|---|
Sharp Scissors | Cutting paper | Clean cuts, easy maneuvering |
Craft Knife | Fine details | Precision, intricate designs |
Cutting Mat | Protecting surfaces | Prevents damage, safe cutting |
Ruler and Pencil | Marking designs | Accurate lines, easy planning |
Creative Paper Rakhi Designs to Try
Creative Paper Rakhi Designs to Try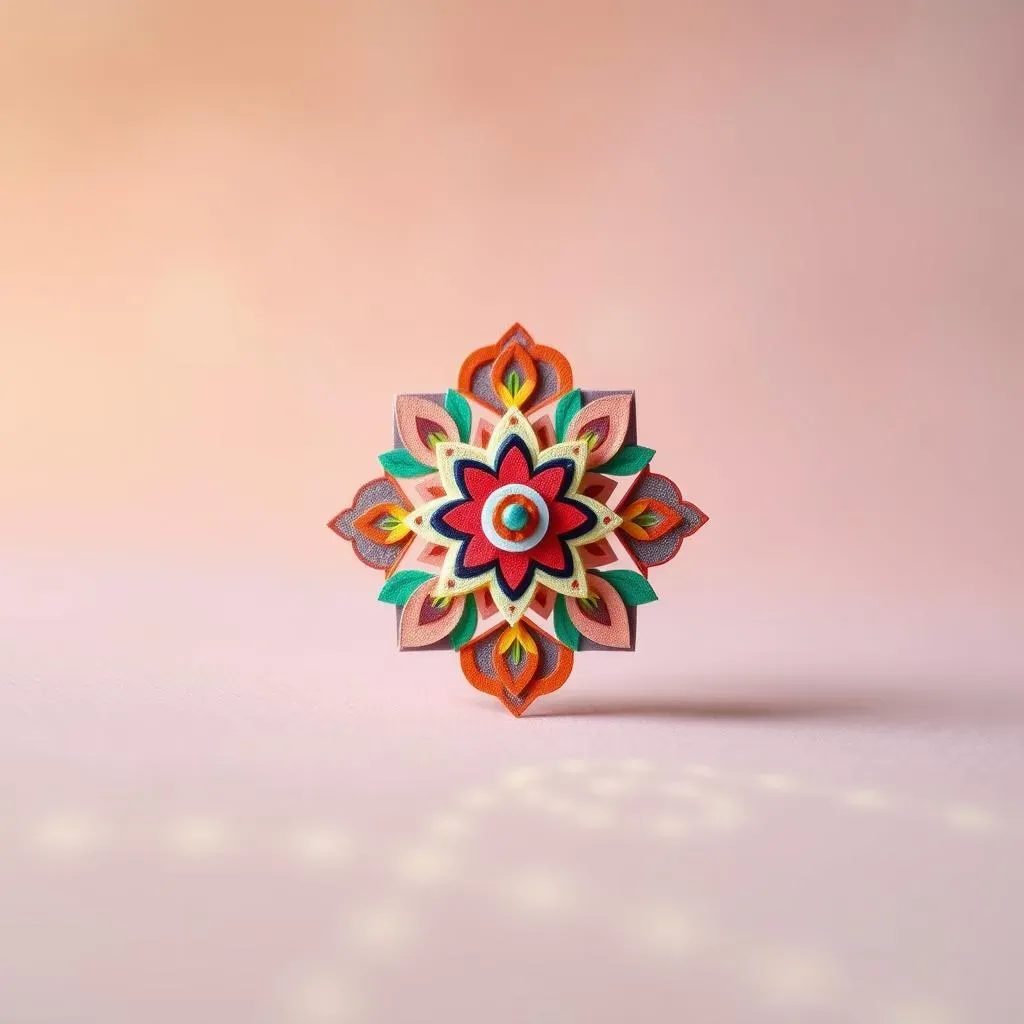
Floral Fantasies
so you've got the basic cuts down, now let’s talk about making some real eye-catching designs. Flowers are always a hit, right? You can make petals by cutting simple curves and layering them to create different flower shapes. Think daisies, roses, or even abstract blooms. I like to add little details like small cuts along the edges to make them look more realistic. It's like giving your flower a tiny haircut. You can use different colors of paper to make the flowers pop. I once made a whole bouquet of paper flowers for a friend’s birthday. It was so much fun, and they lasted way longer than real ones.
Another cool idea is to create layered flowers. Cut out several flower shapes, each slightly smaller than the last, and stack them on top of each other. This gives your rakhi a cool 3D effect. You can use glue or even a small brad to hold the layers together. I remember trying this for the first time and being amazed at how much depth it added. It’s like magic, but with paper. Try using contrasting colors for each layer to make it even more interesting. It's like a little paper sculpture on your wrist.
Geometric Gems
If flowers aren't your thing, how about geometric patterns? These are surprisingly easy to make and look super modern. Think triangles, squares, and circles arranged in cool ways. You can create patterns by cutting out several of the same shape and arranging them in a symmetrical design. I find it’s like playing with building blocks, but with paper. You can also try cutting out strips of paper and weaving them together to create a cool textured effect. It’s like making a tiny paper basket, but flatter.
Another simple geometric design I love is using concentric circles. Cut out several circles, each a little smaller than the last, and layer them on top of each other. It's like making a target, but way more stylish. You can even add some glitter or metallic paper to make it sparkle. I find geometric designs so satisfying because they’re so precise, plus you can go wild with color combinations. I once made a rakhi with a geometric design using neon colors, it looked like a tiny piece of 80’s art.
Design | Description | Tips |
|---|---|---|
Floral | Layered petals, different flower shapes | Use varied colors, add edge details |
Geometric | Triangles, squares, circles, woven strips | Symmetrical patterns, glitter for sparkle |
Making Your Own Paper Cutting Rakhi: StepbyStep
Making Your Own Paper Cutting Rakhi: StepbyStep
Step-by-Step Guide to Your Paper Rakhi
Alright, so you're ready to put it all together? Let's make a rakhi! First, you will need to choose your design. Do you want a flower, a geometric shape, or something totally unique? Once you have a plan, sketch it out lightly on your paper. It doesn't need to be perfect, it's just a guide. Now, carefully cut out your design. Remember, slow and steady. It's not a race. Once you have all your pieces cut out, it's time to assemble them. For layered designs, start with the bottom layer and work your way up, using a little bit of glue to secure each layer. I like to use a glue stick because it's less messy than liquid glue. I remember the first time I tried this, I used way too much glue and ended up with a sticky mess!
Next, you need something to tie your rakhi with. You can use a ribbon, a piece of string, or even some yarn. Cut a length of your chosen material and attach it to the back of your paper design. You can use tape or glue for this, but make sure it's secure. You don't want your rakhi falling apart. I once used a tiny piece of duct tape because that was all I had, and it worked surprisingly well. Finally, add any extra touches you want, like glitter, sequins, or small beads. And there you have it, your own handmade paper cutting rakhi! You should be super proud of yourself, because you made that with your own two hands. It will be way more special than anything you can buy at the store.
Step | Action | Tips |
|---|---|---|
1 | Choose a design | Sketch it out first |
2 | Cut out pieces | Go slow, be careful |
3 | Assemble layers | Glue stick is less messy |
4 | Attach the string | Make sure it's secure |
5 | Add decorations | Glitter, sequins, beads |
Tips for Perfecting Your Paper Cutting Rakhi
Tips for Perfecting Your Paper Cutting Rakhi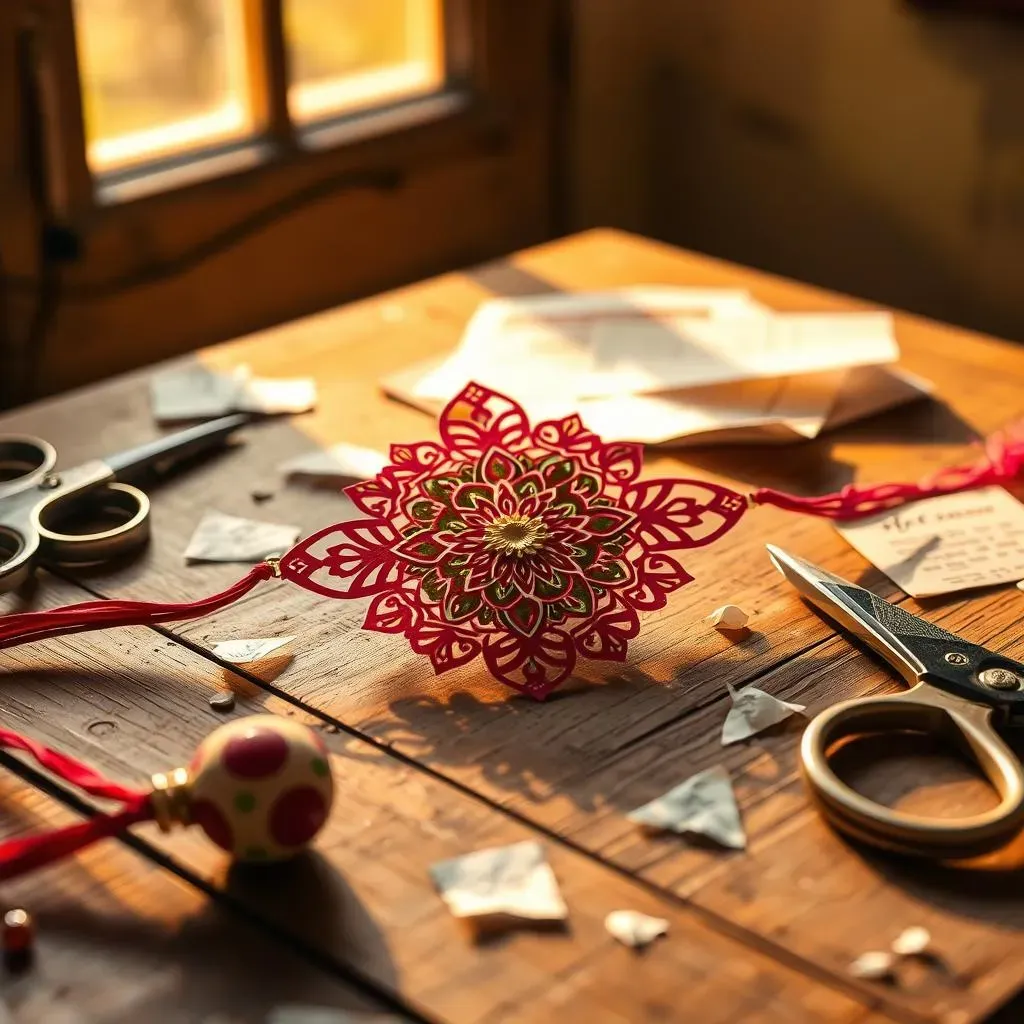
Practice Makes Perfect
so you've got the basics down, but you're still getting a little frustrated? Don't worry, that's totally normal! Paper cutting, like any skill, takes practice. Don’t expect to be a paper-cutting pro overnight. Start with simple designs and gradually work your way up to more complex ones. It’s like learning to play an instrument; you wouldn't start with a concerto, would you? I remember my first few rakhis looked like a toddler had attacked them with scissors, but I kept at it, and now I can make some pretty cool stuff. So, grab some scrap paper and just keep cutting! Each snip will get you closer to your goal. It's all about building up that muscle memory, and you will get better.
Also, don’t be afraid to experiment with different types of paper. Some papers are easier to cut than others, and each paper will give you a slightly different result. Try using different weights and textures to see what you like. I find that thinner papers are great for intricate designs, while cardstock is best for sturdier pieces. And if you make a mistake, don’t sweat it! Just grab another piece of paper and try again. The beauty of paper crafts is that it's very forgiving. It's like having a never-ending supply of do-overs. I have a whole pile of practice paper, and I’m not afraid to use it!
The Little Details Matter
Now, let's talk about the tiny details that can make your rakhi really shine. When cutting, try to use the tips of your scissors for more precise cuts. It’s like using a tiny scalpel, but way less scary. Also, always make sure your scissors are sharp; dull scissors can tear the paper and make your cuts look ragged. And when you're cutting curves, try moving the paper rather than your scissors. I learned that trick from a pro crafter, and it made a world of difference! It is like dancing with the paper.
And don't forget about the finishing touches! Adding a little bit of glitter, some sequins, or even small beads can take your rakhi to the next level. You can use glue to attach these, or even try using double-sided tape for a cleaner look. And when you’re attaching the string or ribbon, make sure it’s secure. You don’t want your rakhi falling apart at the last minute. I once had a rakhi fall apart just as I was about to tie it on my brother's wrist, and let's just say it wasn't my proudest moment. So, take your time, pay attention to the details, and your rakhi will be amazing!
- Sharp Scissors: Essential for clean cuts.
- Move the Paper: For better control on curves.
- Finishing Touches: Glitter, sequins, and beads add sparkle.
- Secure String: Make sure the rakhi stays together.
Wrapping Up Your Paper Cutting Rakhi Adventure
So, there you have it! Creating a paper cutting rakhi isn't just about crafting; it’s about pouring your heart into a symbol of love and protection for your brother. From simple snips to intricate designs, the possibilities are endless, and the result is always uniquely yours. We've covered the basics, explored creative ideas, and given you the steps to make your own stunning rakhi. Remember, the most precious gifts are those made with love, so don't be afraid to experiment, get messy, and let your creativity shine. Happy Raksha Bandhan, and may your handmade rakhi bring joy and blessings to your brother!