Table of Contents
Ever looked at a piece of paper and thought, "I could make something amazing with that"? Well, you're in the right place! This article is your go-to guide for all things paper cutting projects. Forget those boring, plain sheets; we're about to turn them into incredible art. Whether you're just starting out or you're looking to sharpen your skills, we'll explore everything from the basic tools you'll need to some seriously cool, advanced techniques. We'll begin with the must-have supplies, then move into beginner-friendly projects that will get you comfortable with the craft. After that, we will explore some more intricate and challenging designs. By the end of this, you'll have the skills to transform simple paper into stunning pieces of art. So grab your blades, let's get snipping, and unleash your creative side!
Getting Started with Paper Cutting Projects
Getting Started with Paper Cutting Projects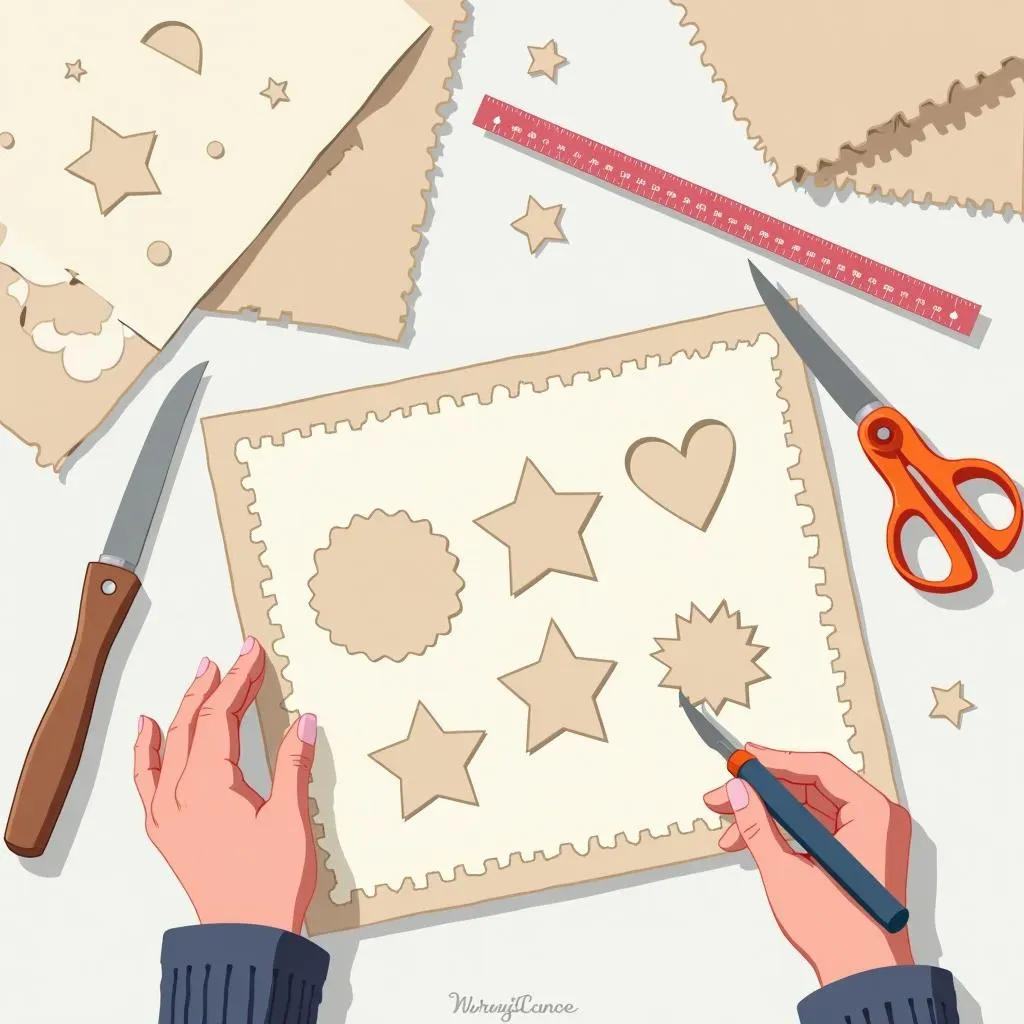
Why Paper Cutting?
so you're thinking about getting started with paper cutting projects, right? Awesome! It's not just about scissors and paper, it's about turning simple stuff into something special. I remember when I first started, I was amazed that you could make these intricate designs with just a few tools. It's like magic, but you're the magician! Paper cutting lets you explore your creative side, and the possibilities are endless. You can make cards, wall art, decorations, or just about anything you can imagine. Plus, it's a great way to relax and get lost in the process. I find it's way more fun than doomscrolling, that's for sure.
The Mindset
Before you even pick up a blade, let's talk mindset. Getting started with paper cutting projects requires a bit of patience, and that's okay! Don't expect to create a masterpiece on your first try. Think of each cut as a step in a journey. It's not about perfection, it's about the process. There will be times when your blade slips, and that's part of the fun. It's like learning a new dance; you might step on some toes, but eventually, you'll find your rhythm. So, be kind to yourself, embrace the wobbles, and enjoy the ride. I've ruined my fair share of paper, so trust me on this one.
Mindset | Action |
|---|---|
Patience | Take your time, don't rush |
Accept mistakes | Learn from errors, they're part of the process |
Enjoy the process | Focus on the fun, not just the result |
Your First Steps
Ready to take your first steps? Great! The first step in getting started with paper cutting projects is gathering your tools. Don't worry, you don't need a huge arsenal. A good cutting mat, a craft knife with sharp blades, some paper (cardstock is great for starters), and maybe a ruler will do the trick. Start with simple shapes and patterns. Think basic lines, circles, and maybe a simple star or heart. There's no need to jump straight into complex geometric designs. Once you've got a feel for the blade and how it moves through the paper, then you can try something more adventurous. Remember, it's all about practice and getting comfortable with the tools, so don't put too much pressure on yourself.
Essential Tools and Materials for Paper Cutting Projects
Essential Tools and Materials for Paper Cutting Projects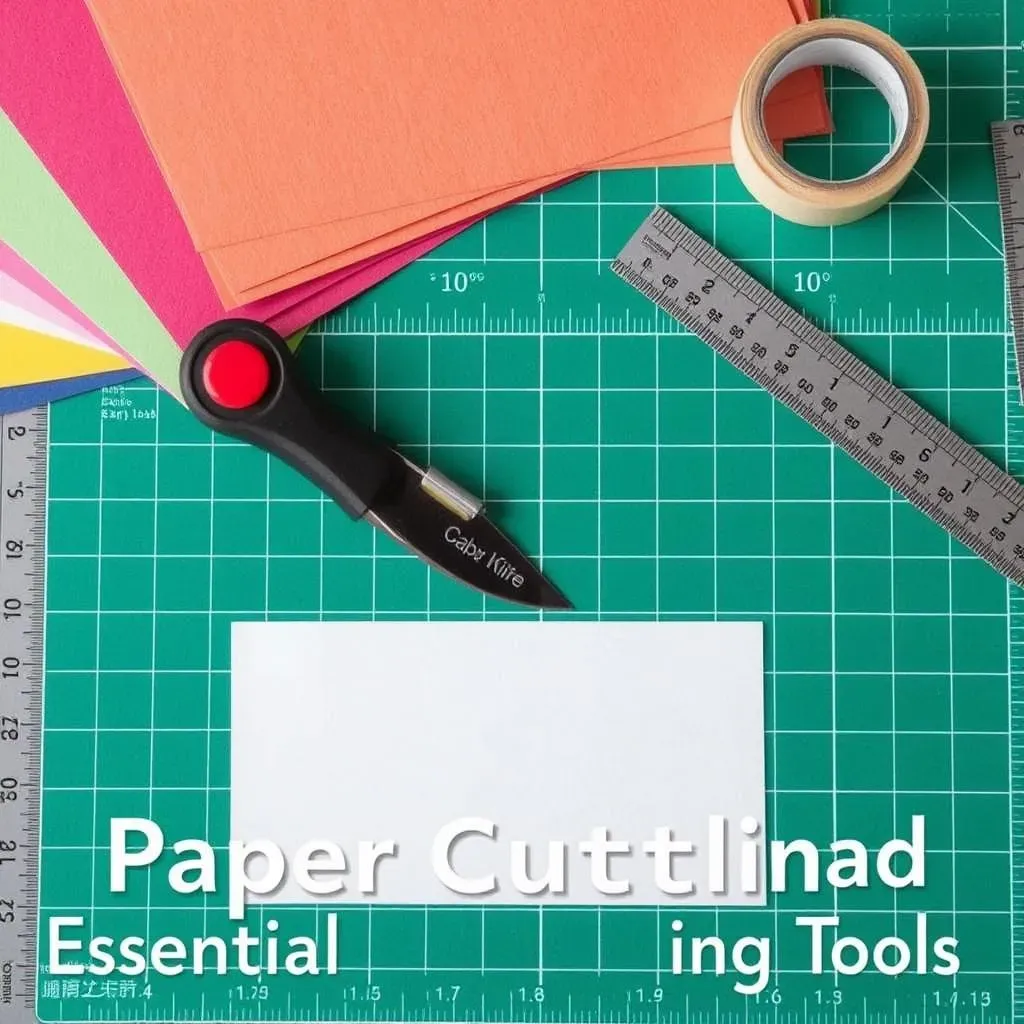
The Cutting Essentials
so you're ready to move beyond just thinking about it and actually start some paper cutting projects? First things first, let’s talk tools. You can't just grab any old pair of scissors and hope for the best. Trust me, I tried that, and it looked like a toddler attacked my paper. What you really need is a good quality craft knife. I prefer a swivel blade because it makes curves way easier, but a standard craft knife works well too. Remember to buy extra blades; dull blades are your enemy! You'll also want a self-healing cutting mat; this will protect your table and keep your blades sharper for longer. Seriously, don't skip the mat; your table will thank you.
Next up: paper! Not all paper is created equal for paper cutting. For beginners, I recommend cardstock because it's sturdy and easy to handle. Avoid thin printer paper, it's too flimsy and can tear easily. As you get more experienced, you can try different types of paper, such as vellum or specialty papers, but for now, stick with something solid. You might also want to have a metal ruler for straight lines, and some masking tape to hold your paper in place while you are cutting. These little things will make your life so much easier, I promise.
Nice-to-Have Tools
Now that we’ve covered the essentials for essential tools and materials for paper cutting projects, let's talk about some nice-to-haves that can really level up your paper cutting game. A light pad can be super helpful, especially if you're working with intricate designs. It helps you see your pattern clearly through the paper, like you are tracing over it. If you are not using templates, a good pencil for sketching is essential too, you can use mechanical pencils for finer lines that help you with precision. Also, having a pair of tweezers is a lifesaver when dealing with small cutouts, they make it so much easier to remove those little pieces of paper without ruining your design. I can't tell you how many times tweezers have saved me from a paper cutting disaster.
Lastly, consider getting a small container to hold all of your blades and a tool organizer to keep everything in one place. Nothing's worse than losing a blade or having your tools scattered everywhere. Keeping your workspace tidy will make the whole process way more enjoyable. These extras will not only make your craft time more efficient but also more enjoyable, so it's worth thinking about them. You don't need these right away, but as you get more into paper cutting projects, you'll find them super handy.
Tool | Why it's useful |
|---|---|
Swivel Blade Craft Knife | Makes cutting curves easier |
Self-Healing Cutting Mat | Protects your table and keeps blades sharp |
Cardstock Paper | Sturdy and easy to handle |
Light Pad | Helps see patterns clearly |
Tweezers | Removes small cutouts easily |
Easy Paper Cutting Projects for Beginners
Easy Paper Cutting Projects for Beginners
Simple Shapes and Patterns
so you've got your tools and you're itching to create, right? Let's start with some seriously easy paper cutting projects for beginners. Forget about those intricate designs for now; we're going back to basics. Think simple shapes like squares, triangles, and circles. You can cut these out individually, or create a pattern by cutting multiple shapes in a row. You could even try a simple repeating pattern, like a line of triangles or a grid of squares. The idea here is to get comfortable with the knife and how it moves through the paper. Don't worry about making it perfect, just focus on getting a feel for the process. I remember when I first started, even cutting a straight line was a challenge, so trust me, everyone starts somewhere.
Basic Silhouettes
Ready to move beyond basic shapes? Let's try some easy silhouettes, this is still in the realm of easy paper cutting projects for beginners. A silhouette is basically the outline of an object, like a simple tree, a cat, or a star. You can find templates online, or even draw your own. The key here is to keep it simple, with large, easy-to-cut shapes. Avoid intricate details for now. Once you have your outline, tape it to your cardstock and carefully cut along the lines. Remember to cut on the outside of the outline, so you get the final shape you are looking for. It is okay if the lines are not perfect, you are just learning! Once you have cut out the silhouette, you can use it as a decoration, paste it to a card or even use it as a stencil for other projects. I used to make a bunch of simple animal silhouettes and paste them on my wall, it was a fun way to decorate my room.
Project | Description | Difficulty |
|---|---|---|
Simple Shapes | Cutting basic shapes like squares, circles, and triangles. | Very Easy |
Repeating Patterns | Cutting lines of repeating shapes or grids. | Easy |
Basic Silhouettes | Cutting out the outlines of simple objects. | Easy |
Paper Snowflakes
You know what's really fun and fits perfectly with our easy paper cutting projects for beginners theme? Paper snowflakes! They're not just for winter. Grab a square piece of paper, fold it in half, then in half again, and then into a triangle. Now, you can start cutting out simple shapes along the edges. The beauty of snowflakes is that you don't need to be precise; each one will be unique. Unfold it and see the amazing design you created. You can use different shapes, such as triangles, squares, or even half circles. It's like a surprise every time you unfold it. I love making snowflakes. It’s a great way to use up scrap paper and they look really pretty hanging in the window.
Advanced Techniques and Ideas for Paper Cutting Projects
Advanced Techniques and Ideas for Paper Cutting Projects
Layering and Depth
so you've mastered the basics, now we're getting into the fun stuff: advanced techniques and ideas for paper cutting projects! Let's talk about layering. Instead of just cutting out one flat piece, imagine creating depth by layering multiple cutouts on top of each other. It's like building a 3D sculpture with paper. You can start with a background layer, then add more detailed shapes on top to create shadows and highlights. For example, if you’re cutting a forest scene, you might layer trees in the foreground with some smaller trees in the background to give a sense of perspective. I remember when I first tried this, I was blown away by how much dimension it added to my paper art. It's like magic, but with a little bit of planning.
You can use foam dots or spacers to create even more separation between the layers, making your design pop. Think of it like creating a diorama, but with paper. Start with simple two-layer designs and work your way up to more complex multi-layered pieces. Also try cutting out some elements multiple times to create a repeating pattern. It not only adds depth but also creates visual interest, and makes your work look more intricate. Layering really opens a whole new world of possibilities for your paper cutting projects. It's all about experimenting and seeing what you can come up with!
Intricate Designs and Patterns
Ready to challenge yourself? Let's move into some advanced techniques and ideas for paper cutting projects that involve intricate designs and patterns. Here, we're talking about complex geometric shapes, detailed floral patterns, or even creating your own unique designs. You can find templates online or start sketching your own ideas. The key is to take your time and focus on precision. Use a sharp blade and make sure to cut each line carefully. When it comes to intricate patterns, you might find it helpful to use a light pad to see your design clearly. This allows you to cut more accurately and avoid mistakes. I know, it can be a bit daunting at first, but trust me, the results are worth the effort.
Don't be afraid to try different techniques, such as cutting along curved lines or creating small details. You might find a swivel blade is super useful here for curves. Practice makes perfect, so don't get discouraged if your first attempts aren't exactly what you hoped for. Once you have mastered the basics of cutting intricate patterns, you can start experimenting with different types of paper and even try combining different techniques. For example, you could layer intricate designs on top of a simple silhouette to create a really unique piece. The possibilities are endless, so just have fun exploring. I love the feeling of accomplishment when I complete a super intricate design, it makes all the effort worth it. This is where your paper cutting projects go from good to amazing.
Technique | Description | Tips |
|---|---|---|
Layering | Creating depth by layering multiple cutouts. | Use foam dots for separation. |
Intricate Patterns | Cutting complex geometric or floral designs. | Use a light pad for precision. |
Curved Lines | Cutting smooth and curved lines. | Use a swivel blade. |
Wrapping Up Your Paper Cutting Adventure
So, you've journeyed through the world of paper cutting projects, from the essential tools to the more complex designs. Hopefully, you're now feeling inspired and ready to start creating your own paper masterpieces. Remember, every artist starts somewhere, and practice is the key to improvement. Don't be afraid to experiment with different techniques, designs, and materials. The most important thing is to have fun and let your creativity flow. Whether you're making simple snowflakes or intricate paper sculptures, the world of paper cutting is full of possibilities. Now go on, grab some paper, and get cutting!