Table of Contents
Ever looked at a piece of paper and thought, "I could make something amazing with this?" Well, you absolutely can! Paper cutting paper isn't just about snipping randomly; it's an art that transforms simple sheets into intricate designs. Think of it like drawing, but instead of adding lines, you're taking them away. This guide will walk you through everything you need to know to get started, from gathering your tools to making those tricky cuts. We'll explore what supplies are best, how to prep your paper like a pro, and the best ways to handle those super tiny, fiddly bits. You'll learn how to navigate tight corners, fix mistakes (because we all make them), and how to add that final touch to make your paper cutting paper project truly pop. So, grab your blade, and let's get cutting!
Essential Tools for Paper Cutting Paper
Essential Tools for Paper Cutting Paper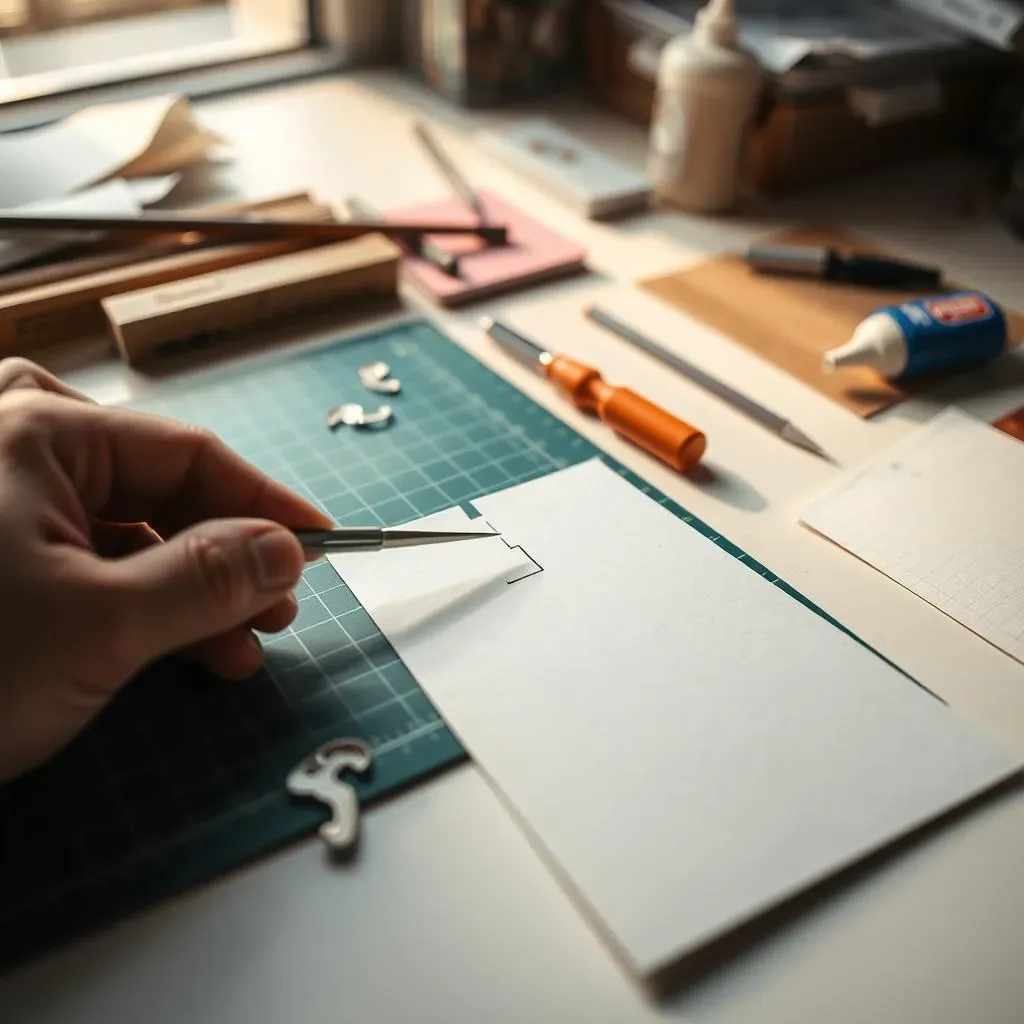
so you're itching to start cutting, right? First things first, let's talk tools. You wouldn't try to paint a masterpiece with a dried-up marker, and it’s the same with paper cutting. You need the right gear. A scalpel with a super sharp point is your best friend here, not some dull craft knife you found in the back of a drawer. Think of it as your tiny, precise paper surgeon. You'll also want a cutting mat—trust me, your table will thank you—and a good supply of spare blades. Seriously, sharp blades make all the difference. You'll need some card or paper to cut on, a glue stick, masking tape and of course an image to cut out. It's like assembling a team for a mission, each tool has its part to play.
Tool | Why You Need It |
|---|---|
Scalpel (with sharp point) | For precise cuts, your main tool. |
Cutting Mat | Protects your work surface, essential. |
Spare Blades | Sharp blades are crucial for clean cuts. |
Card or Paper | Your canvas. |
Glue Stick | For sticking your image to the paper. |
Masking Tape | To secure the paper to the table. |
Image to cut out | Your design to cut. |
Preparing Your Paper for Cutting
Preparing Your Paper for Cutting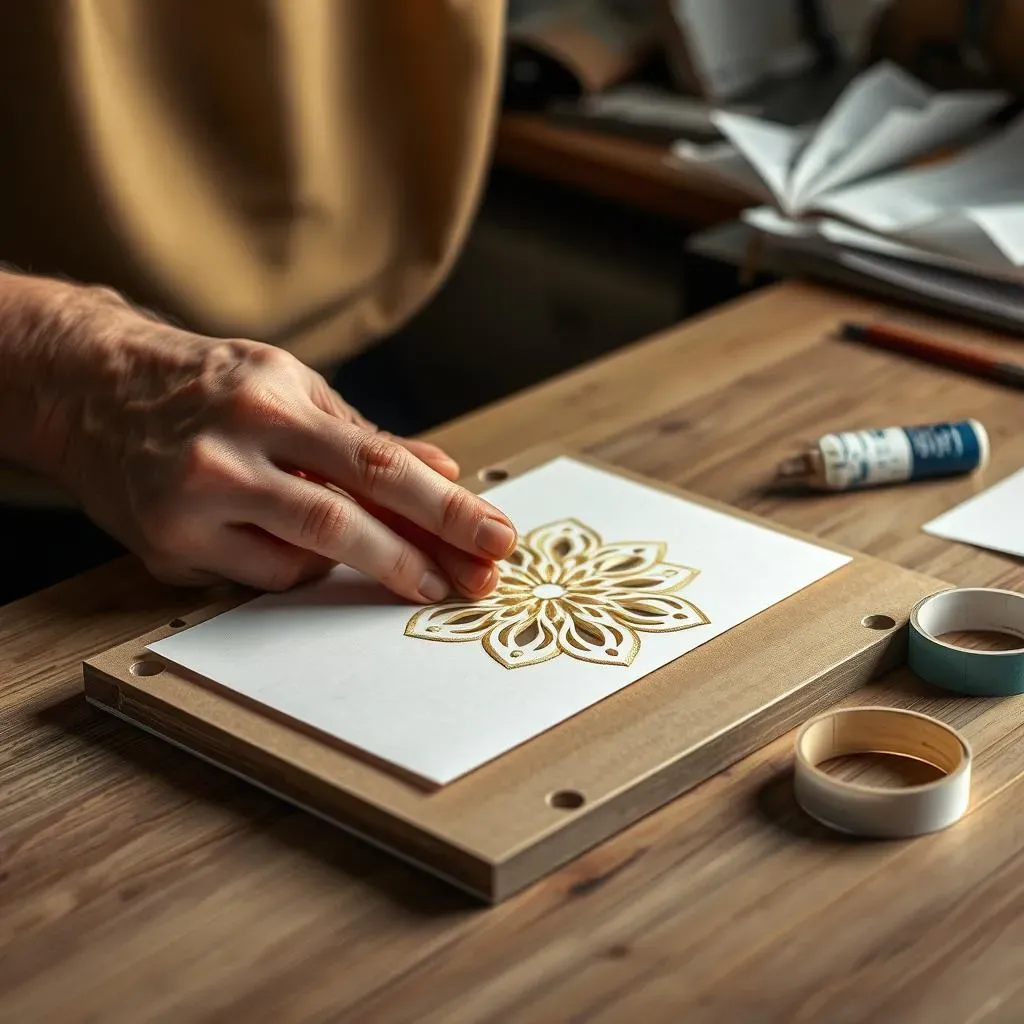
Choosing the Right Card
so you've got your tools, now let’s talk paper. It's not just about grabbing any old sheet. The type of card you pick can make a huge difference. Think about thickness, for example. Too thin and it might tear easily, too thick and your blade might struggle. I like something that's sturdy but still easy to cut. And don't forget about color! A colored card can really make your design pop, especially if you're planning on adding a contrasting color inside later. I once used a dark blue card with a bright white insert, and it looked amazing. It's all about finding the right base for your art.
Prepping Your Design
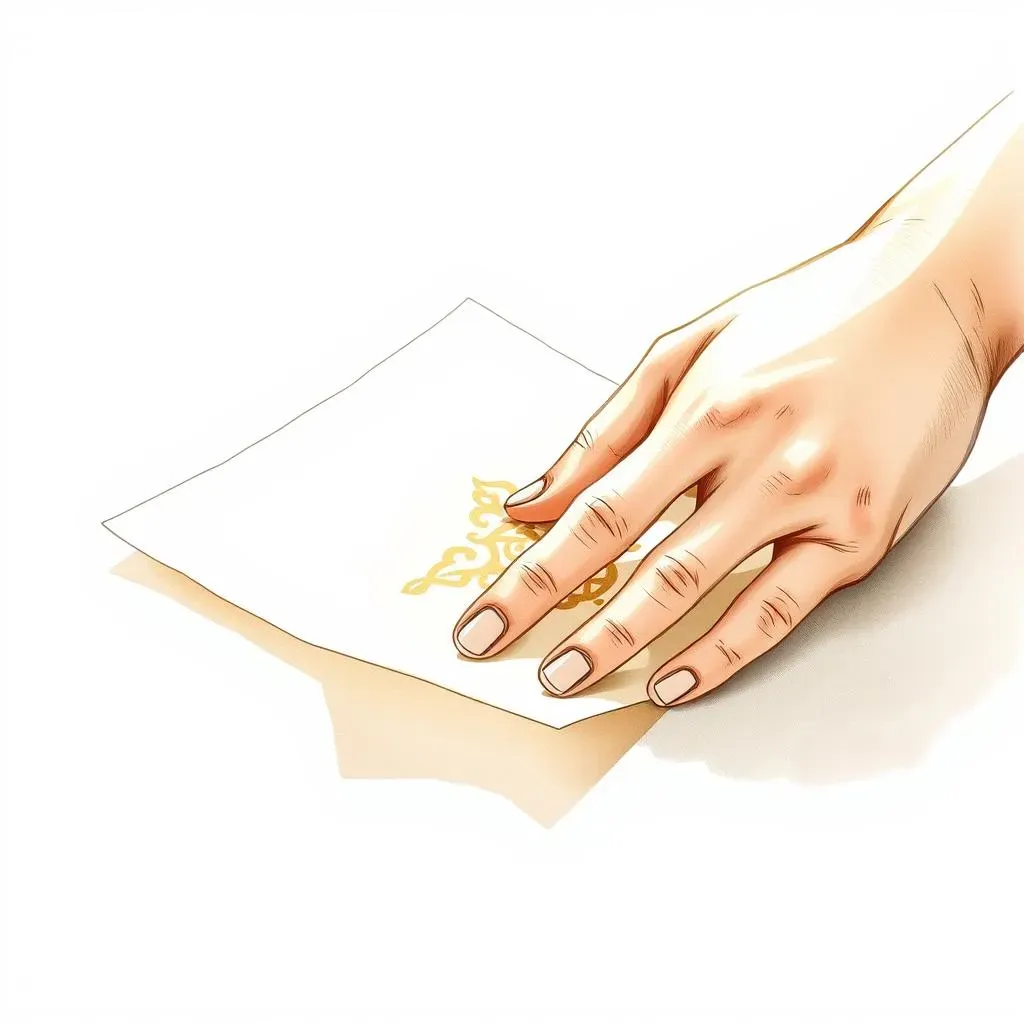
Next up, getting that design onto your card. Now, you could try to freehand it, but I wouldn’t recommend it, unless you're feeling brave! A good way is to print out your design, then use a glue stick to lightly stick it to your chosen paper. Make sure to use a glue stick not liquid glue, otherwise you will have paper all wrinkled up. Be careful not to use too much glue. Once the image is stuck to the paper, I like to use some masking tape to secure it to my table. It stops it from moving around while I cut. It's all about making the whole process as smooth as possible, so you can focus on the cutting.
Step | Action |
|---|---|
1 | Choose a card with suitable thickness and color. |
2 | Print your design. |
3 | Apply glue stick lightly to the back of your design. |
4 | Stick the design to your card. |
5 | Use masking tape to secure the card to your table. |
Ready to Cut
With your card prepped and your design secured, you're almost ready to start cutting. Before you make that first slice, take a second to think about what you're doing. What parts of the design are you going to leave solid, and what parts are you cutting out? It's like planning a route before you start a journey. A good rule to follow is to make sure each piece is attached at least three places. This will help to keep the design together. You're basically creating a delicate web, and each cut matters. Now, take a deep breath and get ready to make some magic!
Mastering the Art of Paper Cutting Paper
Mastering the Art of Paper Cutting Paper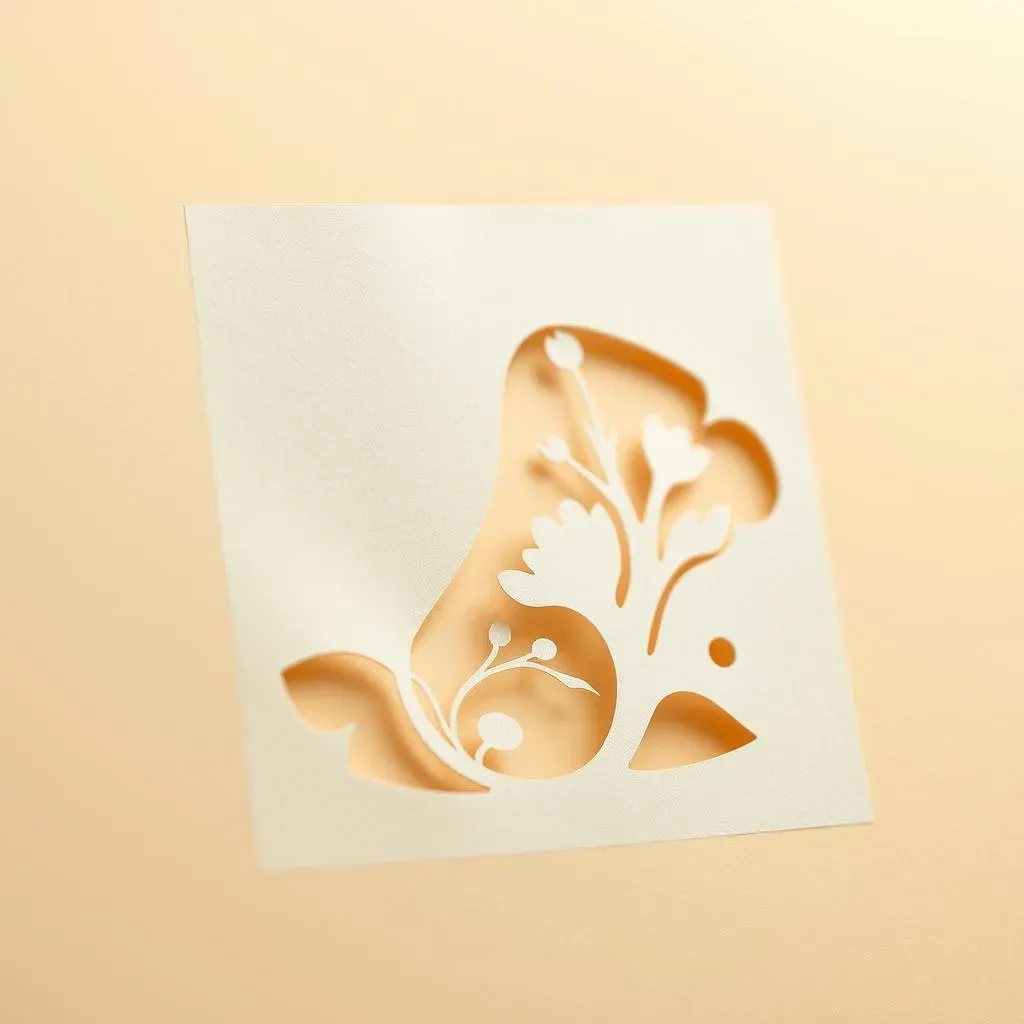
Starting to Cut
so you're ready to make that first cut, right? Hold your scalpel like you would a pen, nice and relaxed, not like you're about to stab something. Start by following the lines of your design, and try to keep the blade moving smoothly. Don't try to cut too deep on the first go. It's better to do a few light passes than to try and force it all at once. This is where you'll start to see your design come to life. Remember, patience is key! Try to cut away any bits of paper as you go, so you don't accidentally cut something you want to keep.
The Fiddly Bits
Now, let's talk about those tricky, fiddly bits. You know, the ones that make you want to throw your scalpel across the room. Tight corners and tiny details can be a pain, but don't worry, there are ways to handle them. Instead of trying to turn the blade, try swiveling the card around to make the cut. It's like dancing with your paper! Use the tip of your blade for those super small areas, and if you need to, do a few short cuts rather than one long one. It's all about control and taking your time. I have spent hours on tiny details, but the result is always worth it, it can be a bit like meditation.
"The smallest details can often make the biggest impact."
Tight Corners
Tight corners, these are the real test of patience. Instead of trying to force your blade through a sharp turn, try this: cut towards the corner, then lift the blade, reposition it slightly, and cut again. It's like making a series of tiny cuts to create one smooth turn. This technique keeps your cuts clean and prevents tearing. Think of it as gently guiding the blade rather than making it do all the work. And remember, practice makes perfect, so don't worry if your first few corners aren't perfect.
Technique | Description |
|---|---|
Swiveling the card | Turn the card instead of the blade for curves. |
Short cuts | Use several short cuts for tight details. |
Lifting the blade | Lift and reposition the blade for sharp turns. |
Finishing Touches and Troubleshooting Paper Cutting
Finishing Touches and Troubleshooting Paper Cutting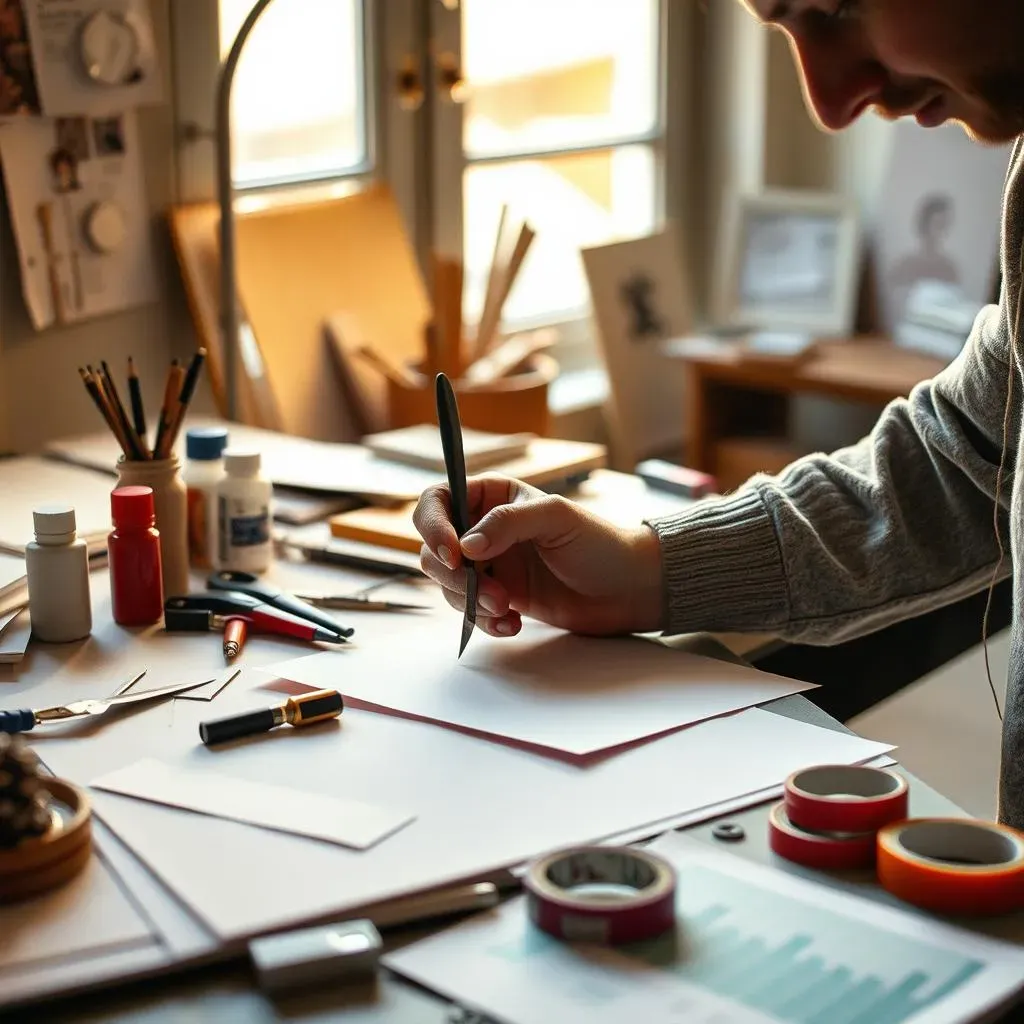
When Things Go Wrong
so you've been cutting away, feeling like a paper-cutting pro, and then *bam* - a mistake. It happens to the best of us. Maybe you slipped, maybe the blade went rogue, or maybe you just got a little overzealous. The good news is, it's not the end of the world! If you've got a small tear, some sticky tape can be your new best friend. Just carefully place a small piece on the back, and it'll be like it never happened. For a bigger mistake, grab your glue stick and try to carefully glue it back into place. Don't be too hard on yourself, a few mistakes are all part of the learning process. It's like a puzzle that needs a little help sometimes.
Finishing Off
So, your design is cut, any mistakes are fixed, and you're nearly finished. Now comes the fun part: revealing your masterpiece! Gently lift the paper design from the card, and don't worry if some bits are still stuck, use the tip of your scalpel to gently push them free. If you're using a card, carefully fold it in half, making sure not to crease your paper cut out. If you want to add a pop of color, stick a piece of contrasting paper to the inside of the card. It's like adding a lining to a jacket, it can really make the whole thing look fantastic. This will make your design even more impressive. I once used a bright yellow inside a black card and it looked amazing!
Problem | Solution |
|---|---|
Small Tear | Use sticky tape on the back. |
Larger Mistake | Carefully glue the piece back. |
Stuck Paper | Gently use the scalpel tip. |
Extra Tips
Before you put your scalpel away, let's look at some extra tips. First, take a break! Paper cutting can be intense, and it's easy to get lost in the detail. Step away for a few minutes, and when you come back, you might see something you missed. Don't be afraid to change your design as you go, sometimes the best ideas come while you are working. And finally, don't worry too much about making mistakes. Every cut is a lesson, and the final result will be amazing, even if it’s not perfect. If you want to add a personal touch, sign your work and add a message. And remember, practice makes perfect, so don't be discouraged if your first attempt isn't exactly what you hoped for. The more you cut, the better you will get!
"Every mistake is a step towards mastery."
Wrapping Up Your Paper Cutting Paper Journey
So, you've made your first cuts, maybe even wrestled with a few stubborn corners, and hopefully, you've got something awesome to show for it. Remember, paper cutting paper is a skill that gets better with practice. Don't sweat the small stuff—those tiny imperfections are part of the charm. Keep experimenting, try different designs, and most importantly, have fun with it! Each piece you create is a little victory, a testament to your patience and creativity. Now, go forth and transform those ordinary sheets into extraordinary works of art. And hey, if you mess up, there's always more paper!