Table of Contents
Ever looked at a beautifully crafted paper number and wondered, "How did they do that?" Well, you're in for a treat! This isn't some secret society of paper wizards, it's the art of paper cutting numbers, and it's way easier than you think. Forget complicated origami; we're talking about simple cuts that transform plain paper into awesome numerals. Think birthday banners, personalized cards, or just some cool decorations. Whether you're a seasoned crafter or have never touched a craft knife, this guide will show you all the basics. We'll start with what tools you need, then move on to easy cutting techniques, and finish with some fun project ideas that will make you the paper cutting master of your neighborhood. So grab your paper and let's get snipping! This guide is your ticket to mastering paper cutting numbers.
Getting Started with Paper Cutting Numbers
Getting Started with Paper Cutting Numbers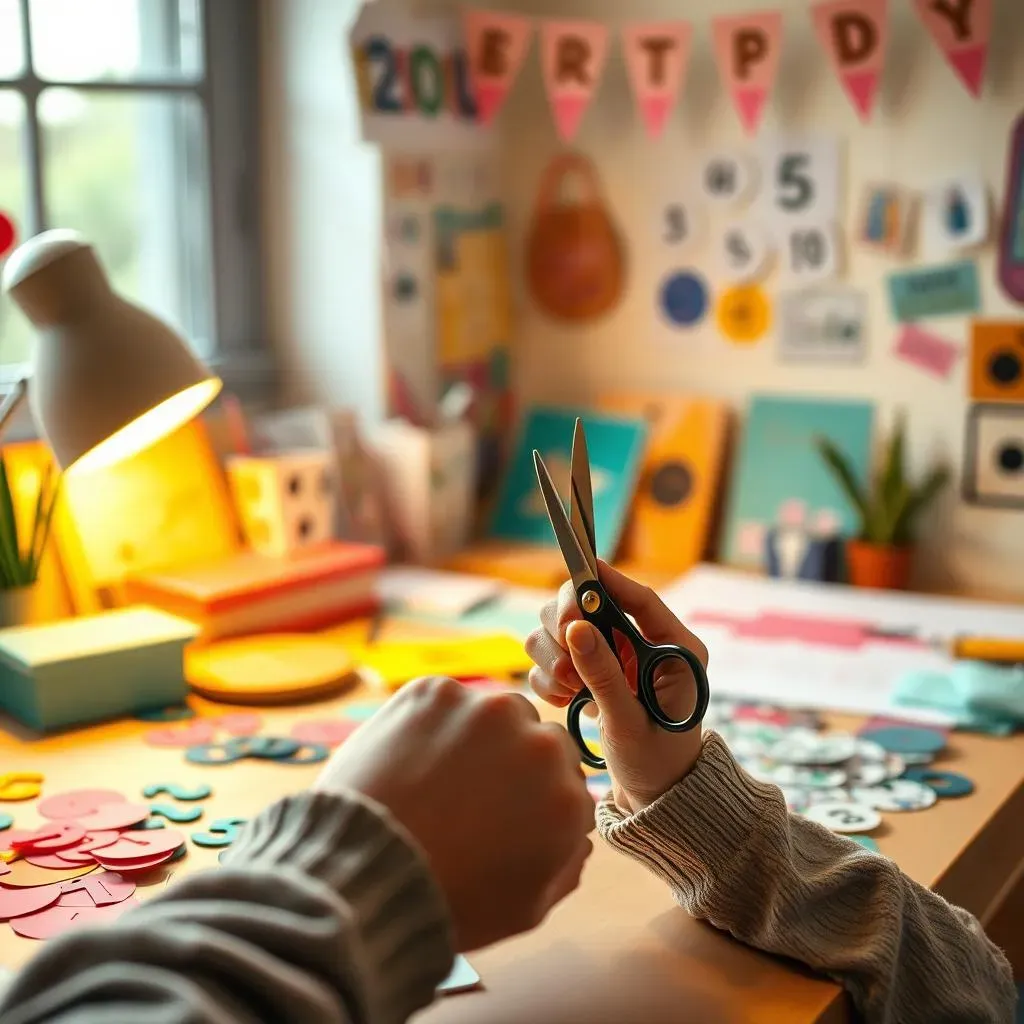
Why Paper Cutting Numbers is Awesome
Okay, so you're thinking about paper cutting numbers, right? Awesome choice! It's like giving your scissors a super fun workout and you get cool art as a result. Seriously, it's not just for kids making snowflakes. We're talking about creating personalized birthday banners that actually look impressive, crafting one-of-a-kind cards, or even making stylish stencils for other projects. The best part? It's super chill. You don't need fancy equipment or years of training, just a bit of patience and a steady hand. Plus, there's something really satisfying about turning a flat piece of paper into a cool 3D design. It's like magic, but you're the magician.
I remember the first time I tried this, I was a bit clumsy, and my numbers looked more like abstract art than actual numerals. But hey, that's part of the fun! The goal isn't to be perfect, it's to enjoy the process. It's all about the journey of discovering what your hands can do with a bit of paper and some sharp edges. This craft is not just about making things, it's about the mindful focus it brings. It's a great way to unwind after a long day, or to get your creative juices flowing. Think of it as meditation with scissors – minus the chanting, of course.
Benefit | Description |
|---|---|
Creative Outlet | Transform plain paper into unique art. |
Relaxation | Mindful activity that reduces stress. |
Personalization | Craft custom decorations and gifts. |
Accessibility | Requires minimal tools and skills. |
First Steps: What You Need to Know
Before you go crazy with the scissors, let's talk about some basics. First off, you don't need a degree in art to do this. Seriously, I'm no Picasso, and I manage just fine. The key is to start simple. Think basic number shapes like 1, 0, or 7. These are easier to cut and will give you a feel for the paper. Avoid the curvy ones like 8 and 3 for your first try, unless you like a challenge. Also, don't feel pressured to freehand everything at first. You can use templates or print out numbers to trace. It's like training wheels for your scissors, and there's no shame in that. We all start somewhere, right?
Now, the type of paper you use matters. Regular printer paper works well when you're first starting out. It's cheap and easy to find. But if you want something a bit sturdier, try cardstock or construction paper. The thicker paper will make your numbers more durable and less likely to tear. Just remember that thicker paper can be a bit harder to cut, so you might need a sharper blade. It's like choosing the right shoes for a run, you want something that fits the activity. So, grab some paper, a pair of scissors, and let's get started!
- Start with simple number shapes (1, 0, 7).
- Use templates or printouts for tracing.
- Choose the right paper: printer paper, cardstock, or construction paper.
- Be patient and enjoy the process.
Essential Tools and Materials for Paper Cutting Numbers
Essential Tools and Materials for Paper Cutting Numbers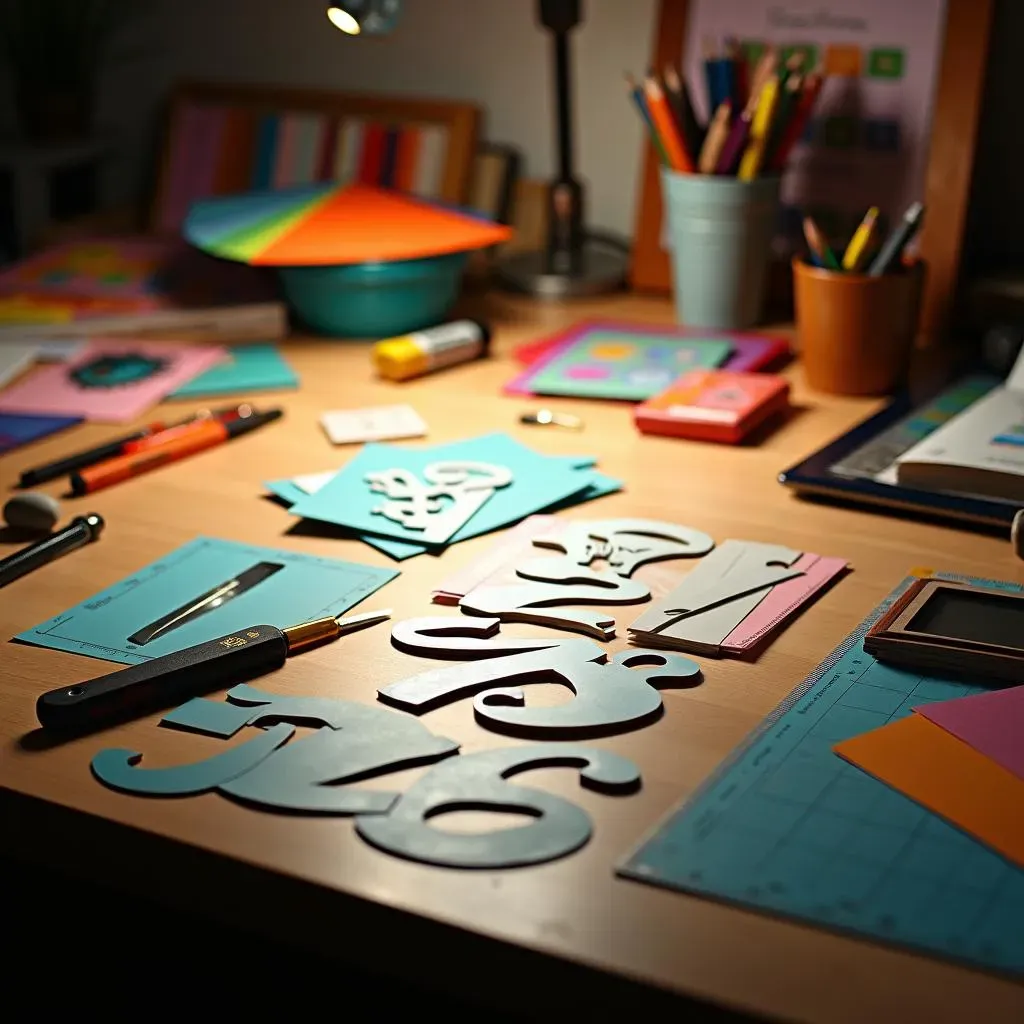
The Cutting Edge: Scissors and Craft Knives
Alright, let's talk tools. You can't just rip paper with your bare hands and expect beautiful numbers (unless you're going for that rugged, abstract look). For paper cutting numbers, you've got two main options: scissors and craft knives. Scissors are your trusty sidekick, great for simple shapes and bigger cuts. I'd recommend a pair of small, sharp scissors with pointed tips, those little guys will help you navigate the curves and corners of your numbers. They're like the all-rounders of the paper cutting world.
Now, if you're feeling a bit more adventurous, a craft knife is your next step. These are like the precision tools for paper cutting. They’re super handy for intricate details and clean lines. When you start using a craft knife, make sure you have a cutting mat. You don't want to carve your awesome designs into your kitchen table. Trust me, been there, done that. It's a bit like using a scalpel, you need to be precise and careful, but the results are worth it. Start with simple shapes, and as you get better at it, you can try more complex ones. Remember, patience is key.
Paper and More: What Else You'll Need
So, you've got your cutting tools sorted. Now, let's talk about the canvas, the paper! Like I said before, regular printer paper is great for practice, but if you’re looking for something more sturdy, cardstock or construction paper are good choices. They add a bit more weight and durability to your finished pieces. Also, the color of your paper can change the whole vibe of your project. You can go for bold, bright colors for a festive look, or something more subtle for an elegant feel. It's all about expressing your style.
Beyond paper, you will need a few more things. A ruler is your friend, especially if you're making straight lines or want to keep things symmetrical. A pencil is essential for sketching out your designs or tracing templates. And, of course, an eraser because we all make mistakes. And don't forget about a cutting mat. I know I’ve mentioned it before, but seriously, it’s a game-changer. It protects your work surface and also makes cutting easier. It's like the unsung hero of paper cutting.
Finally, consider some extras. Things like stencils or templates can be useful especially when you're just starting. There are tons of free templates you can find online or you can create your own. If you're feeling fancy, you can also grab some embellishments like glitter, paint, or markers to add some pizzazz to your creations. The possibilities are endless. So, gather your tools, and let's get crafting!
Tool | Purpose |
|---|---|
Small Scissors | Cutting basic shapes and curves |
Craft Knife | Precision cutting and intricate details |
Cutting Mat | Protecting work surfaces |
Ruler | Creating straight lines |
Pencil | Sketching designs and tracing templates |
Eraser | Correcting mistakes |
Safety First: Tips for Cutting Safely
Okay, before you get all scissor-happy, let’s chat about safety. Remember, these tools are sharp, and you don’t want any accidental finger art. When you’re using a craft knife, always cut away from yourself. It's like a golden rule of crafting. Keep your fingers out of the path of the blade. And if you need to make a really tough cut, don't force it. Instead, make several lighter passes. It’s like peeling an onion, layers at a time.
Also, if you’re working with kids, make sure they're supervised. Scissors and craft knives aren’t toys, and it's important to teach them how to use them properly. It’s best to start them with blunt-tipped scissors and let them graduate to sharper tools as they get better. And, of course, always clean up your workspace when you’re done. You don’t want to leave sharp objects lying around. Safety is key so we can keep crafting without any owies.
Easy Techniques for Paper Cutting Numbers
Easy Techniques for Paper Cutting Numbers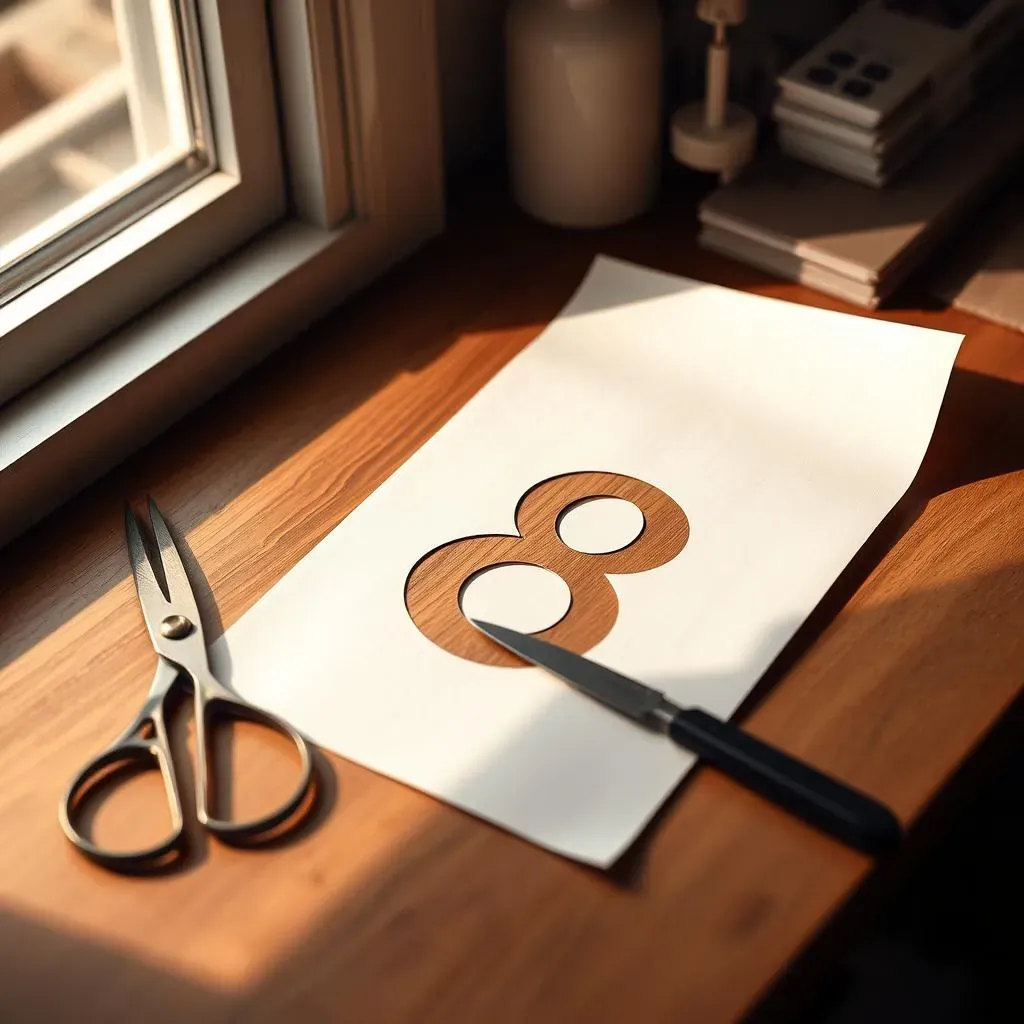
Okay, so you've got your tools, you've got your paper, and now you're staring at a blank page wondering, "How do I actually cut these numbers?" Don't worry, I've been there. It's not about being a master artist; it's about learning a few simple techniques that make the whole process a lot easier. One of the best things you can do is to start with straight lines. Numbers like 1, 4, and 7 are your best friends when you're first starting. They are like the training wheels for paper cutting. It's about getting a feel for how the paper responds to your scissors or craft knife. Focus on making clean, even cuts. Avoid jagged edges or wobbly lines. The goal here isn't speed, it's precision. Think of each cut as a mini-meditation, slow and steady wins the race.
Once you're comfortable with straight lines, it's time to tackle curves. Numbers like 0, 3, and 8 might look intimidating, but they're not as hard as they seem. The trick is to move the paper, not just the scissors. When cutting curves, rotate the paper as you cut, this will give you smoother lines and more control. Imagine you're driving a car on a winding road, you wouldn't just turn the wheel hard, you would steer gently. Also, don't try to cut the entire curve in one go. Instead, make small cuts and gradually work your way around the curve. It's like eating a pizza, one slice at a time. It might seem slow at first, but it will give you better results. And, if you make a mistake, don’t sweat it. It's just paper, you can always start again.
Technique | Description |
|---|---|
Straight Cuts | Start with simple numbers (1, 4, 7), focus on clean lines. |
Curved Cuts | Rotate the paper while cutting, use small, gradual cuts. |
Tracing | Use templates or printouts to guide your cuts. |
Tracing is a game-changer when you’re learning. You can find free number templates online or create your own. Print them out and tape them to your paper, then use your scissors or craft knife to follow the lines. It's like having a cheat sheet that guides your cuts. Think of it as a coloring book for grown-ups, but instead of coloring, you're cutting. Another great tip is to cut out the inside of the numbers first. For example, if you're cutting a number 8, cut out the inside circles before cutting the outer edge. This helps keep the paper stable and prevents it from tearing. It's like building a house, you start from the inside and then move to the outside. And remember, practice makes perfect. The more you cut, the better you'll get. Don't be afraid to experiment and have fun with it. It's all about the journey, not just the destination.
Finally, always remember to take breaks. Paper cutting can be really fun, but it can also be tiring for your hands and eyes. If you feel your hand getting sore or your eyes getting tired, take a break. Stretch your fingers, look away from your work, and give yourself a few minutes to relax. It's like going for a run; you don't want to push yourself too hard or you'll get injured. So, take it easy, be patient with yourself, and enjoy the process. It's all about having fun and creating something awesome with your own two hands.
Creative Paper Cutting Numbers Projects
Creative Paper Cutting Numbers Projects
Birthday Banners and Party Decorations
Okay, now that you're a paper-cutting ninja, let's put those skills to use! One of the coolest things you can make with paper-cut numbers is birthday banners. Forget those generic store-bought banners, you can create something totally unique and personalized. Imagine a banner with the birthday person's age, or their name spelled out using cut-out numbers and letters. It’s like giving their party a custom-made touch. You can use different colors of paper to match the party theme, or even add some glitter for extra sparkle. It's a fun way to make someone feel extra special on their big day. I remember making a banner for my nephew's 10th birthday, he loved it so much he kept it up in his room for months!
But it doesn't stop at birthdays. Paper-cut numbers are great for all sorts of celebrations. Think anniversaries, graduations, or even just a fun get-together. You can use them to make table numbers, cake toppers, or even little tags for party favors. It's all about adding those little touches that make your party stand out. And the best part? It's all handmade, which means it has that extra bit of love and care. So, next time you're planning a party, skip the store and make your own decorations. It's not just about saving money, it's about adding your own creative flair.
Personalized Cards and Gifts
Beyond parties, paper-cut numbers can add a personal touch to cards and gifts. Imagine receiving a birthday card with your age beautifully cut out on the front. It's way more special than a generic card from the store. You can use different colors of paper and even layer them for a more interesting effect. It's like turning a simple card into a mini work of art. I often make personalized cards for my family and friends, and they always appreciate the effort. It's a great way to show someone you care, by putting in that extra time and thought. It's not just about giving a gift, it's about creating a memory.
Also, consider using paper-cut numbers to personalize gifts. You could add a cut-out number to a gift bag, or create a small tag with the recipient's initials or age. It's all about those little details that make a gift feel more personal and thoughtful. And if you're feeling extra creative, you can even incorporate paper-cut numbers into larger projects, like shadow boxes or framed art. The possibilities are endless. So, next time you're looking for a way to make your gifts extra special, try adding a touch of paper-cut magic. It's a small detail that makes a big difference.
Project | Description |
|---|---|
Birthday Banners | Create custom banners with cut-out numbers and letters. |
Party Decorations | Make table numbers, cake toppers, and tags for favors. |
Personalized Cards | Add cut-out numbers to birthday cards for a unique touch. |
Gift Embellishments | Use cut-out numbers on gift bags or tags for a personal feel. |
Wrapping Up Your Paper Cutting Numbers Adventure
So, there you have it, a full rundown on paper cutting numbers. From gathering your tools to mastering the basic snips and putting your new skills to use in creative projects, you're now equipped to tackle all sorts of paper number designs. It's not about being perfect; it's about having fun and making something unique. Whether you're crafting a banner for a party or just adding a personal touch to a gift, remember that each paper cut is a step in your creative journey. Keep practicing, experiment with different designs, and most importantly, enjoy the process. The world of paper cutting numbers is vast and full of possibilities, so go ahead and make your mark—one cut at a time!