Table of Contents
Ever looked at a landscape and thought, "I want to make that... out of paper?" Well, you're in the right place. We're diving into the world of paper cutting landscape art, where simple sheets of paper transform into breathtaking scenes. This isn't just about crafts; it's about seeing the world in layers and expressing that vision through delicate cuts and clever designs. Forget the paintbrushes for a moment, grab your scissors or a craft knife, and let's explore how to turn flat paper into three-dimensional wonderlands. We'll look at some amazing artists who are masters of this technique, and then we'll get our hands dirty with some fun projects you can try at home. Whether you’re a seasoned crafter or a total newbie, you’ll find something to spark your imagination. Ready to see what's possible with a bit of paper and a lot of creativity? Let's get started!
The Art of Paper Cutting: A Landscape View
The Art of Paper Cutting: A Landscape View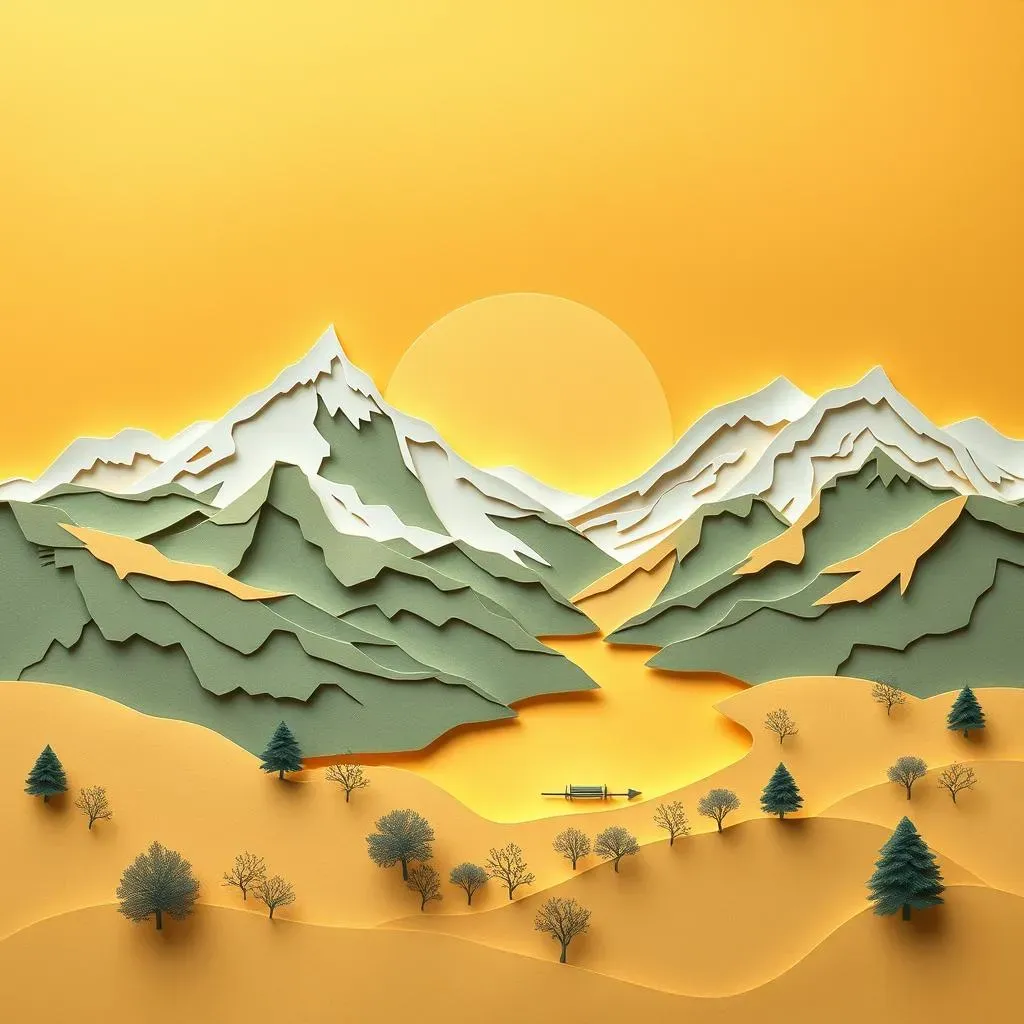
Okay, so you're curious about paper cutting landscapes, huh? It's way cooler than it sounds, I promise. It's like taking a regular piece of paper, and instead of just drawing on it, you're carving out a whole world. Imagine, you're not just representing a mountain; you're making the mountain itself from the paper. It's about layers, shadows, and negative space. It's like the paper is a stage, and you're crafting the scene piece by piece. Some artists use tiny scissors, others use craft knives, but the end result is always this amazing transformation of paper into something that looks like a real place. It's not just a picture; it's a sculpture in two dimensions, and it's something I find endlessly fascinating.
Crafting Your Own Paper Cutting Landscape
Crafting Your Own Paper Cutting Landscape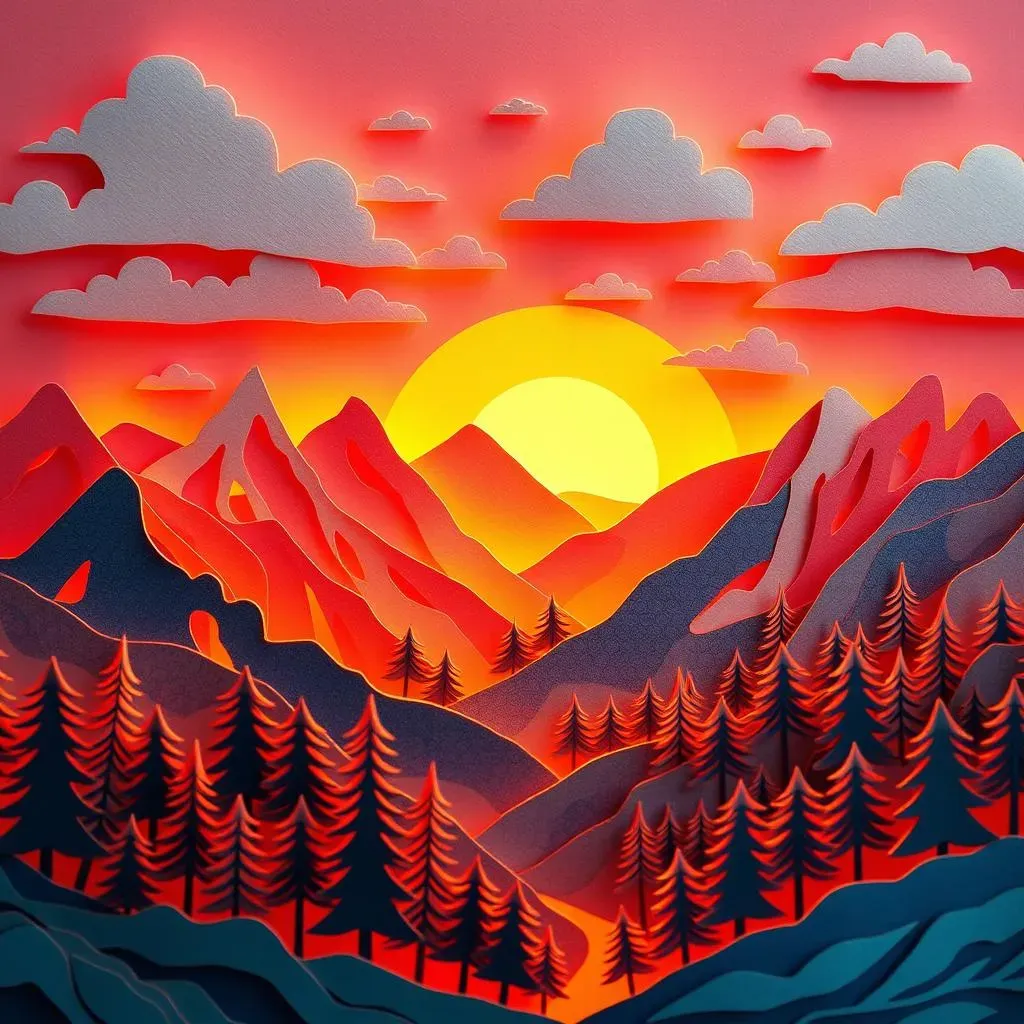
Gathering Your Supplies
Alright, so you're itching to make your own paper cutting landscape, awesome! First things first, let’s get our gear sorted. You don’t need a ton of fancy stuff to get started. Grab some paper, any kind will do, but cardstock is good if you want something sturdy. Next, you'll need a cutting tool, I prefer a craft knife, but scissors work just fine, especially if you're new to this. A cutting mat is essential to protect your table, trust me on this, and a ruler can help with straight lines. Oh, and a pencil for sketching your design before cutting. That’s pretty much it, simple right?
I remember the first time I tried this, I used regular copy paper and an old pair of school scissors. Let's just say, it wasn't pretty. The paper tore easily, and my cuts were all over the place. So, learn from my mistakes: decent paper and a sharp blade make a world of difference.
Step-by-Step Cutting
Now, let's talk about the actual cutting. Start with a simple design. Don't go trying to carve out the Grand Canyon on your first try, okay? Think of basic shapes like hills, trees, and clouds. Sketch these lightly onto your paper with a pencil. Then, very carefully, start cutting along your lines. If you're using a craft knife, make sure you have a good grip and always cut away from yourself. It's better to do several light passes than one forceful one; this helps to keep the paper from tearing. Be patient, take your time, and don't be afraid to make mistakes. They're just part of the process.
Here's a little tip I learned the hard way: start with the inside cuts first. This will make it easier to maneuver your paper. Think of it like a puzzle, you want to remove the pieces one by one, and if you remove the outside first, the inner pieces can be tricky to get to.
Tool | Use | Tip |
|---|---|---|
Craft Knife | Detailed cuts | Use light pressure, multiple passes |
Scissors | Larger shapes, simple cuts | Use sharp scissors for clean cuts |
Cutting Mat | Protect your work surface | Essential for any cutting project |
Adding Layers and Depth
Once you've got your basic cut-out, it's time to think about adding some depth. This is where the magic really happens. You can layer different pieces of paper to create a sense of perspective. For example, cut out a mountain range, and then cut out a smaller set of mountains to place in front. This simple technique can make your paper landscape pop. You can also use different colors of paper for each layer to create contrast, or even add some shading with colored pencils to give it more dimension. Don't overthink it, have fun and experiment with different ways to stack and arrange the pieces.
I was amazed when I first saw someone using foam dots to raise certain layers of their paper cut design. It created such a cool 3D effect, and I immediately had to try it. It's these little things that take your paper cutting landscape from flat to fabulous.
Inspiration and Ideas for Paper Cutting Landscapes
Inspiration and Ideas for Paper Cutting Landscapes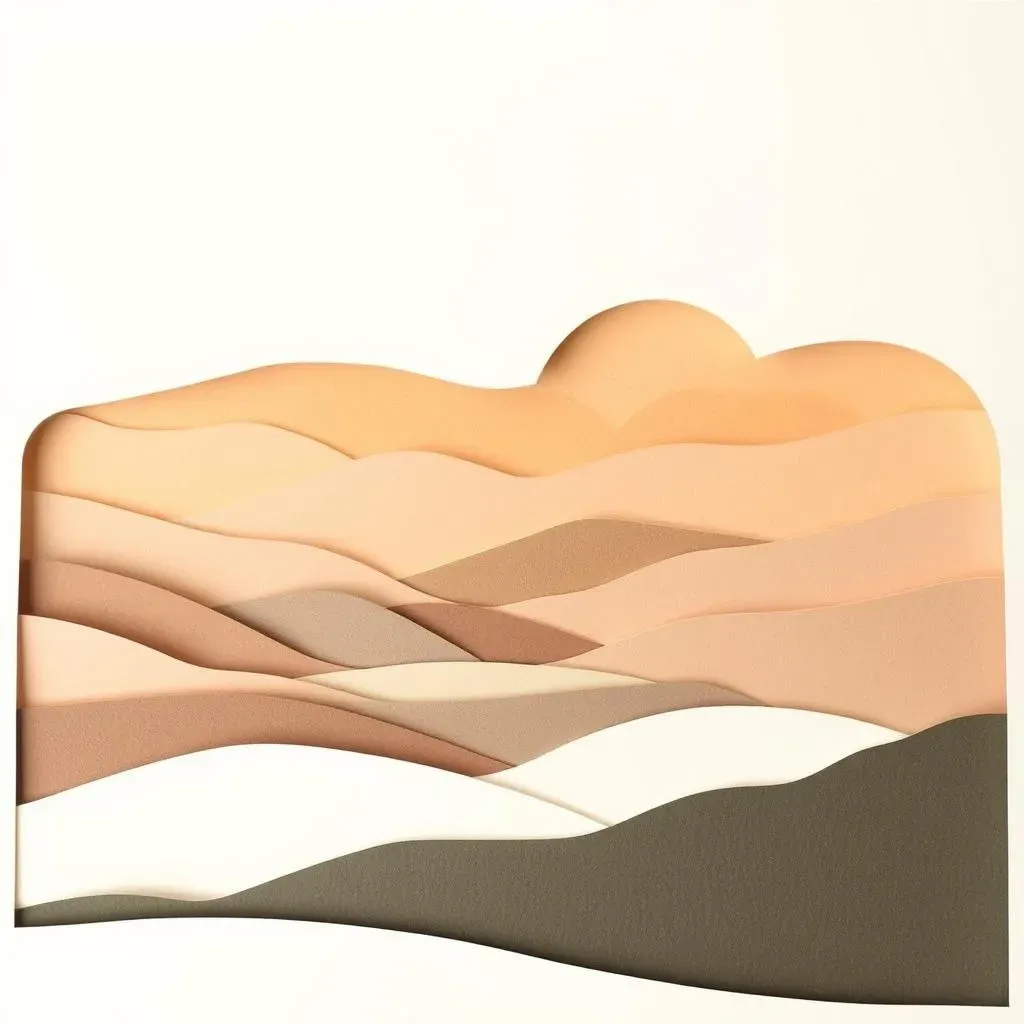
Nature's Palette
Looking for ideas? Just step outside! Seriously, nature is like the ultimate paper cutting landscape inspiration machine. Think about the way mountains layer against each other, how trees branch out, and the way clouds drift across the sky. You can take a walk in a park, snap a few photos, and then use those images as a starting point for your paper cut designs. Don't try to copy nature exactly; instead, think about simplifying the shapes and focusing on the overall feeling of the scene. Is it a peaceful forest or a dramatic mountain range? Try to capture that essence in your design. I often find myself staring at the sky, trying to figure out how I would cut out the different cloud shapes. It's a fun way to see the world, even when I am not actively creating.
One time, I was hiking, and I saw this amazing vista of rolling hills fading into the distance. I took a picture, and when I got home, I used that photo to create a layered paper landscape. The way the light and shadows played off the hills was so cool in real life, and I tried to replicate that with different shades of paper.
Finding Your Style
Paper cutting isn't just about copying real-life scenes; it's also about developing your own style. Do you prefer clean, geometric shapes, or do you like more intricate, flowing lines? Experiment with different ways of cutting, different types of paper, and different color combinations. Try adding details like tiny dots or dashes to add texture to your designs. Look at other artists' work for inspiration, but don't be afraid to put your own unique spin on things. Your paper cutting landscape should reflect your personality and your vision of the world. It's like developing your own handwriting; it takes time, but it's worth it.
I remember seeing this artist who used only black and white paper, but their designs were so detailed and expressive. It made me realize that you don't need a ton of colors to create something amazing. It's all about how you use the paper and the negative space.
Style | Description | Example |
|---|---|---|
Geometric | Clean lines, sharp angles | Cityscapes, abstract landscapes |
Organic | Flowing lines, natural shapes | Forests, mountains, gardens |
Minimalist | Simple shapes, negative space | Abstract, conceptual designs |
Beyond the Paper
Don't feel limited to just paper! You can use paper cutting in so many different ways. Try using your paper landscapes as stencils for painting or screen printing, or use them to create shadow boxes. You can also incorporate them into mixed-media collages, combining paper cut elements with paint, fabric, and other materials. Think about adding lights behind your paper landscapes to create dramatic effects, or use different textured paper to give your pieces a unique feel. The possibilities are endless, so don't be afraid to experiment and push the boundaries of what's possible. It's all about finding new ways to use the same technique and creating something totally new.
I saw a project where someone used a paper cut landscape as a template for a laser engraving on wood. It was such a clever way to combine two different art forms, and it got me thinking about all the other ways I could use my paper cut designs.
Wrapping Up Our Paper Landscape Journey
So, we've journeyed through the world of paper cutting landscape art, from admiring the intricate work of talented artists to getting our own hands busy with creative projects. Remember, this art form is all about experimenting, layering, and seeing the world from a unique perspective. Don't worry about making mistakes; each snip and cut is a step towards developing your own style. Whether you create a simple silhouette or a complex multi-layered scene, the magic is in the process. Keep exploring, keep creating, and most importantly, have fun transforming ordinary paper into extraordinary landscapes.