Table of Contents
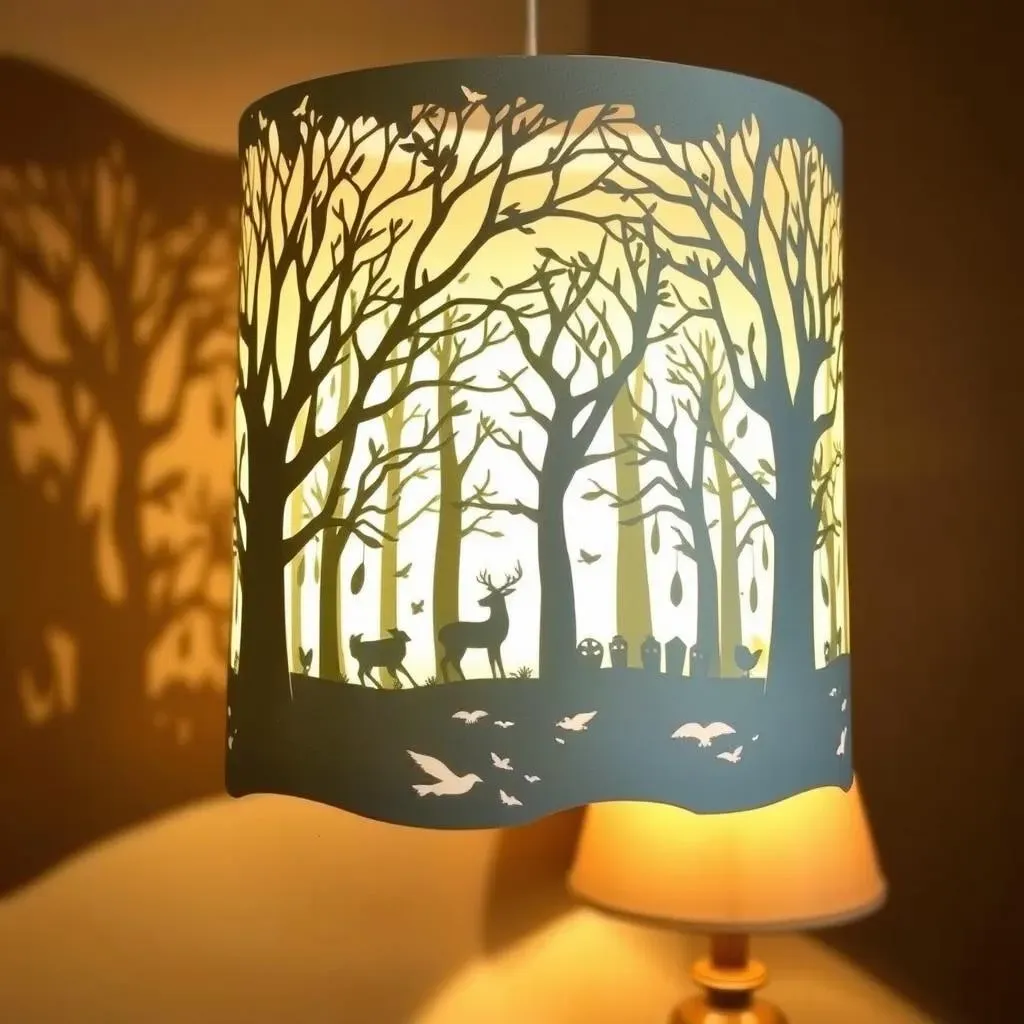
Ever wanted to create something that’s both beautiful and functional? A paper cutting lamp might be just the project you're looking for. These aren't your average lamps; they're intricate works of art that cast enchanting shadows and add a touch of magic to any room. Imagine a lamp that tells a story, with layers of delicate paper creating a three-dimensional scene. That’s exactly what you'll learn to build here. This guide will take you through every step, from gathering your materials to assembling your very own paper cutting lamp, we'll cover how to get the best cuts, how to put it all together and how to make it unique for your space. We’ll also look at some common problems and how to avoid them, so you can create a stunning piece you'll be proud of. Get ready to transform simple paper into a captivating source of light and wonder. So, grab your tools, and let’s get started!
Gathering Your Tools for the Paper Cutting Lamp
Gathering Your Tools for the Paper Cutting Lamp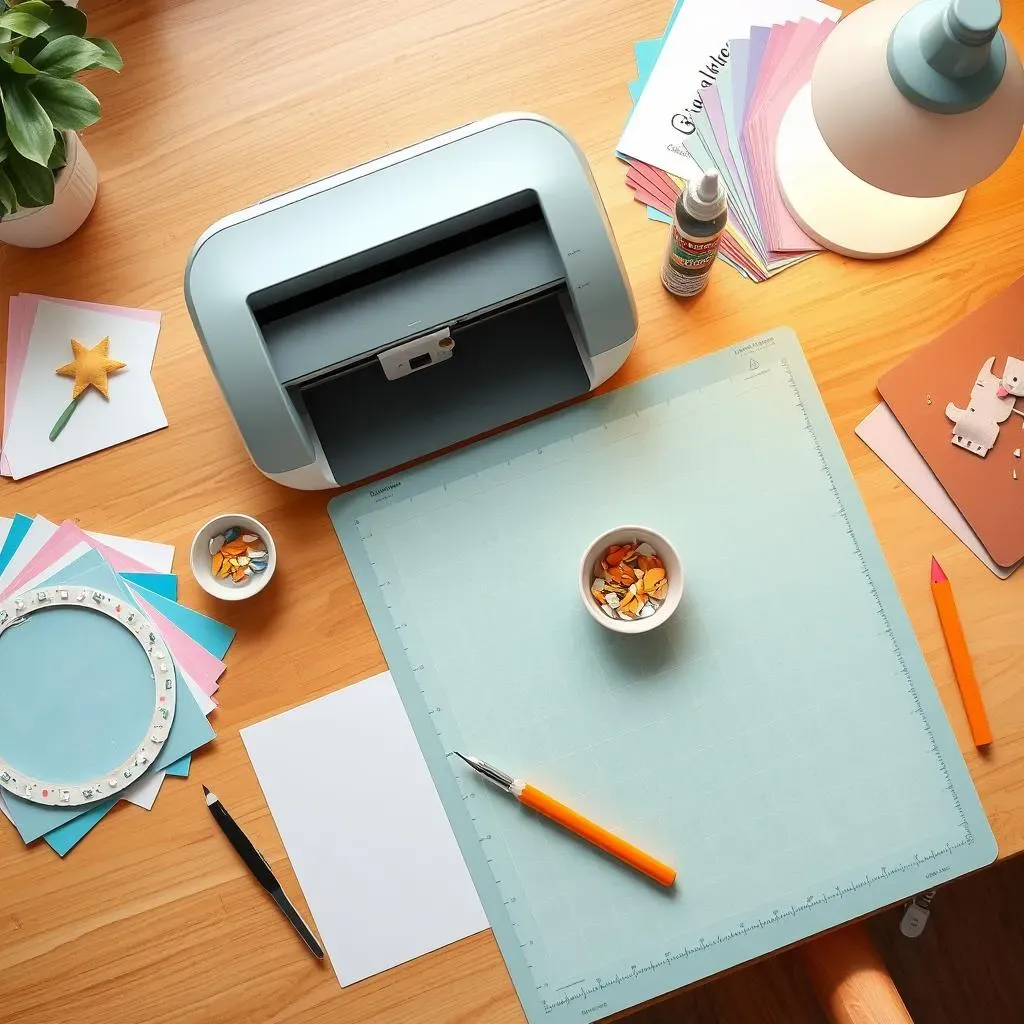
The Must-Have Paper Cutting Essentials
Okay, so you're ready to make a paper cutting lamp, awesome! First things first, let’s talk about the gear. You absolutely need some good quality cardstock. Don't skimp here; flimsy paper will make your life miserable. I’ve learned that the hard way, trust me. A cutting machine like a Cricut or Silhouette is a game-changer. You could do it by hand, but unless you're a saint with infinite patience, a machine is your best friend. And don't forget a cutting mat, it's like a little shield for your table and a must for clean cuts.
You'll also need a few basic crafting tools. Think of them as your sidekicks in this adventure. We're talking about a good pair of tweezers, a weeding tool (because those tiny paper bits can be stubborn), and some craft glue that dries clear. I like to keep a small bowl nearby for those pesky little paper scraps. It's like a tiny trash can, but way more convenient.
Lighting and Assembly Tools
Now, let’s get to the fun part – the lighting! You'll need a small LED light source. I recommend a USB-powered LED strip or a small battery-operated light. They're energy-efficient and don’t get too hot, which is important when you’re working with paper. Also, you’ll need something to build the frame of the lamp, I like to use foam board, but you can use cardstock too. Make sure you have a ruler, a pencil, and a cutting knife for this part. It’s like building a mini-house for your paper art.
Tool | Why You Need It |
|---|---|
Cutting Machine | For precise and intricate cuts |
Cardstock | The base material for your lamp |
Cutting Mat | Protects your work surface |
Tweezers | For handling delicate paper pieces |
Craft Glue | To secure the layers together |
LED Lights | To illuminate your lamp |
Optional but Handy Tools
There are a few extras that I’ve found incredibly helpful. A bone folder is great for making crisp folds, which can make your lamp look more professional. If you plan on making a few of these, consider getting a rotary cutter. It’s like a pizza cutter, but for paper, and it’s a lifesaver for straight lines. I also like to have a variety of colored pens on hand, sometimes I like to add small details, or write a secret message in one of the layers. It’s like adding a little easter egg to your project. All of this is about making the process smoother and more enjoyable. After all, crafting should be fun!
StepbyStep: Creating Your Paper Cut Lamp
StepbyStep: Creating Your Paper Cut Lamp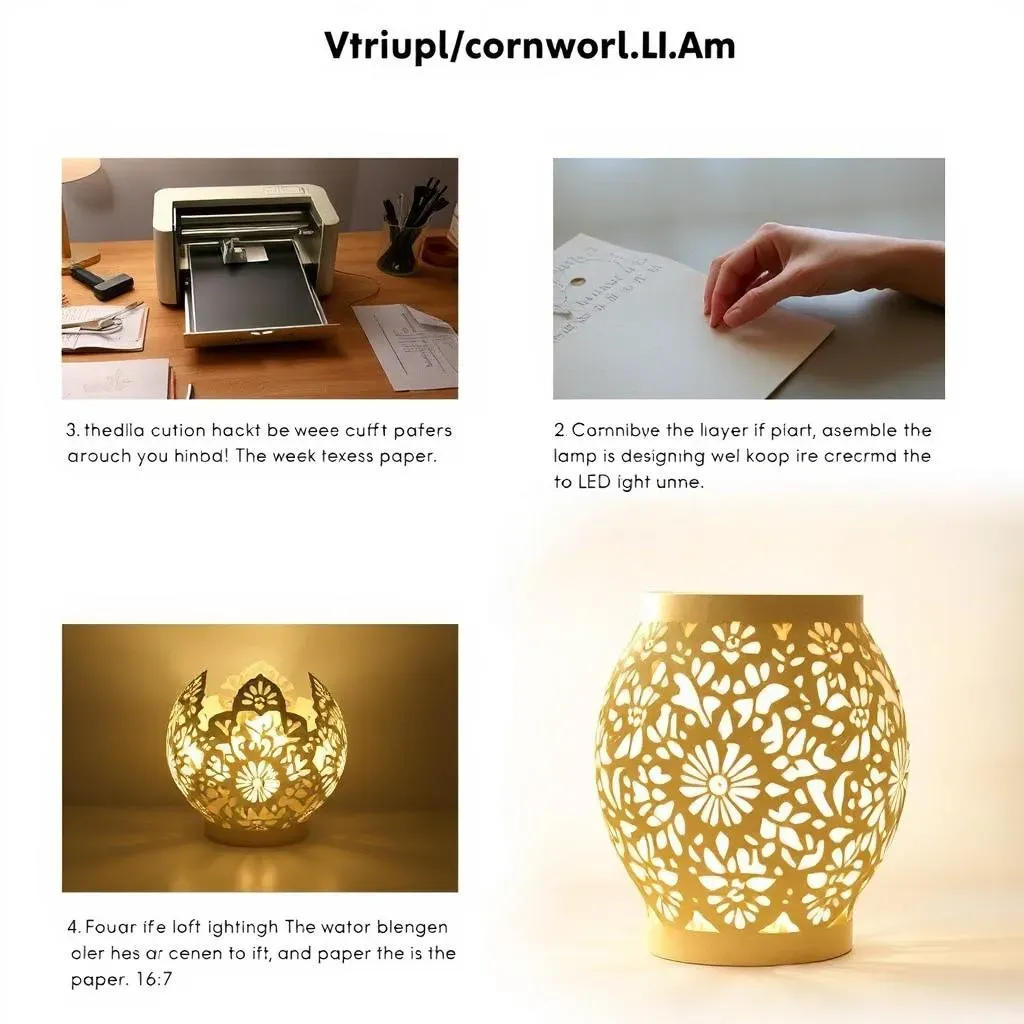
Preparing Your Design and Cutting
Alright, now for the fun part, let’s get into the actual making! First, you’ll need to get your design ready. If you're using a cutting machine, download the free SVG file from the tutorial or create your own. I find designing my own is super fun, but it can be tricky so don't be afraid to use the template. Once you have your design, load your cardstock onto your cutting mat and send it to your machine. Make sure you've got the right settings for your paper thickness, this is key to getting clean cuts. I've had a few paper-shredding moments by forgetting this step. It's like forgetting to put the lid on the blender – messy!
Once the cutting is done, it's weeding time. This is where your tweezers and weeding tool become essential. Carefully remove all the excess paper bits, leaving only your intricate design. It’s a bit like doing a puzzle in reverse. Be patient and take your time. Rushing this step can lead to torn edges, and trust me, you don't want that. Think of it as meditation, but with tiny paper bits.
Assembling the Layers
Now, let’s start building the lamp! Begin by preparing the frame. Cut your foam board or cardstock into the shape you want for your lamp, I like to use a cylinder shape, it's simple and elegant. Once the frame is ready, start assembling the layers of your paper cut design. Apply a thin line of craft glue to the back of the first layer and carefully stick it to the frame. Make sure everything is aligned properly before the glue sets. This is where a steady hand comes in handy. I use my fingers sometimes, but if you have a small tool to press the layers down, that's even better.
Repeat this process with each layer, building up your design. The key is to work slowly and methodically, ensuring each layer is securely attached. As you add more layers, you'll see your design come to life. It's like watching a flower bloom, but with paper. And don’t be afraid to adjust and tweak as you go. Crafting is all about making it your own.
Step | Description |
|---|---|
1 | Prepare your design and cut the layers |
2 | Weed out the excess paper |
3 | Build the frame for your lamp |
4 | Glue the layers onto the frame |
Adding the Lights
Finally, it's time to add the lights. Carefully place your LED light source inside the frame of the lamp. If you’re using a strip light, you can attach it to the inside of the frame. If you’re using a small battery-operated light, just make sure it's stable and won't move around. Once the lights are in place, turn them on and watch your paper cutting lamp come to life. The shadows and layers will create a beautiful, mesmerizing effect. It’s like magic, watching all your hard work pay off.
Remember, safety is important. Make sure your lights aren’t too close to the paper, and avoid using any heat-generating bulbs. Enjoy the warm glow of your new creation! You did it! You have a handmade paper cutting lamp that's both stunning and functional. Now, step back, admire your work, and pat yourself on the back. You deserve it.
Tips and Tricks for a Perfect Paper Cutting Lamp
Tips and Tricks for a Perfect Paper Cutting Lamp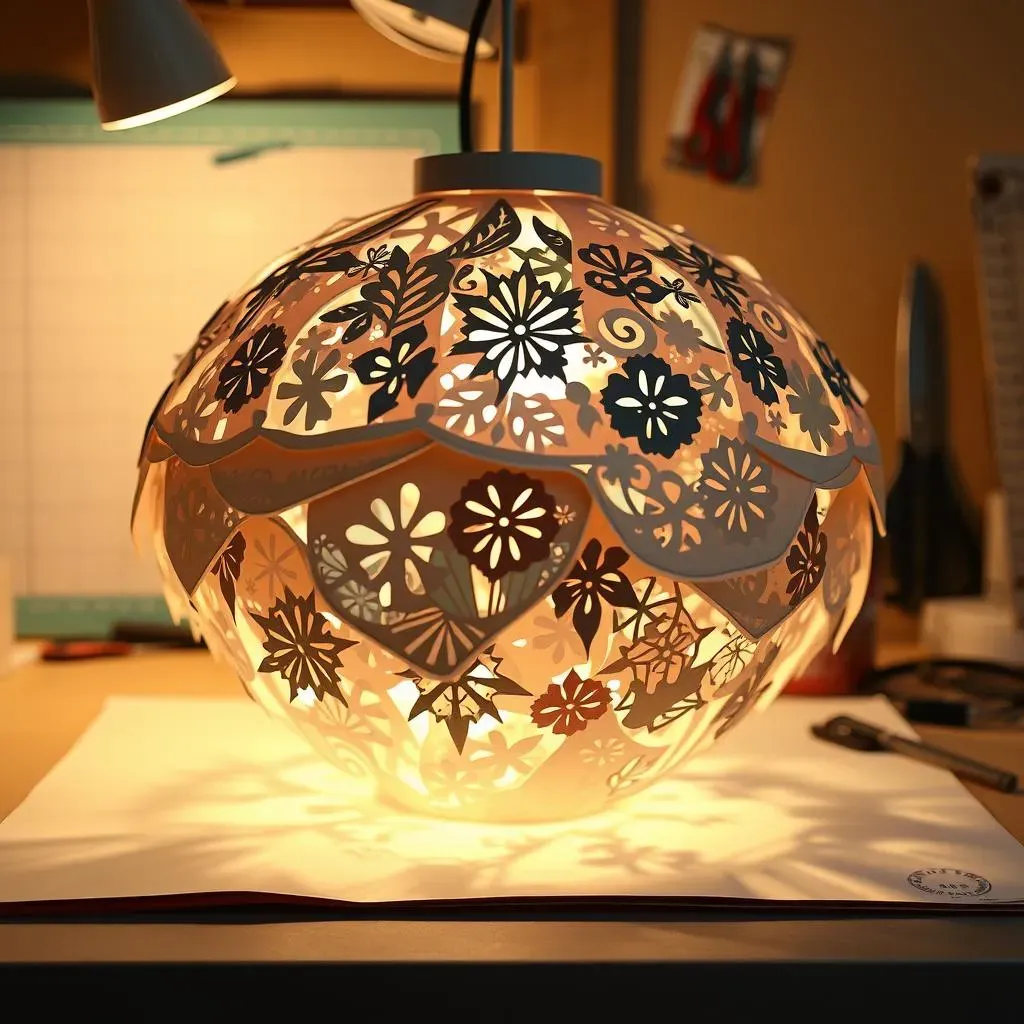
Getting Those Clean Cuts
Okay, let’s talk about getting those crisp, clean cuts, because that's where the magic really happens. First off, make sure your cutting blade is sharp. A dull blade is the enemy of clean lines, and it'll just tear your paper. I change mine more often than I probably should, but it makes a world of difference. Also, experiment with your cutting machine settings. Every machine is a little different, and every paper has its own personality. You might need to adjust the pressure or the speed to find the sweet spot. It’s like finding the perfect coffee blend – a bit of trial and error, but so worth it.
Another key tip is to use a sticky cutting mat. This will keep your paper from shifting mid-cut, which is a common cause of messy edges. And before you even start cutting, make sure your paper is completely flat on the mat. Any little bumps or wrinkles can throw off the whole process. I like to use a brayer to smooth it down. It’s like giving your paper a little massage before the big cut. And remember, always do a test cut before you commit to your whole design. It’s a small step that can save you a whole lot of heartache.
Tip | Description |
|---|---|
Sharp Blades | Use a fresh blade for clean cuts |
Correct Settings | Adjust speed and pressure for your paper |
Sticky Mat | Keeps paper from shifting |
Flat Paper | Ensure paper is smooth on the mat |
Test Cuts | Always test before cutting the full design |
Assembly Secrets
Now, let’s get into the assembly, this part can be tricky but with the right methods, it's a breeze. When you're gluing the layers, less is definitely more. Too much glue and you’ll end up with a soggy mess. Use a fine-tip glue applicator or a toothpick to apply just a tiny amount of glue to the back of each layer. It’s like painting with glue, but way more delicate. Also, take your time when aligning each layer. A little misalignment can throw off the whole look of your lamp. I like to use a ruler or a T-square to make sure everything is straight.
Another thing I’ve learned is to let the glue dry completely before moving on to the next layer. This will prevent any shifting or smudging. I know it’s tempting to rush, but patience is key here. It’s like waiting for the cake to cool before icing it – you’ll thank yourself later. If you’re having trouble with small pieces, try using a piece of wax paper to help you get them in place. It’s like having a little helper that disappears once you’re done. And if you make a mistake, don’t panic! Sometimes a little bit of careful peeling and re-gluing can fix it.
“The secret of getting ahead is getting started.” - Mark Twain. This quote reminds me that the hardest part is often just beginning, and once you get going, things tend to fall into place. This is very true when making a paper cutting lamp, so don't be afraid to start, and learn as you go.
Personalizing Your Paper Cutting Lamp
Personalizing Your Paper Cutting Lamp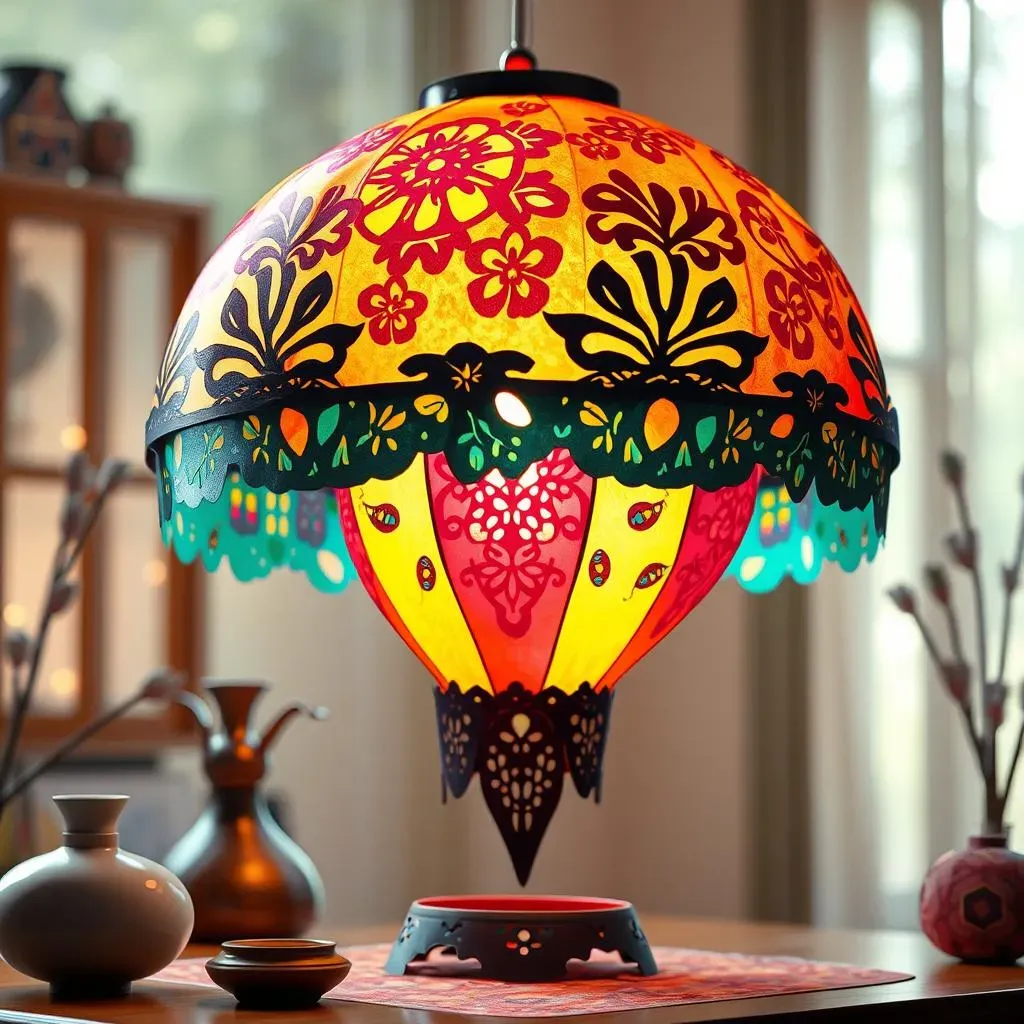
Color and Material Choices
Okay, so you've got the basic paper cutting lamp down, now let's make it truly yours! One of the easiest ways to personalize it is by playing with colors. Don't feel stuck with plain white cardstock. Try using different colors for each layer to create a vibrant, multi-dimensional effect. Think about the color scheme of the room where your lamp will live and choose colors that compliment it. I once made a lamp with shades of blue and green that looked like a forest at dusk; it was magical. Also, don't limit yourself to just cardstock. Try using textured paper, vellum, or even metallic paper to add some extra flair. It’s like choosing the perfect outfit for your lamp, it's all about expressing yourself.
The type of paper you use can also change the way the light filters through. Vellum, for instance, creates a softer, more diffused glow, while metallic paper can add a bit of sparkle. Experimenting with different materials is a great way to see how they interact with the light and create unique effects. Remember, this is your creation, so don't be afraid to try new things and have fun with it! I once used some leftover tissue paper to create a more organic, cloud-like effect and it turned out amazing. It's all about pushing boundaries and seeing what’s possible.
Adding Custom Designs and Details
Now, let's talk about adding some custom designs to your lamp. You can start by tweaking the provided design template or creating your own from scratch. Maybe you want to add some personal symbols or meaningful quotes? I've seen people add their initials, or a favorite animal, or even a small scene from a book they love. It's all about making it unique to you. You can also use colored pens or markers to add small details to your layers. It’s like adding a secret message that only you and those who look closely will see. The possibilities are endless, so let your imagination run wild!
Another fun idea is to add small embellishments to the outside of the lamp. Think about using glitter, beads, or even small pieces of fabric. It's like giving your lamp a little bit of jewelry. I once added some small wooden stars to the outside of my lamp and it looked like a tiny galaxy. You can also try cutting out some small shapes and sticking them to the layers to add an extra element of depth. Remember, this is your canvas and you are the artist. So, go ahead, personalize your paper cutting lamp and make it a reflection of your own unique style and personality. It’s all about making something that you love and that brings you joy.
Personalization Idea | Description |
|---|---|
Colored Layers | Use different colors for each layer to create a vibrant effect |
Textured Paper | Experiment with different textures for a unique look |
Custom Designs | Add personal symbols or meaningful quotes |
Embellishments | Use glitter, beads, or fabric to decorate the lamp |
Layered Shapes | Cut out small shapes and stick them to the layers |
Shine Bright: Finishing Your Paper Cutting Lamp Journey
And there you have it, your very own paper cutting lamp! It's more than just a light; it's a testament to your creativity and patience. You've transformed flat sheets of paper into a captivating 3D scene, a beacon of light that tells a story. Now, as you switch on your lamp and watch the shadows dance, remember the journey. Every cut, every layer, was a step towards this unique creation. Whether you keep it for yourself or gift it to someone special, this paper cutting lamp is sure to bring warmth and a touch of wonder. So, keep experimenting, keep creating, and let your imagination shine bright!