Table of Contents
Ever looked at a piece of paper and thought, "I could make something amazing with this"? That's the magic of paper cutting ki design! It's a super cool art form that lets you transform ordinary paper into extraordinary creations. We're not just talking about simple snowflakes here, we're talking intricate patterns, delicate shapes, and designs that can wow anyone. This article is your friendly guide to getting started. We'll begin with the basics, looking at what you need to get started with paper cutting ki design, from the right tools to the easiest ways to make those first cuts. Then, we'll move on to some simple projects that will help you get the hang of things. Finally, if you're feeling adventurous, we'll touch on some slightly more advanced methods to really bring your paper art to life. So, grab your paper, get your scissors ready, and let's get cutting!
Getting Started with Paper Cutting Ki Design
Getting Started with Paper Cutting Ki Design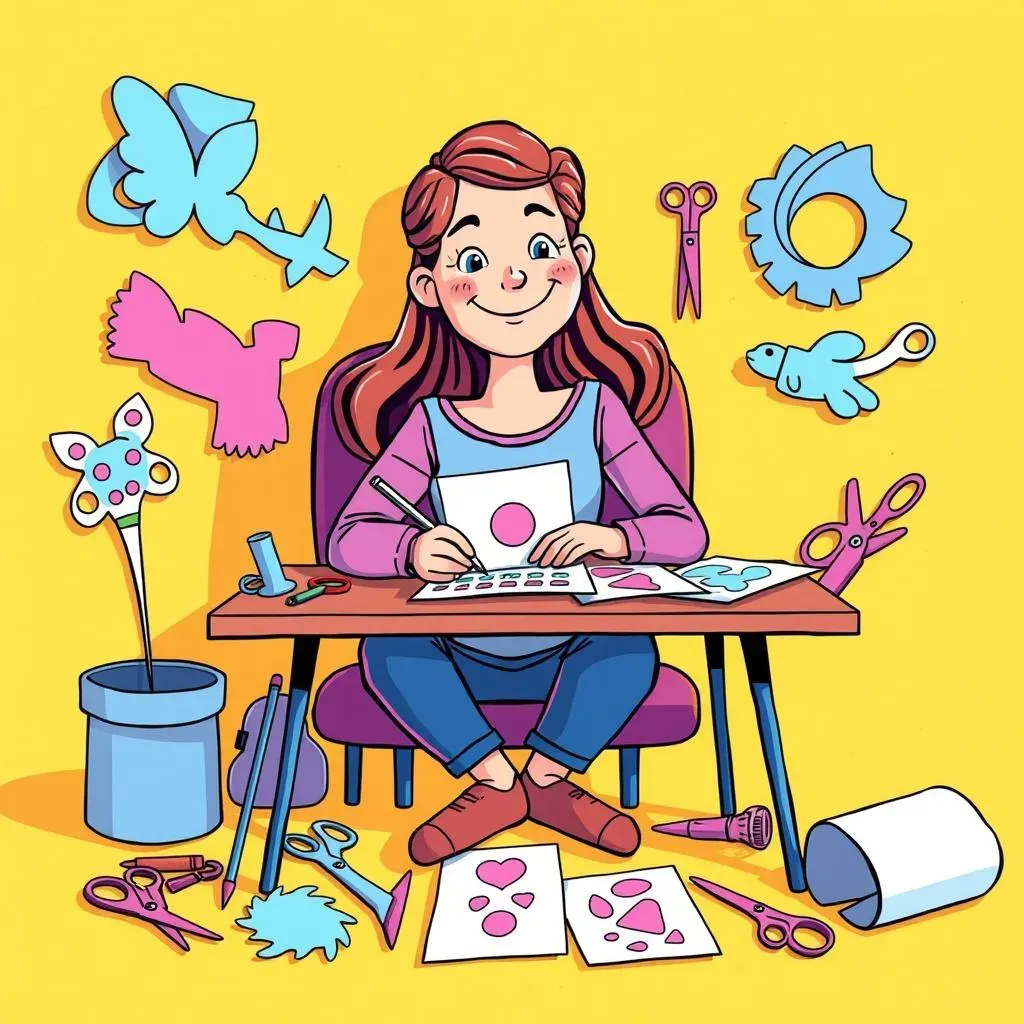
Okay, so you're curious about paper cutting ki design? That's awesome! It's like magic, but with paper and a blade. The first thing to know is that you don't need to be a pro artist to start. Seriously, anyone can do it. The most important thing is to have patience and a willingness to experiment. Think of it like learning to ride a bike, you might wobble a bit at first, but with practice, you'll be making amazing designs in no time. The whole idea is to transform a flat sheet of paper into something cool using just cuts. We're not folding or gluing here, just cutting! It might seem scary at first, but trust me, it's super fun and relaxing once you get the hang of it. So, let's get into it! What do you need, you ask? Well, it's not much, which is why it's so accessible to everyone. Let's move to the next section where I will tell you what tools you need.
Essential Tools for Paper Cutting Ki Design
Essential Tools for Paper Cutting Ki Design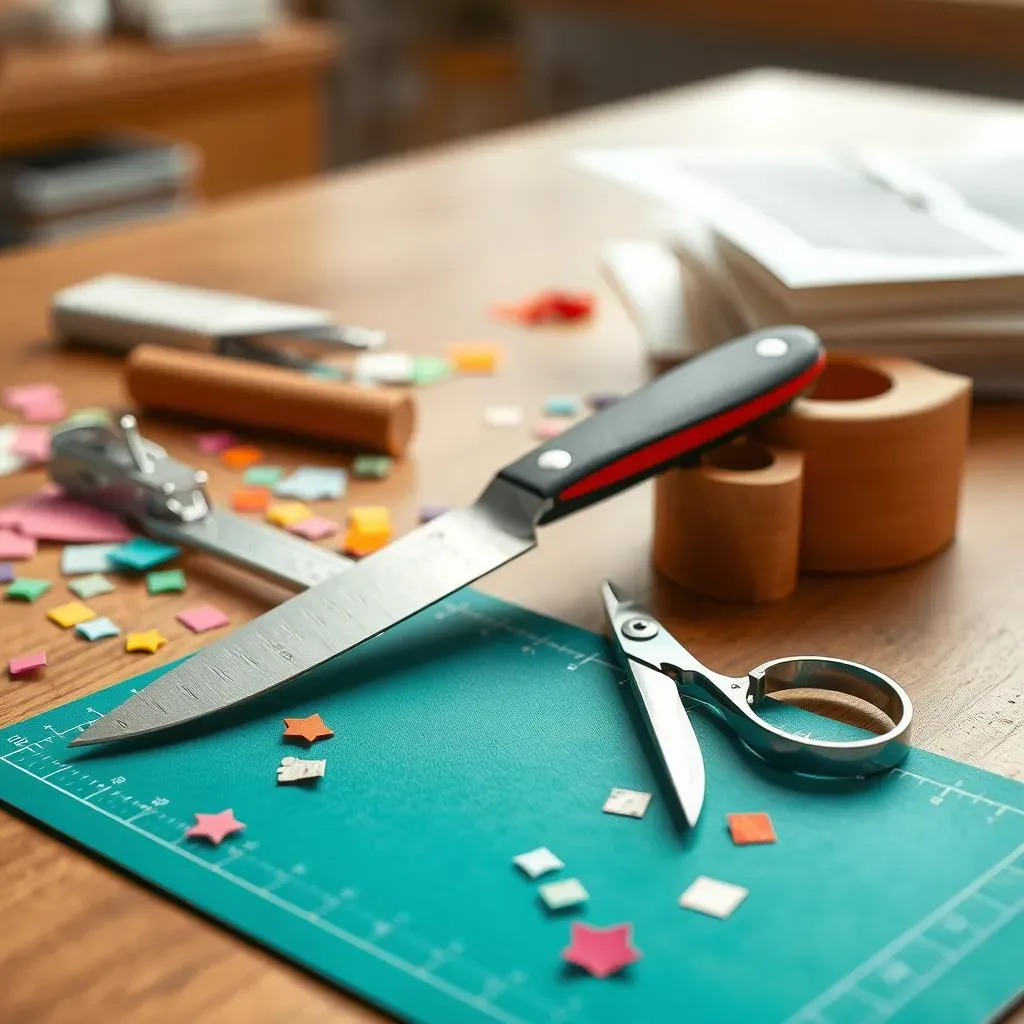
The Paper Itself
First things first, let's chat about paper. You might think, "It's just paper, right?" Nope! The type of paper you use can make a big difference. For beginners, I’d suggest starting with something medium-weight, like printer paper or cardstock. It's easy to cut, and you probably already have some lying around. Avoid super thin paper at first; it can tear easily, and no one wants that frustration. As you get better, you can try different papers, like vellum or colored paper, each giving a different look to your paper cutting ki design. It's all part of the fun!
Also, think about the color of your paper. White is classic, but don’t be afraid to experiment with colors. Black paper with white cuts is also a great combo for a dramatic look. The paper is your canvas, so choose wisely! And remember, you don't need to buy fancy, expensive paper to start with. Just use what you have and don't be afraid to try something different. Trust me, it's all part of the fun and discovery of paper cutting ki design. Now, let’s move on to the cutting tools.
Cutting Tools: Precision is Key
Alright, let's talk cutting tools. You can't just use any old scissors you found in the junk drawer. Well, you *can*, but you probably won't get the super clean lines you're hoping for. A craft knife or scalpel is your best friend here. They're super sharp, which means you need to be careful, but they give you a lot more control. I recommend a self-healing cutting mat to go with it. This mat protects your table and also helps keep your blade sharp. It's a must-have, trust me, you don't want to be cutting on your mom's dining table! And don't forget a metal ruler for those straight lines, plastic ones can slip.
You can also use scissors, especially for larger shapes or when you're first starting out. Small, sharp scissors are best. Think embroidery scissors, not kitchen shears. Start with the basics and as you progress you can start to buy more expensive tools. Remember, the goal is to have fun and not stress out about having the “perfect” tool. Also, always keep your blades sharp because dull blades are dangerous and will make your cuts look ragged.
Tool | Why You Need It | Beginner Friendly? |
|---|---|---|
Craft Knife/Scalpel | For precise cuts and intricate details. | Yes, with care |
Self-Healing Cutting Mat | Protects your work surface and keeps blades sharp. | Yes |
Metal Ruler | Helps make straight cuts and guides blades. | Yes |
Small Sharp Scissors | For larger cuts and easy handling. | Yes |
Easy Paper Cutting Ki Design Projects
Easy Paper Cutting Ki Design Projects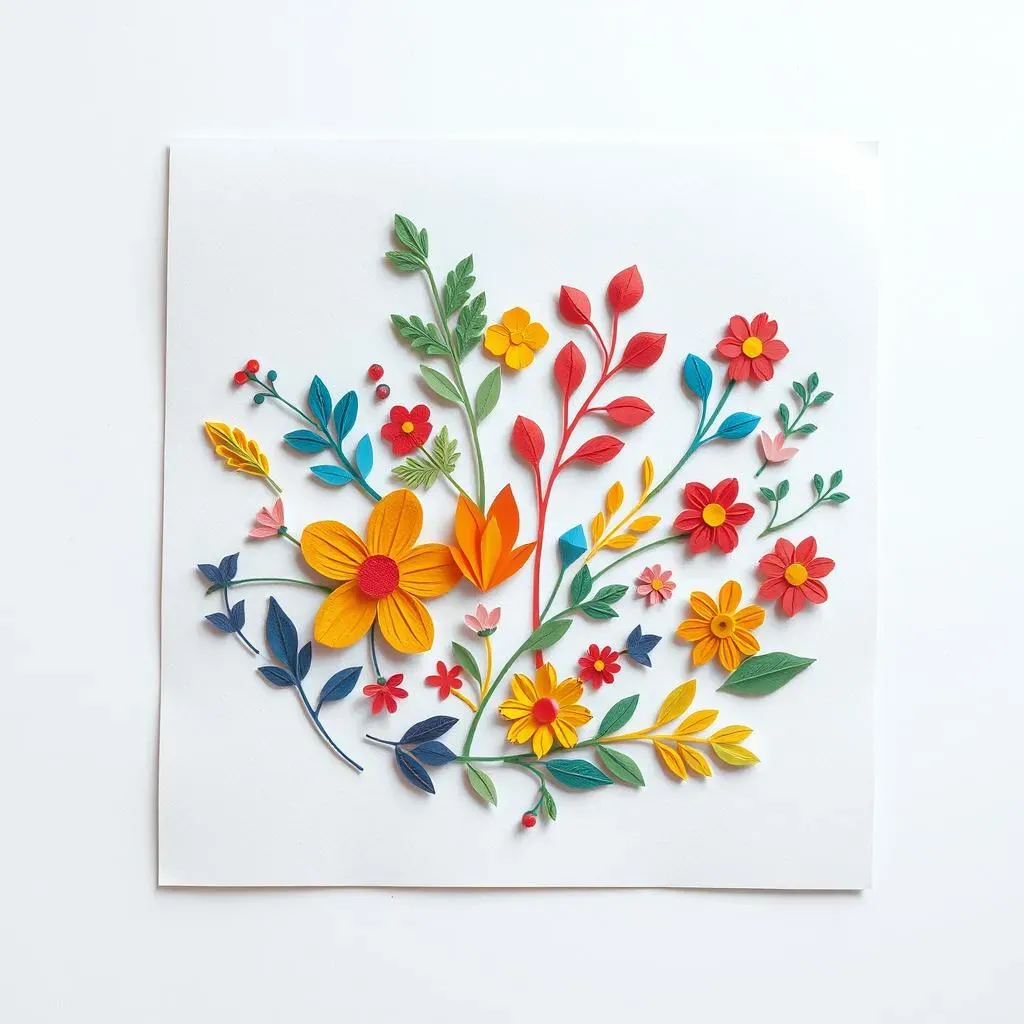
Simple Shapes: The Building Blocks
Okay, so you’ve got your paper and your tools, now what? Let's start simple. Don't jump into trying to cut a dragon right away. Start with basic shapes like squares, circles, and triangles. These are like the ABCs of paper cutting ki design. Cutting these shapes will help you get comfortable with your tools and how the paper behaves. Try cutting out a series of squares of different sizes and then arrange them on another piece of paper. Boom! You've created art. You can also try cutting out a bunch of circles, and then cut smaller circles inside of those circles. See how different sizes and shapes interact with each other? You can even make a pattern using a repeated shape, like a triangle border. This is all about getting a feel for the process, and it's way more fun than it sounds!
Another cool project to start with is making simple snowflakes. Fold your paper into a triangle, then cut different shapes along the edges. Unfold it and BAM! You have a snowflake. Each one will be unique, which is pretty awesome. This is a great way to see how just a few cuts can create something totally different. These simple projects will help you build confidence and get your creative juices flowing. Don't worry if your cuts aren't perfect, the goal is to learn and have fun. Once you feel comfortable with these shapes, we can move on to slightly more complex stuff.
Nature-Inspired Designs: Leaves and Flowers
Now that you've mastered the basic shapes, let's bring a little nature into your paper cutting ki design. Leaves and flowers are surprisingly easy to create, and they look beautiful. Start by drawing a simple leaf shape on your paper, then cut it out. You can add little cuts along the edges to give it a more detailed look. Try different leaf shapes, like oak leaves or maple leaves. It's fascinating to see how different the cuts can look while using the same technique. For flowers, start with a basic circle, and then cut petal shapes around it. You can even add some smaller circles in the center. Don't worry about making them perfect, nature isn't perfect, so your paper flowers don't have to be either.
Think about different kinds of leaves and flowers you see around your neighborhood. What makes them unique? Try to capture that in your paper designs. You can use these designs to decorate cards, make a mobile, or even just put them on your wall. Nature is an endless source of inspiration, and it's a great way to make your paper cutting ki designs more personal. Plus, it's a nice reminder of the beauty all around us. Don't be afraid to experiment with different shapes and sizes. There are no wrong answers here, just new designs to be discovered. So, let's get inspired by the natural world and make some beautiful paper art!
Project | Difficulty | Tools Needed |
|---|---|---|
Simple Shapes | Very Easy | Paper, scissors/craft knife, cutting mat |
Snowflakes | Easy | Paper, scissors |
Leaves | Easy | Paper, scissors/craft knife, cutting mat |
Flowers | Easy | Paper, scissors/craft knife, cutting mat |
Advanced Techniques in Paper Cutting Ki Design
Advanced Techniques in Paper Cutting Ki Design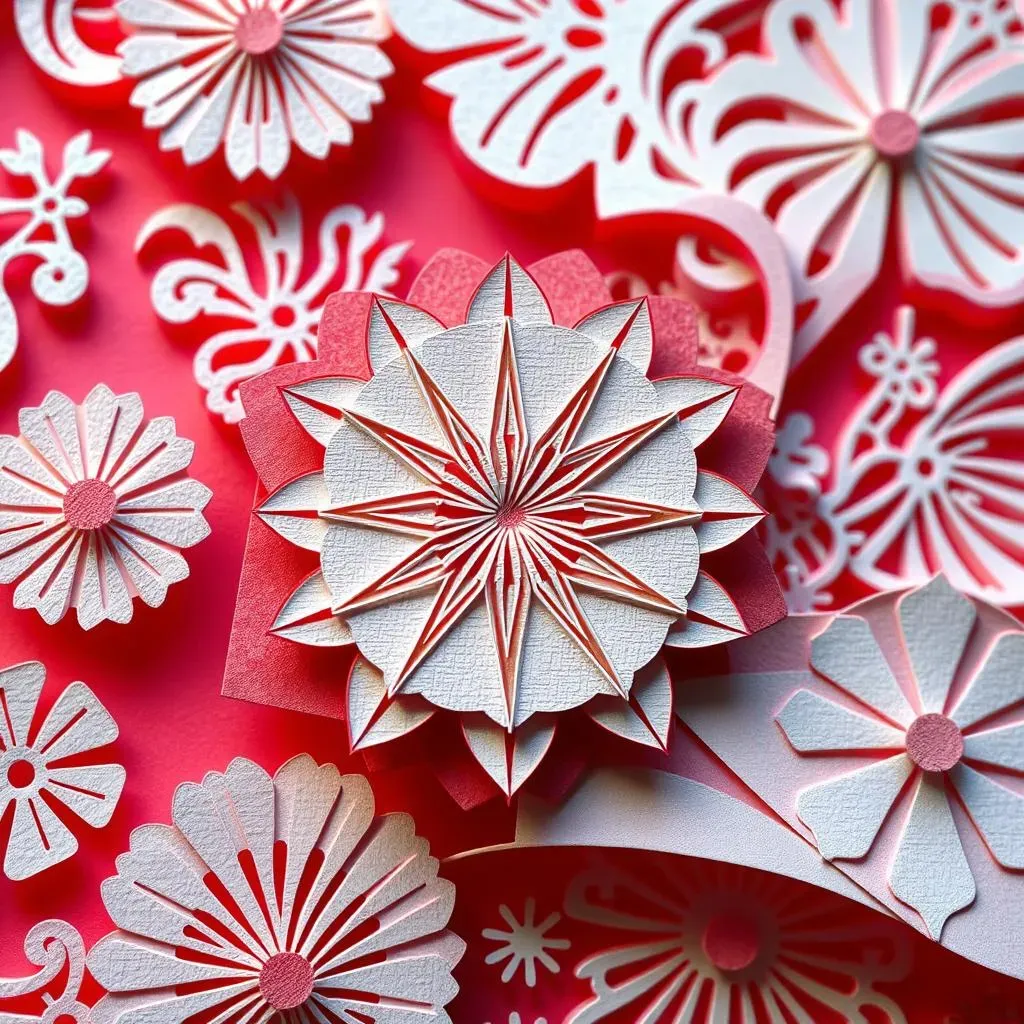
Layering: Adding Depth to Your Design
Alright, so you’re not a newbie anymore, huh? You've mastered the basics, and now you're itching for something more complex. Let's talk layering. This technique is like adding a 3D effect to your paper cutting ki design. Instead of just cutting one layer of paper, you cut multiple layers and then stack them on top of each other. Imagine cutting a forest scene, you could cut the trees in one layer, the mountains in another, and maybe some birds in a third. By layering them, you create depth and perspective. It’s like bringing your paper to life, making it pop out at the viewer. It does require more planning and precision, but the results are totally worth it. It's like creating a tiny diorama on paper.
To start, sketch out your design and think about which elements you want to layer. Cut out each layer separately, and then use glue or foam tape to stick them together. Using foam tape will create more depth, which is great for a dramatic effect. You can also use different colored papers for each layer to add more visual interest. Layering is not just about stacking, it is also about how each layer interacts with each other. Play around with the spacing and the alignment of each layer. It is a fantastic method to make your paper cutting ki designs look more intricate and professional. But remember, patience is key here, and take your time, each layer adds a new dimension of complexity to your work.
Intricate Patterns: The Devil is in the Details
Okay, let's really get into the nitty-gritty. Once you're comfortable with layering, you might want to try your hand at more intricate patterns. Think complex geometric designs or repeating patterns that require a high level of precision. This is where your craft knife really shines. Start by sketching your pattern on the paper, then carefully cut along the lines. You can try making a mandala design, which involves a lot of repeating shapes and lines. Use your ruler to make sure your lines are straight, and take your time. Rushing will only lead to mistakes. It's almost meditative, the focus it takes to make those precise cuts. This requires a steady hand and a lot of patience, but the result is a beautiful piece of paper art.
Another thing you can try is using stencils. You can buy stencils or make your own. This is particularly useful when you need to make a lot of the same pattern. It's all about finding new ways to challenge yourself and push the boundaries of what you think is possible with paper cutting ki design. Don't be afraid to make mistakes, they are a part of the learning process. The more you practice, the better you will get. It’s like learning a new language, the more you use it, the more fluent you become. So, let's embrace the challenge and create some mind-blowing paper art!
Technique | Description | Difficulty | Tips |
|---|---|---|---|
Layering | Stacking multiple paper cuts to create depth. | Medium | Use foam tape for more depth, plan your layers carefully. |
Intricate Patterns | Cutting complex geometric or repeating patterns. | Hard | Use a sharp craft knife, take your time, use stencils. |
Wrapping Up Your Paper Cutting Ki Design Journey
So, you've journeyed through the basics of paper cutting ki design, explored some cool tools, and maybe even tackled a simple project or two. Remember, this art form is all about practice and patience. Don't worry if your first few attempts aren't perfect; every cut, every mistake, is a step towards mastering this craft. The real beauty of paper cutting ki design lies in the endless possibilities it offers. Keep experimenting with different designs, papers, and techniques. Let your imagination guide you, and you'll be amazed at the beautiful things you can create with just a bit of paper and a pair of scissors. Happy cutting!