Table of Contents
Ever looked at an intricate paper design and wondered, "How did they do that?" Well, you're in the right place! This guide is your starting point for exploring the fascinating world of "paper cutting ka design." Forget complicated art forms; we're diving into something that's both simple and incredibly rewarding. Think of it as drawing with a knife, but instead of adding lines, you're taking them away. We'll start with the basics, like gathering your tools and mastering the essential cutting techniques. Then, we'll move on to practical steps that will have you creating your own amazing paper art in no time. From choosing the right paper to handling those tricky corners, you'll learn everything you need to know. This isn't about perfection; it's about the joy of creating. So, grab your scalpel and let’s get started on this creative adventure. Get ready to learn how to make your own impressive paper cutting ka design, even if you’ve never tried before!
Essential Tools for Paper Cutting Ka Design
Essential Tools for Paper Cutting Ka Design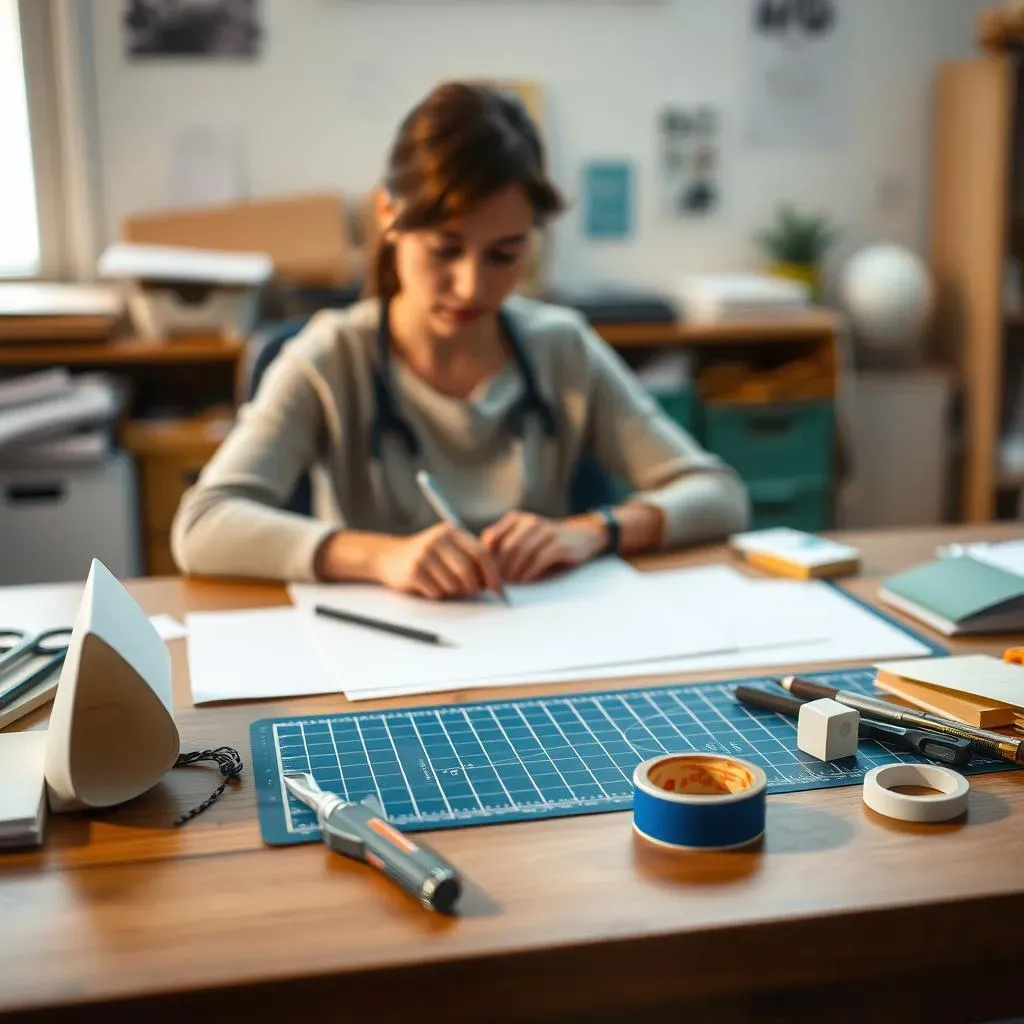
Okay, so you're itching to get started with paper cutting, right? First things first, let's talk tools. You can't just grab any old thing and expect to make magic happen. You need the right gear, like a wizard needs their wand! Think of these tools as your best friends in the crafting world. We are talking about a scalpel, not the kind doctors use, but a craft one, with a sharp point and a flexible blade. You also need a cutting board, like a self-healing mat. This is really important to protect your table. Then, you’ll need your card or paper, of course, plus a glue stick and some masking tape. Oh, and a design to cut out. It's a bit like cooking, you gotta have all the ingredients before you start, or it’s just gonna be a mess.
Let's break that down a bit more, shall we? For the scalpel, you want one that feels good in your hand, not too heavy, not too light. And always, always have a spare blade. Trust me, they break, and it’s the most annoying thing when you’re in the zone. The cutting mat is super important, it’s like a shield that protects your table from the sharp blade. Don't cheap out on this, you'll thank me later. Then, for your paper, experiment a bit! Some papers are easier to cut than others, so try different thicknesses and textures to find your fave. The glue stick is for sticking the design to the card, and masking tape? Well, we’ll get to that later, let’s just say it’s for those “oops” moments.
Tool | Why You Need It | Pro Tip |
|---|---|---|
Scalpel | Precision cutting | Always have spare blades. |
Cutting Mat | Protects your work surface | Get a self-healing one. |
Card or Paper | The base for your design | Experiment with different types. |
Glue Stick | Attaching the design | Use sparingly. |
Masking Tape | Fixing mistakes | Your secret weapon. |
StepbyStep Guide to Paper Cutting Ka Design
StepbyStep Guide to Paper Cutting Ka Design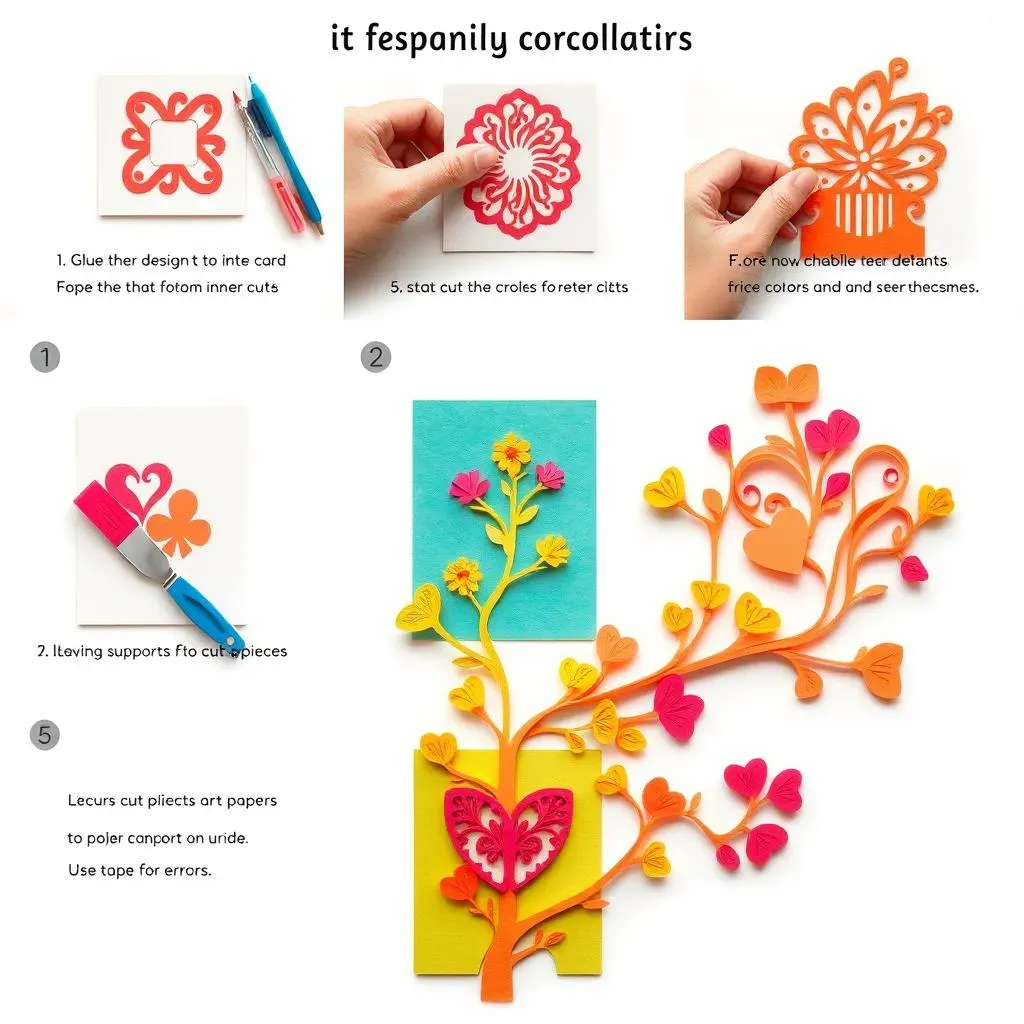
Alright, let’s get into the nitty-gritty of "paper cutting ka design". It's not just about hacking away at paper; there's a little bit of strategy involved. First, you've got to prep your card. Grab that glue stick and apply a thin layer to the back of your design – the picture you're cutting out. Then, carefully stick it to the left-hand side of your card. Why the left? Well, it’s just easier to see what you're doing if you’re right-handed. If you are left-handed, then do the opposite. Now, this is where the magic starts, grab your scalpel and start cutting out the design. Start with the inner parts first. It’s like eating a sandwich, you don’t start from the outside, right? You need to start from the inside.
As you cut, remember to leave at least three supports for each piece. Think of these supports like little bridges. They keep your paper from flopping around and breaking. It's like building a house, you need supports to make sure it stays up. Don't try to cut everything out at once. Do a bit, then remove the cut-out pieces as you go. You can use your knife or your fingers to lever them out gently. If you try to cut everything at once, you’ll just end up with a big mess. It's like trying to juggle too many balls at once, it's just going to end up on the floor. And if you make a mistake, don’t sweat it. Sticky tape is your friend. Use it to fix any accidental cuts or to hold a piece that broke off. It’s like using a band-aid for paper cuts, no big deal.
Step | Action | Why |
|---|---|---|
1 | Glue design to card | Provides a guide for cutting. |
2 | Start cutting inner parts | Easier to manage. |
3 | Leave supports | Keeps the design intact. |
4 | Remove pieces as you go | Avoids a paper jam. |
5 | Use tape for mistakes | Everyone makes them. |
Tips and Tricks for Perfecting Your Paper Cutting Ka Design
Tips and Tricks for Perfecting Your Paper Cutting Ka Design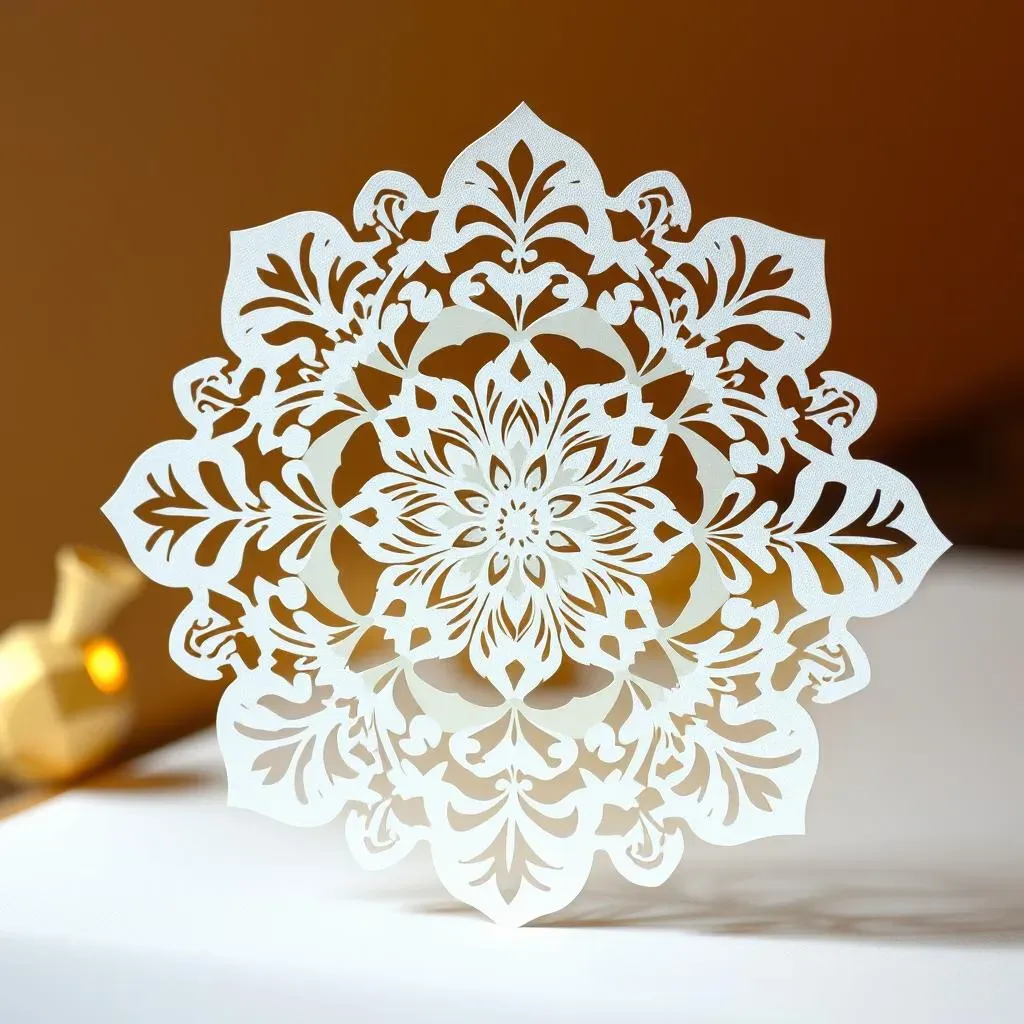
Okay, so you’ve got the basics down, but you want to take your "paper cutting ka design" skills to the next level, right? It’s time for some insider tips and tricks. First off, let's talk about those fiddly bits, those tiny little cuts that seem to have a mind of their own. The key here is patience, my friend. Don't try to rush it. Take your time, and use the tip of your blade to make small, precise cuts. It’s like trying to paint a tiny detail on a canvas, you need a steady hand and a lot of focus. And those tight corners? They can be a real pain, but here is a trick: try rotating your card, not your blade. This makes it much easier to make those sharp turns. It’s like driving a car, sometimes you need to turn the wheel to make a turn.
Now, let’s talk about what to do when things go wrong. And trust me, they will. The paper might rip, or you might cut in the wrong place. Don’t panic! This is where that masking tape comes in handy. Use a tiny bit to fix any tears or to hold a piece back in place. It’s like using glue to fix a broken toy, it’s not perfect, but it does the job. And if you make a really big mistake, don’t worry, you can always hide it with another piece of paper or turn it into a feature of the design. Remember, paper cutting is all about experimentation. Don’t be afraid to try new things and make mistakes. It’s how you learn and improve. And most importantly, take breaks! Your hands will thank you. Stretching them out and taking a breather will help you avoid mistakes and keep your mind fresh, it’s like taking a break during a marathon, you need to rest so you can finish the race.
Problem | Solution |
|---|---|
Fiddly Cuts | Use small, precise cuts with the blade tip. |
Tight Corners | Rotate the card, not the blade. |
Ripped Paper | Use masking tape to fix it. |
Big Mistakes | Hide it or turn it into a feature. |
Hand Fatigue | Take regular breaks to stretch your hands. |
Finally, when you’re done cutting, you need to finish it off. Carefully peel away the design from the card, and if you want to add a bit more detail, you can use a contrasting color of paper behind your design. This makes the cut-out pop and gives it a professional look. It's like putting a frame around a painting, it just makes it look better. And remember, every paper cut is unique. It’s like a snowflake, no two are exactly the same. So, don't compare yourself to others, just enjoy the process and be proud of what you create. "The journey of a thousand cuts begins with a single blade," or something like that. So keep practicing and be patient, you’ll get there.
Here are some extra tips for you. First, always cut on a proper cutting mat. It's not just about protecting your table, it also protects your blades. Second, if you’re cutting a really complex design, use a light box. It will help you see the lines better and make your cuts more precise. Third, try using different types of paper. Some papers are easier to cut than others, so experiment and find what you like. And finally, don’t be afraid to get creative. There are no rules in paper cutting. You’re the artist, so do what you want. And remember, paper cutting is a journey, not a destination. Enjoy the process and don't be afraid to make mistakes. It’s all part of the fun. So, go forth and create some amazing paper art. You’ve got this!
- Always use a cutting mat.
- Use a light box for complex designs.
- Experiment with different papers.
- Don't be afraid to get creative!
- Practice and patience are key.