Table of Contents
Ever wanted to add a touch of handmade charm to your celebrations? Paper cutting jhalar might just be the answer. These delicate, decorative hangings aren't just pretty; they're a fun, accessible craft that anyone can master. Forget those store-bought decorations; imagine creating vibrant, unique pieces that reflect your personal style. This article will be your guide, walking you through the basics of paper cutting jhalar, from choosing the right materials to crafting intricate designs. We’ll explore a range of creative ideas to spark your imagination, then provide a clear, step-by-step approach to making your own. Finally, we'll share some pro tips to ensure your jhalar are not just beautiful but durable too. Whether you're prepping for Diwali, a birthday bash, or simply want to brighten your space, get ready to discover the joy of paper cutting jhalar and transform simple paper into stunning art.
The Basics of Paper Cutting Jhalar
The Basics of Paper Cutting Jhalar
What Exactly is a Jhalar?
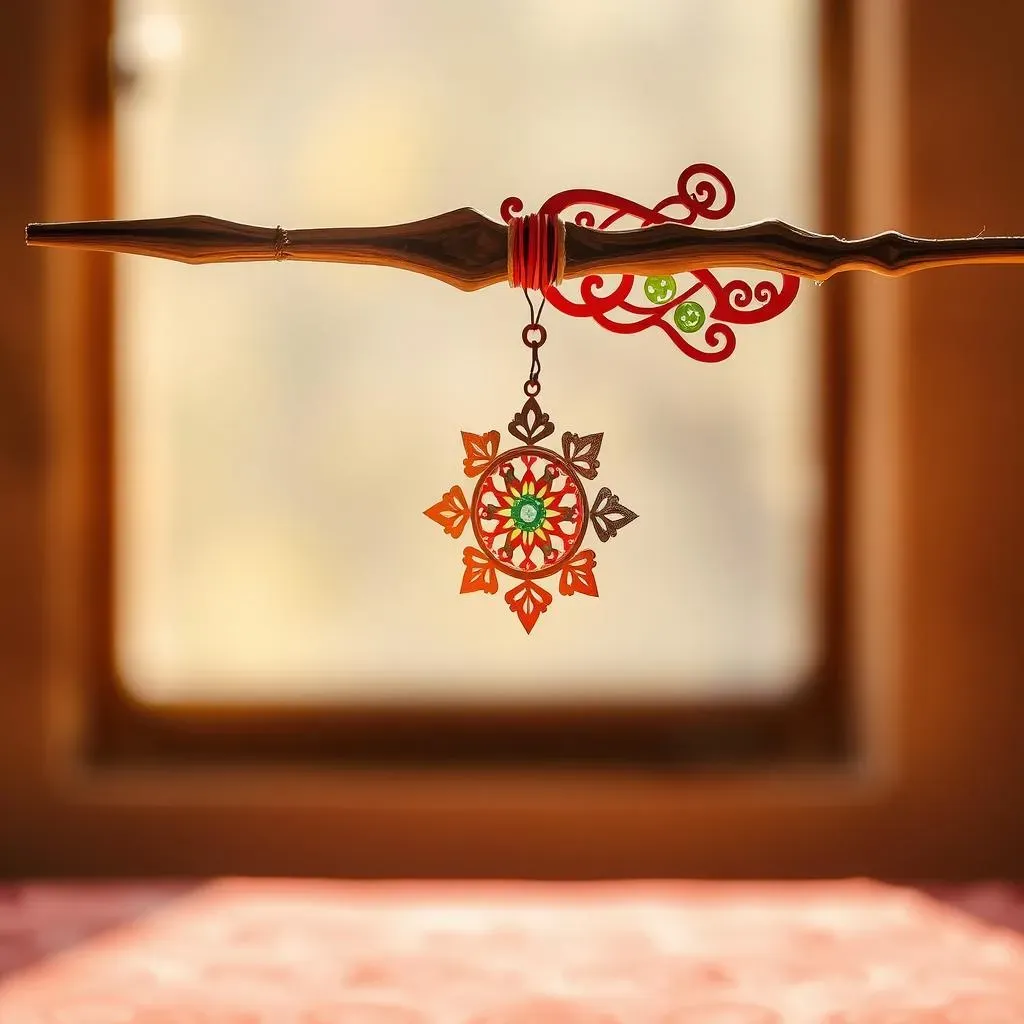
Okay, so you've heard the word 'jhalar,' but what does it actually mean? It's basically a decorative hanging, usually made from paper, that's used to brighten up spaces. Think of those colorful paper chains you might have made as a kid, but with a bit more flair. Jhalars are traditionally used in India for festivals and celebrations, adding a touch of vibrant, handmade beauty to homes and temples. They’re not just for special occasions though; you can use them to add a pop of color to any room, any day. They have a simple charm, and making them yourself makes it even more special.
Tools and Materials: Keeping it Simple
You don't need a fancy studio to start making jhalar. It's a pretty low-key craft, which is part of its appeal. Grab some colorful paper – anything goes, from tissue paper to construction paper, even old magazines if you're feeling thrifty. You'll also need a pair of scissors (safety scissors work great if you have kids joining in), some glue or tape, and maybe a ruler if you want to get precise with your cuts. That's pretty much it! The beauty of paper cutting jhalar is that you can start with the basics and then get more elaborate as you become more confident. Don’t worry about having perfect tools, just get started and have fun.
Material | Use | Notes |
|---|---|---|
Colorful Paper | Base material for jhalar | Experiment with different types and weights |
Scissors | For cutting paper | Safety scissors are great for beginners |
Glue or Tape | To assemble the jhalar | Double-sided tape is convenient |
Ruler (Optional) | For measuring and straight lines | Not essential but helpful for some designs |
Basic Cutting Techniques
Before you start cutting, it's good to know a few basic techniques. Folding paper is key. You can fold it in half, accordion-style (like a fan), or into triangles. These folds will help you create symmetrical designs. When you cut, don't be afraid to experiment. Try making simple snips, curves, or even small shapes. The beauty of paper cutting is that you can’t really mess it up. If something doesn't look quite right, you can always adjust it or even start over. It’s all about playing around and discovering your own style. Remember, there are no mistakes in crafting, only opportunities for unique creations.
Creative Paper Cutting Jhalar Designs
Creative Paper Cutting Jhalar Designs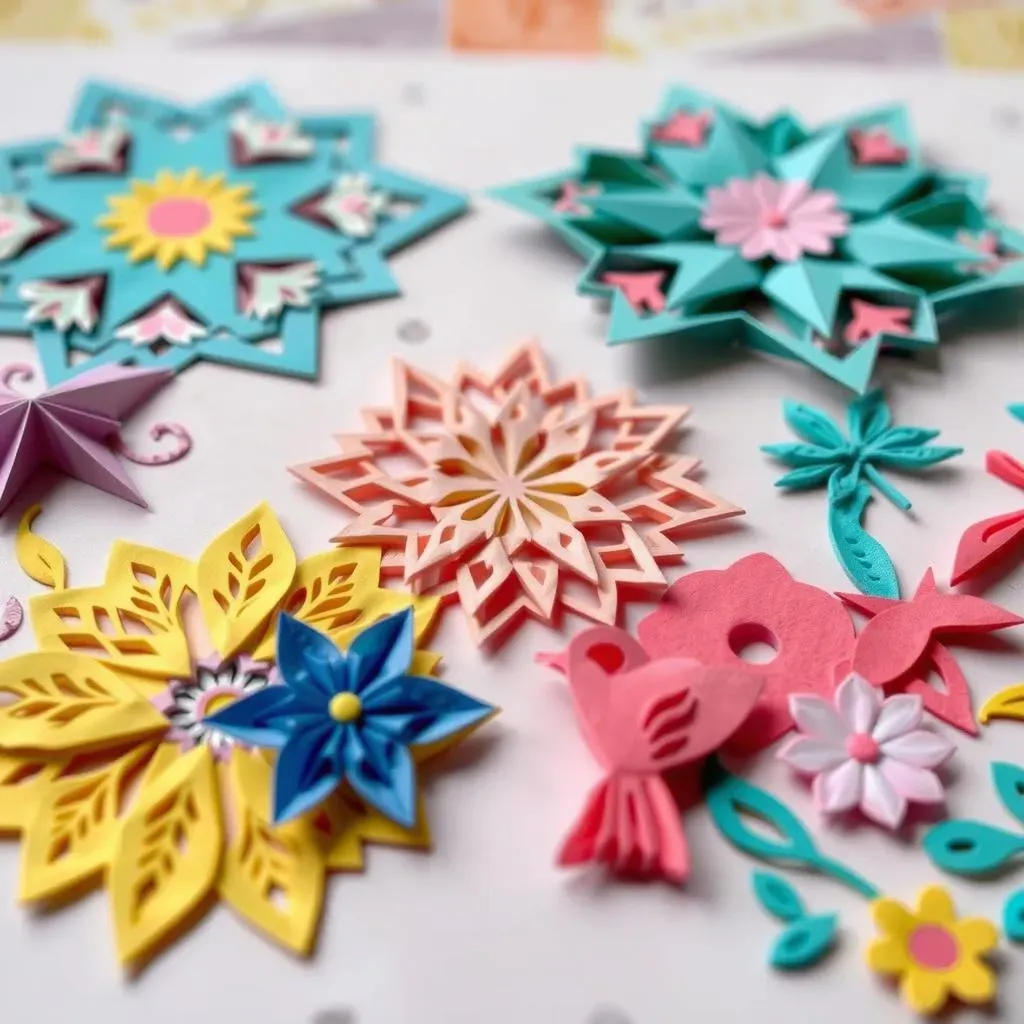
Simple Shapes, Big Impact
Let's talk designs, shall we? You don't need to be an artist to make fantastic jhalar. Start with simple shapes like triangles, squares, and circles. When you cut these shapes out of folded paper, you get cool repeating patterns. Think about making a chain of paper dolls by folding a strip of paper like an accordion and cutting out a simple figure. Unfold it, and bam! You've got a whole line of paper friends. It's all about playing with basic shapes and seeing how they transform when you unfold them. The more you experiment, the more you'll see how much you can do with just a few snips.
Nature-Inspired Designs
Nature is a fantastic source of inspiration for paper cutting jhalar. Leaves, flowers, and even birds can be turned into beautiful designs. Try cutting out simple leaf shapes, or make flower petals by cutting rounded edges on folded paper. You could even try making a basic bird shape – it doesn’t have to be perfect, just recognizable. Once you have these pieces, you can combine them to make a longer jhalar. Imagine a string of paper leaves gently swaying in the breeze, or a line of paper birds flying across your room. The possibilities are endless, and they bring a touch of the outdoors inside.
Design Idea | Description | Tips |
|---|---|---|
Simple Shapes | Triangles, squares, circles | Easy to cut, great for beginners |
Paper Dolls | Folded paper figures | Use accordion folds for best results |
Leaves & Flowers | Nature-inspired patterns | Experiment with different petal shapes |
Birds | Simple bird shapes | Don't worry about perfection, just have fun |
Intricate Patterns and Advanced Techniques
Ready to step up your game? Once you've mastered the basics, you can try more intricate patterns. Think about geometric designs, like repeating diamonds or stars. These can be a bit more challenging, but the results are stunning. You can also start incorporating more complex cuts, like tiny holes or detailed edges. You could even try layering different colored papers to create depth and dimension. And don't forget about adding small embellishments like glitter or beads to make your jhalar even more eye-catching. The sky's the limit when it comes to creativity. It's like anything else; you get better with practice, so keep experimenting and see what you come up with.
StepbyStep Guide to Making Your Own Paper Jhalar
StepbyStep Guide to Making Your Own Paper Jhalar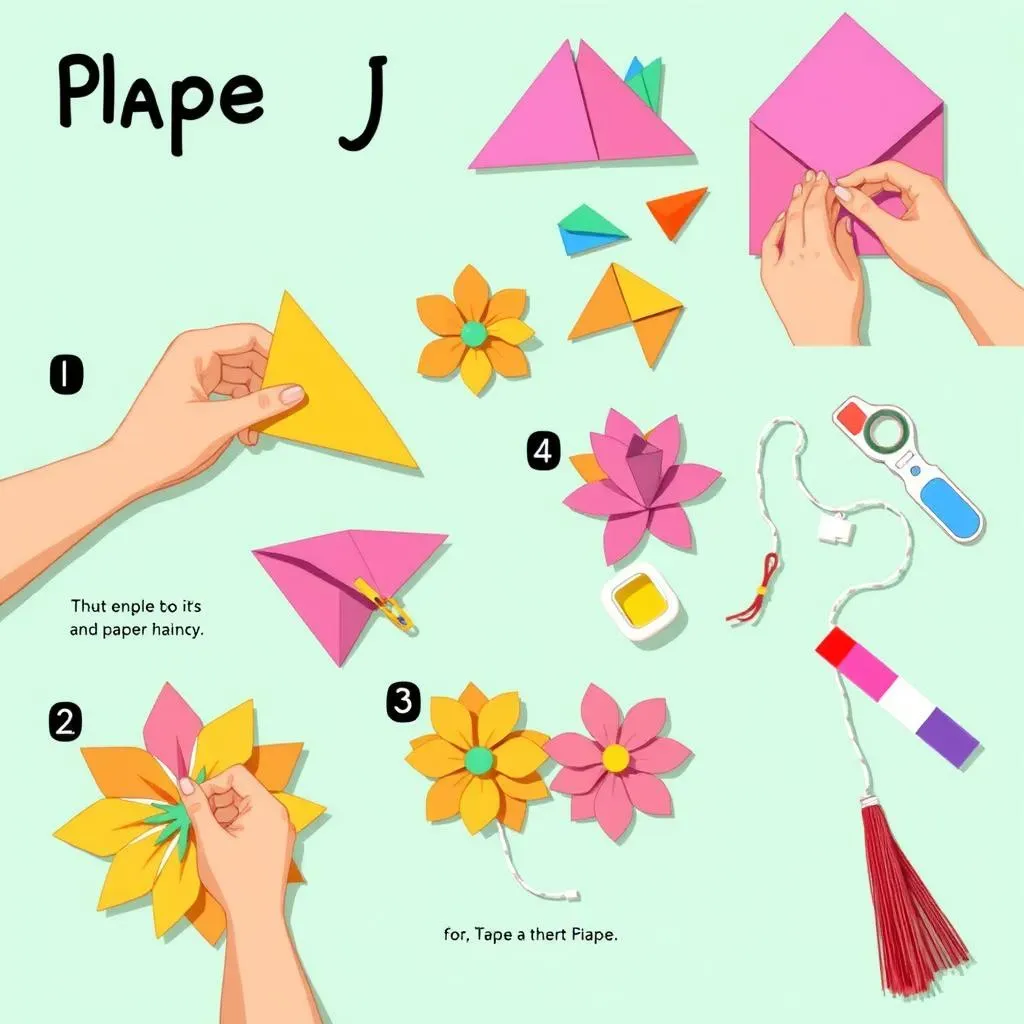
Planning Your Design
Before you even touch the scissors, take a moment to plan. What kind of jhalar do you want? A simple chain of triangles? A string of paper flowers? Maybe something more intricate? Sketching out a quick design can be super helpful. It doesn’t have to be a masterpiece, just a rough idea of what you want. This way, you can figure out how much paper you'll need and what kind of folds and cuts you'll be making. It's like having a roadmap for your craft adventure, it makes the whole process smoother and way less stressful. Trust me, a little planning goes a long way.
Cutting and Folding Techniques
Alright, let's get to the fun part: cutting! Grab your chosen paper and scissors. If you’re going for a simple repeating pattern, fold your paper first. For triangles, fold your paper in half and then in half again, creating a square. Then, cut a triangle from the open edge. Unfold, and you've got a string of triangles! For more complex shapes, you might want to draw your design on the paper first. Remember to cut slowly and carefully, especially if you're working with kids. There’s no need to rush. It's all about enjoying the process and seeing your design come to life, one snip at a time.
Step | Action | Tips |
|---|---|---|
1 | Plan your design | Sketch it out for clarity |
2 | Fold your paper | Use appropriate folds for your design |
3 | Cut your shapes | Cut slowly and carefully |
4 | Unfold and admire | See your design come to life |
Assembling Your Jhalar
Now that you have all your cut-out pieces, it’s time to put it all together. You can use glue or tape to connect your pieces, or even string them together with a needle and thread. If you’re using glue, make sure you don’t use too much, or your jhalar will get soggy. Double-sided tape is a great option for a cleaner, faster assembly. If you’re stringing them, make sure you leave enough space between each piece, so they don't overlap. It’s like putting together a puzzle, each piece has its place, and when you are done, you get a cool decoration. Take your time, and enjoy watching your creation take its final form.
Adding Finishing Touches
Your jhalar is almost done! Now is the time to add any finishing touches. Do you want to add some glitter for extra sparkle? How about some small beads or sequins? Maybe some colorful paint? This is your chance to make your jhalar unique. You can also use different colors or textures of paper to give your jhalar more dimension. There are no rules here, just let your creativity guide you. This is the moment where you can make your jhalar truly yours. Have fun with it, and don't be afraid to experiment.
- Glue: Good for permanent bonds, but be careful not to use too much.
- Tape: Quick and easy, especially double-sided tape.
- String: Creates a more delicate and flowing look.
- Glitter: Adds some sparkle to your Jhalar.
- Beads: Give a unique look to your Jhalar.
Tips and Tricks for Perfect Paper Cutting Jhalar
Tips and Tricks for Perfect Paper Cutting Jhalar
Choosing the Right Paper
Okay, so paper might seem like, well, just paper, but it really does make a difference in how your jhalar turns out. For starters, if you're going for something delicate and airy, tissue paper is your best bet. It's thin and cuts easily, plus it gives a lovely, floaty look. But, it's also a bit fragile, so handle it with care. On the other hand, if you want something sturdier, construction paper or cardstock is the way to go. They're a bit tougher to cut, especially with kids' scissors, but they hold their shape better and last longer. Experiment with different types and weights of paper to see what works best for your design and what you find easiest to work with.
Cutting Like a Pro
Alright, let's talk cutting. This is where things can get a little tricky, but with a few tips, you'll be cutting like a pro in no time. First off, make sure your scissors are sharp. Dull scissors will just make the paper tear and give you jagged edges. Also, try to cut slowly and deliberately, especially when you're doing intricate designs. Don't be afraid to rotate the paper as you cut, it makes it easier to follow curves and shapes. And remember, practice makes perfect. The more you cut, the better you'll get at it. It’s totally okay to start with simple shapes and work your way up to more complicated patterns. No one started out as a paper-cutting master.
Tip | Details |
|---|---|
Sharp Scissors | Use sharp scissors for clean cuts |
Cut Slowly | Take your time, especially with complex patterns |
Rotate Paper | Rotate paper for easier curves |
Practice | The more you cut, the better you’ll become |
Assembling and Displaying Your Jhalar
So, you’ve cut out all these amazing pieces, now what? Assembling your jhalar is just as important as cutting it. When you're using glue, go easy on it, a little goes a long way. Too much glue can make the paper soggy and ruin your design. If you’re using tape, try double-sided tape, it's quick and clean. When it comes to displaying your jhalar, think about where you're going to hang them. Are they indoors or outdoors? If they're outdoors, you might want to use heavier paper or even laminate them to protect them from the weather. And remember, your jhalar don't have to be perfectly straight. A little bit of movement and flow can make them look even more beautiful. So go ahead, hang them up and enjoy your masterpiece!
Wrapping Up Your Paper Cutting Jhalar Journey
So, you’ve journeyed through the world of paper cutting jhalar, from understanding the basics to crafting your own unique designs. You've discovered that this craft is more than just cutting paper; it's about expressing creativity, adding a personal touch to celebrations, and even a bit of mindful relaxation. The beauty of paper jhalar lies in their simplicity and the endless possibilities they offer. Don't be afraid to experiment with different patterns, colors, and paper types to make your jhalar truly your own. Whether you’re a seasoned crafter or a complete beginner, remember that the most important part is having fun and enjoying the process. Now go ahead, and let those paper cuttings bring some extra sparkle to your next event, or just add some joy to your everyday space. Happy crafting!