Table of Contents
Ever stared at a piece of paper and thought, "There's got to be more to you than just being a note pad?" Well, you're in for a treat! We're diving headfirst into the world of paper cutting, where simple sheets transform into stunning works of art. This isn't your grandma's doily making, though we respect the classics. We're talking about cool, modern, and totally doable paper cutting ideas for projects that will blow your mind. Whether you're a total newbie with scissors or a seasoned crafter looking for fresh inspiration, this guide is your creative playground. We'll start with some easy peasy designs perfect for beginners, then crank up the complexity with intricate patterns that will impress even the most discerning art snobs. Plus, we'll cover project ideas for all sorts of occasions, because why not make every day a reason to snip some paper? And of course, no craft journey is complete without a few pro tips, so we've got those too, ensuring your paper cutting adventures are a smashing success. Get ready to unleash your inner artist – it's time to cut loose!
Simple Paper Cutting Ideas for Beginners
Simple Paper Cutting Ideas for Beginners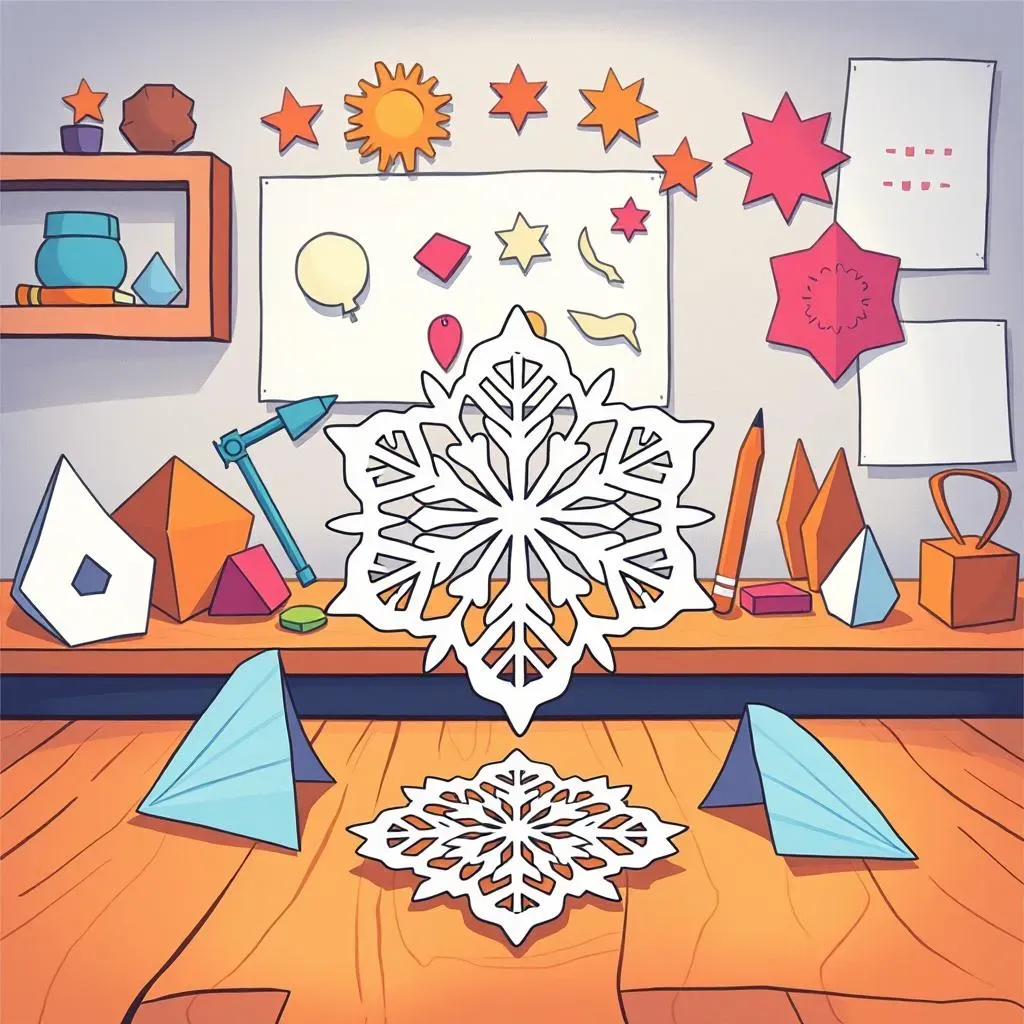
Okay, so you're new to the paper cutting party? Awesome! Let's start with stuff that won't make you want to throw your scissors across the room. Think simple shapes, like snowflakes – yes, even if it's not winter. Fold your paper a few times, snip some triangles, maybe a curve or two, and boom, instant frosty design. Hearts are another winner, they are super easy and look great. You can also try basic geometric shapes; squares, circles, and diamonds are all fantastic starting points. The key here is not to overthink it. Just cut, see what happens, and have fun with it. It's like doodling with scissors, but way more satisfying.
- Snowflakes: Simple folds and snips create a winter wonderland, no matter the season.
- Hearts: Fold a paper in half and make half a heart shape to make it symmetrical.
- Geometric Shapes: Squares, circles, and triangles are the foundation for more complex designs.
- Simple Silhouettes: Trace a simple shape and cut it out.
Intricate Paper Cutting Designs for Advanced Crafters
Intricate Paper Cutting Designs for Advanced Crafters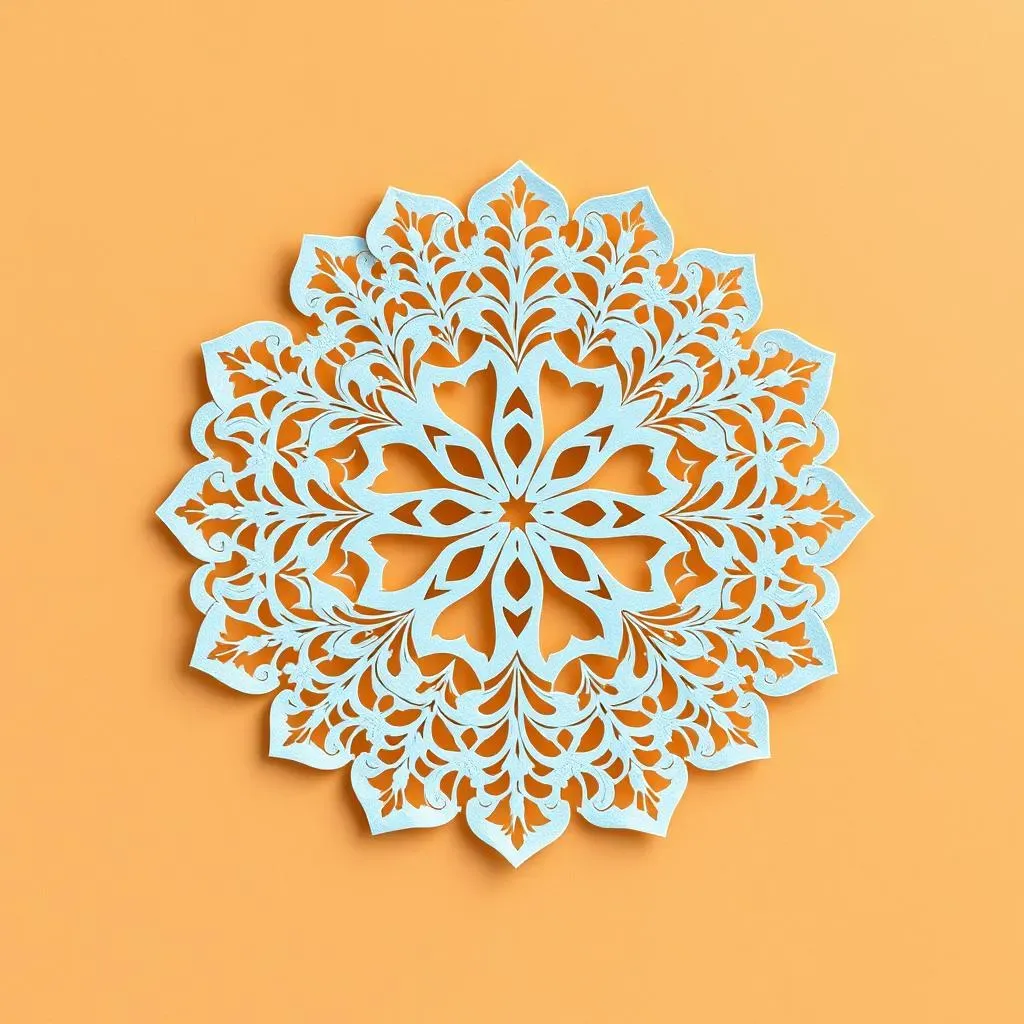
Alright, so you've mastered the basics? You're not just snipping snowflakes anymore, are you? Good. Now we're getting into the real juicy stuff: intricate designs that demand patience, a steady hand, and maybe a magnifying glass. Think delicate lace patterns, detailed mandalas, or even complex cityscapes. These designs often involve multiple layers, tiny cuts, and a whole lot of planning. It's like solving a puzzle, but with scissors and paper. Don't be intimidated, though! Start with smaller sections of a more complex design, work your way up, and remember, a little mistake can become part of your unique style. It's time to push your paper cutting limits and create something truly amazing.
- Lace Patterns: Delicate, interwoven designs that mimic real lace.
- Mandalas: Symmetrical, often circular patterns with intricate details.
- Cityscapes: Recreate your favorite city skylines with precise cuts.
- Nature Scenes: Detailed images of flora and fauna.
Paper Cutting Project Ideas for Every Occasion
Paper Cutting Project Ideas for Every Occasion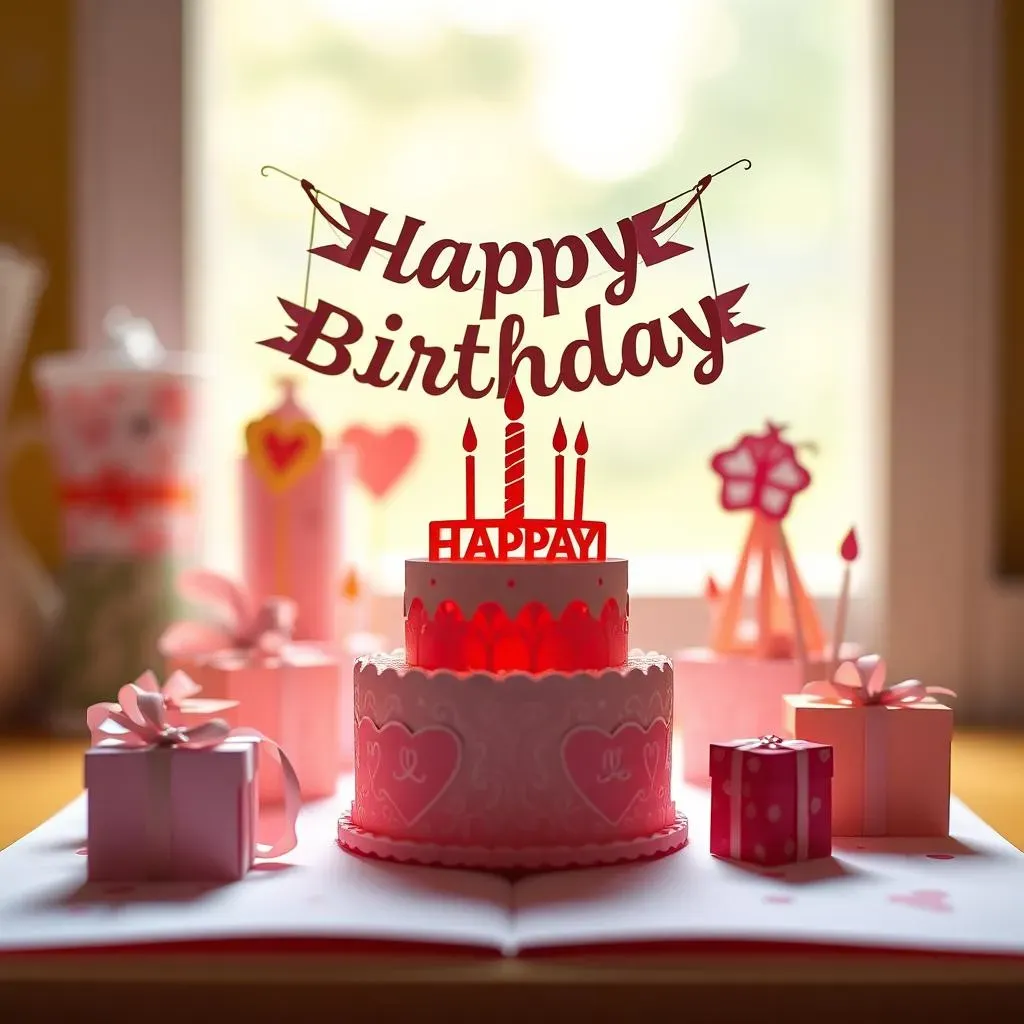
Birthday Bonanza
Let's be honest, store-bought cards are kinda boring, right? Why not create something truly special with paper cutting? Imagine a birthday card with a pop-up cake, or a delicate paper-cut banner that says "Happy Birthday" in a fancy font. You could even make personalized gift tags with the recipient's name or a design that reflects their hobbies. It's a small touch that makes a huge difference. Think beyond just cards, too; paper-cut cake toppers or confetti are amazing ways to add a personal touch to the celebration. It's all about making that birthday feel extra special.
Holiday Happenings
The holidays are the perfect excuse to get your paper-cutting groove on. From spooky Halloween silhouettes to festive Christmas ornaments, the possibilities are endless. Picture intricate snowflakes hanging from your tree, or a spooky haunted house scene cut from black paper for your window. You can craft personalized gift tags, create unique table decorations, or even design a whole advent calendar with little paper-cut surprises tucked inside. It's a fantastic way to add a handmade touch to all your holiday festivities and get everyone involved in the crafting fun. Plus, it’s way more fun than untangling Christmas lights, trust me.
Occasion | Paper Cutting Project Ideas |
|---|---|
Birthdays | Pop-up cards, banners, personalized gift tags, cake toppers |
Holidays | Ornaments, window decorations, gift tags, advent calendars |
Weddings | Invitations, table decorations, favors, place cards |
Wedding Wonders and More
Paper cutting isn't just for birthdays and holidays. It can also add an elegant touch to weddings. Think about creating stunning invitations with delicate lace patterns or personalized place cards with beautiful calligraphy. You can even make unique table decorations or wedding favors with paper cutting. And let’s not forget about baby showers! Create adorable paper-cut mobiles or decorative banners to welcome the new little one. The point is that, whatever the occasion, paper cutting can add a personal and creative touch that makes it truly memorable. It's all about thinking outside the box and making every event special.
Tips and Tricks for Perfect Paper Cutting Projects
Tips and Tricks for Perfect Paper Cutting Projects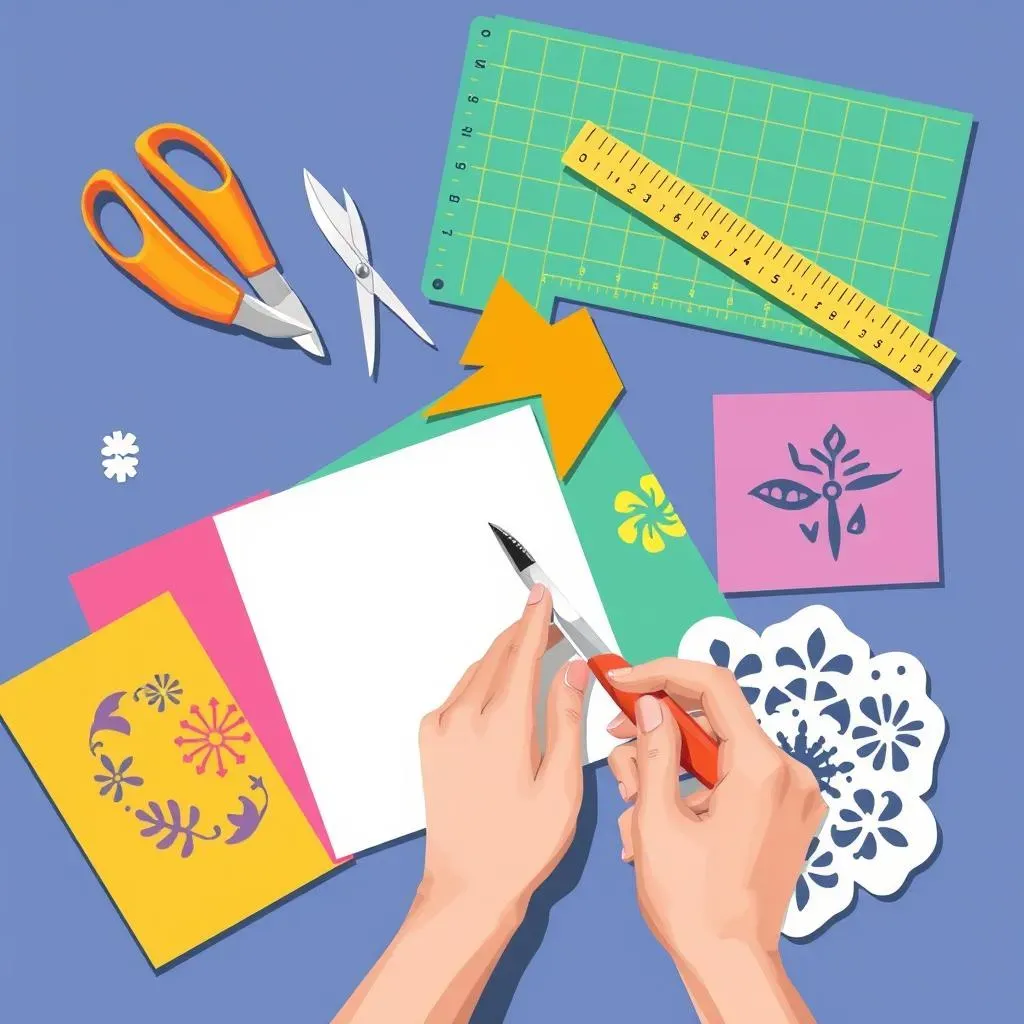
Choosing the Right Tools
Alright, let's talk tools. You wouldn't try to build a house with a plastic spoon, right? Same goes for paper cutting. The right tools can make all the difference between a masterpiece and a frustrating mess. First up, a good cutting mat is your best friend; it protects your table and helps your blade glide smoothly. Then, invest in a sharp craft knife. A dull blade is a recipe for ripped paper and sore fingers. And don't forget about scissors! Small, sharp scissors with pointy tips are great for detail work. Finally, a good ruler or straight edge will help with clean lines. It's like having a well-stocked kitchen; the right tools make the job so much easier.
Mastering the Technique
Okay, so you've got the gear, now let's talk technique. First things first, always cut on a stable surface. You don't want your paper dancing around while you're trying to make precise cuts. When using a craft knife, hold it like a pencil and apply gentle, consistent pressure. Don't try to cut through the paper in one go; it's better to make multiple passes. For scissors, use the tips for delicate work and the whole blade for longer cuts. And here's a pro tip: turn the paper, not the knife. This gives you more control and reduces the risk of tearing. Practice makes perfect, so don't be afraid to experiment and find what works best for you. It's all about finding your flow.
Tool | Purpose | Why It's Important |
|---|---|---|
Cutting Mat | Protects your work surface | Prevents damage and allows for smooth cutting |
Craft Knife | Precise, detailed cuts | Sharp blade for clean lines and intricate work |
Small Scissors | Delicate, curved cuts | Pointed tips are perfect for details and tight corners |
Troubleshooting and Finishing Touches
So, you've got some cuts, but maybe not all of them are perfect. It's okay! We've all been there. If your paper is tearing, you might be using a dull blade or pressing too hard. Try changing your blade and using less force. If your cuts are jagged, try making multiple passes with a lighter touch. For really tiny details, try using a magnifying glass. And when you're finished, don't just leave your work lying around. Use a gentle brush to remove any stray paper bits and press your finished piece under some books to keep it flat. A little care at the end can make all the difference. Remember, mistakes are just learning opportunities, so embrace the imperfections and keep creating!