Table of Contents
Ever wondered how to turn a simple piece of paper into a trendy hairstyle? Well, get ready to grab your scissors and unleash your inner stylist because we're diving into the wonderfully wacky world of paper cutting hairstyles! Forget salon appointments, we’re making our own! This isn't about giving yourself a new look; it’s about crafting amazing hairdos for cardboard dolls. This activity is perfect for kids (and adults who secretly love crafts) to practice their scissor skills while creating unique looks. We'll start by making the base for our dolls, then we will move to the snip-snip part, where we learn how to cut the paper to create different styles. Finally, we’ll explore how to display and share our amazing paper cutting hairstyle creations. So, are you ready to transform some paper into fabulous hairdos? Let's get started!
Crafting Cardboard Characters: The Base for Our Paper Hair
Crafting Cardboard Characters: The Base for Our Paper Hair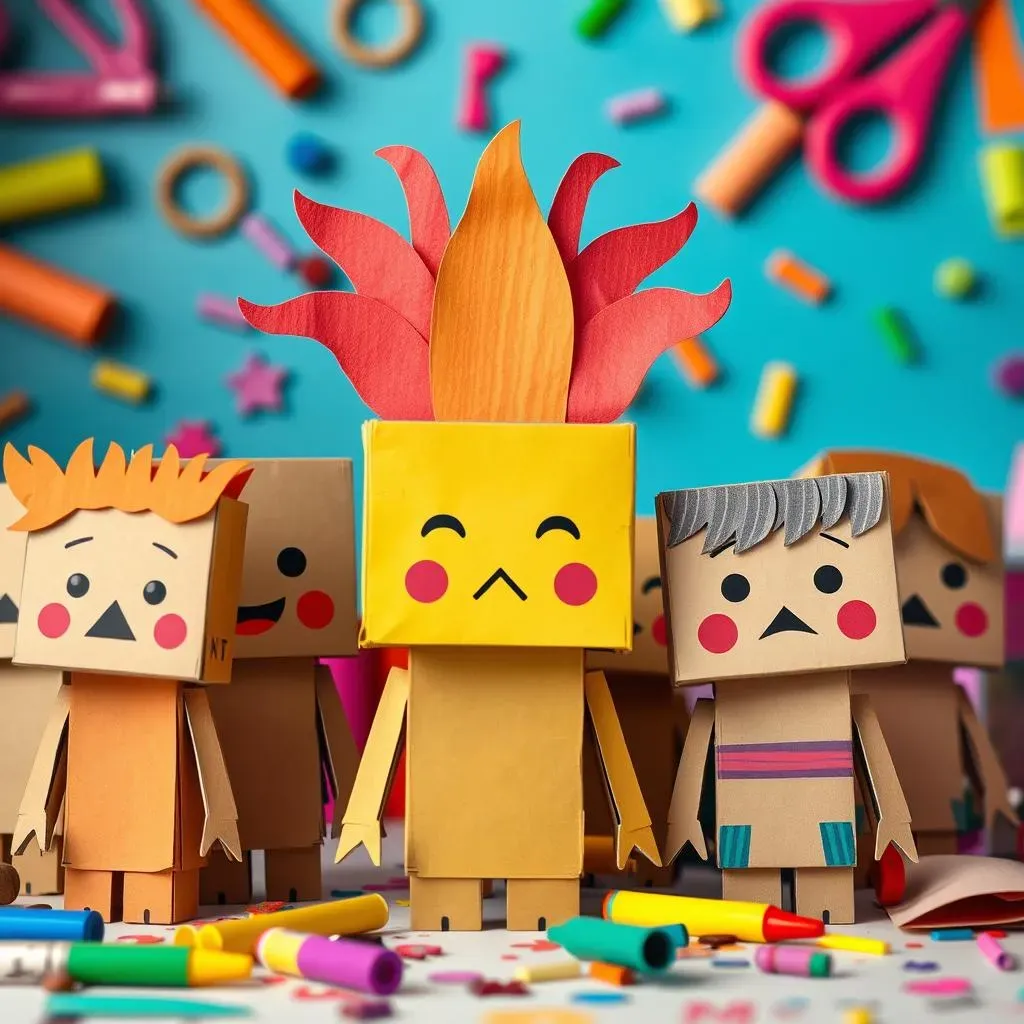
The Cardboard Roll Crew
Okay, so first things first, we need something to stick our paper hair onto, right? That's where our trusty cardboard rolls come in! These aren't just leftover toilet paper tubes, they're about to become the heads of our stylish little characters. You can use any size, from the skinny toilet paper rolls to the wider ones from paper towels. I like to imagine them as a quirky little crew, each with its own personality before we even add the hair. The best part? They're free and usually just end up in the recycling bin anyway, so it's a win-win! Think of it like a blank canvas, ready for a paper hair makeover.
Got your rolls? Great, let's move on!
Adding the Details
Now, a blank roll is a bit boring, isn't it? Let's give our cardboard friends some faces. Grab a marker, and draw some simple eyes, a nose, and a mouth. Don't stress about perfection; these are meant to be fun and a little silly. Sometimes, I like to use googly eyes, you know, those wiggly ones? They add a bit of extra character. If you're feeling adventurous, you can even add some rosy cheeks, or maybe even some freckles. This is where you can really let your imagination run wild. Remember, there are no rules, just fun!
Have you ever seen a cardboard roll with a top hat? It’s pretty funny.
Material | Purpose | Tips |
|---|---|---|
Cardboard Rolls | Base for the doll's head | Use different sizes for variety |
Markers | Drawing facial features | Use bright colors for fun |
Googly Eyes | Adding character to dolls | Use different sizes for variety |
Prepping for Hair
Alright, our cardboard characters are looking pretty good, but they're still bald! Before we get to the exciting part of cutting paper hair, we need to make sure the paper will stick. Take a strip of colored paper, and wrap it around the top of the cardboard roll. Use some sticky tape to secure it in place. This will be where our amazing paper hairstyle will attach. Make sure the tape is on tight, you do not want your hair falling of. I once made a doll with a crazy long paper hair, and it kept falling off, the tape wasn't strong enough!
Now, our cardboard friends are ready for a major hair transformation. Get those scissors ready, because it's about to get stylish!
Snip It! A Guide to Paper Hair Cutting Techniques
Snip It! A Guide to Paper Hair Cutting Techniques
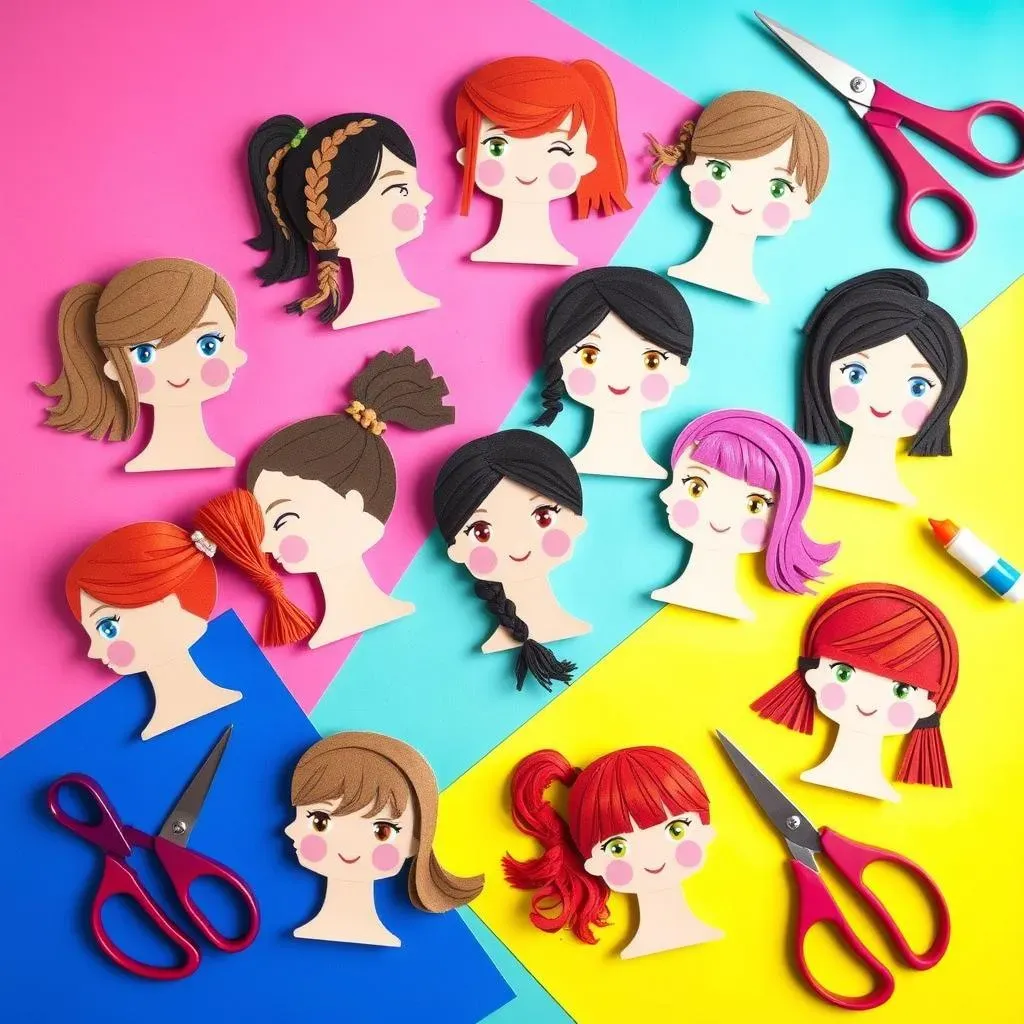
Alright, now for the fun part, the actual paper cutting! This is where we transform simple strips of paper into fabulous hairstyles. Think of it like you’re a real hairdresser, but instead of human hair, you're working with paper! Start by cutting the colored paper into long strips. The length depends on how long you want the hair to be. I like to experiment with different widths for variety. Some strips can be thick, others thin, it's all about creating unique looks. And it's okay to start slow; we're not in a race here. It's like learning to ride a bike, a little wobbly at first, but you'll get the hang of it.
Remember that one time I tried to give myself bangs? It wasn't pretty. Luckily, with paper, we can just start over, no harm done!
Now, let's talk about different cutting techniques. For a simple, straight hairstyle, just cut the strips straight across. If you want something a little more edgy, try cutting triangles out of the ends of the strips, or create some zig-zag edges. For curls, try cutting the paper strip and then curling them around a pencil or your finger. It's like magic watching flat paper turn into bouncy curls! You can even try layering the paper by cutting different lengths and attaching them on top of each other. The possibilities are endless, so play around and see what you can come up with. This is where your inner artist really shines!
Technique | Description | Best For |
|---|---|---|
Straight Cut | Cutting straight across the paper strip | Simple, straight hairstyles |
Triangle Cut | Cutting triangles out of the ends of the strips | Edgy, spiky styles |
Zig-Zag Cut | Cutting zig-zag patterns along the edge | Textured, uneven looks |
Curling | Wrapping strips around a pencil | Bouncy, curly styles |
Once you have your paper strips cut, it's time to attach them to the cardboard roll. Use sticky tape to attach the strips to the paper strip we attached earlier. Make sure the tape is secure. I like to start at the back and work my way around. You can add as much or as little hair as you want. Don't be afraid to get creative with the placement. Sometimes, I like to make a side part or a crazy mohawk. Remember, it's all about having fun and experimenting. And if it doesn't look perfect, that's okay too! It's handmade, and that's what makes it special.
Styling and Sharing Your Paper Cutting Hairstyle Creations
Styling and Sharing Your Paper Cutting Hairstyle Creations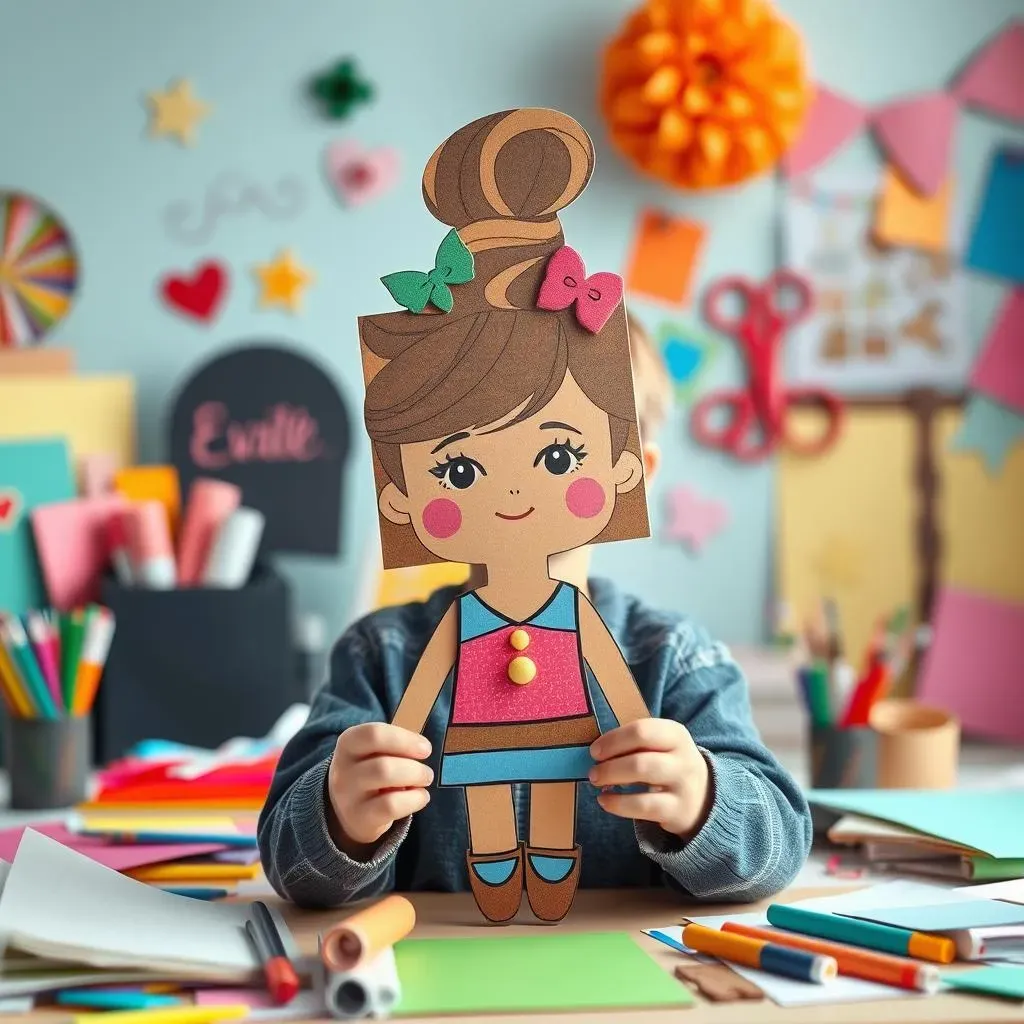
Finishing Touches: Giving Your Paper Hair Some Oomph
Okay, so your cardboard crew now sports some seriously stylish paper hair, but we're not done just yet! It's time to add those extra little touches that make a hairstyle truly pop. Think about it: a real hairdresser wouldn't just cut the hair and call it a day. They'd add some product, maybe a cute accessory, and make sure everything looks just right. We can do that too, just with paper and a little imagination. You can use markers to add highlights, lowlights, or even some colorful streaks. I once tried to make a rainbow hairstyle, and it was wild! You can also cut out little paper shapes and stick them in the hair like tiny barrettes or bows. Think of glitter, too! A little sparkle never hurt anyone, especially a cardboard doll with a paper 'do.
It's like giving your paper creation its own unique personality. This is where you can really go crazy and let your creativity run wild. Don't be afraid to experiment, you might be surprised with the amazing results!
Show Off Your Styles: Sharing Your Paper Hair Creations
Now that you have some seriously stylish paper cutting hairstyles, it's time to show them off! There are so many ways to share your creations with the world. You can set up a little fashion show with your cardboard dolls and invite your family to come and see. I did that once, and it was hilarious. My little brother tried to steal the spotlight with his "super cool" paper beard. You can also take photos of your paper hairstyles and share them with your friends online. Use #paperhairstyle, or #cardboarddolls to show the world your amazing creations, and maybe even inspire others to try it out. You could even create a little display on your desk or shelf, so everyone can see your awesome paper hairdos.
Sharing your creations is as fun as making them. It's like showing off your artwork, and it's even more fun when you can see what others have made. It's all about connecting, inspiring, and having a good time!
Sharing Method | Description | Tips |
|---|---|---|
Fashion Show | Showcasing your dolls' hairstyles in person | Invite friends and family for a fun event |
Online Sharing | Posting photos of your creations online | Use hashtags to connect with others |
Display | Setting up a display of your dolls | Show off your creativity in your space |
Beyond the Basics: Expanding Your Paper Hair Adventures
So, you've mastered the basics of paper cutting hairstyles, but why stop there? There are endless possibilities to explore! You can try using different types of paper, like tissue paper for a delicate, flowing look, or construction paper for something more sturdy. You can also experiment with different tools, like pinking shears for a unique edge, or even try using a paper crimper to add texture. I once tried using foil paper, and the hairstyles were so shiny! You can even start creating themed hairstyles, like a rockstar look with a spiky mohawk, or a princess look with long, flowing curls. The more you play around, the more ideas you'll come up with. It's like a never-ending adventure in paper hairdressing.
Don't be afraid to get out of your comfort zone and try something new. The most fun comes from experimenting. It's all about discovering new techniques and finding your own unique style. So, keep snipping, keep styling, and keep sharing your amazing paper cutting hairstyle creations!
“Creativity is intelligence having fun.” - Albert Einstein