Table of Contents
Ever looked at a beautiful paper cut and thought, "I wish I could do that?" Well, guess what? You totally can! This paper cutting guide is your ticket to creating amazing art with just a few simple tools and a little bit of patience. No, you don't need to be a master artist; this is all about having fun and learning as you go. We'll start with the basics, like gathering the right supplies, and then we'll walk through the cutting process step-by-step. Think of it like learning to draw, but with a blade instead of a pencil. We'll cover how to handle those tricky corners, what to do when things go a bit wonky, and some handy tips to make your paper art really shine. So, grab your craft supplies, and let's get started on this exciting paper cutting adventure together! It’s easier than you think, and the results are pretty awesome.
Essential Tools for Your Paper Cutting Journey
Essential Tools for Your Paper Cutting Journey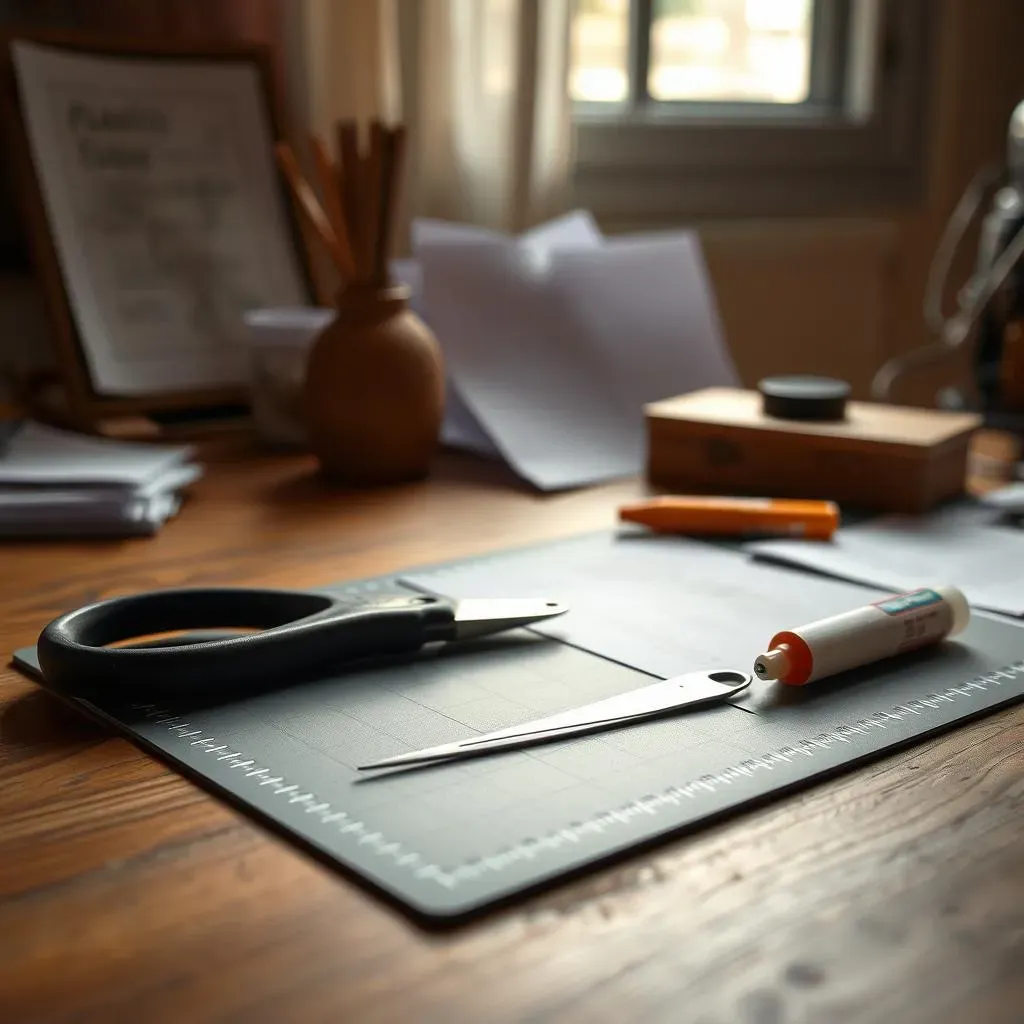
The Must-Have Blade
Okay, so first things first, you're gonna need a really good blade. I'm talking about a scalpel, like the kind doctors use, but don't worry, we're not doing surgery, just paper art! The key here is a sharp point and a flexible blade. Think of it like a tiny, super-precise knife. Don't go for the cheap ones, because they'll just frustrate you. Get a few extra blades too, because they can break, and nothing kills the flow like a dull blade. Trust me on this one, I've learned the hard way, trying to cut with a blade that felt like it was trying to rip the paper instead of cut it. It's like trying to spread butter with a spoon – just doesn’t work!
Also, remember to handle them with care. They're sharp, after all, and we want to avoid any accidental paper-cutting-related injuries. Keep them stored safely and always be mindful when you're using them. I've had a few close calls myself, and let's just say, band-aids and paper cuts don’t make a pretty pair.
The Cutting Surface
Next up, you absolutely need a self-healing cutting mat. Don't even think about cutting directly on your table. Unless you want to have a permanent paper cut pattern etched into your furniture, get a mat. These mats are like magic; they heal themselves after you slice into them. It’s pretty cool, and it also protects your blades. A good cutting mat is like the best friend your blade never knew it needed. I remember trying to cut on a wooden surface once, and it was a disaster, my blade kept getting stuck. So, learn from my mistakes and get a proper mat. It's one of the best investments you can make for paper cutting.
Tool | Why You Need It | My Tip |
|---|---|---|
Scalpel | For precise cuts | Get extra blades! |
Cutting Mat | Protects your surfaces and blade | Self-healing is a must |
Paper and Extras
Now, let's talk paper. You can't just use any old scrap. Start with something that's not too thick and not too flimsy. Cardstock is a good option, but you'll get the hang of it with time. Also, a glue stick and some masking tape are your best friends for when things go a little sideways. I mean we all make a mistake or two, right?. The glue stick is perfect to put the template on the paper, and the masking tape is great for holding things in place or for fixing little tears. It’s like having a first-aid kit for your paper projects. And don’t forget a printed design to cut out. You can find a lot of free designs online to start practicing with.
Having all these tools at hand is like having a well-stocked kitchen for cooking. You wouldn't try to bake a cake without the right ingredients, would you? Same goes for paper cutting. Once you have everything, you will be ready to start creating some amazing paper art!
StepbyStep Guide: From Prep to Perfect Cut
StepbyStep Guide: From Prep to Perfect Cut
Getting Ready: Preparing Your Card
Alright, now that you've got all your tools, let's get down to business. First, you need to prepare your card or paper. This is where the glue stick comes in handy. Lightly apply glue to the back of your printed design, focusing on the edges and a few spots in the middle. Then, carefully stick the design onto your card. Make sure it's nice and smooth; you don't want any wrinkles messing with your cutting. Think of it like putting a sticker on your notebook, but this sticker is your cutting guide. I remember one time I didn’t glue the design down well enough, and the paper moved when I was cutting and it was a big mess, learn from me and take your time here, it is important!
It’s best to position the image on the left-hand side of your card if you’re right-handed (and vice versa if you're a lefty). This will help prevent your hand from smudging the design as you cut. Small details matter when you’re working on something like paper cutting. It's like setting up your workspace before a big project; everything in its place will help you to be more productive, and in our case, create amazing paper art!
Cutting Time: Start with the Basics
Now for the fun part, cutting! Place your card on your cutting mat, grab that super sharp scalpel, and start cutting on the outline of your design. The key here is to take your time and use light pressure. Don't try to cut through the paper in one go. Instead, make several light passes until you cut all the way through. It's like peeling an orange, you don't want to tear the peel, you want to gently separate it from the fruit. I always tell people, think of it as gently "kissing" the paper with the blade. It's a slower process, but it gives you much more control, and it will help you avoid ripping the paper.
As you cut, try to leave at least three small supports for each piece. These supports will keep the design in place and prevent it from bending or breaking. You can always go back and cut these supports away later. It's like building a bridge; you need some support to hold it up before the final touches. I’ve learned this the hard way, by cutting out a whole section and having it fall out before I was ready, it was not fun. So, be smart and leave those supports!
Step | Action | Tip |
|---|---|---|
1 | Glue design to card | Smooth it out! |
2 | Start cutting | Light pressure and multiple passes |
3 | Leave supports | Keep design in place |
Handling the Fiddly Bits
Once you've cut around the main parts of your design, it’s time to remove the cut-out pieces. Use your knife or your fingers to gently lever them out. Be careful not to tear the paper or bend the rest of the design. It’s like carefully removing puzzle pieces, one by one, without damaging the other pieces. I like to use a small needle or the tip of my scalpel to get under the edges and lift them. It’s a delicate job, but it’s so satisfying to see the pieces come out clean. This is where you start seeing your design come to life.
As you work on those fiddly bits, remember to take breaks. Paper cutting can be tiring, and it’s easy to lose focus. Take a break, stretch your hands, and come back to it with fresh eyes. It’s like running a marathon; you need to pace yourself to avoid burnout. And, it also helps you to avoid making silly mistakes. I’ve had a few moments where I was so tired I just cut through a support that I needed, and had to fix that, so trust me, breaks are your friends.
Troubleshooting and Tips for Amazing Paper Art
Troubleshooting and Tips for Amazing Paper Art
When Things Go Wrong: Fixing Mistakes
Okay, let's be real, sometimes things don't go as planned, and that's totally okay! Paper cutting isn't about being perfect; it's about creating. If you accidentally tear a piece, don't panic. This is where your trusty masking tape comes in. Carefully tape the torn piece back in place, making sure the edges line up as best as they can. For smaller tears, a tiny dab of glue can work wonders. It's like patching up a small hole in your favorite shirt; it's not perfect, but it gets the job done. I've had my fair share of "oops" moments, and honestly, sometimes the imperfections add character to the final piece. Embrace them, they are part of your story!
And remember, if a piece gets completely mangled, it's not the end of the world. You can always cut out a new piece and glue it in place. It's like having spare parts for your project. The key is to not get discouraged by mistakes, but to see them as learning opportunities. Every little mishap teaches you something new about how to handle your blade, how much pressure to use, and what to avoid next time. So, don't be afraid to experiment and make mistakes. That’s how you learn and get better at paper cutting.
Problem | Solution |
|---|---|
Torn paper | Use masking tape or glue |
Mangled piece | Cut a new one and glue it |
Extra Tips for Awesome Results
Alright, now for some extra tips to take your paper cutting to the next level. First, always make sure your blade is sharp. A dull blade is your worst enemy; it can tear the paper and make clean cuts impossible. Change your blade often, even if it doesn't feel completely dull. It's like changing the oil in your car; it keeps everything running smoothly. Also, try rotating your paper as you cut instead of moving your hand around too much. This can give you more control, especially when cutting curves. It's like turning a steering wheel when driving, it helps you make smoother turns. I remember one time, I was trying to cut a curve by moving my hand and it looked terrible, but when I started turning the paper, it was like a whole new world.
Another great tip is to use different types of paper. Try cutting on colored paper, or even textured paper, to see how it changes the look of your designs. It’s like trying different ingredients in a recipe; it can lead to some surprising results. And most important, don't forget to take breaks and stretch your hands. Paper cutting can be hard on your hands, so make sure to take care of them. It’s like taking a break during a workout, you need to give your body a chance to recover. Now go and create something amazing!