Table of Contents
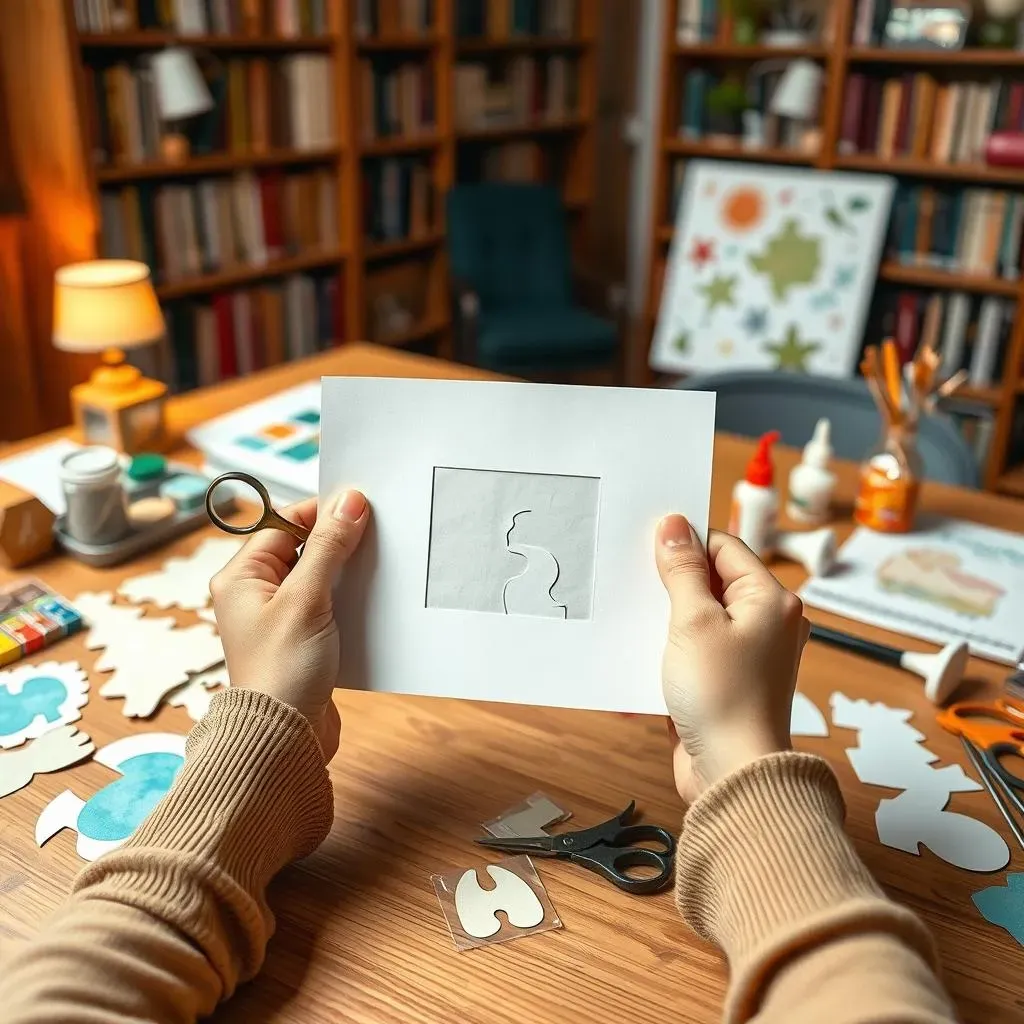
Ever looked at intricate paper art and thought, "I wish I could do that"? Well, guess what? You absolutely can! Paper cutting, that delicate art of transforming simple sheets into stunning designs, isn't as tricky as it looks. This guide is your friendly starting point to "paper cutting for beginners". We'll walk through what you need, from the essential tools to the easiest techniques. Think of it like learning to draw, but with a blade instead of a pencil. We'll tackle the basic cuts, show you how to handle those tricky corners, and even what to do when things go a bit wonky. It's all about building confidence and having fun. So, grab your paper, get your blade ready, and let's make some magic happen. By the end of this, you'll not only understand the art of paper cutting, but you'll be crafting your own beautiful designs. Ready to start your paper cutting journey?
Essential Tools for Paper Cutting Beginners
Essential Tools for Paper Cutting Beginners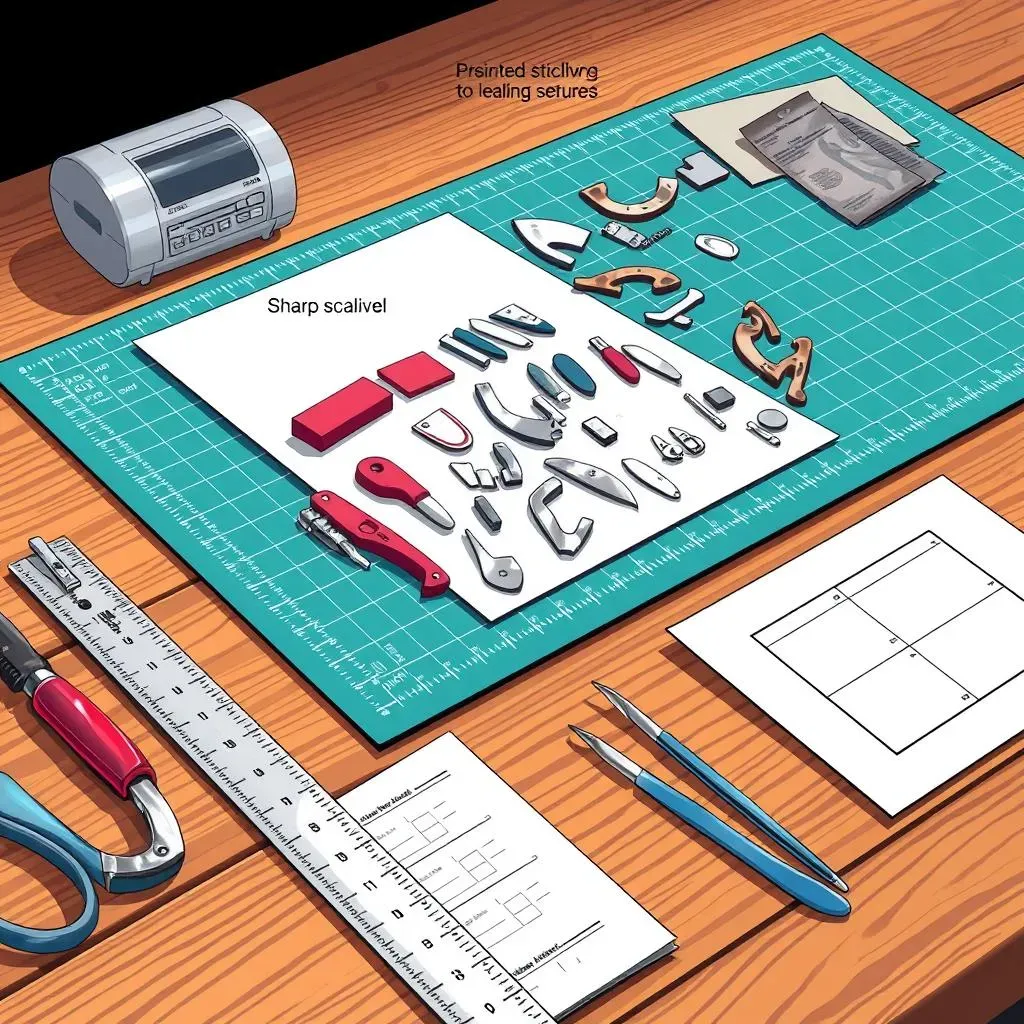
The Must-Haves: Blade, Mat, and Paper
Okay, so you're itching to get started with paper cutting? Awesome! Let's talk about the gear you'll need. First up, and probably most important, is your cutting tool. A scalpel or craft knife with a super sharp blade is a must. Think of it as your magic wand for paper. Don't even try using regular scissors; it's like trying to paint with a broom! You'll also want a self-healing cutting mat. This mat isn't just a fancy accessory; it protects your table and keeps your blade sharp. Trust me, you don't want to be cutting directly on your grandma's antique table. And of course, paper! Start with something basic like printer paper or cardstock. As you become more experienced you can experiment with different types of paper.
Also, you'll need a good supply of blades. They get dull pretty quickly, and a dull blade is your enemy. It'll tear your paper instead of cutting it. Imagine trying to slice a tomato with a butter knife – frustrating, right? It's the same with paper cutting. Keep those blades sharp. And don't forget a ruler, preferably a metal one. It's great for those straight cuts and it won't get sliced up like a plastic one. Think of these tools as your trusty sidekicks on this creative adventure.
Tool | Why You Need It |
|---|---|
Scalpel or Craft Knife | For precise cuts. It's the star of the show! |
Self-Healing Cutting Mat | Protects your surfaces and your blade. |
Sharp Blades | For clean cuts. A dull blade is a disaster. |
Metal Ruler | For straight lines. Plastic ones get chewed up. |
Paper | Your canvas. Start simple, then get fancy. |
Nice-to-Haves: Tweezers and Templates
While the blade, mat, and paper are your non-negotiables, there are a few other tools that can make your paper-cutting life a whole lot easier. Tweezers are super helpful for picking up those tiny pieces of paper after you cut them. It's like playing a tiny, delicate game of Operation, but with paper. They also help with placing the paper on the cut mat. You don't need anything fancy, just a basic pair of tweezers. Templates are another game-changer, especially when you are starting out. You can find free templates online or even create your own designs. It's like having a coloring book, but instead of coloring, you are cutting. Templates will help you get the hang of the whole process and they are great for practicing your skills.
Don't stress if you don't have all the fancy tools right away. Start with the basics, and you can add to your collection as you go. Think of it like building a Lego set – you start with a few key pieces, and then you add more as you get better. Paper cutting is all about practice, so don't be afraid to experiment and find what works best for you. The most important tool you have is your creativity, so let it shine!
- Tweezers: For picking up tiny paper bits.
- Templates: For guided designs.
- Pencil: For drawing your own designs.
- Eraser: To fix pencil mistakes.
Simple Techniques for Paper Cutting Beginners
Simple Techniques for Paper Cutting Beginners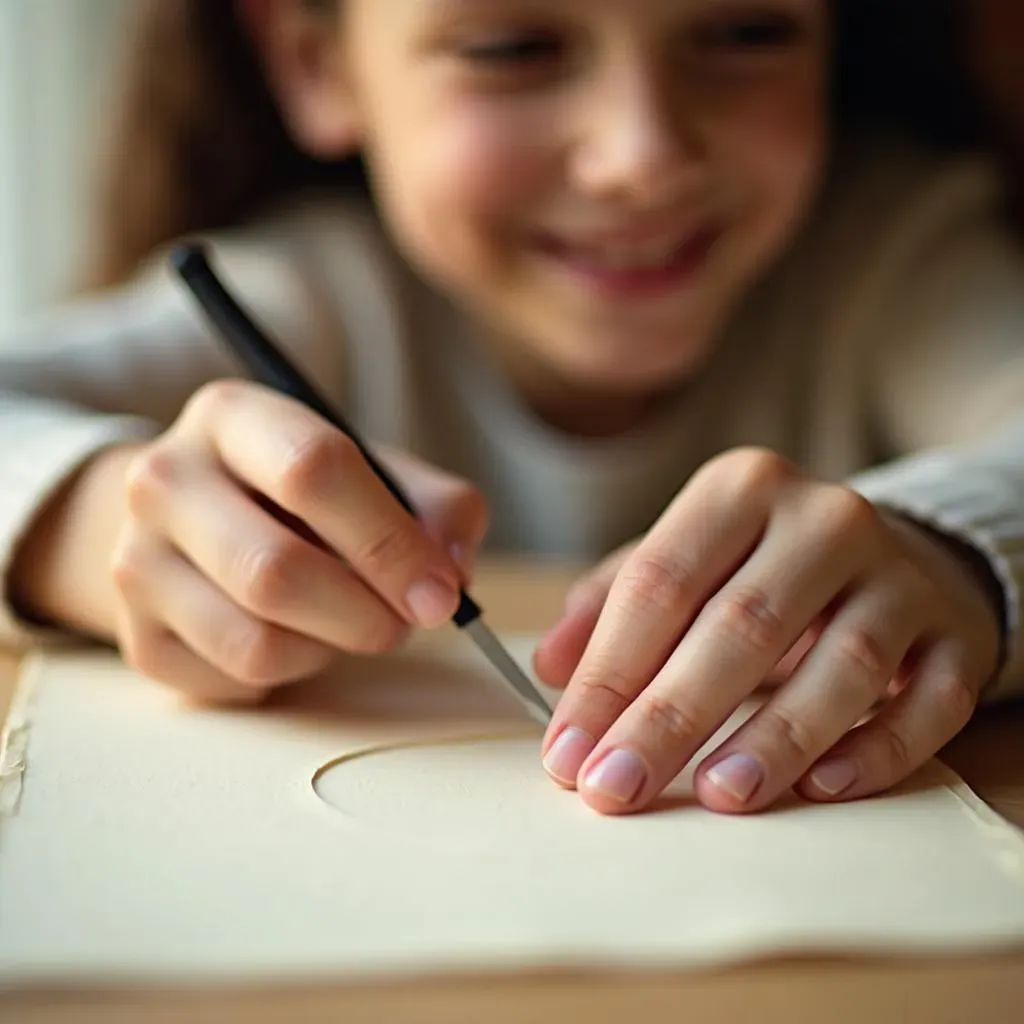
The Basic Cut: Getting Started
Alright, you've got your tools, now let's get cutting! The basic cut is the bread and butter of paper cutting. It's all about control and patience. Start by placing your paper on your cutting mat. Hold your scalpel or craft knife like a pen, and apply gentle, even pressure. Don't try to cut through the paper in one go, think of it as scoring the paper. Make a few light passes to cut all the way through. It's like gently coaxing the paper apart, not attacking it. The key here is to move the blade smoothly along your lines. Avoid jerky movements, that's where mistakes happen. Practice making straight lines, curves, and simple shapes. You'll get the hang of it, I promise. Think of it like learning to ride a bike; wobbly at first, but soon you'll be cruising.
Remember, it's better to take your time and make clean cuts than to rush and end up with jagged edges. If you are using a template, use a pencil to mark the lines you are going to cut. This will make it easier to follow the template and will make it easier for you to cut the shapes you want. And don't be afraid to practice. The more you practice, the better you will get. It's all about finding your rhythm and getting comfortable with the tools.
Technique | Description | Key Tip |
|---|---|---|
Scoring | Light passes with the blade. | Don't press too hard! |
Smooth Movement | Move the blade gently along the lines. | Avoid jerky motions. |
Practice Shapes | Start with simple lines and curves. | Repetition is key. |
Cutting Curves and Circles
Okay, straight lines are cool, but what about those fun curves and circles? They might seem tricky, but they are not that hard. The secret is to move the paper, not just the blade. Keep your blade steady and use your other hand to rotate the paper as you cut. It's like steering a tiny car. This will help you maintain a smooth curve. Don't try to cut the whole curve in one go; use small, overlapping cuts. It's like drawing a curve with tiny dashes. Keep practicing and you'll be cutting circles like a pro in no time. Remember, patience is key. If you are having trouble with a curve, try practicing it on a scrap piece of paper first. You can also try using a template for circles to help you guide the cut.
It’s important to keep your blade sharp when cutting curves and circles. A dull blade will cause the paper to tear, and the edges will look ragged. Change your blade frequently when you are cutting intricate shapes. Also, don't be afraid to experiment with different techniques. Some people prefer to cut from the outside of the circle, and some prefer to cut from the inside. Try both and see what works best for you. The most important thing is to have fun and be creative.
Inside Cuts and Removing Paper
Now, let's talk about inside cuts. These are the cuts you make within a shape. Think of it like cutting out a stencil. Start by carefully piercing the paper with the tip of your blade. Then, begin cutting along your lines. When you are cutting inside a shape, it's very important to remove the paper pieces as you go. This will help you see what you are doing and will prevent you from accidentally cutting into the wrong area. It's like playing a puzzle, but you are removing the pieces as you go. Use your tweezers to grab those tiny bits of paper. And remember, don't be afraid to make mistakes. Paper cutting is all about learning and improving as you go. Each mistake is just another lesson. If you make a mistake, try to fix it. If you can't fix it, don't worry about it. You can always start over. The important thing is to keep practicing and having fun.
Remember, each cut is a step forward in your paper cutting journey. Don't get discouraged if your first few attempts are not perfect. Everyone starts somewhere. The more you practice, the better you will get. Paper cutting is a skill that takes time and patience to master. Just enjoy the process and let your creativity flow.
Troubleshooting Common Paper Cutting Problems
Troubleshooting Common Paper Cutting Problems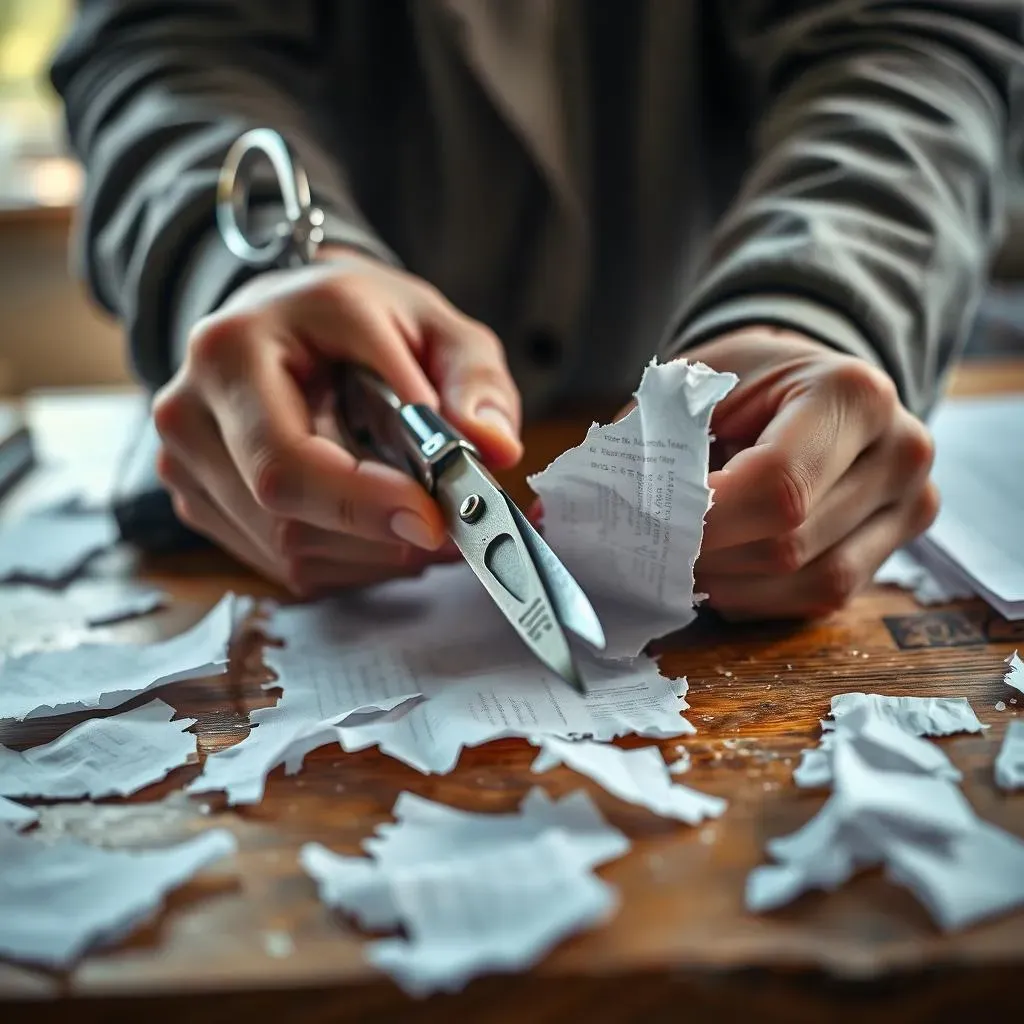
Tears and Jagged Edges
Okay, so you're cutting away, feeling like a paper-cutting ninja, and then BAM! Tears and jagged edges. It's like your paper is staging a rebellion. Usually, this happens when your blade is dull. I know, I know, we just talked about keeping them sharp, but it's easy to forget. Think of it like trying to shave with a rusty razor – not a pretty sight! Another reason might be that you're pressing too hard. Remember, paper cutting is more about finesse than force. You want to guide the blade, not manhandle it. Try using lighter pressure and making multiple passes. It's like whispering to the paper instead of shouting at it. If the tears keep happening, take a look at your paper. Some papers are just more delicate than others, and you might need to switch to something a bit sturdier.
Also, check your cutting technique, if you are not using a smooth and consistent movement, that might be the reason of the jagged edges. If you are making sharp turns or stopping and starting frequently, that can also cause these problems. Try to keep your blade moving smoothly, even when you are cutting curves. Remember, practice makes perfect. The more you cut, the better you will get at avoiding these common problems. Don't get discouraged if your first few attempts aren't perfect. We've all been there. Just keep experimenting and learning. You'll be cutting like a pro in no time.
Problem | Possible Cause | Solution |
|---|---|---|
Tears | Dull blade, too much pressure, delicate paper | Change blade, use lighter pressure, switch to sturdier paper |
Jagged Edges | Dull blade, jerky movements, inconsistent pressure | Change blade, use smooth movements, consistent pressure |
Stuck Paper and Miscuts
Another common headache is when your paper gets stuck to the blade, or when you accidentally cut in the wrong place. It's like your paper is playing a game of hide-and-seek with your blade. This often happens when the blade isn't clean. Bits of paper can get stuck on the blade, and it's like trying to cut with a sticky knife. Also, if you don't remove the paper bits as you cut, they can cause the blade to snag. Use a soft cloth or a piece of tape to clean your blade often. Miscuts, those little "oops" moments, happen to everyone. It’s like when you're drawing and your hand slips. Don't beat yourself up about it. These mistakes are part of the learning curve. The key is to try and fix them. If it's a small mistake, you can use tape or glue. But sometimes, it's better to leave it or start over. It's all about learning and adapting.
Sometimes, when you make a wrong cut, it’s tempting to try and fix it by cutting around it, but often times that makes it worse. Instead, try to use small pieces of tape to join the cut. It’s not perfect, but it’s usually better than a jagged edge. If the mistake is too big, don’t be afraid to start over. It’s like baking a cake – sometimes you have to throw it out and start again. The important thing is to learn from your mistakes and keep practicing. Remember, paper cutting is a journey, not a destination. It’s all about enjoying the process and creating beautiful things. So, don’t let a few mistakes get you down. Keep cutting and keep creating!
- Clean your blade often to avoid paper sticking.
- Use tape or glue to fix small miscuts.
- Don't be afraid to start over if needed.
- Take breaks and check your work often.
Creative Ideas for Beginner Paper Cutting Projects
Creative Ideas for Beginner Paper Cutting Projects
Simple Shapes and Patterns
Alright, you've got the basics down, now let's get to the fun part: projects! When you're starting out, it's best to keep it simple. Think basic shapes – squares, triangles, circles, and stars. You can cut these out individually and arrange them into a collage or try cutting them out from a folded piece of paper. This is how you create those classic paper snowflakes. It's like a mini-geometry lesson, but way more fun. Another great idea is to experiment with repeating patterns. Try cutting out a simple shape and then repeating it across a page. It's like creating your own wallpaper, but way cooler. Remember, you don't need to create a masterpiece right away. The goal is to get comfortable with your tools and techniques. Think of it like learning to play a musical instrument; you start with simple scales and then move on to more complex pieces.
You can also use these simple shapes to create greeting cards or gift tags. Cut out a few shapes and glue them onto a piece of cardstock. You can even add a personal message. It's a great way to add a personal touch to your gifts. Start with simple shapes and patterns, and you'll be amazed at what you can create. The most important thing is to have fun and enjoy the process. Don't be afraid to experiment and try new things. Paper cutting is all about creativity, so let your imagination run wild!
Project Idea | Description | Tips |
|---|---|---|
Paper Snowflakes | Fold paper, cut out shapes. | Experiment with different folds and cuts. |
Repeating Patterns | Cut a simple shape, repeat it. | Use a ruler to keep the pattern straight. |
Simple Collages | Cut out shapes, arrange them. | Try different arrangements and colors. |
Nature-Inspired Designs
Once you've mastered the basic shapes, let's move on to something a bit more organic: nature! Leaves, flowers, and trees are great subjects for paper cutting. Start with simple leaf shapes and then try adding veins and details. It's like bringing a little bit of the outdoors inside. You can even collect some real leaves to use as inspiration. Trace their outlines onto paper and then cut them out. It's like creating your own botanical illustrations. Flowers are also a great option. Try cutting out simple flower shapes and then add petals and details. You can even try creating a whole bouquet of paper flowers! And don't forget about trees. Start with simple tree shapes and then add branches and leaves. It's a great way to practice your cutting skills and create something beautiful.
These nature-inspired designs are great for decorating your home or creating unique gifts. You can frame them, use them to decorate cards, or even create a mobile. The possibilities are endless! Remember, paper cutting is all about creativity, so don't be afraid to experiment and try new things. The most important thing is to have fun and enjoy the process. Think of it like going on a nature walk, but with paper and a blade instead of boots and a backpack. You'll be amazed at what you can create when you let nature inspire you.
Personalized Paper Cut Gifts
Now that you're getting the hang of things, how about making something truly special? Personalized paper cuts make fantastic gifts. Think of cutting out initials, names, or even simple portraits. It's like creating a custom piece of art for someone you care about. You can use a template or try creating your own design. It's a great way to add a personal touch to your gifts. You can also create paper cut cards with a special message or a quote. It's like giving a little piece of your heart with every gift. And don't forget about birthdays or holidays. Paper cut decorations can make any occasion feel more special. It's like adding a touch of magic to your celebrations.
Remember, the best gifts are those that come from the heart. And what could be more heartfelt than something you created with your own hands? These personalized paper cut gifts are not only beautiful, but they are also a great way to show someone that you care. So, grab your paper and your blade, and let's start creating something truly special! Paper cutting is a great way to express your creativity and share it with others. It's like giving a piece of yourself with every gift. The most important thing is to have fun and enjoy the process. So, let your imagination run wild and see what you can create!