Table of Contents
Ever wondered how to bring a majestic elephant to life with just paper and scissors? Well, get ready, because you're about to embark on a fun adventure into the world of "paper cutting elephant" crafts! Forget complicated art projects, we're diving into a super simple, super satisfying activity that's perfect for kids and kids at heart. This isn't just about cutting paper; it's about sparking creativity, learning about shapes, and maybe even discovering a hidden talent for art. This article will walk you through the process step-by-step, starting with the easiest ways to make a paper elephant, then we will show you some fun variations to try, and finally, we'll talk about how to show off your amazing creations. We'll explore simple cutting techniques, easy to follow instructions, and ideas to make your paper cutting elephant project unique. Whether you're a seasoned crafter or picking up scissors for the first time, get ready for some fun, because by the end of this, you’ll be a paper cutting elephant pro!
Easy Elephant Paper Cutting for Little Hands
Easy Elephant Paper Cutting for Little Hands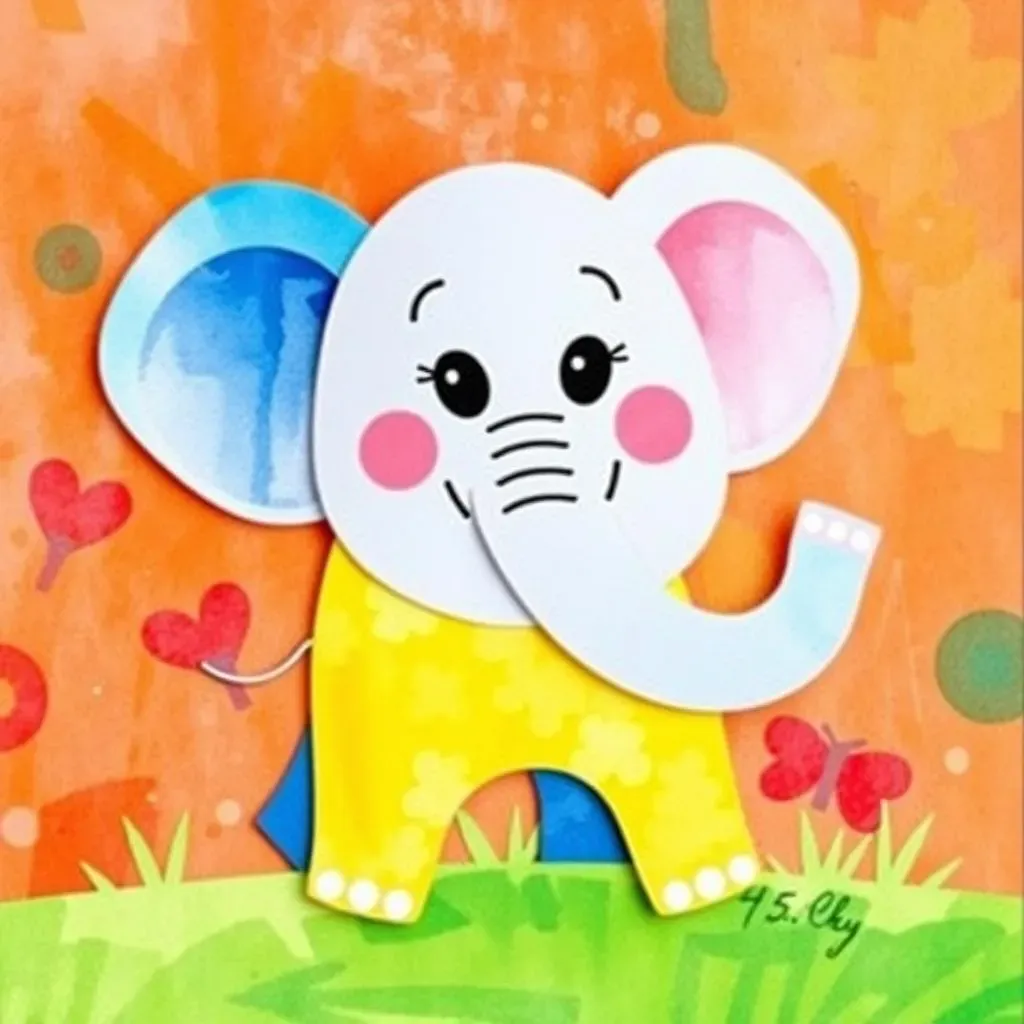
Okay, so you want to make a paper elephant that even a toddler could manage? I get it. Forget about those intricate designs that look like they belong in a museum; we're going for simple and sweet here. Think big shapes, not tiny details. We're talking about circles for the body, ovals for the ears, and a slightly curved line for the trunk. It's like drawing an elephant with scissors, and it's way more fun than it sounds. The key is to keep it basic, that way it is easy for small hands to cut around, and you won't end up with a crumpled mess of paper and frustration. We want happy elephants, not sad, mangled paper animals.
Let's be real, kids aren't exactly known for their precision with scissors. So, the easier the shapes, the better the whole experience will be. You can start with a basic outline of an elephant drawn on a piece of paper. Don't worry if it looks a bit wonky, that's part of the charm. Think of it like a potato print, but with scissors. This is all about letting kids have some freedom and not making it too complicated. This is a craft project, not a surgery, so let's have some fun with it!
Shape | Description |
|---|---|
Body | A large circle or oval. |
Ears | Two smaller ovals. |
Trunk | A slightly curved line. |
StepbyStep: Creating Your Paper Cutting Elephant
StepbyStep: Creating Your Paper Cutting Elephant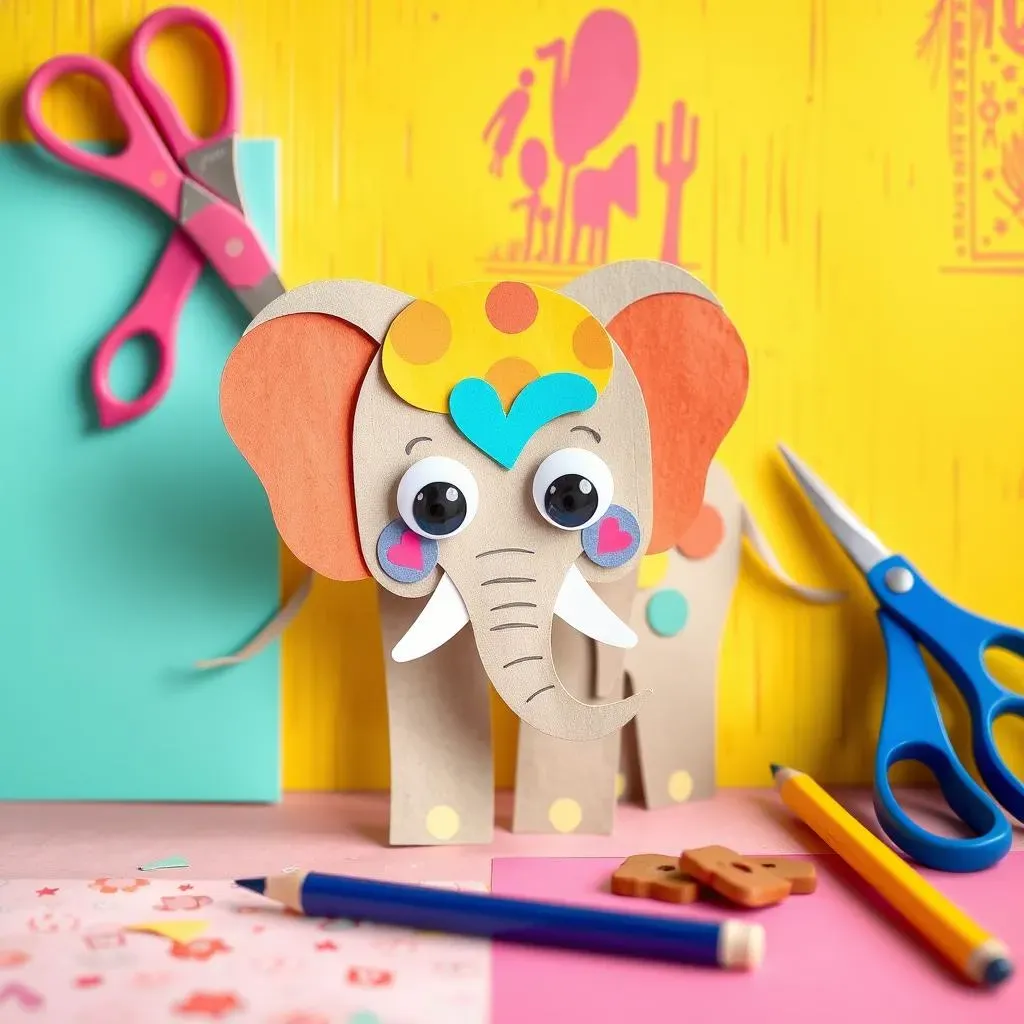
Gather Your Supplies
Alright, let's get down to business. Before you start snipping away, you'll need a few things. First, some paper. Construction paper works great because it's sturdy and comes in lots of colors. But honestly, any paper will do, even that old newspaper you were about to toss out. Next, you'll need a pair of scissors, preferably the kid-safe kind if you're crafting with little ones. Safety first, people! A pencil for sketching is useful, and if you're feeling fancy, some googly eyes and markers to add some extra personality to your paper elephant. It is like setting up your art station, and you are the boss of this project.
Don't have all the fancy stuff? No worries! This craft is all about making the most with what you have. If you don't have googly eyes, just draw some on with a marker. If you are out of colored paper, then use a newspaper and color it. The point here is, it is not about the perfect result, it is about the process of creating something fun. It's like cooking; you can always improvise with the ingredients you have. So, gather your stuff, and let's get this paper party started!
- Paper (any kind will do)
- Scissors (kid-safe if needed)
- Pencil
- Markers or crayons (optional)
- Googly eyes (optional)
Cutting Your Elephant
Okay, so you have your supplies ready, now it is time to bring your elephant to life. If you are using an outline, then start by carefully cutting along the lines you drew. Remember, this is not a race, slow and steady wins here. If you are feeling brave, you can go freehand and just cut out the shapes. Start with the body, then the ears, and finally the trunk. It's like putting together a puzzle, but with scissors. If you mess up, no big deal, just grab another piece of paper and try again. It is all part of the creative process.
The key here is to not worry about perfection. If your elephant's ears are a bit wonky, that's okay! It is about having fun, not making a museum piece. It is like when you are baking cookies, sometimes they come out a little wonky, but they still taste great. So, take your time, be patient, and enjoy the process of turning a plain piece of paper into an awesome paper cutting elephant.
Tips for Cutting
- Start with the big shapes first.
- Go slow and steady.
- Don't worry about perfection.
- Take breaks if your hands get tired.
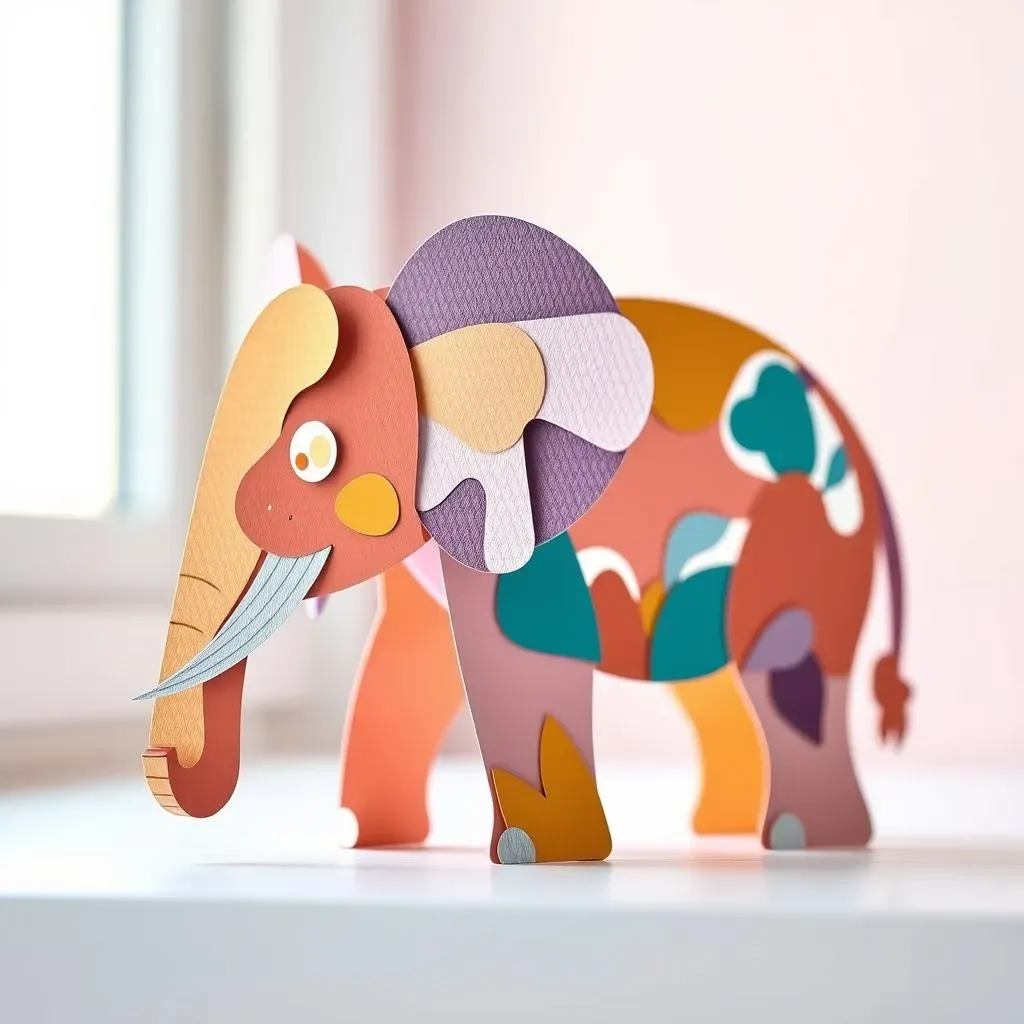
Paper Cutting Elephant: Fun Variations and Ideas
Paper Cutting Elephant: Fun Variations and Ideas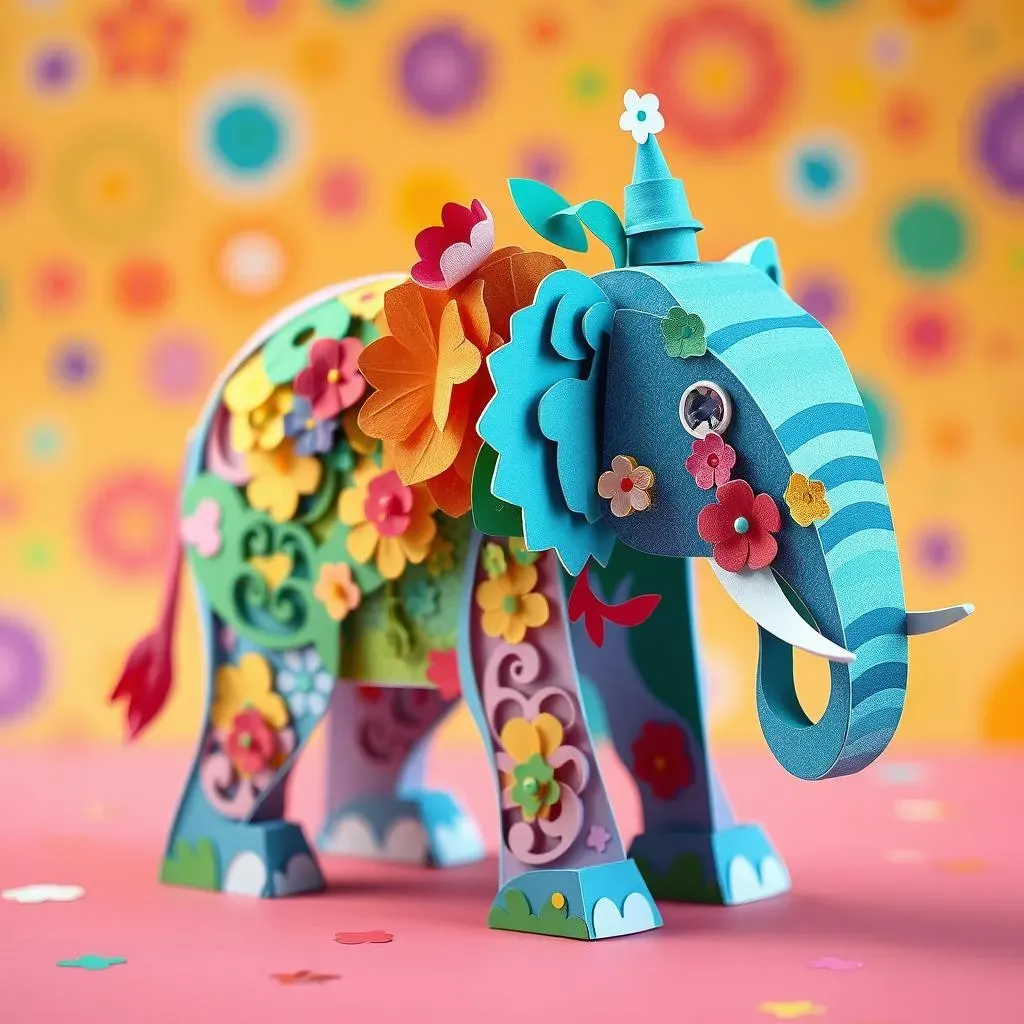
Okay, so you've got your basic paper cutting elephant down, that's fantastic! But why stop there? This is where things get really interesting. Now you can start thinking about ways to make each elephant unique and special. It's like you've baked a plain cake, and now it's time to add the frosting and sprinkles. We are going to look at different ways to play around with the design, and add some personal touch to your creations. This is where your imagination can run wild, and you can really make your paper cutting elephant shine.
One fun idea is to play with different colors and patterns. Instead of just using one color of paper, try using patterned paper, or even layering different colors to create a cool effect. You can also experiment with different sizes and shapes. Make a tiny elephant, or a giant one! Or how about adding some extra details like paper cut flowers or tiny hats? It’s like dressing up your paper elephant for a party. This is all about having fun and experimenting, and seeing what crazy and creative ideas you can come up with.
Variation | Description |
|---|---|
Color | Use different colors of paper. |
Pattern | Use patterned paper. |
Size | Make elephants of different sizes. |
Details | Add paper flowers, hats, or other accessories. |
Another way to add some personality to your paper cutting elephant is to use different cutting techniques. Try making jagged edges for a more rugged look, or use curved scissors for a more flowy feel. You can also experiment with making small cuts within the elephant's body to create a lacy effect. It's like giving your elephant a unique haircut. These little details can make a big difference, and they are all about using your tools in different ways to get different effects. It is like when a chef uses different knives to get different cuts of meat.
Don't be afraid to think outside the box and try things that you haven't seen before. Maybe your elephant has polka dots, or maybe it has a big paper flower on its head. The possibilities are endless! It is your creation, so you are in control. This is where you can really let your artistic side shine, and see what amazing and unique paper cutting elephant you can create. It is like being a scientist, and you are experimenting with different ideas to see what works, and what doesn't.
"The creative adult is the child who survived." - Ursula K. Le Guin
Displaying Your Paper Cutting Elephant Masterpieces
Displaying Your Paper Cutting Elephant Masterpieces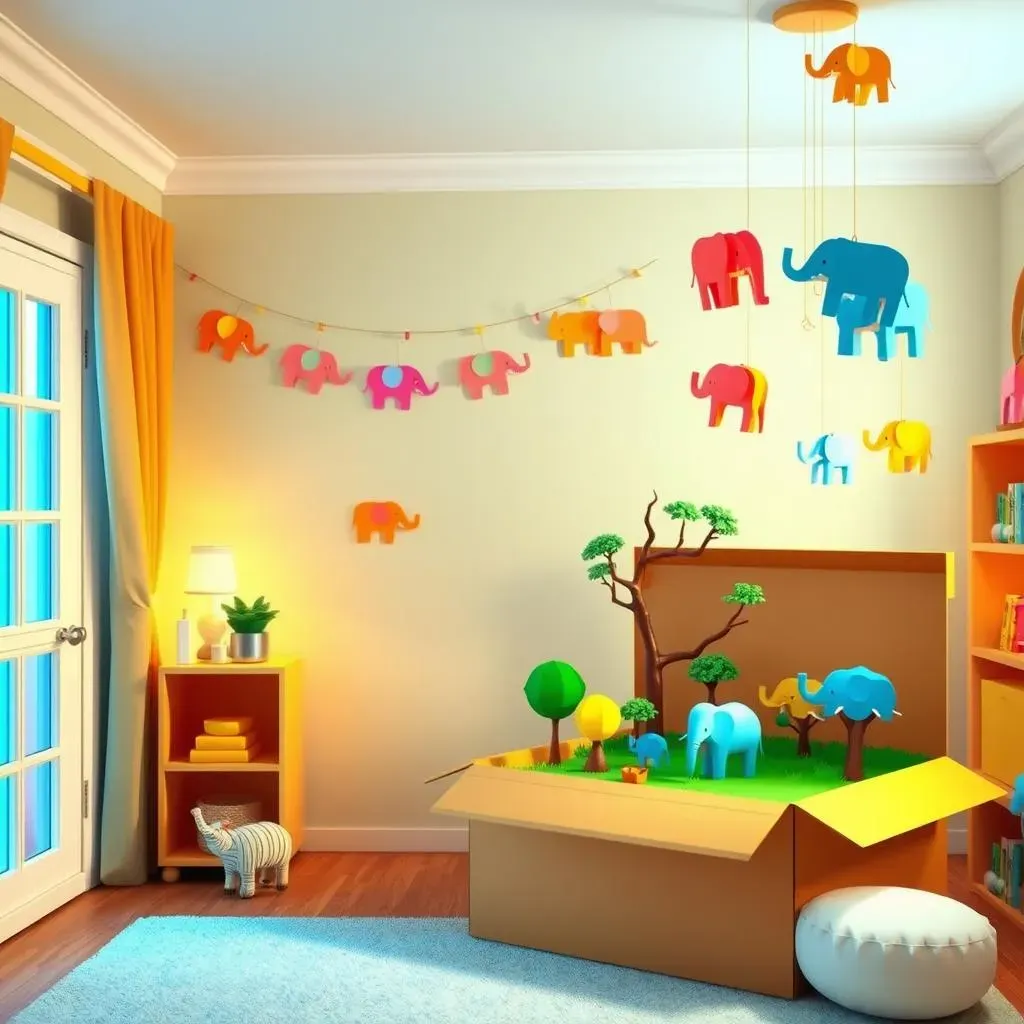
Making a Paper Parade
Okay, so you've got a whole herd of paper cutting elephants, that's amazing! Now, what are you going to do with them all? Don't just toss them in a drawer, they deserve to be seen! One super fun idea is to create a paper parade. You can string them up on a piece of yarn or string and hang them across a wall or window. It's like having your very own elephant circus, and it's a great way to show off all your hard work. You can use different lengths of string to create a dynamic display, and it is like bringing your creations to life, and making your room look like a fun art gallery.
Another cool idea is to use your paper elephants to decorate cards or gift bags. Imagine receiving a birthday card with a cute paper elephant attached to it! It would make it so much more personal and special. It is like adding a handmade touch, and it is so much better than store-bought stuff. You can also use them to decorate your scrapbook or journal, adding a touch of whimsy and fun. These little paper elephants can go a long way, and they are a great way to make everyday things a little bit more fun and exciting.
"Every child is an artist. The problem is how to remain an artist once we grow up." - Pablo Picasso
Creating a Mini Elephant Habitat
If you want to get a little more creative, why not create a mini elephant habitat? You can use a cardboard box or a shoebox to create a little scene, adding some paper trees, grass, and maybe even a paper river. It's like building a diorama, and it's a great way to bring your paper elephants into a whole new world. You can also add other paper animals to the scene, and create a whole paper zoo. This is all about using your imagination, and create a little story with your paper creations.
Another fun idea is to use your paper elephants to create a mobile. You can attach them to a hanger or a wooden dowel, and hang it from the ceiling. It's like having a little elephant cloud floating above you, and it is a great way to add some fun to your room. You can also add other paper shapes and colors to the mobile, and create a really unique and eye-catching display. These are just some ideas, but the possibilities are truly endless. So, use your imagination, and see what amazing ways you can come up with to show off your awesome paper cutting elephant masterpieces!
Display Idea | Description |
|---|---|
Paper Parade | String elephants on yarn and hang. |
Card Decor | Attach elephants to cards or gift bags. |
Mini Habitat | Create a diorama with paper elements. |
Mobile | Hang elephants from a hanger or dowel. |