Table of Contents
Ever wondered how those super cool, intricate paper designs are made? Well, it's not magic, it's paper cutting dies! These little tools are like cookie cutters for paper, letting you create amazing shapes and patterns with ease. Forget struggling with scissors; these dies let you make clean, precise cuts every single time. In this article, we're going to explore the world of paper cutting dies. We'll start with the basics, explaining exactly what they are and how they work. Then we will look at the variety of different types of dies available, from simple shapes to complex layered designs. Finally, I will share some awesome tips and tricks to help you use these tools like a pro, so you can start making your own fantastic paper crafts. Get ready to unlock your creativity and transform paper into something truly special with paper cutting dies!
What are Paper Cutting Dies and How Do They Work?
What are Paper Cutting Dies and How Do They Work?
The Basics of Cutting Dies
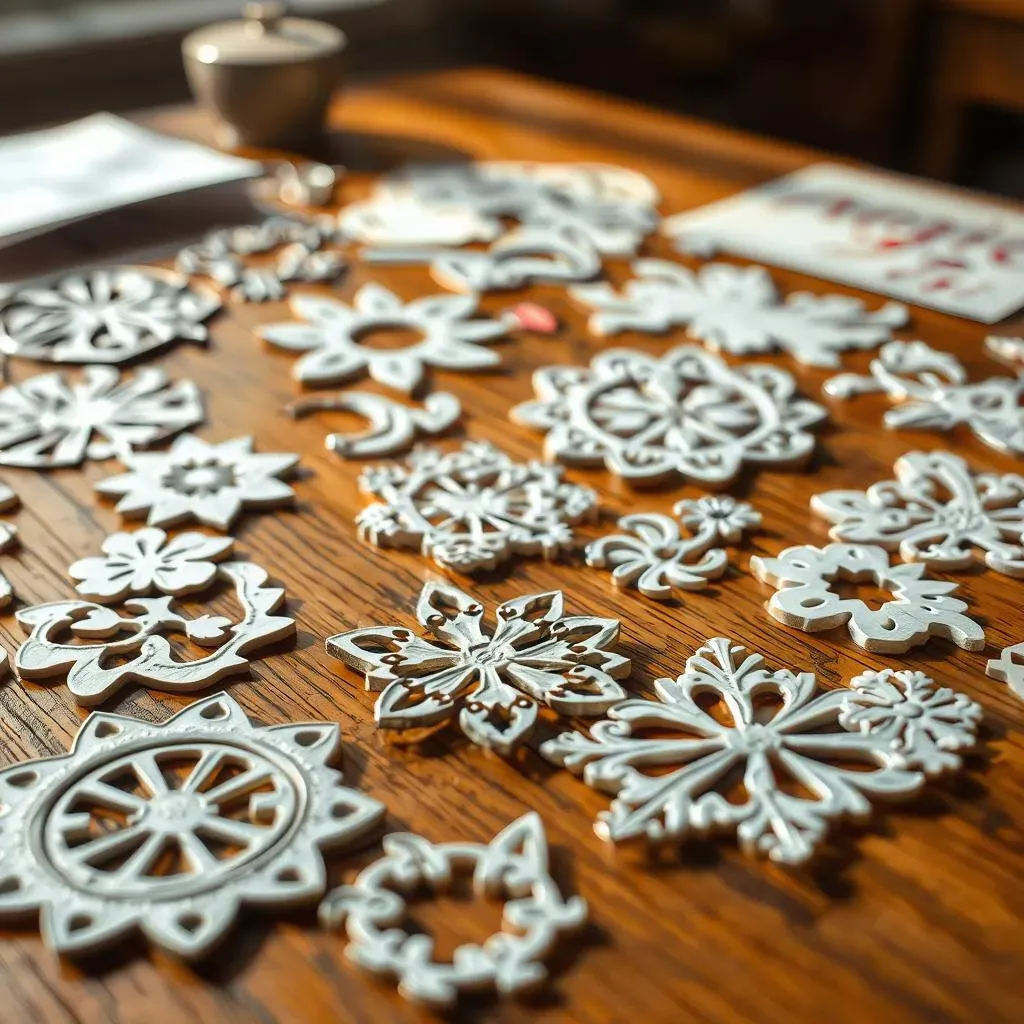
Okay, so you’re curious about paper cutting dies? Think of them as super-precise stencils, but instead of drawing around them, you use them to cut through paper. These dies are made of thin metal with raised, sharp edges that form a specific shape or design. They come in a huge variety of patterns, from simple circles and squares to super intricate flowers and animals. It's like having a custom cookie cutter, but for paper!
These aren't your grandma's craft scissors – they make clean, crisp cuts that are impossible to achieve by hand. The best part? They're reusable! So you can make the same design over and over again. No more wonky, uneven edges!
How the Magic Happens
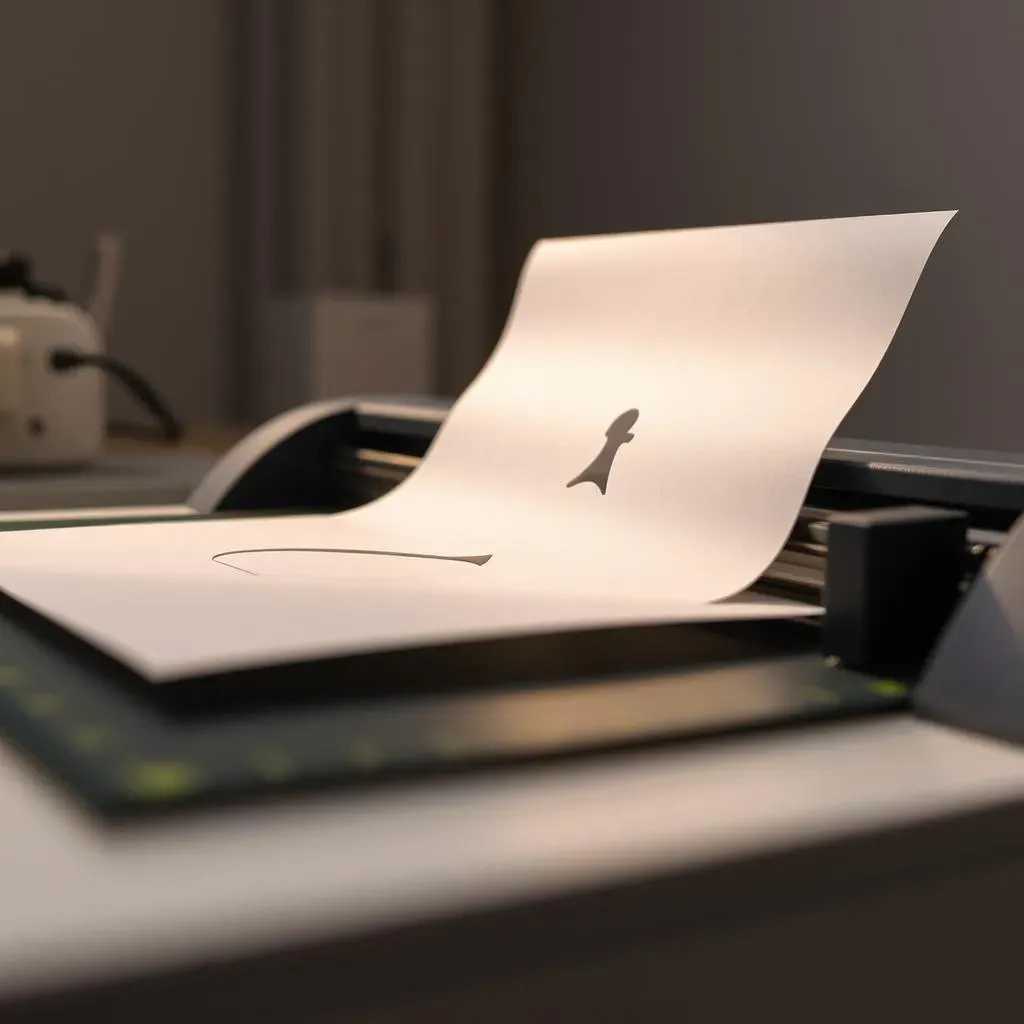
Now, how do these little metal wonders actually work? You can't just push them into paper, you need a special machine. These machines are called die-cutting machines, and they come in different sizes and styles. Basically, you create a "sandwich" with the die, your paper, and some cutting plates. Then you crank the handle, and the machine presses everything together, forcing the sharp edges of the die through the paper. The result? A perfectly cut shape. It's like a mini printing press, but for cutting!
It might sound complicated, but it’s actually pretty straightforward. Once you get the hang of it, you’ll be churning out perfectly cut shapes in no time. These machines are not that expensive, and they can be a great investment if you are planning to do a lot of paper crafting.
Die-Cutting Component | Function |
|---|---|
Cutting Die | The metal shape with sharp edges that does the cutting. |
Die-Cutting Machine | The machine that applies pressure to the die. |
Cutting Plates | The flat plates that create the "sandwich" and protect the machine. |
Paper | The material you will be cutting. |
Why Use Paper Cutting Dies?
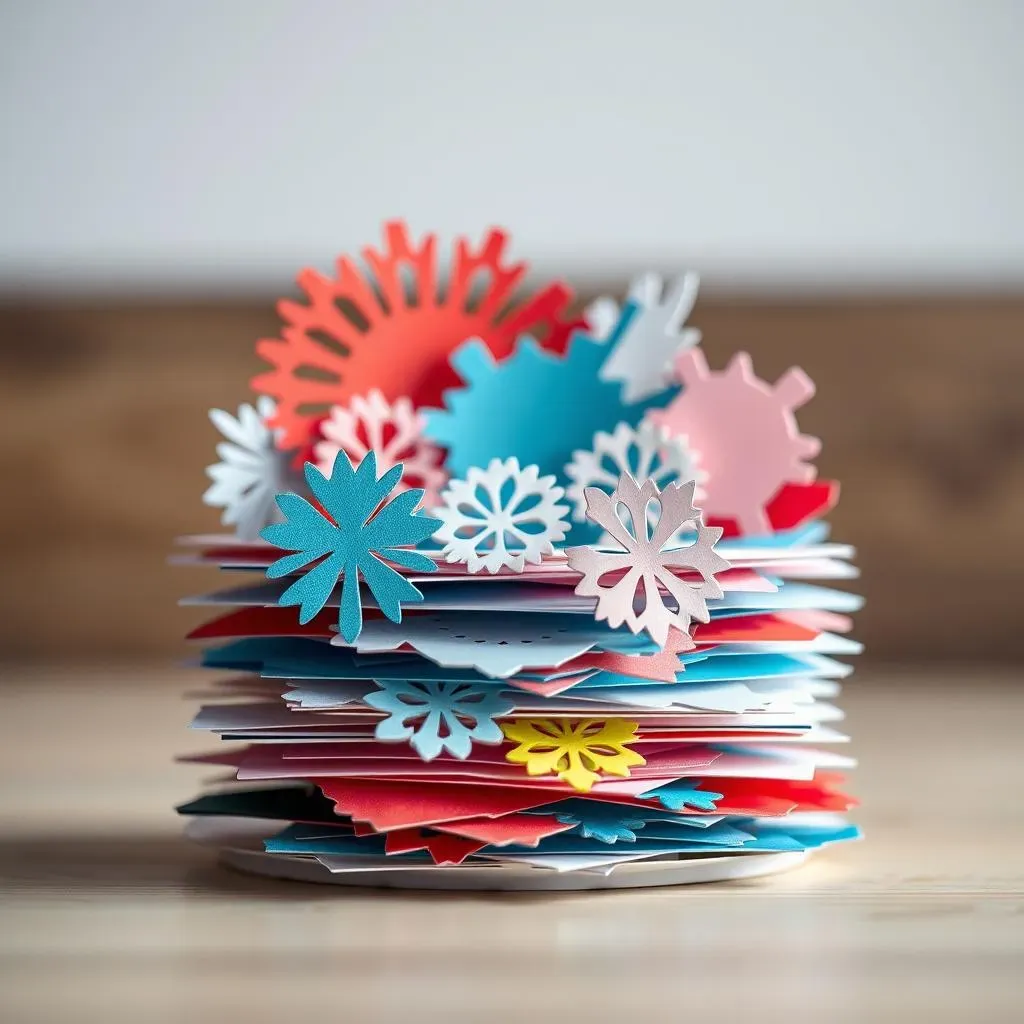
You might be thinking, "Why bother with all this when I have scissors?" Well, for starters, precision. Paper cutting dies provide a level of accuracy that you just can't get with scissors, especially for complex shapes. Plus, they save you a ton of time and effort. Imagine cutting out 20 identical snowflakes by hand – it'd be a nightmare! With dies, it's a breeze.
Paper cutting dies open up a whole new world of crafting possibilities. From card making and scrapbooking to creating decorations and gifts, they can take your projects to the next level. They allow you to make complex, stunning designs that would be impossible with just scissors, and they make it easy to duplicate your designs.
Exploring Different Types of Paper Cutting Dies
Exploring Different Types of Paper Cutting Dies
Steel Rule Dies: The Heavy Hitters
Okay, let's talk about the big guns of the die-cutting world: steel rule dies. These are the workhorses, the ones that can cut through thick materials like cardstock, chipboard, and even fabric. They're made with a very sharp steel blade embedded in a wooden base. Think of them as the industrial-strength version of your average cutting die. These dies are fantastic for projects that need a little more oomph. They're often used for creating sturdy boxes, complex dimensional cards, and even quilt pieces. If you’re looking for a die that is durable and versatile, steel rule dies are the way to go.
Because of their robust construction, steel rule dies are usually larger and more expensive than other types of dies. However, their ability to cut through a wider range of materials and their long lifespan make them a great investment if you’re serious about your crafts. They might not be the best choice for beginners, but once you get more experience, you’ll find that these dies are essential for many types of paper crafting. They’re like the tanks of the paper crafting world – strong, reliable, and ready for anything.
Wafer-Thin Dies: The Delicate Details
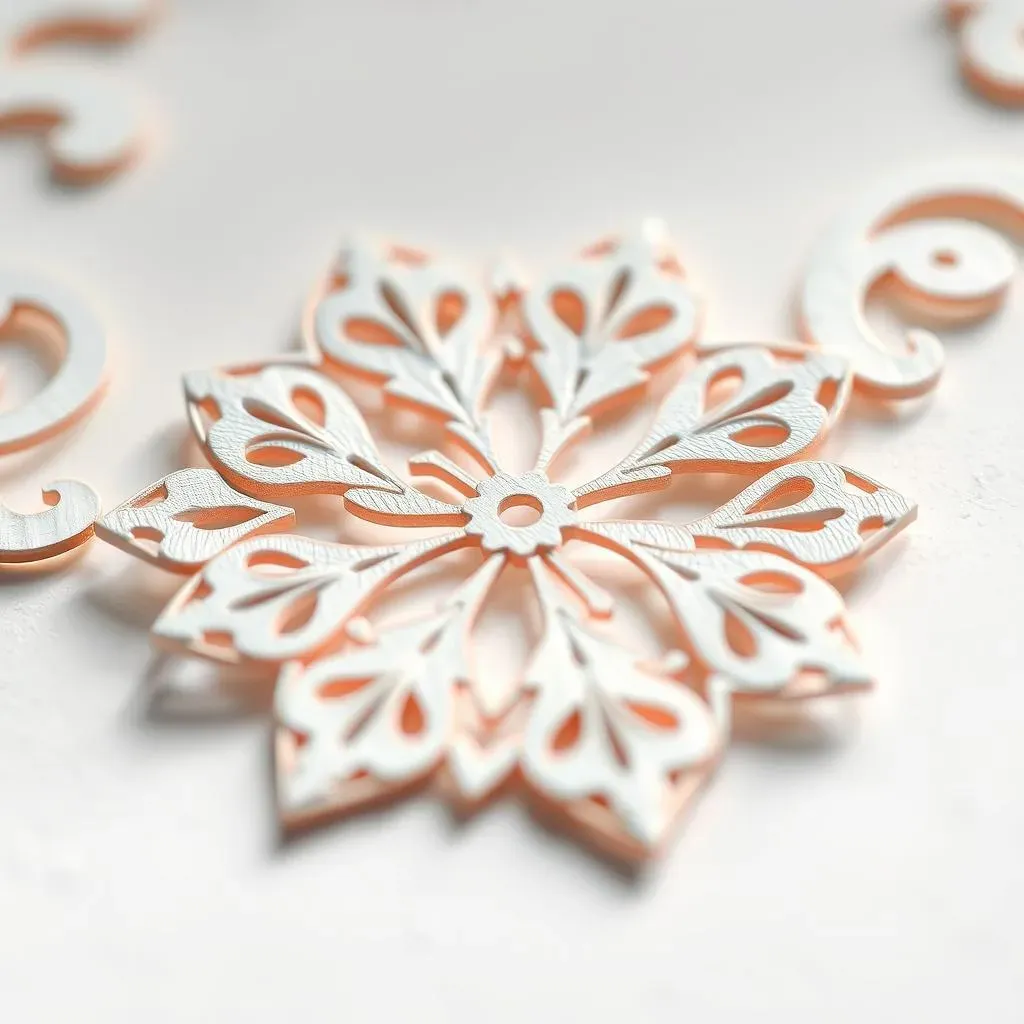
Now, let’s switch gears and talk about wafer-thin dies. These are the delicate beauties of the die-cutting world. They're made of thin, flexible metal and are perfect for intricate designs and fine details. Think lacy patterns, delicate flowers, and tiny letters. They are amazing for adding that extra touch of elegance and finesse to your projects. These dies are ideal for card making, scrapbooking, and other paper crafts where precision and detail are key. They are also very easy to store because they take up very little space.
Unlike steel rule dies, wafer-thin dies are not designed to cut through thick materials. They work best with paper, cardstock, and thin foils. You'll need to use a die-cutting machine with the correct plates to get the best results. Even though they might seem a bit fragile, they are actually quite durable and can be used many times, as long as you handle them with care. They are like the ballerinas of the paper crafting world – graceful, precise, and capable of creating incredible works of art.
Die Type | Material | Best For | Durability |
|---|---|---|---|
Steel Rule Dies | Steel blade in a wooden base | Thick materials, boxes, dimensional projects | Very durable |
Wafer-Thin Dies | Thin, flexible metal | Intricate designs, detailed patterns, paper | Moderate durability |
Tips and Tricks for Using Paper Cutting Dies Like a Pro
Tips and Tricks for Using Paper Cutting Dies Like a Pro
Choosing the Right Paper
Alright, so you've got your dies and your machine, but before you start cranking away, let's talk paper. Not all paper is created equal, especially when it comes to die-cutting. For wafer-thin dies, you'll want to stick with smooth, medium-weight cardstock. This will give you clean cuts without tearing. Avoid super thick cardstock, as it might not cut well with these delicate dies. For steel rule dies, you have more options. They can handle thicker cardstock, chipboard, and even thin fabrics. Just make sure that your chosen material can be cut with your die-cutting machine. Experiment with different types of paper to see what works best for your projects. It's all part of the fun!
Also, consider the color and texture of your paper. A smooth, solid-color cardstock will show off the intricate details of your die-cut design. Textured or patterned paper can add a different element to your projects, but make sure that the pattern won't make it harder to see the details of your design. And remember, always test a small piece of paper first before cutting your entire design. It's better to waste a small piece of paper than to ruin an entire sheet.
The Perfect "Sandwich"
Now, let’s talk about the "sandwich." No, not the kind you eat, but the layers you use in your die-cutting machine. Getting the order right is key to getting clean cuts. You'll usually start with a cutting plate, then your paper, then the die (with the cutting side facing down), and then another cutting plate. The exact order might vary slightly depending on your machine, so always consult your machine's instructions. If your cuts are not coming out clean, you might need to add a shim. A shim is a thin piece of cardstock or paper that you put in the sandwich to add a little extra pressure. This is particularly helpful when you are using wafer-thin dies or if your cutting plates have become a bit worn.
Make sure that your sandwich is aligned correctly, and that your die is not moving or shifting. If your die is moving when you are cranking the handle of the machine, it may result in uneven or incomplete cuts. Also, don't be afraid to experiment with different sandwich combinations to see what works best for your machine and dies. It's all about finding the perfect balance of pressure and alignment. The right sandwich is crucial for getting perfect cuts every time, so don't skip this step!
Layer | Purpose |
|---|---|
Cutting Plate | Provides a smooth surface for cutting. |
Paper | The material you want to cut. |
Cutting Die | The tool for creating the cut shape. |
Second Cutting Plate | Completes the "sandwich" and applies pressure. |
Tips for Clean Cuts
Okay, you've got your sandwich made, but sometimes, even with the right setup, you might get a few spots where the paper doesn't cut cleanly. Don't panic! There are a few tricks you can try. First, try running the sandwich through the machine a few times. This might help cut through any stubborn areas. If that doesn't work, try rotating the sandwich 90 degrees and running it through again. Sometimes, changing the angle can make a difference. Another tip is to use a metal shim instead of a cardstock shim. Metal shims are more durable, and they can provide a more even pressure. Also, make sure that your cutting plates are not warped or damaged. If they are, it may be time to replace them.
Another handy trick is to add a piece of waxed paper between the die and the paper. This can help the die-cut release easier, especially when working with detailed designs. If you have a lot of intricate dies, you might want to invest in a die pick. A die pick is a small tool with a sharp point that helps to poke out any stubborn bits of paper that get stuck in the die. With a little practice and a few tricks up your sleeve, you will be creating perfect die-cuts every time. It's all about learning what works best for your specific setup and materials. Don’t be afraid to experiment and have fun with it!
"The key to mastering any craft is patience and practice. Don't get discouraged by mistakes; they are just learning opportunities." - Anonymous Crafter
