Table of Contents
Ever thought about making your writing projects truly stand out? I'm not talking about fancy fonts, but something way more awesome: paper cutting! Yes, you heard right. We're going to explore the world of "paper cutting design for writing," and trust me, it's way cooler than it sounds. This isn't just about making pretty pictures; it's about adding a whole new dimension to your words. This guide will start from the very beginning, showing you the tools you need, and then move on to some simple techniques to get you started. We'll also look into some creative ideas you can use for your writing projects and even discuss some more advanced tips and tricks. I’ll show you how to turn a simple piece of paper into a work of art that complements your writing. So, grab your craft knife, let’s transform your writing into something amazing. Get ready to cut, create, and make your words pop off the page!
Getting Started: Essential Tools for Paper Cutting Design
Getting Started: Essential Tools for Paper Cutting Design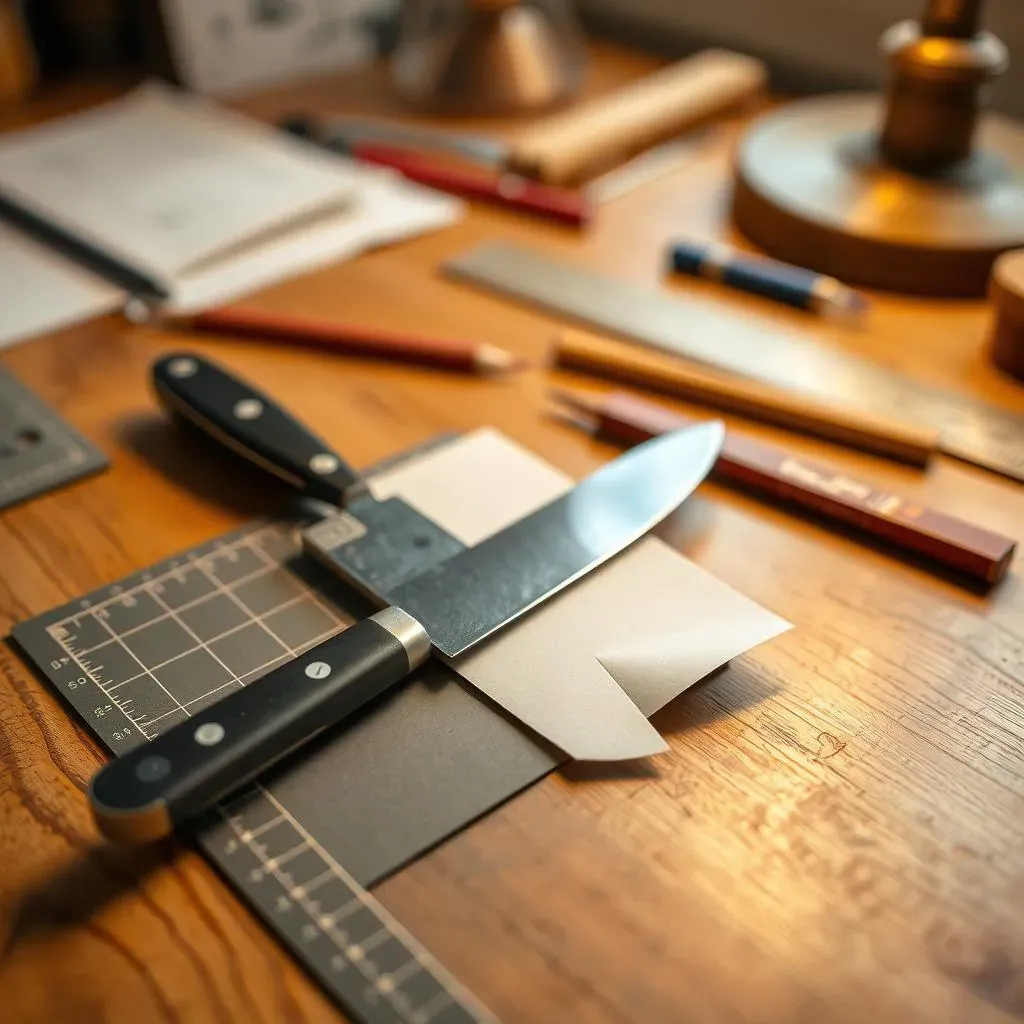
The Craft Knife: Your New Best Friend
Okay, so you wanna start cutting paper like a pro? First things first, you absolutely need a good craft knife. This isn't your average kitchen knife; it's smaller, sharper, and way more precise. Think of it as your pen for paper, allowing you to create those clean, crisp lines. I'd recommend getting one with a comfortable grip because you'll be spending some time with it. Also, make sure you have extra blades on hand because a dull blade is a paper cutter's worst enemy. It’s like trying to draw with a crayon that’s been worn down to a nub – frustrating and not pretty.
Cutting Mat: Protecting Your Surfaces
Next up, you need a self-healing cutting mat. This is a lifesaver, trust me. Without it, your kitchen table (or whatever surface you're using) will end up looking like a battlefield. This mat is specially designed to protect your surfaces from the sharp knife. Plus, it’s made to last and won’t be ruined after a few cuts. It’ll also help keep your blade sharper for longer. Think of it like a shield, protecting both your table and your sanity. It's a small price to pay for avoiding a total mess.
Tool | Why You Need It |
|---|---|
Craft Knife | For precise cutting and clean lines |
Self-Healing Cutting Mat | Protects surfaces and extends blade life |
Paper & Other Useful Bits
You can't cut paper without, well, paper! You can start with basic cardstock or even printer paper, but don’t be afraid to explore. Different weights and textures of paper will give different effects. And don't forget the other handy tools, like a ruler for straight lines and a pencil for sketching. Having a good eraser is also great for fixing any mistakes. These might seem like minor things, but having them ready will make the whole process so much smoother. It's like having all your ingredients prepped before you start cooking – it just makes everything easier and more fun.
Easy Paper Cutting Design Techniques for Beginners
Easy Paper Cutting Design Techniques for Beginners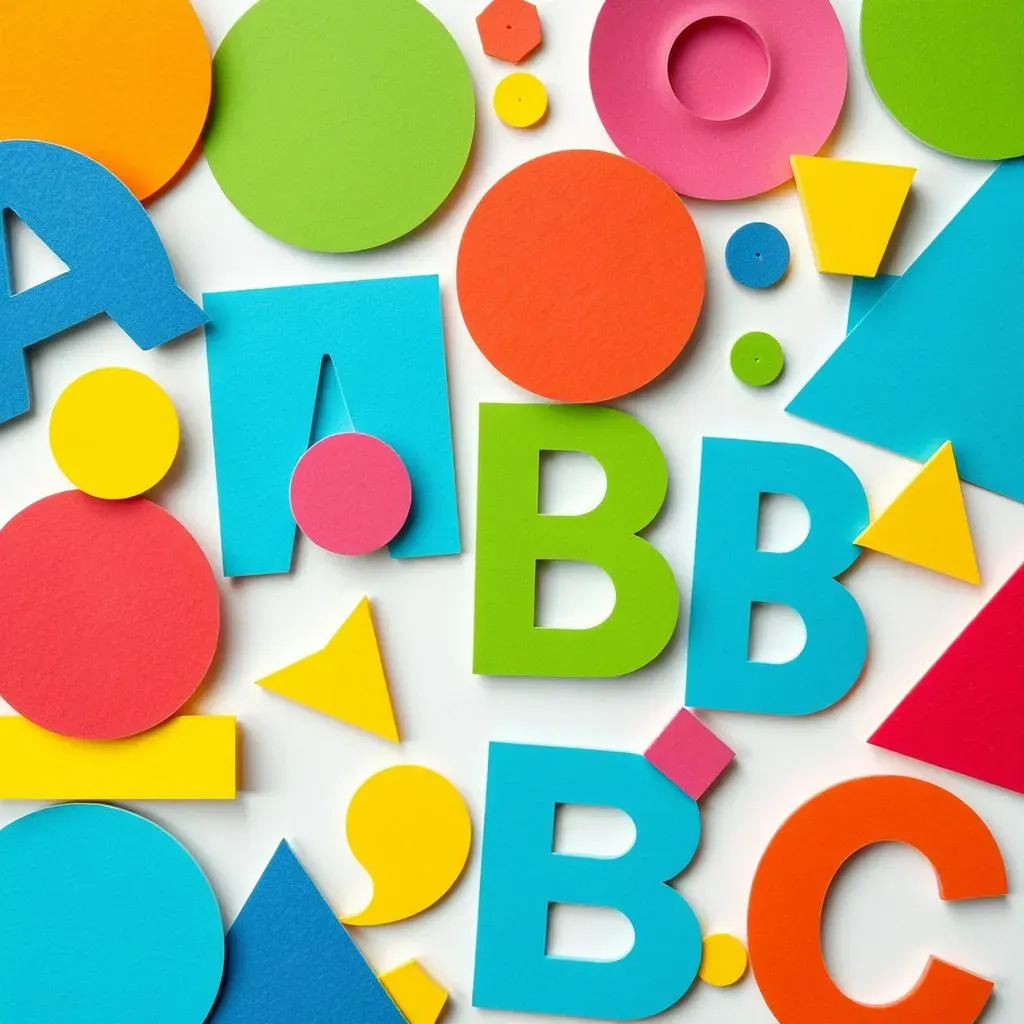
Simple Shapes: Your Starting Point
Alright, so you've got your tools, now what? Let's start super simple. I'm talking basic shapes: circles, squares, triangles. These are your building blocks. Don't try to cut out a dragon on day one. Instead, practice making clean cuts along straight lines. Try cutting out a square, then a triangle. See how you can rotate the paper and move the knife. It's all about getting a feel for the paper and the blade. Think of it like learning to write. You started with simple lines before you wrote full sentences, right? It's the same here!
Cutting Basic Letters: Making Words Pop
Next, let’s try cutting some letters. Start with block letters, like A, B, C. They’re easier than the fancy cursive ones. The key is to cut slowly and carefully. Don't rush it. Think of each letter as a series of straight lines and curves and try to follow that. When you're cutting a letter, imagine it's a tiny path that your knife is walking down. It's like creating your own secret code, but instead of writing it, you're cutting it. Practice on scrap paper. Don't be afraid to mess up; it's all part of the learning process. Seriously, I’ve made a lot of paper confetti before I got the hang of it.
- Start with simple shapes
- Practice straight lines and curves
- Cut block letters first
- Go slow and steady
Layering: Adding Depth to Your Designs
Once you're comfortable with simple shapes and letters, let's add some depth. Try cutting out the same shape or letter in different sizes and layering them on top of each other. You can use glue or tape to stick them together. This technique creates a cool 3D effect. It's like turning a flat drawing into a mini sculpture. Imagine how awesome a layered paper-cut word could look. It's a simple trick, but it adds a ton of visual interest. It’s like adding sprinkles to a cake; it just makes everything better. You can also use different colors of paper to make the layers stand out even more. This is where your creativity really starts to shine.
Creative Paper Cutting Design Ideas for Writing Projects
Creative Paper Cutting Design Ideas for Writing Projects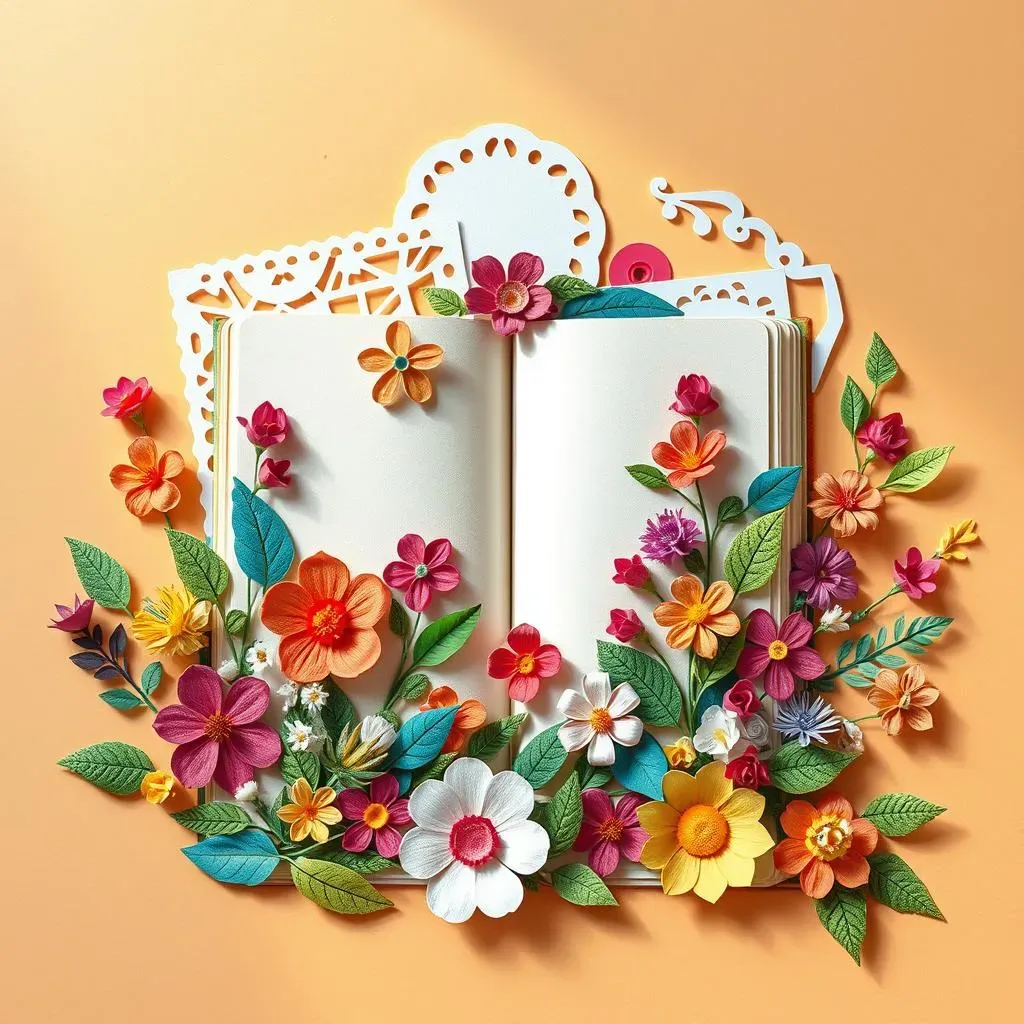
Okay, so you've got the basics down. Now, let's get into the fun part: "Creative Paper Cutting Design Ideas for Writing Projects". This is where you can really let your imagination run wild. Think about how you can use paper cutting to make your writing more exciting and engaging. Instead of just having plain text, why not add a paper-cut border around your paragraphs? You could also create paper-cut shapes that relate to your content. For example, if you’re writing a story about the ocean, you could add paper-cut waves, fish, or seashells. It is like adding little visual clues that make people curious about what you've written. It’s like adding a secret ingredient to a recipe, it just makes it special.
Another thing I love to do is to create paper-cut bookmarks with my favorite quotes. It's a great way to make reading more enjoyable, and it's also a thoughtful gift idea. You can even design your own stencils for unique headers or section dividers in your notebooks or journals. Think of your writing space as your canvas, and paper cutting as your paint. Don’t be afraid to experiment with different textures, colors, and layering techniques. It’s all about making your written words come alive with a little bit of paper magic.
Idea | Description |
|---|---|
Paper-Cut Borders | Add decorative borders around your text |
Themed Shapes | Cut out shapes that relate to your writing topic |
Quote Bookmarks | Create bookmarks with your favorite quotes |
Stencils | Design unique headers and dividers |
Advanced Paper Cutting Design Tips and Tricks
Advanced Paper Cutting Design Tips and Tricks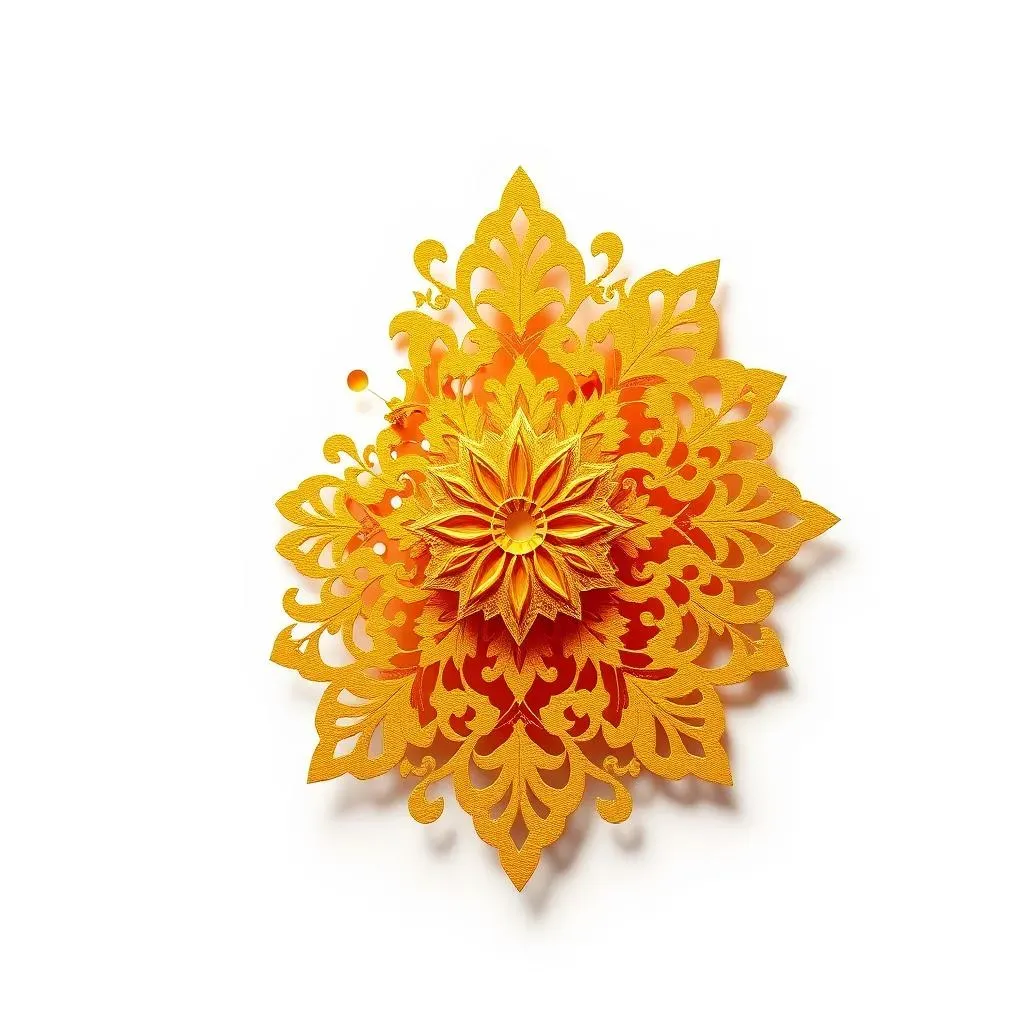
Alright, so you're getting the hang of things, huh? You’re not just cutting shapes anymore; you're crafting mini masterpieces. Now it's time to really step up your paper-cutting game with some "Advanced Paper Cutting Design Tips and Tricks". First up, think about using negative space. It’s not just about what you cut out, but what you leave behind. Imagine cutting out a complex design, and the remaining paper forms an equally impressive shape. This takes a bit of planning but creates such a cool, sophisticated look. It’s like a hidden message within your design. Also, experiment with different types of cuts. Try making tiny, intricate cuts and then combine them with larger, bolder ones. This contrast can make your designs much more interesting. Remember, it’s all about playing around and seeing what works best for you. Don't be afraid to push the boundaries of what you think is possible with paper.
Another thing that's helped me a ton is using templates. You can find tons online, or you can make your own. Templates are a huge time-saver, especially when you're working on complex or repetitive designs. It's like having a cheat sheet for paper cutting. And here’s a pro tip: invest in a good lightbox. It’s a game-changer when you're tracing intricate designs onto your paper. It makes the process so much easier and more accurate. Think of it as your personal design studio, lighting up all your creative ideas. And don't forget, patience is key. Advanced paper cutting isn’t something you can rush. Take your time, enjoy the process, and you'll be amazed at what you can create. It’s like learning a new language; it takes practice, but the results are worth it.
Tip | Description |
|---|---|
Negative Space | Use the cut-out areas to create designs |
Varied Cuts | Mix small, intricate cuts with larger ones |
Templates | Use pre-made or self-made templates to save time |
Lightbox | Use a lightbox for accurate tracing |
Patience | Take your time and enjoy the process |
