Table of Contents
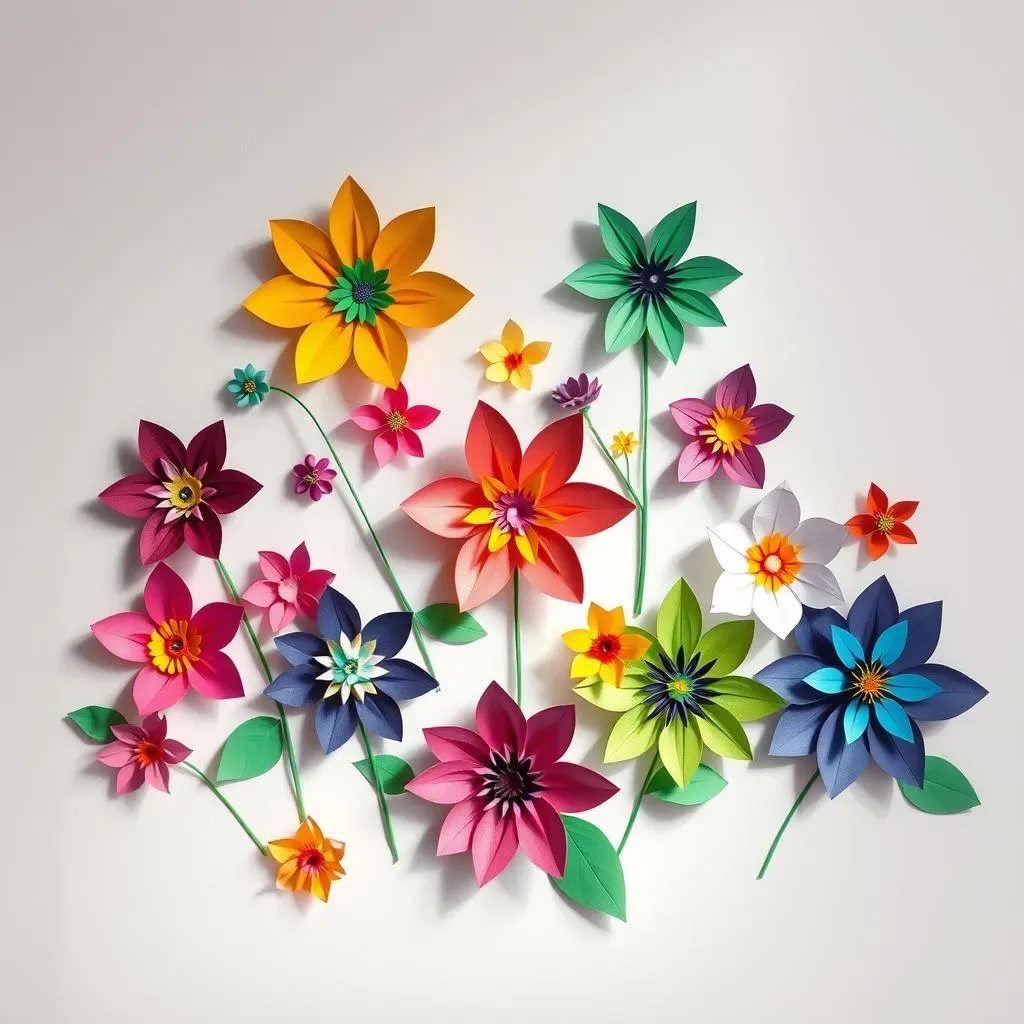
Ever wanted to make something beautiful with just paper and scissors? I'm about to show you how! We're diving into the wonderful world of paper cutting design flower, and trust me, it's way easier and more fun than it sounds. Forget those complicated crafts; we're starting with the basics and building up to designs that'll make your friends say "Wow, you made that?" This isn't just about cutting paper; it’s about creating art, and I am here to be your guide. We'll start with simple techniques to get you comfortable, then we'll explore how to make your designs one-of-a-kind. Later on, we'll tackle a few more complex patterns, and I’ll share some secrets to make your paper flowers look absolutely amazing. Think of it as a journey, from simple snips to stunning floral masterpieces. So, grab your paper and scissors, and let’s get started, you will be amazed how easy it is to create your own paper cutting design flower!
Simple Paper Cutting Flower Techniques
Simple Paper Cutting Flower Techniques
Getting Started with Basic Cuts
Okay, so you wanna make paper flowers, right? First things first, let's not overthink it. We're talking basic shapes here. Think of it like learning to draw – you start with circles and lines, not a masterpiece. Grab some paper, any kind will do for practice, and your scissors. Let's try a simple folded square. Fold a square piece of paper in half, then in half again, and then one more time diagonally. Now, take your scissors and make some simple curved snips along the edges. Don't be scared; there's no right or wrong way at this stage. The goal is to get comfy with the feel of the scissors and paper. Unfold it, and BAM! You've made your first simple paper flower shape.
Now, here's the secret, it's all about experimenting. The cuts you make will determine the shape of your petals. Want pointy petals? Make pointy cuts. Want rounded petals? Make rounded cuts. It’s like magic. Try making different cuts on the folded paper, see what happens when you make a triangle shape or a half circle. Each time you unfold, you'll be surprised. This step is all about getting familiar with the basic method. Don't worry about making it perfect. It’s about playing around and having some fun with the process. You'll be surprised how quickly you pick it up!
Cut Type | Petal Shape | How To |
|---|---|---|
Curved Snips | Rounded Petals | Make smooth, rounded cuts along the edges. |
Pointy Snips | Pointed Petals | Make sharp, angled cuts along the edges. |
Triangle Cuts | Star-Like Petals | Cut out small triangles from the edges. |
Making Petal Variations
Alright, you've got the basic cuts down, but what if you want your flowers to have more personality? Let's talk about petal variations. It is not enough to only make the same cut. Instead of just cutting along the edges, try making small cuts in the middle of the folded edge. For example, try cutting a small triangle in the center of the folded edge on one side. When you unfold, you’ll see a unique pattern in the center of your flower. It’s all about playing around with negative space.
Another cool trick? Try making wavy cuts, or even jagged cuts. Think about how different flower petals look in nature. Some are smooth, some are ruffled, some have tiny teeth. You can mimic these with your scissors. The trick is to never be afraid to try something new, even if it looks weird at first. Remember, every mistake is just a new way to learn. So go ahead, make some weird cuts, and you might just discover a design you absolutely love. Keep practicing and you'll get a feel for what works and what doesn't. It's all about learning by doing!
- Experiment with different paper types (thin, thick, colored, patterned).
- Try using different scissors (small, large, decorative).
- Don't be afraid to make mistakes; they often lead to unique designs.
Creating Unique Paper Flower Designs
Creating Unique Paper Flower Designs
Layering Techniques for Depth
Okay, so you've mastered the basic cuts, and you're feeling pretty good about your paper flowers. But what if I told you that you could take your designs to the next level? It's time to get into layering! Think of it like building a cake, each layer adds something special. Instead of just one layer of petals, cut out multiple layers of different sizes and shapes. Start with a larger base layer, and then add smaller layers on top, each one slightly different. This creates dimension and depth, making your flowers look more realistic and interesting. It's like giving your flowers a 3D effect. You can use different colors and paper textures for each layer to make it even more dramatic.
For example, cut a large flower with rounded petals as your base. Then, cut a smaller flower with pointed petals and place it on top. You can even add a tiny circle in the center to act like the flower's core. Don't be afraid to play around with the order, size, and shape of each layer. It’s all about experimenting until you find something that you love. It might take a few tries to get it just right, but the results are absolutely worth it. Trust me, layering will totally transform your paper flowers and make them look way more professional. Just imagine the possibilities!
Layer Type | Effect | Tips |
|---|---|---|
Base Layer | Provides the foundation and shape. | Use larger petals and a sturdier paper. |
Middle Layer | Adds depth and detail. | Use slightly smaller and different shaped petals. |
Top Layer | Creates the focal point. | Use smaller petals and a contrasting color. |
Using Different Paper Types
Paper isn’t just paper, you know? It’s like a whole world of textures and colors just waiting to be explored! Using different types of paper can completely change the look and feel of your flowers. Thin paper, like tissue paper, is great for creating delicate, airy petals. It’s really easy to cut and fold, and it gives your flowers a soft, almost dreamy look. On the other hand, cardstock is much thicker and sturdier, perfect for making bold, structured petals that hold their shape. You can also try using colored paper, patterned paper, or even recycled magazine pages to add extra personality to your designs.
Have you ever thought about using metallic paper? It adds a touch of sparkle and shine to your flower. Or try using textured paper for a more natural, handcrafted look. The possibilities are endless! The key is to experiment and see what different papers can do to your designs. Don't be afraid to mix and match different types of paper in the same flower. It's all about finding what works best for you and your style. So, next time you’re making paper flowers, take a look at your paper stash and see what creative combinations you can come up with. Trust me, it's a game-changer!
- Use tissue paper for delicate, airy petals.
- Use cardstock for bold, structured petals.
- Experiment with different textures, colors, and patterns.
Advanced Paper Cutting Flower Patterns
Advanced Paper Cutting Flower Patterns
Intricate Petal Designs
Alright, my friend, let's crank things up a notch! You've been playing with basic shapes, layering like a pro, and experimenting with all kinds of paper. Now, it's time to get into the nitty-gritty of advanced patterns. Forget those simple curves; we're talking intricate petal designs that’ll make your flowers look like they came straight out of a fairy tale. We are moving to making the petals more complex. Think about flowers like roses or carnations that have petals that are not just simple curves. You can add small cuts along the edges of your petals to create a ruffled effect, or try making tiny, repeating patterns that add a lot of visual interest. It's all about precision and patience, but the results will be worth it.
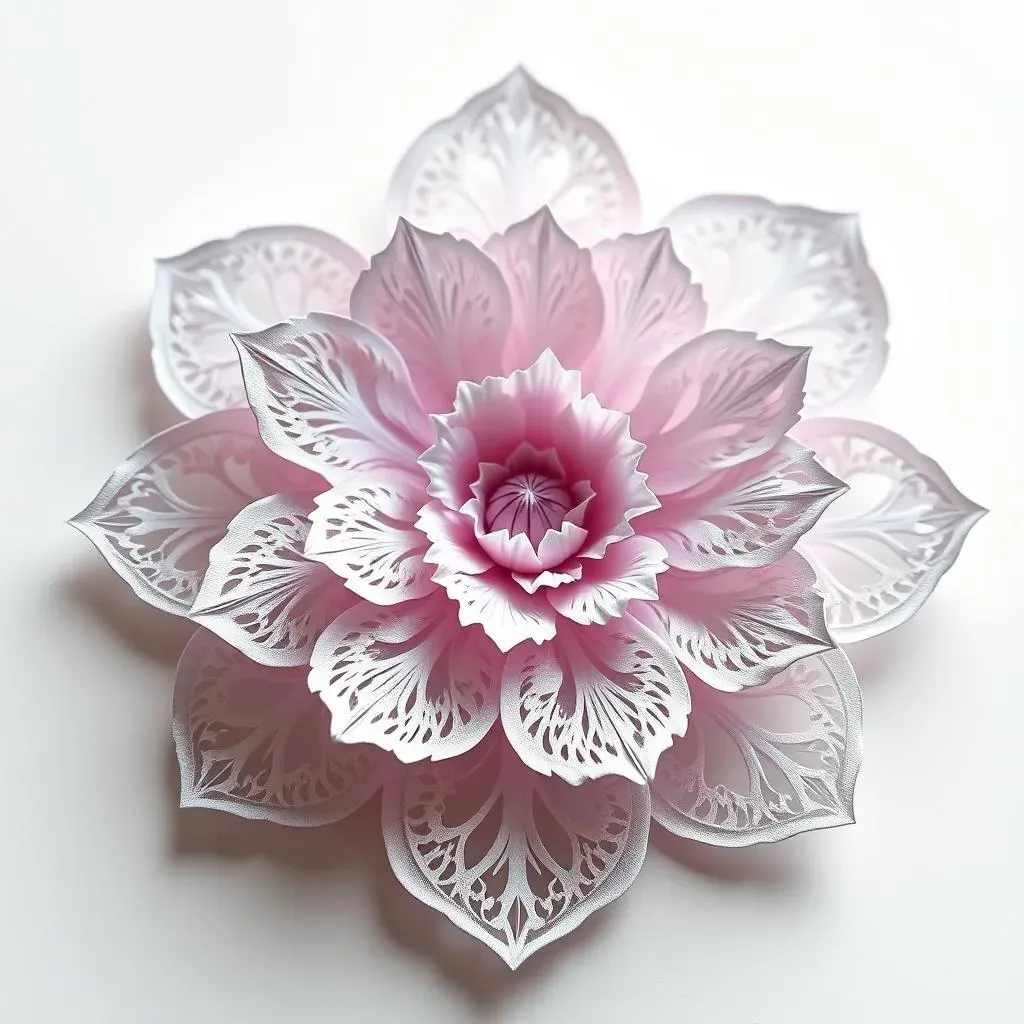
For example, try cutting a series of small, closely spaced triangles along the edge of a petal, or make tiny, almost lace-like cuts to create a delicate, ethereal effect. You can even combine different types of cuts to create unique textures and patterns. The key here is to take your time and not rush. It might be a good idea to practice some of these cuts on scrap paper before you try them on your final piece. It's all about the details! Think of it as adding a touch of magic to your paper flowers. It's amazing how a few small cuts can transform a simple petal into something truly stunning.
Technique | Description | Tips |
|---|---|---|
Ruffled Edges | Small, repeating cuts along the petal edge. | Use small, sharp scissors for precision. |
Lace-Like Cuts | Tiny, intricate cuts that create a delicate pattern. | Practice on scrap paper first. |
Repeating Patterns | Consistent cuts that add visual interest. | Take your time and be patient. |
Creating Multi-Layered Masterpieces
So, layering is cool, right? But we can take it even further! We are not only going to layer flowers but also create multi-layered masterpieces. Instead of just stacking petals on top of each other, let’s use different layers to create a sense of depth and complexity. You can create a central core using a small, tightly folded paper shape, and then build out from there with layers of increasingly larger and more intricate petals. It’s like building a sculpture out of paper. Think about how a real flower is structured. It has a center, and the petals radiate out from that point. You can mimic this in your paper flowers by carefully layering different shapes and sizes.
For example, start with a small, tightly rolled paper cone as your center, then add a layer of small, pointed petals around it. Next, add a layer of larger, rounded petals, and then maybe another layer of ruffled petals. You can even add tiny paper leaves or other decorative elements to create a more realistic and detailed design. The possibilities are endless! The key is to plan out your layers in advance and to use different colors and textures to create contrast and visual interest. It’s like creating a paper garden in your own hands. Take your time, have fun, and let your creativity run wild!
"The details are not the details. They make the design." - Charles Eames
Adding Stems and Leaves
Okay, your flowers look amazing, but what’s a flower without a stem and some leaves? Let's add those to the mix. This will really bring your creations to life. Creating stems and leaves is actually pretty straightforward but it adds a whole new dimension to your paper flowers. For the stem, you can use a thin strip of green paper, or even a pipe cleaner if you want something more sturdy. You can wrap the paper around a thin stick or wire to give it more structure. For the leaves, you can cut out simple leaf shapes from green paper and attach them to the stem. You can also add some veins by making a few tiny cuts on the paper leaves. It’s all about making your flowers look as realistic as possible.
You can also experiment with different leaf shapes and sizes, and even add some texture by scrunching up the paper a little bit before you attach it to the stem. Don’t be afraid to add some extra details, like thorns or small buds. These little touches can make a big difference. The key is to think about how real flowers look and try to mimic those details in your paper creations. It’s amazing how something as simple as a stem and a few leaves can really make your paper flowers feel complete. It’s like adding the final touches to a beautiful painting. So go ahead, add those stems and leaves, and watch your paper flowers bloom!
- Use a thin strip of green paper for the stem.
- Cut simple leaf shapes from green paper.
- Add veins to the leaves for a realistic look.
Tips and Tricks for Perfect Paper Cutting Flower
Tips and Tricks for Perfect Paper Cutting Flower
Choosing the Right Tools
Alright, let's talk tools. You wouldn't try to build a house with just a spoon, right? Same goes for paper cutting flowers. Having the right tools will make your life so much easier, and your flowers will look way better. First up, scissors. You'll want a pair of small, sharp scissors with pointy tips. These are perfect for making those intricate cuts without tearing the paper. Big, clunky scissors just won't cut it, literally. Also, don't use your good fabric scissors, they will get ruined! You might also want to have a craft knife on hand for those really detailed bits, but be careful with it! A cutting mat is also a great idea, so you don't wreck your table, and a ruler will help you get those precise folds.
Next, let's talk about paper. You've already seen that different papers make different flowers, but having a good selection is important. Keep a variety of paper types and colors in your arsenal. Also, a bone folder or a credit card can help you make crisp, clean folds. It will give your flowers a professional look. Seriously, these little things make a big difference. If you want to get super serious about paper cutting, you can even get a special paper cutting mat with grid lines, that will help you get perfect cuts every time. It is all about being prepared. Having the right tools will make your paper cutting experience much more enjoyable and successful.
Tool | Purpose | Why You Need It |
|---|---|---|
Small, Sharp Scissors | Intricate cuts | Precision and clean cuts |
Craft Knife | Very detailed cuts | For those tiny, tricky areas |
Cutting Mat | Protect your work surface | Keeps your table safe |
Bone Folder/Credit Card | Crisp Folds | Professional look |
Mastering the Folds
Okay, so you've got your tools, you've got your paper, now let's talk about something that might seem boring but is actually super important: folding! The way you fold your paper before you start cutting will totally determine the shape and the symmetry of your flower. If your folds aren't accurate, your flower will end up looking wonky. The most common way to fold paper for flower cutting is to fold it in half, then in half again, and then diagonally. This gives you a nice, even base to work with. But make sure your folds are crisp and clean. You can use your bone folder or a credit card to make those folds sharp.
You can also try different folding techniques to get different effects. For example, if you want a flower with more petals, you can fold the paper into a fan shape, or try folding it into a triangle instead of a square. The key is to experiment and see what works best for your design. Always make sure you are folding the paper correctly. It's the foundation of your design, so don't skip it! Once you master those folds, you'll be creating amazing paper flowers in no time. Seriously, it's like the secret sauce to paper cutting. It's what separates the good flowers from the great ones.
“The key is not to prioritize what's on your schedule, but to schedule your priorities.” - Stephen Covey
Practice Makes Perfect
Here's the truth: nobody becomes a paper cutting master overnight. It takes time, patience, and a whole lot of practice. The more you cut, the better you'll get, it's that simple. Don't get discouraged if your first few flowers don't look amazing. It's totally normal. Every mistake is just a learning opportunity. Try to see every cut as a practice and a way to improve. The more you play around with paper and scissors, the better you'll understand how to make your ideas come to life.
Try to set aside some time each day to practice, even if it's just for 15-20 minutes. You can even watch some tutorials or try to copy some designs you like. It's all about getting the feel of the paper, the scissors, and the different techniques. Don't be afraid to try new things, and most of all, don't be too hard on yourself. Everyone starts somewhere. With enough practice, you'll be amazed at how much you improve. So grab your paper and scissors, and get cutting! The more you do it, the easier it'll become, and the more beautiful your flowers will be. Trust me, practice is the secret ingredient to paper cutting success.
- Start with simple designs to build your skills.
- Practice different cuts and folds regularly.
- Don't be afraid to make mistakes; they're part of the learning process.