Table of Contents
Ever wondered how a simple piece of paper can transform into a stunning work of art? Get ready to explore the captivating world of paper cutting design! It's not just about snipping with scissors; it's about creating intricate patterns, delicate shapes, and breathtaking designs. Think of it as drawing with blades, where each cut brings your imagination to life. In this article, I'll guide you through the fundamentals of this amazing craft, from the tools you'll need to the different techniques you can use. We'll then journey through various paper cutting styles, so you can find one that speaks to you. You'll also discover some handy tips and tricks to make your paper cutting experience even more enjoyable. Whether you're a complete beginner or looking to level up your skills, you'll find something here to inspire your next paper cutting design project. So, grab your paper, your cutting tool, and let's get started!
The Basics of Paper Cutting Design
The Basics of Paper Cutting Design
Getting Started with Paper Cutting
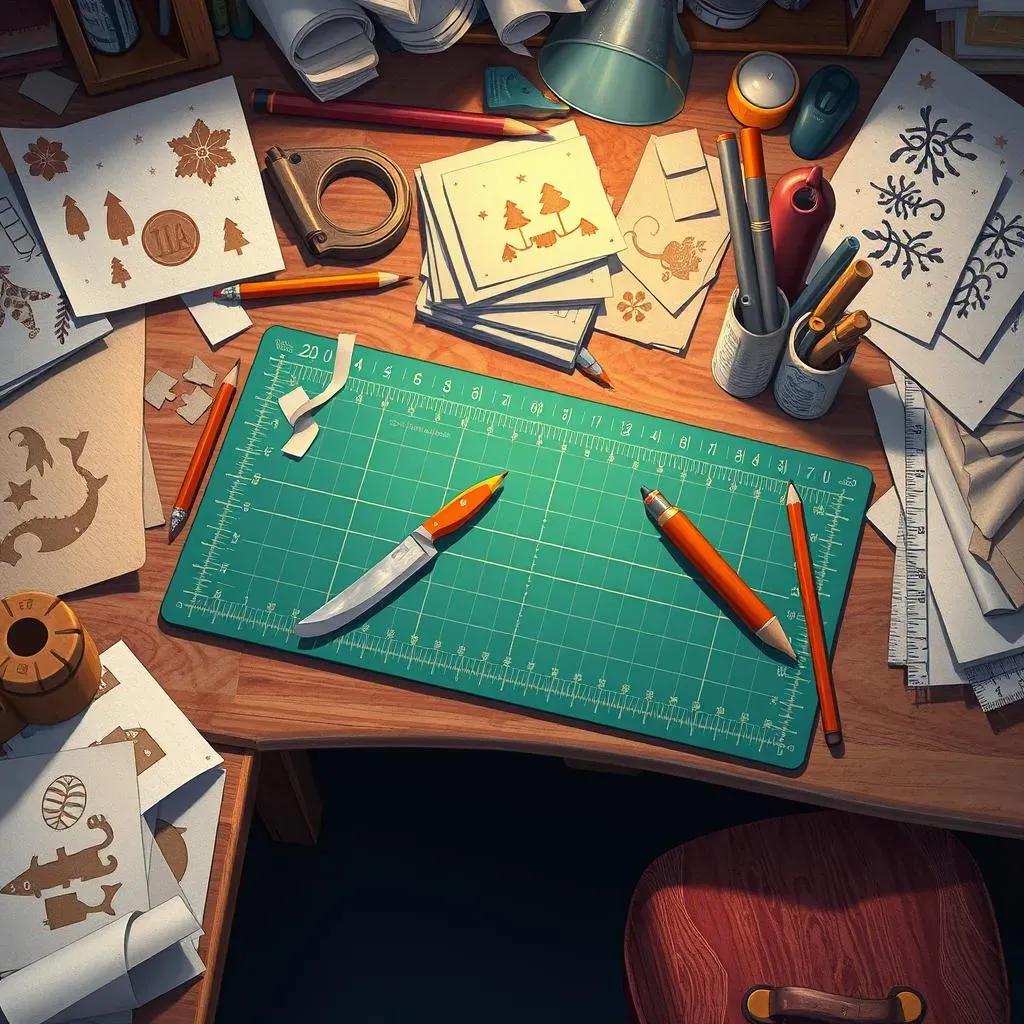
So, you're curious about paper cutting design, huh? Awesome! It's a craft that's both simple and complex, and I think that's what makes it so fun. Let's break it down. First, you will need a few basic tools. It's nothing crazy, don't worry! You'll need some paper, of course. Start with something cheap and easy to cut, like printer paper. Then, you'll need a cutting tool. A craft knife or scalpel is the most common choice. They're sharp, so be careful! A cutting mat is also a must-have. It protects your table and helps to keep your cuts clean. Finally, grab a ruler, a pencil, and an eraser. These are for marking your design before you start cutting. That's it for the basics, really.
Now, before you go wild with your blade, remember that patience is key in paper cutting. It's not a race! Start with simple shapes, like squares or triangles, to get a feel for the tools. When you are cutting, try to keep your blade straight and your cuts smooth. Avoid sawing back and forth; instead, use a single, controlled motion. Also, remember to turn your paper, not your blade, when you need to change directions. It can feel awkward at first, but you’ll get the hang of it. This will give you more control and a cleaner cut. Trust me, it makes a difference. Just like any craft, practice will make perfect, so don't feel bad if your first few attempts aren't masterpieces.
Tool | Purpose |
|---|---|
Craft Knife/Scalpel | Precise cutting of paper |
Cutting Mat | Protects surfaces, aids in clean cuts |
Ruler | Guiding straight lines and measuring |
Pencil and Eraser | Sketching designs and fixing mistakes |
Understanding the Cuts
Okay, so you have your tools, and you have your paper. Now, let's talk about the different types of cuts you will be making. There are three main types: straight cuts, curved cuts, and piercing cuts. Straight cuts are, well, straight. They're used for creating lines and geometric shapes. Curved cuts are for, you guessed it, curves and circles. These can be a little tricky at first, but you'll get the hang of it with practice. Piercing cuts involve making small holes or slits in your paper. These are often used for adding details or texture to your designs. To be honest, it’s like learning to write, you start with simple letters and then you move on to words and sentences, paper cutting is the same, you start with simple cuts and then you move on to make complex designs.
Each cut has its own purpose, and mastering them will allow you to bring your paper cutting design to another level. Remember, the key is to keep your cuts clean and consistent. Avoid jagged edges and uneven lines. If you mess up, it's okay! Just grab another piece of paper and try again. Every paper cutter has messed up from time to time. It's part of the learning process, don't let it discourage you. As you practice, you'll develop your own cutting style and learn which techniques work best for you. The most important thing is to have fun and let your creativity flow. Don't overthink it, just feel it and create.
“The beauty of paper cutting lies not just in the final piece, but in the process of creation.” - A random paper cutting artist.
Exploring Different Paper Cutting Design Styles
Exploring Different Paper Cutting Design Styles
Symmetrical Paper Cutting
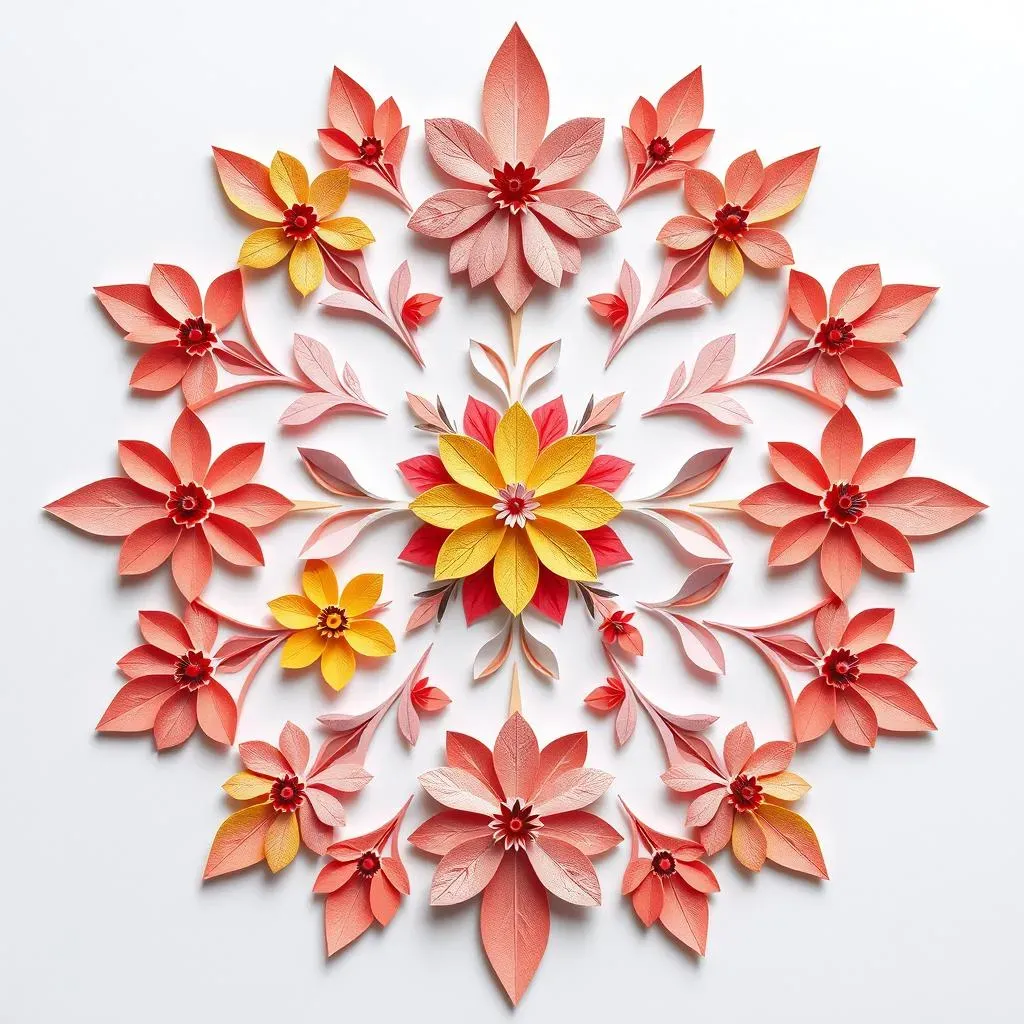
Okay, so you've got the basics down, and you're ready to see what's out there in the paper cutting design world? Let's start with symmetrical designs. Think of those cool paper snowflakes you made as a kid. That's symmetry in action! Symmetrical paper cutting involves folding your paper and cutting out shapes so that when you unfold it, the design is mirrored on both sides. It's a really good way to create repeating patterns and balanced designs. It's also a great starting point for beginners, because the folding helps guide your cuts, and you can play around with different folds to achieve various effects. It can be simple or complex, depending on the folds you choose and the cuts you make.
You can create anything from simple geometric patterns to intricate floral designs using symmetrical paper cutting design. It's all about experimenting with different folds and cuts to see what you can create. Try starting with a basic square or rectangle, then fold it in half, then in half again, then start cutting out some shapes. Unfold it and see what happens. You might be surprised by the results! It's also a good practice for learning to control your blade and making clean cuts. Don't be afraid to make mistakes, it’s part of the process. Just keep practicing and having fun, that’s what matters.
Asymmetrical Paper Cutting
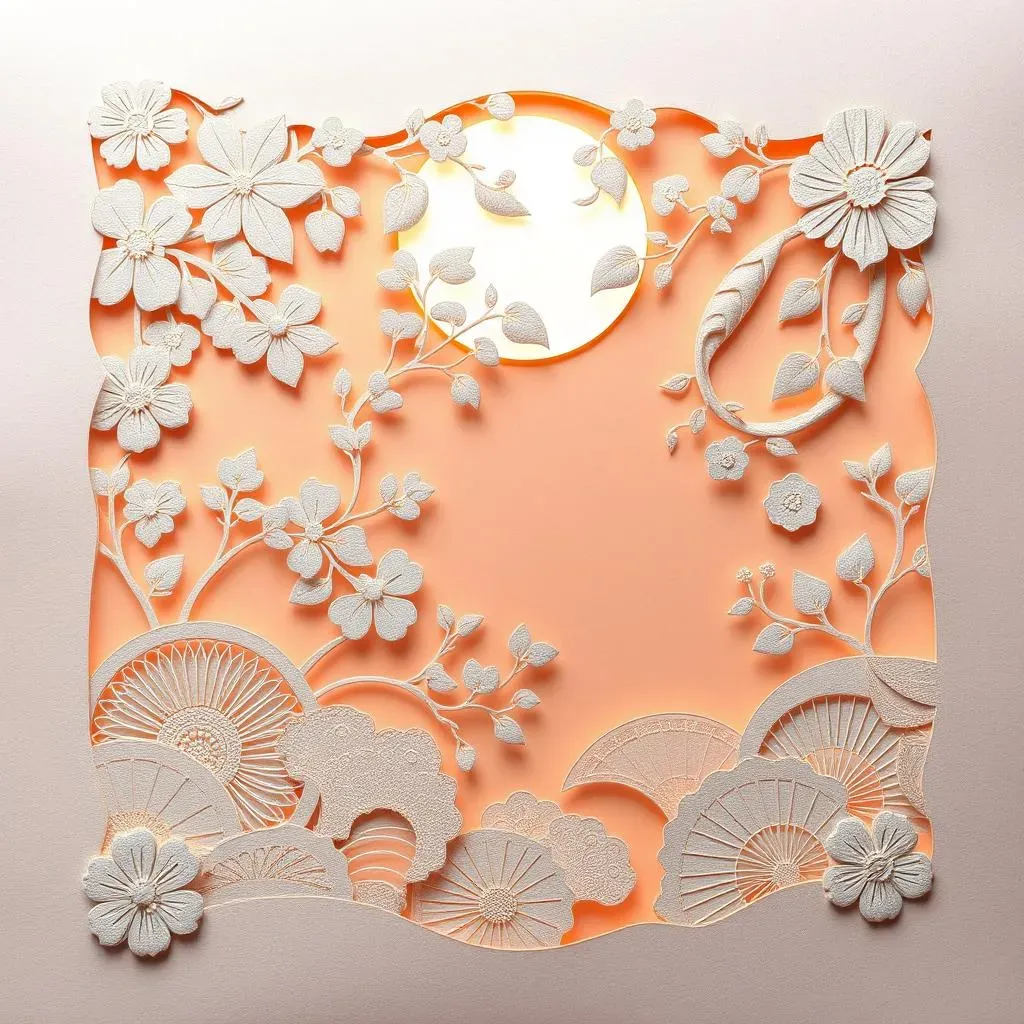
Now, let's move on to asymmetrical paper cutting. This is where you can really let your creativity run wild! Unlike symmetrical designs, asymmetrical paper cutting doesn't rely on mirrored patterns. Instead, you're free to create any shape or design you want, without worrying about balance. This is great for making more organic, flowing shapes. It's also perfect for storytelling, where you can create scenes with characters and elements that are not mirrored. Asymmetrical designs can be a bit more challenging, because you have to rely more on your own artistic sense and less on guided folds. However, the results can be very rewarding, and you can make some truly unique pieces of art.
With asymmetrical paper cutting design, you're the artist and the rules are what you want them to be. You can choose to make it abstract, realistic, or anything in between. It's all about exploring different shapes and lines and experimenting with the placement of your cuts. Think of the paper as your canvas, and your blade as your paintbrush. Just like a painter, you can create any image you want on your canvas. Don't be afraid to try something new. It's all about letting your imagination take over and seeing where it leads you. And remember, there are no mistakes in art, only happy accidents.
Layered Paper Cutting
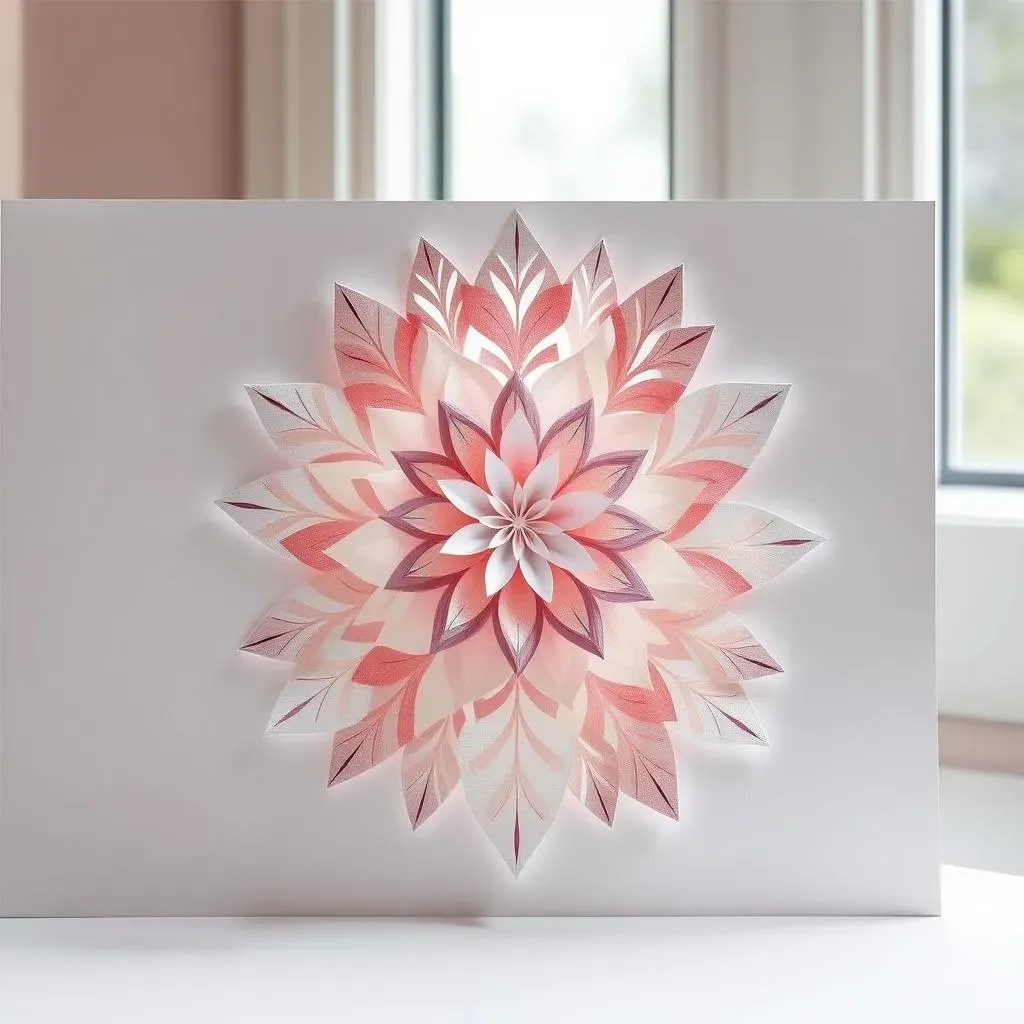
Lastly, let's talk about layered paper cutting. This technique involves cutting out multiple designs and layering them on top of each other to create depth and dimension. It's like creating a 3D sculpture with paper. Layered paper cutting design can be used to make really intricate and eye-catching pieces of art. Think of it as building a small world on paper, where each layer adds a new element to the story. You can use different colors or textures of paper to create contrast and visual interest. This technique is very popular in paper art and can be used to make greeting cards, wall art, and even installations.
It does requires a bit more planning and patience, but it can be well worth the effort. The key is to make sure that each layer is cut precisely and that the layers are aligned correctly. You can use glue or double-sided tape to adhere the layers together. It can take some time to master this technique, but you'll find that the results are truly impressive. It can make your work more eye-catching and give a unique touch to your designs. So if you want to take your paper cutting skills to another level, then try layered paper cutting.
Style | Description | Best for |
|---|---|---|
Symmetrical | Mirrored designs | Repeating patterns, beginners |
Asymmetrical | Free-form designs | Organic shapes, storytelling |
Layered | Multiple layers for depth | 3D effects, intricate art |
Tips and Tricks for Amazing Paper Cutting Designs
Tips and Tricks for Amazing Paper Cutting Designs
Choosing the Right Paper
Okay, so you're ready to take your paper cutting design to the next level? Let's talk paper! The type of paper you use can make a huge difference in your final piece. For beginners, I always suggest starting with something simple and inexpensive, like printer paper. It's easy to cut, and you won't feel bad if you mess up. Once you get the hang of it, you can start experimenting with different types of paper. Cardstock is a good option if you want a sturdier piece that won't tear easily. It's also great for layered designs because it holds its shape well. For more delicate work, try using tissue paper or rice paper. These papers are thinner and more flexible, making them ideal for intricate cuts. The key is to find a paper that suits your design and your cutting style. It’s like choosing the right brush for painting, it can change the whole experience.
Don't be afraid to experiment with different colors and textures of paper as well. You can use colored paper to add interest to your designs, or textured paper to create a unique look and feel. Just like a chef uses different spices to enhance the flavor of a dish, you can use different types of paper to elevate your paper cutting designs. Also, remember to consider the size of your paper. If you’re working on a large design, you'll need a bigger sheet of paper. If you’re making a small card, you’ll want something smaller. The size of your paper should be proportional to your design. It's all about finding the right balance for your project. So, next time you are buying paper, take a moment to think about your project and what you want to achieve and you might be surprised at the difference it can make.
Paper Type | Best For | Considerations |
|---|---|---|
Printer Paper | Beginners, practice | Inexpensive, easy to cut |
Cardstock | Sturdy designs, layering | Holds shape well, durable |
Tissue Paper/Rice Paper | Intricate cuts, delicate work | Thin, flexible |
Mastering Your Cutting Technique
Alright, let's get down to the nitty-gritty of cutting. Your cutting technique is super important for creating clean and precise paper cutting designs. First, always make sure your blade is sharp. A dull blade will tear the paper and make your cuts look jagged. Change your blade often, even if you think it’s still sharp, it can make a huge difference. When you are cutting, try to keep your blade at a consistent angle and use smooth, controlled motions. Avoid sawing back and forth, instead, use a single, continuous cut. It’s like drawing a line, you don’t want to stop and start, you want to make a smooth and continuous line. Turn the paper, not the blade, when you need to change directions. This will give you more control and help you avoid mistakes. It might feel weird at first, but you’ll get the hang of it with practice. The key is to be patient and focus on each cut, one cut at a time.
Another thing to keep in mind is the pressure you apply to your blade. You want to use enough pressure to cut through the paper, but not so much that you tear it. It’s a delicate balance, and it takes time to master. Try practicing on scrap paper to get a feel for the right amount of pressure. It’s better to start with less pressure and gradually increase it until you find what works best for you. Also, try to cut with the tip of your blade, not the side. This will give you more control and create cleaner cuts. And remember, every paper cutter makes mistakes. Don’t get discouraged if your cuts aren’t perfect. Just keep practicing, and you’ll get better with time. The most important thing is to enjoy the process and have fun. Like a musician practicing a new song, the more you practice, the better you become.
“The art of paper cutting is not just about the cuts you make, but the patience and precision you put into each one.” - A random paper cutting artist.
Adding Your Personal Touch
Okay, so you've got the basics down, and you're making clean cuts. Now, it's time to add your personal touch to your paper cutting designs! Don't be afraid to experiment with different styles and techniques. Try combining symmetrical and asymmetrical elements. Add some piercing cuts for detail, or layer different papers to create depth. It's all about finding your own unique style and expressing yourself through your paper art. You can also draw inspiration from other artists and cultures, but don't be afraid to put your own spin on things. It’s like cooking, you can follow a recipe, but you can also add your own ingredients to make it your own. Your unique perspective and creativity will make your work stand out and that’s what matters.
Also, remember that paper cutting design is not just about following a set of rules. It's about exploring different possibilities and finding your own voice. Don't be afraid to make mistakes, they can lead to unexpected discoveries. It’s like a scientist experimenting in a lab, sometimes the best discoveries come from unexpected results. Embrace the imperfections and see what you can create. Your unique style will develop over time as you experiment with different techniques and express yourself through your art. The most important thing is to have fun, be creative and let your imagination run wild. So, go ahead, grab your paper, your blade, and start creating something amazing.
- Experiment with different paper types and colors.
- Try combining symmetrical and asymmetrical elements.
- Add piercing cuts for detail and texture.
- Layer different papers to create depth.
- Don't be afraid to make mistakes.
