Table of Contents
Ever looked at a plain piece of paper and thought, "This needs more pizzazz?" Well, you're in the right place! We're about to jump into the wonderful world of paper cutting decorations. Forget about those boring store-bought decorations; we're making our own, and it's way easier than you think. This isn't just about cutting paper; it's about transforming it into something cool, something that screams "I made this!" Whether you want to create delicate snowflakes, snazzy banners, or even intricate paper art, I'll show you how. We'll start with the basics, move on to some fun techniques, and then look at how to use these awesome paper cutting decorations for any event. By the end of this, you'll be a paper-cutting pro, ready to impress your friends and family with your newfound skills. So, grab your scissors, and let's get snipping!
Snip, Snip, Hooray: Basic Paper Cutting Decorations
Snip, Snip, Hooray: Basic Paper Cutting Decorations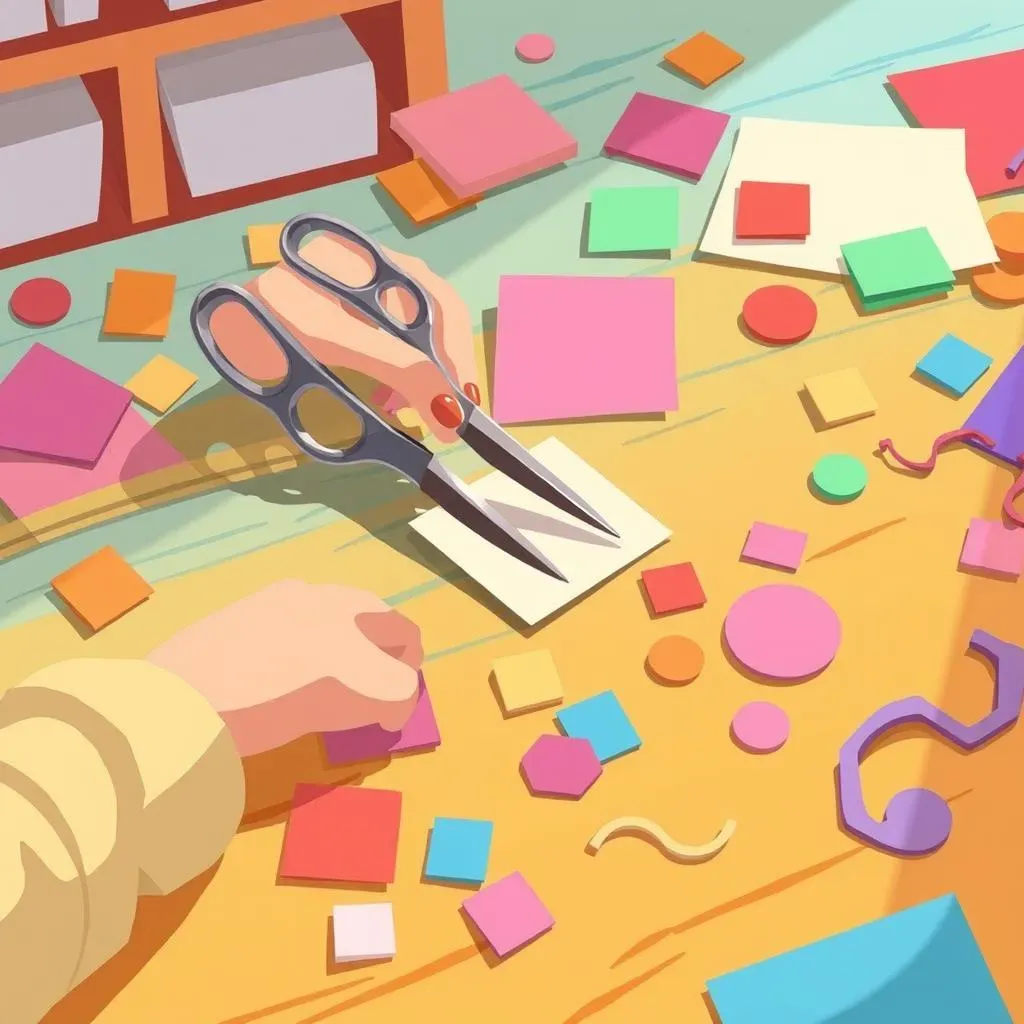
Getting Started: Simple Cuts
Okay, so you're ready to try paper cutting decorations? Awesome! Let's begin with the absolute basics because even the most amazing paper art starts with simple snips. Grab a piece of regular paper – printer paper works great to practice – and a pair of scissors. Don't worry about being perfect; this is all about having fun. Start by making straight cuts. Try cutting lines, then move onto squares and rectangles. It's like learning to write, but with scissors! The key here isn't speed; it's about control. Make sure you're holding the scissors comfortably and that your cuts are clean and deliberate.
Next, let's play with curves. Think about cutting out circles, or maybe even some wavy lines. Remember, the more you practice, the easier it gets. It might seem like a small step, but these basic shapes are the building blocks for all sorts of cool designs. Don't get frustrated if your circles look a bit wonky; that's part of the charm! The point is to get used to how the paper moves when you cut it. Once you've got the hang of straight lines and curves, you're ready to move on to more exciting things, I promise.
Folding Fun: The Magic of Symmetry
Now that you've mastered the basic cuts, let's add a little magic with folding. This is where things get really interesting! Take a square of paper and fold it in half. Then fold it in half again. By folding the paper like this, you're creating symmetry, which means that when you cut it, the design will be mirrored or repeated. Think of it like creating a mirror image with your scissors. This is how you make snowflakes, paper chains, and all kinds of cool stuff without having to cut every single detail individually.
Experiment with different folds; try folding diagonally, or even into thirds. Each fold will give you a different design when you cut it. This technique is not just about making pretty shapes, it's about understanding how paper works. It's like a secret code that lets you unlock endless possibilities. Trust me, once you start playing with folds, you'll see how many amazing paper cutting decorations you can create with just a few simple snips. And don't forget, there are no mistakes here, only happy accidents!
Basic Shape | Folding Method | Result |
|---|---|---|
Square | Fold in half, then in half again | Symmetrical design (like a snowflake) |
Rectangle | Accordion fold (like a fan) | Repeating pattern (like a paper chain) |
From Simple Shapes to Stunning Paper Cutting Decorations
From Simple Shapes to Stunning Paper Cutting Decorations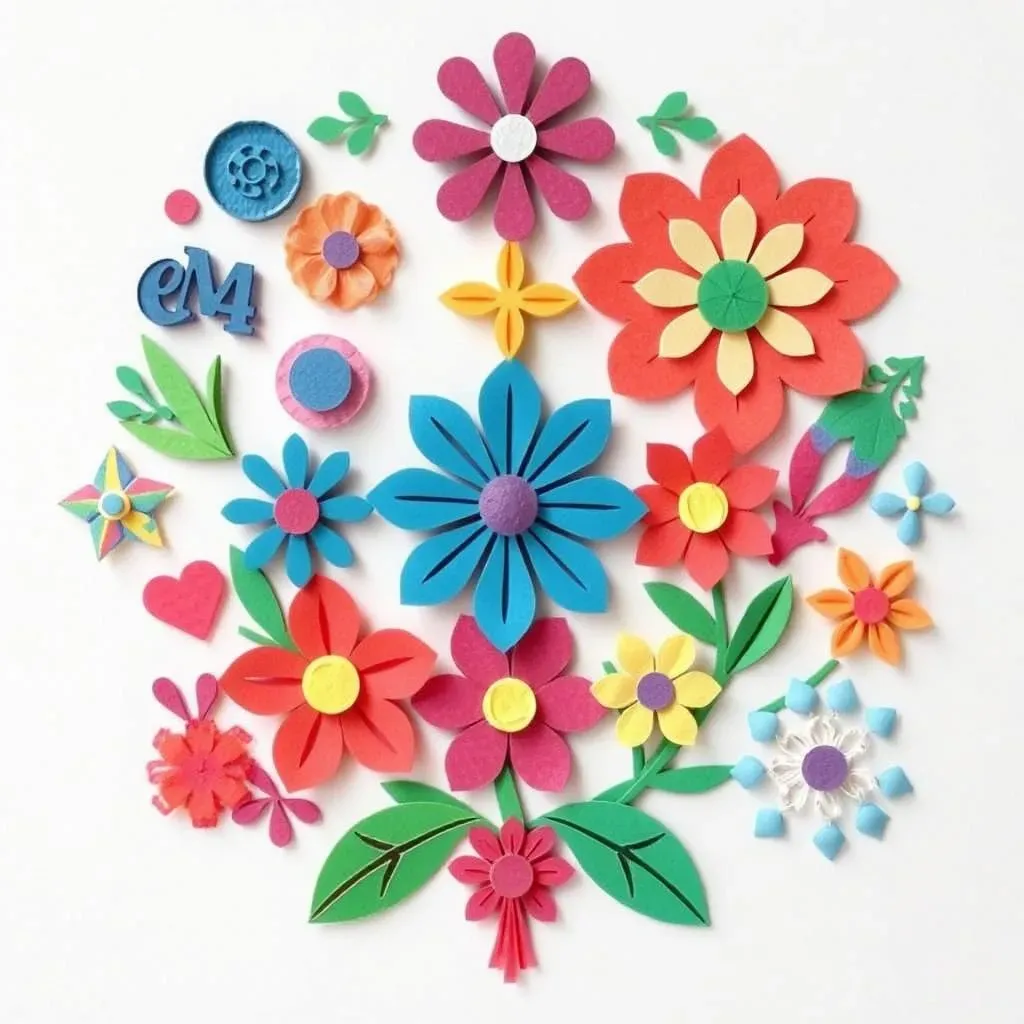
Building Blocks: Combining Shapes
Alright, so you've got the hang of basic cuts and folding, which is fantastic! Now, let's think about how we can turn those simple shapes into something truly amazing. It's like building with LEGOs; you start with basic blocks, and then you combine them in different ways to create something bigger and better. For example, you could take a bunch of circles and cut out some triangles or squares to create a flower. Or you could arrange a series of rectangles and triangles to make a cool geometric pattern. It's all about experimenting and seeing what you can create. Think of simple shapes as your artistic alphabet, and now you're ready to write your own paper-cutting stories.
Don't be afraid to mix different shapes together. Try cutting out a circle, then cutting smaller shapes inside of it. Or, make a series of cuts along the edge of a square to create a decorative border. The more you play around, the more you'll see the possibilities. It's also a good idea to look at other paper cutting designs for inspiration. See how they combine shapes and try to recreate some of those patterns in your own way. It's like a puzzle, but instead of just fitting the pieces together, you are creating them too.
Adding Detail: Intricate Cuts
Okay, you've got your basic shapes down, and you're combining them like a pro. Now, it's time to get a little more detailed. This is where you can really make your paper cutting decorations stand out. Think about adding small, intricate cuts to your designs. These could be tiny circles, thin lines, or even little zigzags. These details might seem small, but they add a lot of texture and complexity to your work. It’s like adding seasoning to your food; a little bit can go a long way.
For intricate cuts, you might want to use a smaller pair of scissors or even a craft knife (with adult supervision, of course!). Take your time, and focus on making clean, precise cuts. It's like drawing with scissors; you need to be steady and deliberate. Don't worry if it's not perfect; the beauty of handmade things is that they're unique. The key is to keep practicing and to try new things. You'll be surprised at how much detail you can add with just a few small snips. Soon, you’ll see that those simple shapes are now complex works of art.
Paper Cutting Decorations for Every Occasion
Paper Cutting Decorations for Every Occasion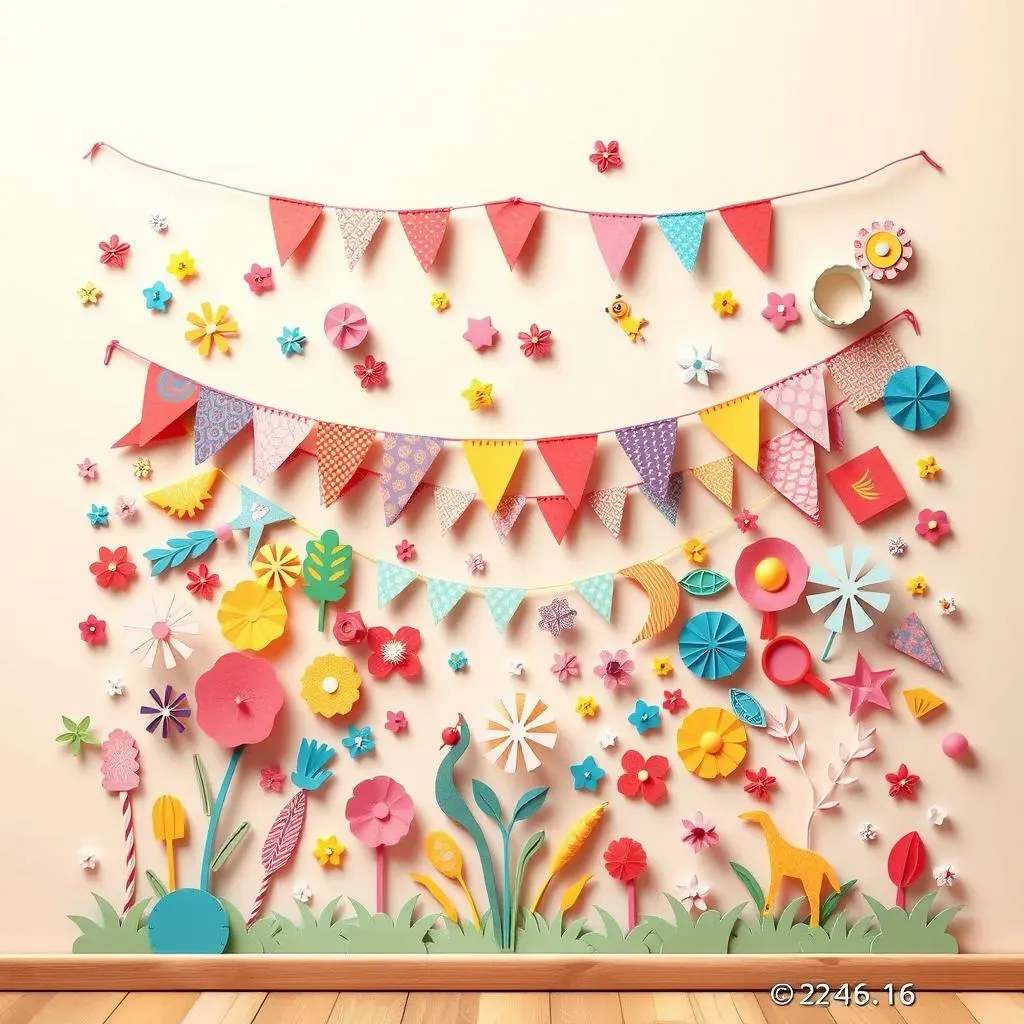
Party Time: Banners and Garlands
Okay, so you've got your paper cutting skills down, now it's time to think about where to show off your amazing new talent! Let's start with parties, because who doesn’t love a good celebration? Paper cutting decorations are perfect for adding a personal touch to any get-together. Think about creating banners and garlands, they are super easy to make, and you can customize them for any theme. For example, if you're throwing a birthday party, cut out colorful triangles or circles and string them together to make a festive banner. Or, if it's a holiday, create a garland with paper snowflakes or stars. It’s like adding a sprinkle of magic to the air. The best part is, you can get super creative with the designs and colors to match the vibe of your party.
To make a banner, simply cut out your desired shapes and punch holes at the top. Then, thread a string or ribbon through the holes, and voila! You have a beautiful, handmade banner. For garlands, cut out shapes, and glue or tape them to a string. You can also use folded paper to create a 3D effect. Experiment with different textures and patterns to make them even more unique. The goal here is to have fun and create something that reflects the joy of the occasion. It’s not just about decorating; it's about making the party feel extra special with your own personal touch.
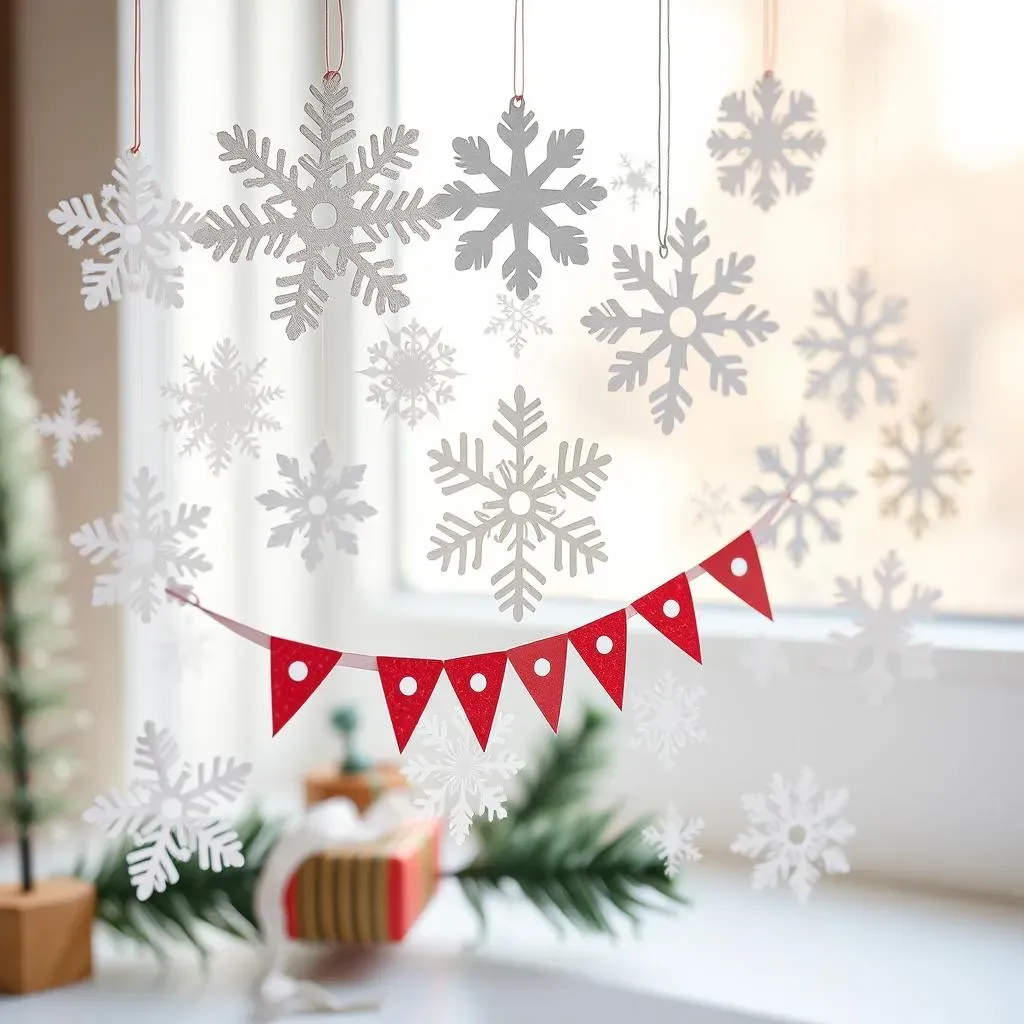
Holiday Cheer: Festive Designs
Holidays are another fantastic excuse to get your paper cutting on! From spooky Halloween decorations to sparkling Christmas ornaments, paper cutting can add a unique and personal touch to your festive decor. For Halloween, try cutting out spooky bats, ghosts, or jack-o'-lanterns. You can hang them from the ceiling or use them to decorate your windows. For Christmas, snowflakes are always a classic, but you can also try making paper stars, angels, or even little paper trees. These handmade decorations add a special charm that you just can't get from store-bought ones.
Think about creating personalized ornaments to hang on your tree or making paper lanterns to light up your holiday evenings. The possibilities are endless! You can even get the whole family involved and make it a fun holiday activity. Imagine the pride of seeing your handmade decorations displayed in your home. It’s a great way to celebrate the season and create lasting memories. Plus, it’s a fantastic way to show off your paper cutting skills.
Everyday Magic: Simple Touches
Paper cutting decorations aren’t just for parties and holidays; you can use them to add a touch of magic to your everyday life too. Think about creating paper cutouts to decorate your bedroom walls or making fun bookmarks for your favorite books. You could even make personalized cards for your friends and family. It's all about finding little ways to bring a bit of creativity and joy into your daily routine. Paper cutting can turn the mundane into the marvelous.
Try cutting out simple shapes and using them as stencils to decorate notebooks or create fun patterns on your walls. You can also make small paper flowers and put them in a vase to brighten up your desk. The key is to be creative and use your imagination. It’s like turning ordinary things into something extraordinary with your own hands. It's the small touches that often make the biggest difference. Paper cutting is not just a craft; it’s a way to express yourself and make your space feel more like home.
Tips and Tricks for Perfect Paper Cutting Decorations
Tips and Tricks for Perfect Paper Cutting Decorations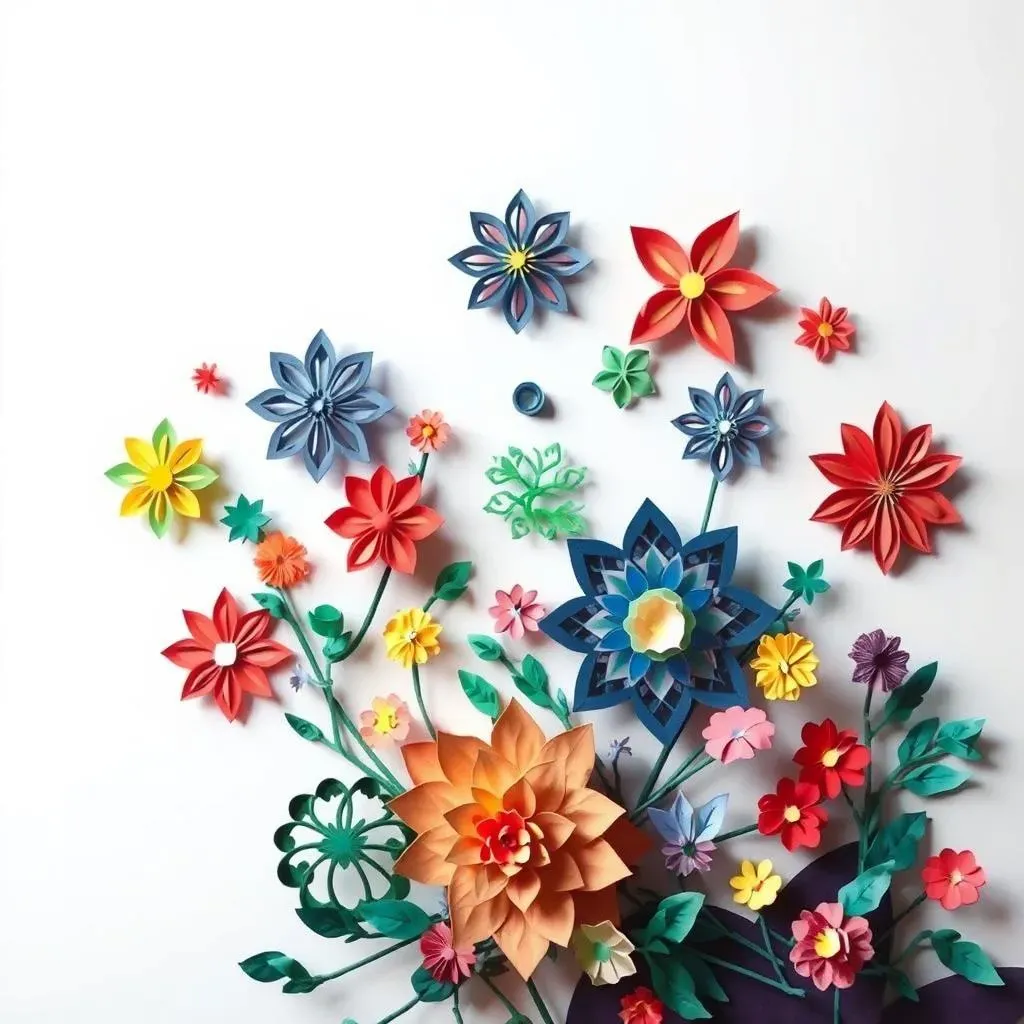
Sharp Scissors, Happy Cutter
Okay, let's talk about the real secrets to amazing paper cutting decorations. First up, it's all about the tools! Dull scissors are the enemy of clean lines and crisp edges. You wouldn't try to paint with a dried-up brush, would you? So, make sure you're using a good pair of sharp scissors. If you’re using craft knives, make sure they're sharp too, and always use a cutting mat to protect your surfaces. Think of your scissors as your magic wand; they need to be in top condition to work their magic. And remember, if you're using a craft knife, always, always ask an adult for help, because safety first, always! With the right tools, the paper will feel like it’s gliding in your hand.
Another important tip? Slow down! Paper cutting is not a race. Rushing will only lead to jagged edges and frustration. Take your time with each snip, and focus on making clean, deliberate cuts. It's like meditation with scissors; you need to be present and mindful of what you're doing. Also, try rotating the paper as you cut, instead of twisting your wrist. It's like driving a car; it's much easier to turn the wheel than to try to turn the whole car by yourself. This will help you cut curves and intricate shapes more easily. Remember, patience is key when it comes to paper cutting. The better you are at being careful, the better your paper cutting decorations will look!
Tool | Purpose | Tip |
|---|---|---|
Sharp Scissors | Clean cuts | Test on scrap paper first |
Craft Knife | Intricate details | Use with a cutting mat and adult help |
Cutting Mat | Protect your surface | Use for all knife cuts |
Practice Makes Progress, Not Perfection
Now, let's talk about mistakes, because guess what? Everyone makes them. Even the most experienced paper cutters started somewhere. The key is not to get discouraged by your mistakes. Instead, use them as a chance to learn and improve. Think of each cut as a step in your paper-cutting journey. The more you practice, the better you'll become. It's like riding a bike; you might wobble at first, but eventually, you'll get the hang of it. Don't aim for perfection; aim for progress. And remember, even mistakes can sometimes lead to new and interesting designs!
Speaking of practice, it's a good idea to start with simple designs and gradually work your way up to more complex ones. Don’t try to tackle a crazy design right away. Start with basic shapes, then move on to combining them, and finally add intricate details. It’s like learning a new language; you start with the alphabet, then words, then sentences. You can also find lots of free templates online to practice with. It’s a fantastic way to learn new techniques and find inspiration. Remember, paper cutting is about having fun and expressing your creativity. And with a little practice, you'll be creating stunning paper cutting decorations in no time!