Table of Contents
Ever felt like you're constantly throwing away bits of cardstock? Like you're never quite getting the most out of each sheet? Well, my friend, you're not alone. Many crafters face this paper waste struggle. That's where a trusty paper cutting chart comes in. This isn't some complicated math equation; it's a simple tool that can seriously change your crafting game. Think of it as your secret weapon against paper waste and crafting chaos. This article will walk you through how to use this amazing tool, showing you how a paper cutting chart can help you get the most out of every single sheet. We’ll look at the basics, move into some smart tips, and even peek at some advanced cutting techniques. Get ready to transform your scrap pile into a source of crafting pride. Let's get cutting!
Understanding Your Paper Cutting Chart
Understanding Your Paper Cutting Chart
What Exactly Is a Paper Cutting Chart?
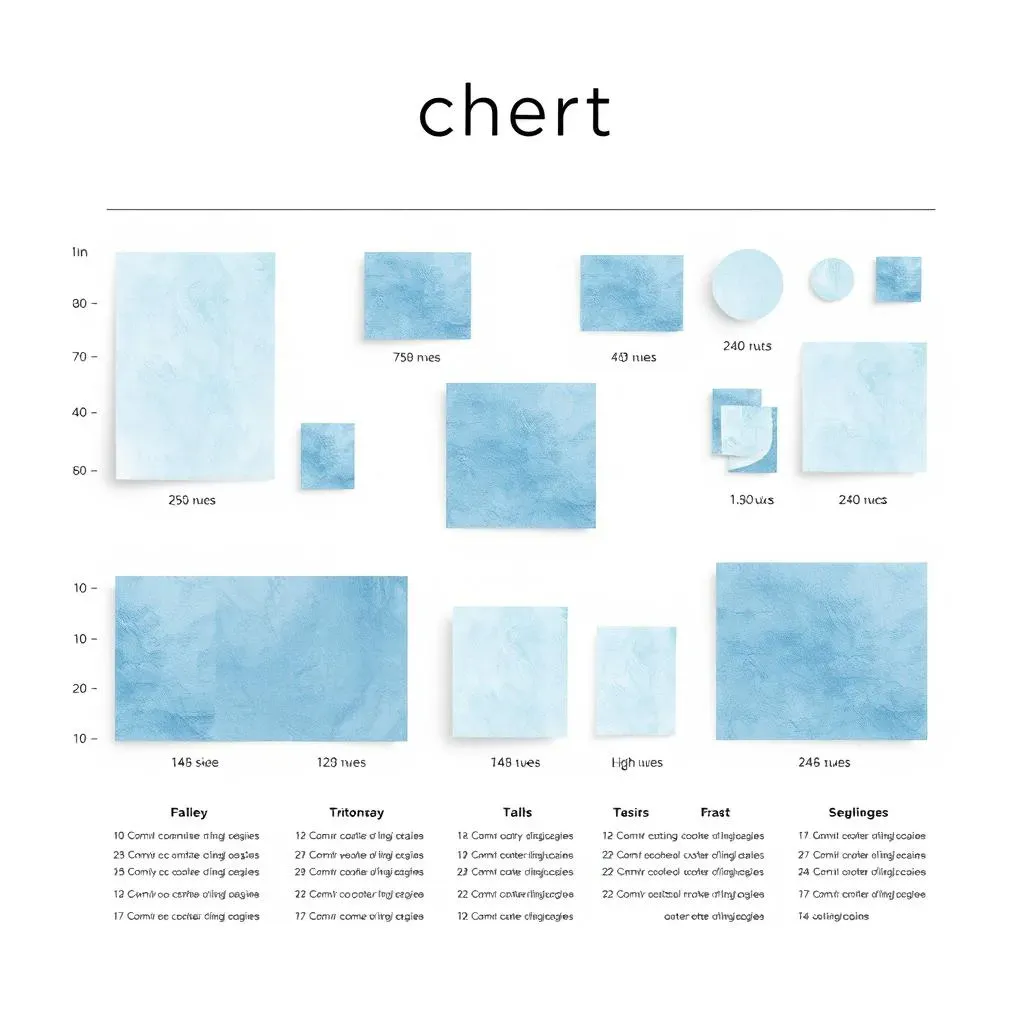
Okay, so what's the deal with this “paper cutting chart” thing? It's not some mystical map to hidden treasure, though it might feel like it when you're trying to avoid paper waste. Basically, it's a visual guide, a cheat sheet, if you will, that shows you the best ways to cut your paper to get the most usable pieces from a single sheet. Think of it like a puzzle, but instead of fitting pieces together, you're cutting them apart in the most efficient way possible. It’s designed to help you maximize every single inch of your precious cardstock or patterned paper, so no more sad little scraps destined for the trash.
These charts come in different sizes, usually matching the standard paper sizes like 8.5 x 11 inches or 12 x 12 inches. It’s all about knowing where to make your cuts so you end up with the sizes you need for cards, scrapbook pages, or whatever your crafty heart desires. It's like having a personal paper-cutting guru, guiding you through the process.
Why Do I Need One?
You might be thinking, "I’ve been cutting paper for ages, why would I need a chart now?" Well, let’s be honest, eyeballing it often leads to oddly shaped scraps and wasted material. A paper cutting chart helps you avoid those moments of frustration when you realize you’re just an inch short on that perfect piece you need. It's about being smart with your supplies, especially if you're using those lovely, sometimes pricey, patterned papers. By using a chart, you’re not just saving paper; you’re saving money and time too. No more second-guessing; just precise cuts every time.
Plus, it can seriously streamline your creative process. Instead of pausing to figure out the best way to cut, you can just glance at your chart and get to work. It’s like having a shortcut for your crafting projects, and who doesn't love a good shortcut? Trust me, once you start using one, you'll wonder how you ever managed without it.
Benefit | Description |
|---|---|
Reduced Waste | Get the most from each sheet, less trash. |
Time Saving | No more guessing; cut precisely and quickly. |
Cost Effective | Use more of your supplies, save money. |
Ease of Use | Simple visual guide, easy to follow. |
Different Types of Charts
Now, not all paper cutting charts are created equal. You'll find different types depending on the paper size you usually work with. Most common are the 8.5 x 11-inch charts, which are perfect for standard card making, and the 12 x 12-inch charts, ideal for scrapbooking. Some charts will focus on getting the most rectangles out of a sheet, while others might show you how to cut for specific card sizes or shapes.
The best part? Many of these charts are available as free downloads online, so you don't even have to spend extra money to get started. Just a quick search, a print, and you're ready to go. It's like unlocking a secret level in crafting, one that saves you resources and makes your projects even better.
Maximizing Paper with a Cutting Chart
Maximizing Paper with a Cutting Chart
The Art of Strategic Cuts
Okay, so you’ve got your paper cutting chart, now what? It's not just about blindly following the lines; it’s about understanding the logic behind them. Think of your paper as a mini-map, and the chart is your guide to the most efficient route. When you look at the chart, you'll notice different shapes and sizes laid out. These are designed to minimize waste, like fitting puzzle pieces together. The goal is to make the most strategic cuts, ensuring every piece you cut is a usable size for your projects. No more random snips; it's all planned out for maximum efficiency.
For example, if you need several smaller rectangles, the chart will show you how to cut them out of a larger sheet in a way that leaves minimal unusable scraps. You might start by cutting the sheet into strips and then slicing those strips into smaller pieces. It's like a game, but instead of points, you're earning more usable paper. It's a satisfying feeling, trust me. This method isn't just about saving paper; it's about being a smarter crafter.
Beyond the Basics: Thinking Ahead
Once you're comfortable with the basic cuts on your chart, it’s time to start thinking a little more strategically. Don't just cut what you need right now; think about what you might need in the future. If you know you're going to be making a lot of cards, cut out a few extra card bases at the same time. It’s like batch cooking, but for crafting. This is where the real magic happens. You will be surprised how much time you save when you get a few steps ahead of your project.
Also, pay attention to the layout of your patterned paper. If you have a design that goes in one direction, like stripes or a floral pattern, consider how your cuts will affect the design. A smart cut can make your project look more polished. It’s all about using your chart as a starting point, then adding your own planning and creativity. It's a small change that makes a massive difference in your paper usage and project flow.
Paper Cutting Chart Tips and Tricks
Paper Cutting Chart Tips and Tricks
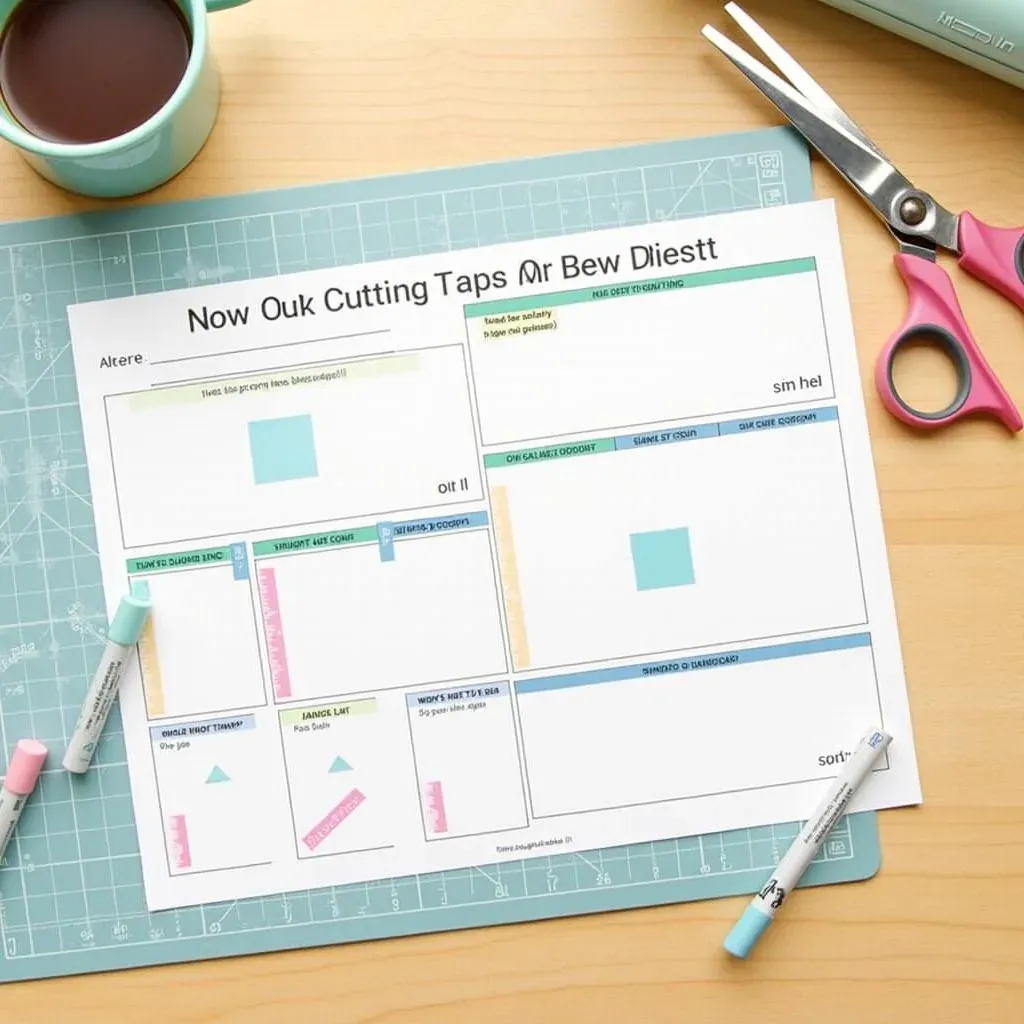
Alright, let's talk about some insider secrets to really make your paper cutting chart work for you. First off, print your chart on cardstock, not regular paper. This makes it way more durable, so it won’t get all floppy and torn after a few uses. And here's a pro tip: laminate it! Seriously, it's a game-changer. Lamination protects it from ink smudges, accidental spills, and those inevitable paper cuts you get from handling it so much. Think of it as giving your chart a little armor, so it will last you for many projects. This small investment will save you a lot of hassle in the long run. It is like giving your paper cutting chart a shield.
Another thing, keep your chart handy. Don't tuck it away in a drawer where you’ll forget about it. I keep mine right next to my cutting mat, so it’s always within reach. It’s like having a trusty sidekick, always ready to help you out. Also, don't be afraid to mark on it, too. If you find that you use a particular cut more often, highlight it or add a little note. It makes it even easier to find the cuts you use often. It’s your chart, make it work for you!
Tip | Description |
|---|---|
Print on Cardstock | More durable than regular paper. |
Laminate It | Protects from damage and spills. |
Keep It Handy | Always within reach for easy use. |
Mark It Up | Highlight or add notes for frequent cuts. |
Advanced Techniques with the Paper Cutting Chart
Advanced Techniques with the Paper Cutting Chart
Okay, so you’ve mastered the basics, you're cutting paper like a pro, and your scrap bin is looking a whole lot emptier. Now, let’s kick things up a notch with some advanced techniques using your trusty paper cutting chart. We're not just making rectangles here anymore; we're talking about getting creative with shapes and sizes. Think beyond the standard cuts and start combining them. For example, you can use the chart to create unique layered designs, cutting out smaller shapes within larger ones. It’s like turning your paper into a work of art, using your chart as a foundation for those more intricate designs. It is about pushing the boundaries of what you think your chart can do.
And what about using the chart for more than just cutting? You can use it as a template for stenciling, tracing, or even as a guide for scoring and folding to make 3D elements. It's all about thinking outside the box and realizing your paper cutting chart is more than just a guide for cutting. It’s a tool that can unlock so many possibilities in your crafting adventures. It is like having a swiss army knife for your paper projects, you just have to figure out all the tools it has to offer.
Technique | Description |
|---|---|
Layered Designs | Cut shapes within shapes for dimension. |
Stenciling | Use the chart as a template for designs. |
Scoring and Folding | Guide for creating 3D paper elements. |
Another cool trick? Using your chart to create repeating patterns. By cutting multiple pieces that are identical, you can create a mosaic effect. Or try cutting strips of paper and then weaving them together to create a unique background. It is about taking those basic shapes and making something completely new. Start to see the chart as a tool to get you started, then add your own touch to it. Don't be afraid to experiment. The best part about crafting is that there are no mistakes, only opportunities to create something new. So, grab your chart, your paper, and let’s make some magic happen. You might surprise yourself with what you can create.
Finally, remember that your chart is a guide, not a rule book. As you become more comfortable, you'll find yourself tweaking the layouts, combining cuts in new ways, and developing your own unique style. The chart is there to help you get started, and it’s up to you to take it to the next level. It's about finding your own way to use the tool and make it truly your own. So go on, make your cuts and let your creativity shine!