Table of Contents
Ever felt the frustration of wasting paper? You know, that moment when your cuts are just a tiny bit off, and you end up with a pile of useless scraps? It's like trying to fit a square peg in a round hole, but with paper! That's where a paper cutting calculator comes to the rescue. This isn't some magical device; it's a simple but powerful tool that helps you figure out exactly how many pieces you can cut from a larger sheet of paper. Think of it as your personal paper-cutting wizard, ensuring you get the most out of every sheet. In this guide, we'll start with the basics of paper cutting and why it matters. Then, we'll show you how a paper cutting calculator can transform your projects from frustrating to fantastic. We'll walk you through using one, step-by-step, and share some cool tips to make sure your cuts are always spot-on. Ready to make paper cutting less of a headache and more of a breeze? Let's jump in!
Understanding the Basics of Paper Cutting
Understanding the Basics of Paper Cutting
Why Paper Size Matters
Okay, so you might be thinking, "Paper is just paper, right?" Wrong! It's more like a puzzle, and the size of your paper is the first piece. Imagine trying to make a bunch of tiny cards from a giant poster board – it just wouldn't work well, would it? Knowing the size of your starting paper (we call that the "parent sheet") and the size you want your final pieces to be is super important. It's the foundation for everything else. Think of it like baking; you wouldn't use a tiny muffin tin for a huge cake, right? Same with paper!
Paper comes in all sorts of standard sizes, like letter, legal, and tabloid. But there are also bigger sizes often used in printing and crafting. These larger sheets are what we use to cut down into smaller pieces. Being familiar with these standard sizes helps you plan ahead, ensuring you're not wasting a bunch of paper.
Grain Direction: The Secret You Need to Know
Here's a sneaky little detail that can make or break your paper-cutting project: grain direction. No, it's not about what kind of wood the paper came from. It’s actually about how the paper fibers line up during production. Imagine a bunch of tiny straws all lined up in the same direction. That's kind of what paper grain is like. Paper will bend more easily *with* the grain than against it. It might not seem like a big deal, but if you're folding something, grain direction can be a total game changer. It will make folding easier and less likely to crack or look messy.
So how do you spot it? Sometimes, you can feel the grain by gently bending the paper in different directions. One way will feel more flexible than the other. If you're unsure, check the paper packaging or ask your supplier for help. It’s one of those things that seems small, but it's a big deal for professional-looking results. Trust me, your future self will thank you for paying attention to this.
The Art of Planning Your Cuts
Now that we've covered size and grain, let's talk about actually planning those cuts. This is where a paper cutting calculator really shines, but even without one, a little bit of planning goes a long way. Before you even pick up your scissors or cutter, think about how you're going to arrange your cuts on the parent sheet. Are you going to cut a bunch of squares? Or do you need long, thin strips? Sometimes, you can fit more pieces on the sheet by flipping some around or rotating them, kind of like Tetris. This is a great way to save paper and reduce waste, and it’s a good habit to get into.
It's not always about fitting as many cuts as possible, it's about fitting the right cuts with the least amount of waste. Take a moment to visualize it. Sketch it out if it helps. You'll be surprised how much easier things become when you have a plan. In the next section, we’ll show you how a paper cutting calculator can take this to the next level.
Paper Factor | Why It Matters |
|---|---|
Parent Sheet Size | Determines how many smaller pieces you can get. |
Finished Size | The size of your final cut pieces. |
Grain Direction | Affects how the paper folds and bends. |
Cut Layout | How you arrange your cuts to minimize waste. |
How a Paper Cutting Calculator Simplifies Your Projects
How a Paper Cutting Calculator Simplifies Your Projects
The Magic of Math, Made Easy
Okay, let's be real, math isn't everyone's favorite subject, especially when it involves figuring out how to cut paper. That's where a paper cutting calculator swoops in like a superhero. It takes all those tricky measurements and calculations and does them for you in a snap. No more scratching your head, trying to remember formulas from school. Instead of spending ages with a ruler and a calculator, you can just input your paper sizes and the calculator does the rest. It's like having a cheat sheet for paper cutting, and it's totally okay to use it!
Think of it like this: you're planning a big party and need to make invitations. Without a calculator, you'd have to manually figure out how many invites you can get from each sheet, which can take forever. But with a paper cutting calculator, you just plug in the size of the paper and the size of your invite, and BAM! You know exactly how many you can get, and how to arrange them to minimize waste. It's like having a personal assistant for your paper projects, and who wouldn't want that?
No More Guesswork, Just Perfect Cuts
Let's face it, eyeballing paper cuts is a recipe for disaster. You might think you're close, but those tiny errors add up, leading to uneven sizes and wasted paper. A paper cutting calculator removes all that guesswork. It gives you precise measurements and tells you exactly how to cut your paper, ensuring that each piece is the same. It's like having a laser-guided cutting tool, but without the lasers! This means less frustration, fewer mistakes, and a whole lot of perfectly cut pieces.
Imagine you're making a scrapbook and need a bunch of photo mats that are all the same size. Without a calculator, you might end up with some mats that are slightly bigger or smaller than others. But with a paper cutting calculator, each mat will be the exact same size, making your scrapbook look much more professional. It's all about precision and accuracy, and a calculator helps you get there every time.
Advantage | Description |
|---|---|
Saves Time | Calculates cuts quickly, eliminating manual calculations. |
Reduces Waste | Optimizes cuts to get the most pieces from each sheet. |
Ensures Precision | Provides accurate measurements for consistent cuts. |
Simplifies Planning | Takes the guesswork out of paper-cutting projects. |
For Every Project, Big or Small
Whether you're a seasoned crafter or just starting out, a paper cutting calculator can be a game changer. It's not just for big, complicated projects; it's useful for any task that involves cutting paper. From school projects to business cards, a calculator makes it easier to get the cuts you need with minimal fuss. Think of it as your go-to tool for all things paper, and a very useful one at that. It's like a Swiss army knife for paper cutting, ready to tackle any challenge.
Even if you're just making a few simple greeting cards, a calculator can help you make sure your cuts are clean and accurate. It's not about being perfect, it's about making the process easier and more enjoyable. And when your cuts are precise, your finished projects look so much better. It's a small thing that can make a big difference, and that's why a paper cutting calculator is such a valuable tool.
StepbyStep Guide to Using a Paper Cutting Calculator
StepbyStep Guide to Using a Paper Cutting Calculator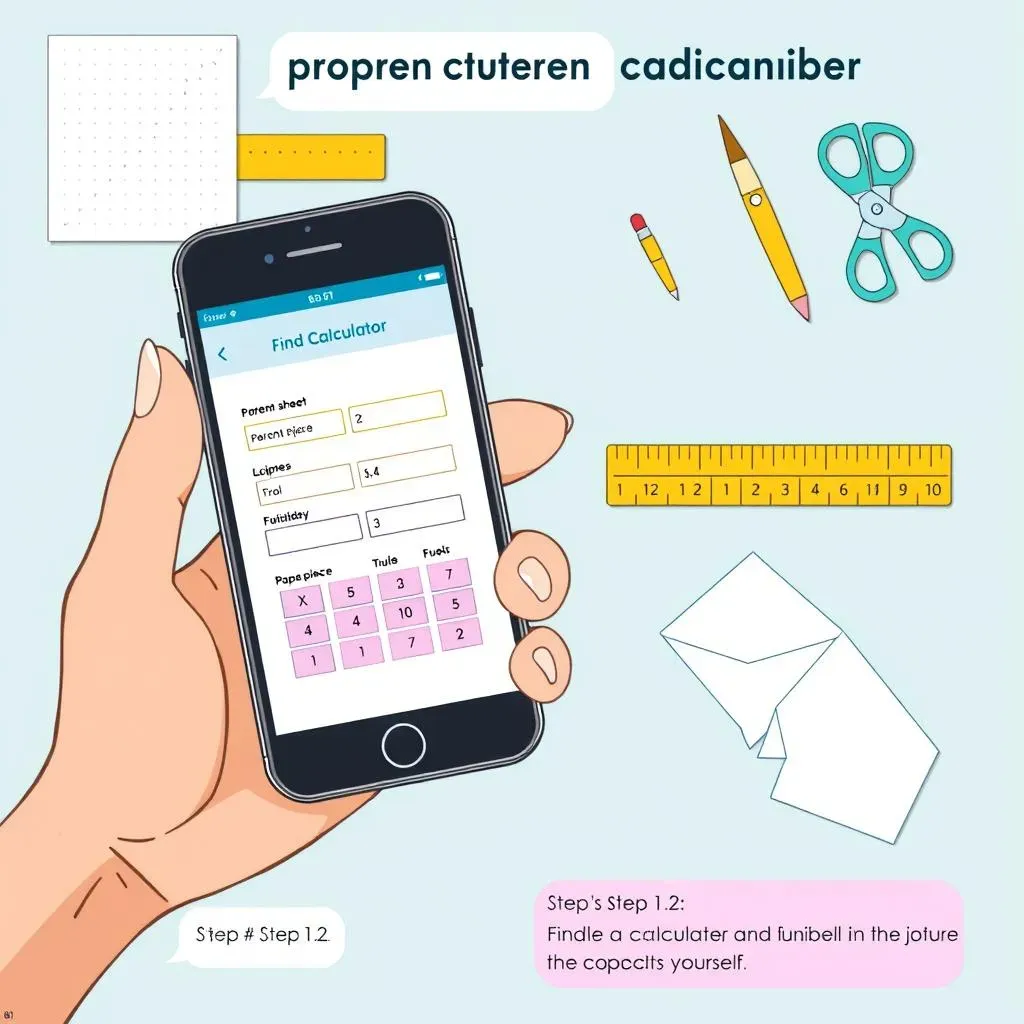
Getting Started: Finding the Right Calculator
Alright, so you're ready to dive in? First things first, you need to find a paper cutting calculator. Don't worry, they're not hiding in some secret location! You can find them online, often as part of websites that sell paper or printing services. There are also apps you can download on your phone or tablet. Some are super simple, while others have more advanced features. The key is to find one that you find easy to use and that fits your needs. It's like choosing the right tool for the job; you wouldn't use a hammer to screw in a nail, would you? So, take a few minutes to explore your options and find a calculator that feels right for you.
Once you've found your calculator, it's time to get familiar with how it works. Most calculators will have input fields for the size of your parent sheet and the size of your finished piece. You'll usually enter the width and height for both. Some calculators also ask about grain direction, which is something to keep in mind. Don't be intimidated by all the fields; it's just about entering the right measurements. It's like filling out a form, but instead of personal info, you're providing paper dimensions.
Step | Action |
|---|---|
1 | Find a paper cutting calculator (online or app). |
2 | Familiarize yourself with the input fields. |
Inputting Your Measurements: The Key to Accuracy
Now, for the important part: putting in your numbers. Grab your ruler and measure the width and height of your parent sheet. Enter these numbers into the calculator, making sure you put them in the correct fields. Then, measure the width and height of the finished pieces you want to cut, and enter those numbers as well. Double-check everything to ensure you've entered the correct measurements; a small mistake here can throw off your whole plan. It's like writing a password; you need to be precise, or it won't work!
Some calculators let you choose between inches, millimeters, or other units. Make sure you're using the same unit for all your measurements to avoid confusion. Also, if your calculator asks about grain direction, be sure to select the correct option. If you're not sure, it's better to double-check before you proceed. The right settings will ensure you get the most accurate results. It's like setting the right temperature for your oven; it's a critical step for success.
Understanding the Results: What the Numbers Mean
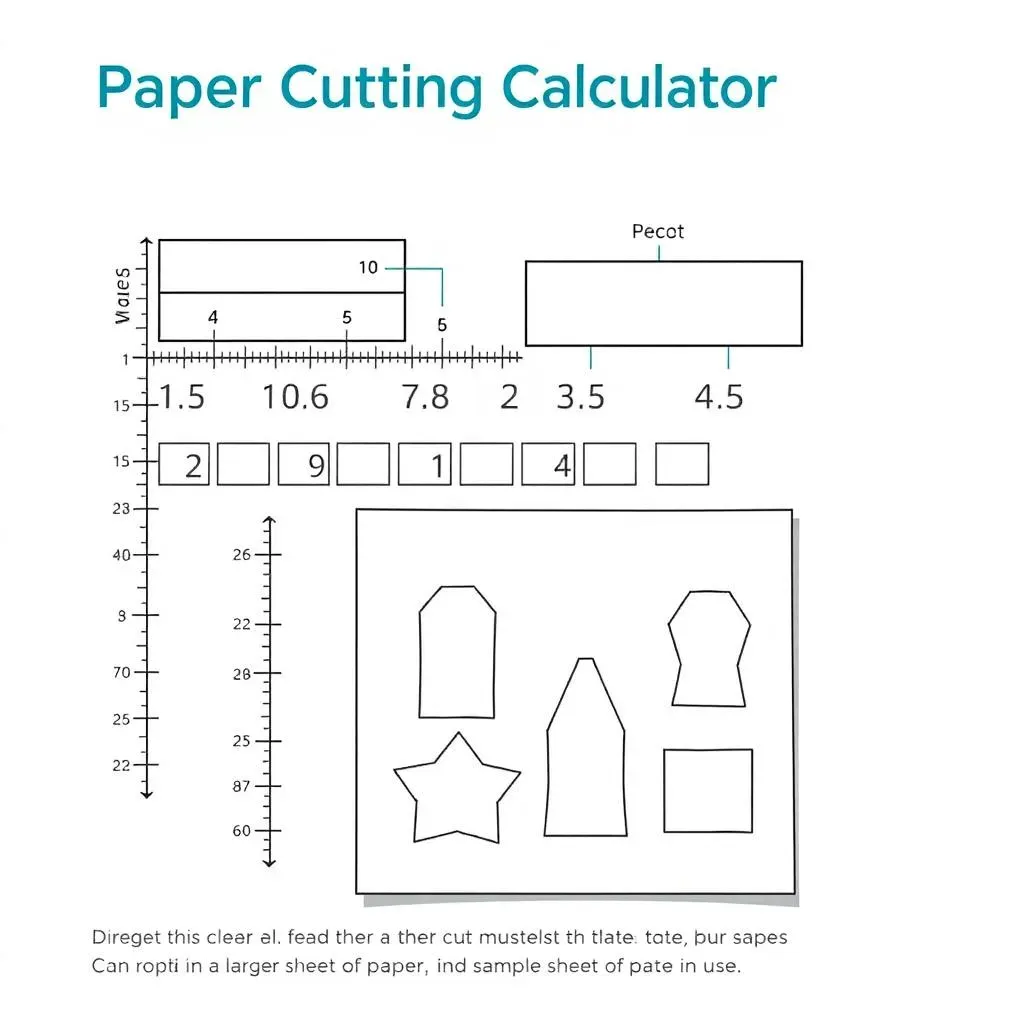
Once you've entered all your measurements, it's time to hit that "calculate" button and see what the calculator comes up with. The results will tell you how many pieces you can cut from your parent sheet. Some calculators also show you a layout of how to arrange your cuts on the sheet to minimize waste. This is super helpful, so take a good look at it. It's like having a map that guides you to the best cuts. Don't just blindly cut without understanding the layout; it will save you a lot of frustration.
If the calculator shows you that you can get, say, 20 pieces from a sheet, don't just assume that's the end of the story. Take a moment to think about it. Does the layout make sense? Are there any odd shapes or slivers that might be difficult to cut? Sometimes, you can tweak the measurements or rotate your cuts to get a more efficient layout. It's all about using the calculator as a tool to help you plan, not just as a machine that spits out numbers. Remember, you're the boss of your paper-cutting project!
“The key to success is to start before you are ready.” - Marie Forleo
Advanced Tips and Tricks for Precise Paper Cuts
Advanced Tips and Tricks for Precise Paper Cuts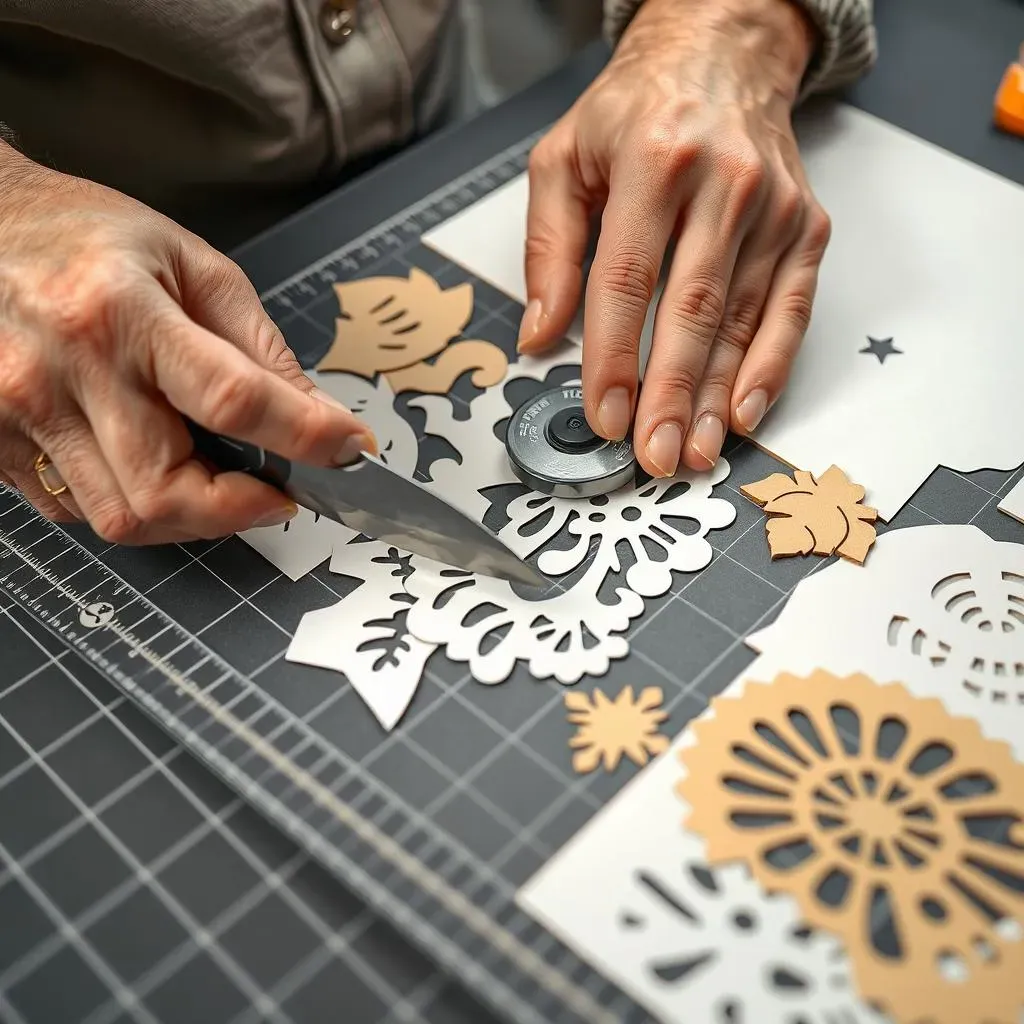
Choosing the Right Tools
Okay, so you've got your paper cutting calculator, and you're ready to go, right? Not quite! The tools you use can make a huge difference in the final result. Forget those dull, clunky scissors you've had since elementary school. Invest in a good quality craft knife or rotary cutter. These are sharp, precise, and will give you clean, crisp cuts every time. Think of it like being a chef: you wouldn't use a butter knife to chop vegetables; you'd use a proper chef's knife. The same goes for paper cutting. And don't forget a good cutting mat! It protects your work surface and also helps your cuts be more even. A self-healing mat is the best, because it will last longer, and you will be able to use it many times.
It is also important to have a good ruler. A metal ruler is best here, because it will not slip like a plastic ruler. A metal ruler is also less likely to get damaged by a craft knife. Also, make sure you always have extra blades for your craft knife or rotary cutter. A dull blade is more dangerous than a sharp one, because it is more likely to slip and cause an accident. Change your blades often, and you will see a huge difference in your cuts. It's all about having the right tools for the job, and keeping them in good condition.
Tool | Why It Matters |
|---|---|
Craft Knife or Rotary Cutter | Sharp and precise for clean cuts. |
Cutting Mat | Protects surfaces and provides a stable base. |
Metal Ruler | Provides straight lines and prevents slipping. |
Extra Blades | Ensures consistent, clean cuts. |
Mastering the Cutting Technique
Now, let's talk about the actual cutting. It’s not just about dragging your knife or cutter across the paper; it's about using the right technique. For straight cuts, always use a ruler as a guide. Place your ruler firmly on the paper, and hold it with your non-cutting hand. Then, use a light, even pressure to guide your knife or cutter along the edge of the ruler. Don't try to cut all the way through in one pass; multiple light passes are better than one hard one. This will give you a cleaner cut, and reduce the chances of tearing the paper. It's like painting; several thin coats are better than one thick one. Also, make sure you keep your body in a comfortable position, so you can cut smoothly.
When cutting curves, take your time. Move the paper, not just the blade. It might seem counterintuitive at first, but it gives you more control. If you're using a craft knife, keep your wrist steady and use small, controlled movements. If you're using a rotary cutter, make sure you are using a mat that is made for rotary cutting. This will help your cuts to be more consistent. Practice makes perfect, so don't get discouraged if your first few cuts aren't perfect. It's like learning to ride a bike; it takes time and patience. Just keep practicing, and you will get the hang of it.
Dealing with Tricky Papers and Shapes
Some papers are more challenging to cut than others. Thicker cardstock can be tough on your tools, while thin tissue paper can tear easily. For thicker papers, you might need to use more pressure and make more passes with your blade. For delicate papers, use a very light touch and consider using a rotary cutter, which is less likely to tear the paper. Always test your cutting technique on a scrap piece of paper first to see how it behaves. It’s like testing the temperature of the water before you jump in; it helps you avoid surprises.
Cutting complex shapes can be tricky, but there are a few things you can do to make it easier. First, make sure you have a sharp blade. Second, go slowly and carefully, and don't rush it. If you are cutting a circle, you can use a compass cutter, which will make the perfect circle. If you are cutting a complex shape, you can use a stencil, or you can print out your shape and cut around it. It is important to take your time and to be patient. It's like solving a puzzle; each piece needs to fit perfectly. With practice and patience, you can master even the most challenging paper cuts.