Table of Contents
Ever wanted to create something beautiful and unique with just paper, scissors, and a little imagination? Dive into the captivating world of paper cutting 3D art! This guide is your starting point for transforming flat sheets into stunning three-dimensional creations. Whether you're a seasoned crafter or a complete beginner, you'll discover how accessible and rewarding this art form can be. We'll explore the essential supplies you'll need, from the best types of paper to the sharpest cutting tools. Then, we'll walk through a step-by-step project, perfect for getting your feet wet. Learn how to add depth and dimension to your designs with clever techniques and insider tips. Finally, we'll spark your creativity with a gallery of inspiring ideas to take your paper cutting 3D projects to the next level. Get ready to unleash your inner artist and transform ordinary paper into extraordinary art!
Gathering Your Supplies for 3D Paper Cutting
Gathering Your Supplies for 3D Paper Cutting
The Paper Chase: Choosing the Right Stock
First things first, let's talk paper! Not all paper is created equal, especially when you're diving into 3D paper cutting. You want something that's sturdy enough to hold its shape but still easy to cut. Cardstock is your best friend here. It comes in a rainbow of colors and weights, so you can really get creative. I usually go for a medium weight, around 65-80 lb, as it strikes a good balance. Thicker cardstock can be a pain to cut intricate designs, while thinner paper might flop and not give you that crisp 3D effect. Experiment with different textures too! Some cardstock has a smooth finish, while others have a subtle texture that can add visual interest to your finished piece.
Don't underestimate the power of colored paper! Think about the layers you want to create and how the colors will interact. Gradient sets can be amazing for creating depth, or you can go bold with contrasting colors for a pop. Also, consider using specialty papers like metallic or pearlescent cardstock for added shimmer and shine. Just be aware that some of these fancier papers can be a bit trickier to cut, so maybe save them for when you've got a few projects under your belt. And if you're feeling eco-conscious, there are plenty of recycled cardstock options available too!
Tools of the Trade: Essential Cutting Implements
now that we've got our paper sorted, let's talk tools! A sharp cutting tool is absolutely crucial for clean, precise cuts. Forget those dull scissors you've had since grade school. Invest in a good craft knife, like an X-Acto knife, with a comfortable grip. Trust me, your hands will thank you, especially if you're planning on tackling intricate designs. Make sure you have a self-healing cutting mat to protect your work surface and extend the life of your blades. Dull blades are the enemy of 3D paper cutting! They can tear the paper and leave you with ragged edges. Keep a stash of replacement blades handy and change them frequently.
Beyond the basics, there are a few other tools that can make your life a whole lot easier. A good pair of fine-tipped scissors is great for detail work and reaching those tricky corners. Tweezers are essential for picking up small paper pieces and positioning delicate elements. And don't forget a ruler or straight edge for making precise lines and measurements. If you're planning on doing a lot of curved cuts, consider investing in a circle cutter or a set of French curves. These tools can help you create smooth, consistent curves without having to rely solely on your freehand skills. With the right tools in your arsenal, you'll be well-equipped to tackle any 3D paper cutting project!
Tool | Use | Why You Need It |
|---|---|---|
Craft Knife (X-Acto) | Precise cutting of intricate designs | Sharpness = clean cuts, less tearing |
Self-Healing Cutting Mat | Protecting work surface | Prolongs blade life, prevents damage |
Fine-Tipped Scissors | Detail work, reaching tight corners | Complements craft knife for versatility |
Tweezers | Picking up/positioning small pieces | Avoids smudging, precise placement |
StepbyStep: Creating Your First 3D Paper Cut Design
StepbyStep: Creating Your First 3D Paper Cut Design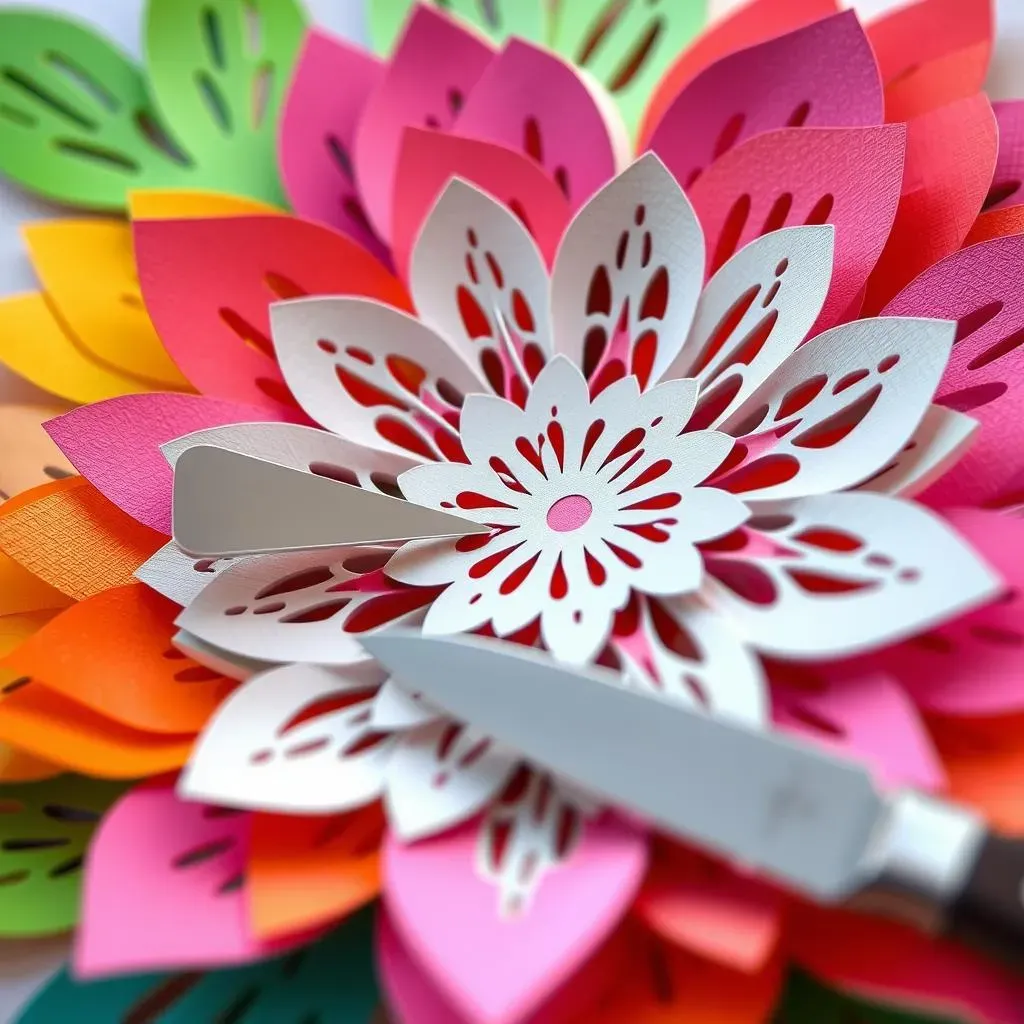
Choosing Your Design and Preparing Your Layers
Alright, let's get to the fun part: designing! For your first 3D paper cutting project, I recommend starting with something simple. Think geometric shapes, basic floral patterns, or even a silhouette. You can find tons of free templates online, or if you're feeling adventurous, try creating your own design. Once you've got your design, you'll need to break it down into layers. The number of layers will determine the depth of your 3D piece. I usually start with 3-5 layers for a beginner project. Each layer will represent a different plane of your design, with the top layer being the most detailed and the bottom layer being the simplest.
Now, here's a crucial step: transfer your design onto your cardstock. You can either print out your template and trace it onto each layer, or if you're using a cutting machine like a Cricut or Silhouette, you can import your design and let the machine do the work for you. If you're tracing, use a light box or a well-lit area to ensure you can see the design clearly. And remember to label each layer with a number or letter so you don't get them mixed up later. Trust me, it's easy to lose track when you're working with multiple layers!
Cutting with Precision: Techniques for Clean Lines
deep breaths, it's time to cut! This is where your sharp craft knife and self-healing cutting mat come into play. Start with the top layer, which usually has the most intricate details. Hold your knife at a slight angle and use smooth, controlled strokes to follow the lines of your design. Don't try to cut through the paper in one go; instead, use multiple light passes to gradually cut through the cardstock. This will help you avoid tearing and ensure clean, crisp lines.
When cutting curves, rotate the paper instead of trying to force the knife to turn. This will give you more control and prevent the blade from slipping. And remember to change your blade frequently! A dull blade will make it much harder to cut cleanly and can even damage your paper. As you cut each layer, set it aside and label it clearly. Once you've cut all the layers, take a moment to admire your handiwork! You're one step closer to creating your first 3D paper cutting masterpiece.
Tip | Description |
|---|---|
Sharp Blade | Always use a fresh, sharp blade for clean cuts. |
Multiple Passes | Cut with light, multiple passes instead of forcing the blade. |
Rotate Paper | Rotate the paper when cutting curves for smoother lines. |
Take Breaks | Take breaks to avoid hand fatigue and maintain focus. |
Assembling Your Masterpiece: Layering and Adding Depth
Now for the grand finale: assembly! This is where your flat paper cutouts transform into a three-dimensional work of art. There are a few different ways to create depth between the layers. One popular method is to use foam tape or pop dots. Simply apply the foam tape to the back of each layer, making sure to leave some space between the adhesive pads. This will create a gap between the layers and give your piece that 3D effect.
Another option is to use small pieces of cardboard or even rolled-up paper to create spacers. This is a great way to recycle materials and customize the amount of depth between each layer. Start by attaching the bottom layer to your background, then carefully layer each subsequent piece on top, using the foam tape or spacers to create the desired depth. Play around with the placement of each layer to create different effects. You can even angle some of the layers to add more visual interest. Once you're happy with the arrangement, press down firmly on each layer to secure it in place. And there you have it: your very own 3D paper cutting creation!
Adding Depth and Dimension: Mastering 3D Paper Cutting Techniques
Adding Depth and Dimension: Mastering 3D Paper Cutting Techniques
Shadow Boxes: Framing Your Paper Art
Ready to really showcase your 3D paper cutting? Consider framing it in a shadow box! This not only protects your delicate creation but also adds another layer of depth and dimension. You can find shadow boxes in various sizes and depths at most craft stores. When choosing a shadow box, make sure it's deep enough to accommodate all the layers of your paper art. You might even want to add some extra space to create a sense of airiness.
Before you mount your paper cutting in the shadow box, experiment with different backgrounds. A solid color can create a clean and modern look, while a textured background can add visual interest. You can also use fabric, patterned paper, or even a mirror to create a unique backdrop. Once you've chosen your background, carefully attach your paper cutting to the back of the shadow box using adhesive or mounting tape. Make sure everything is securely in place before you seal up the box. And there you have it: a professionally framed 3D paper cutting that's ready to be displayed!
Layering Techniques: Advanced Spacing and Overlapping
Once you've mastered the basics of layering, it's time to get fancy! Experiment with different spacing techniques to create more dynamic and interesting effects. Instead of using the same size foam tape or spacers for every layer, try varying the thickness to create a sense of perspective. For example, you could use thicker spacers for the layers in the foreground and thinner spacers for the layers in the background. This will make the foreground elements appear closer and the background elements appear farther away.
Overlapping is another great way to add depth and dimension to your 3D paper cutting. Instead of aligning each layer perfectly, try overlapping some of the elements to create a sense of movement and complexity. You can also use negative space to your advantage by cutting out shapes that reveal the layers beneath. Just be careful not to overcrowd your design; you want to create a balanced and visually appealing composition. With a little practice, you'll be amazed at the depth and dimension you can achieve with these advanced layering techniques. Remember paper cutting 3D is all about practice.
Technique | Description | Effect |
|---|---|---|
Variable Spacing | Using different thickness spacers | Creates perspective and depth |
Overlapping Layers | Overlapping elements of different layers | Adds movement and complexity |
Negative Space | Cutting out shapes to reveal layers beneath | Creates visual interest and depth |
Lighting Effects: Illuminating Your 3D Paper Art
Want to take your 3D paper cutting to the next level? Add some lights! Backlighting can create a dramatic and eye-catching effect, especially in a shadow box. You can use LED strip lights or even fairy lights to illuminate your paper art from behind. Experiment with different colors and intensities to create different moods and atmospheres. For example, warm white lights can create a cozy and inviting feel, while cool blue lights can create a more dramatic and mysterious effect.
Another option is to use spotlights to highlight specific elements of your 3D paper cutting. This can be a great way to draw attention to certain details or create a sense of depth and shadow. Just be careful not to overheat your paper art with the lights. LED lights are a good choice because they don't produce as much heat as traditional light bulbs. With a little creativity, you can use lighting to transform your 3D paper cutting into a truly stunning work of art. I have seen others use paper cutting 3D with lights and it looks awesome.
Inspiration and Ideas: Taking Your 3D Paper Cutting to the Next Level
Inspiration and Ideas: Taking Your 3D Paper Cutting to the Next Level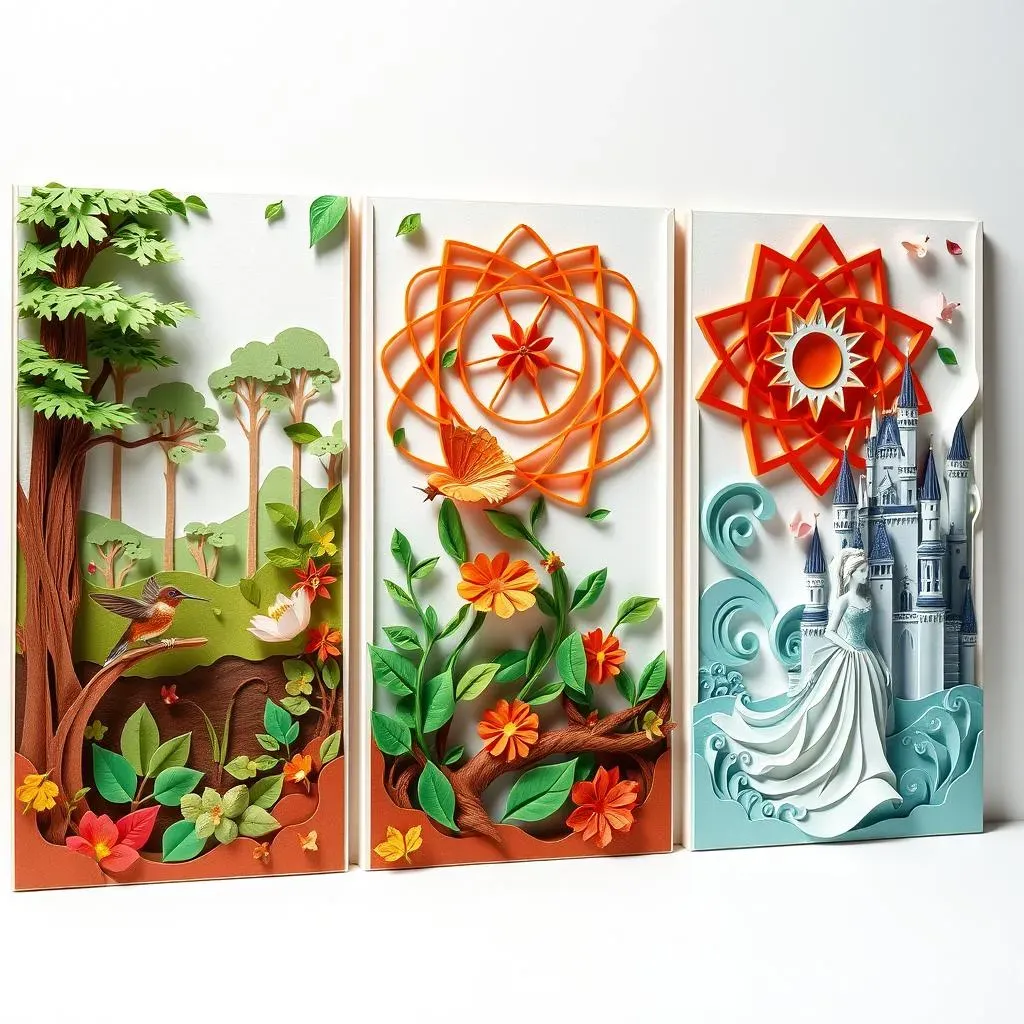
Nature-Inspired Designs: Bringing the Outdoors In
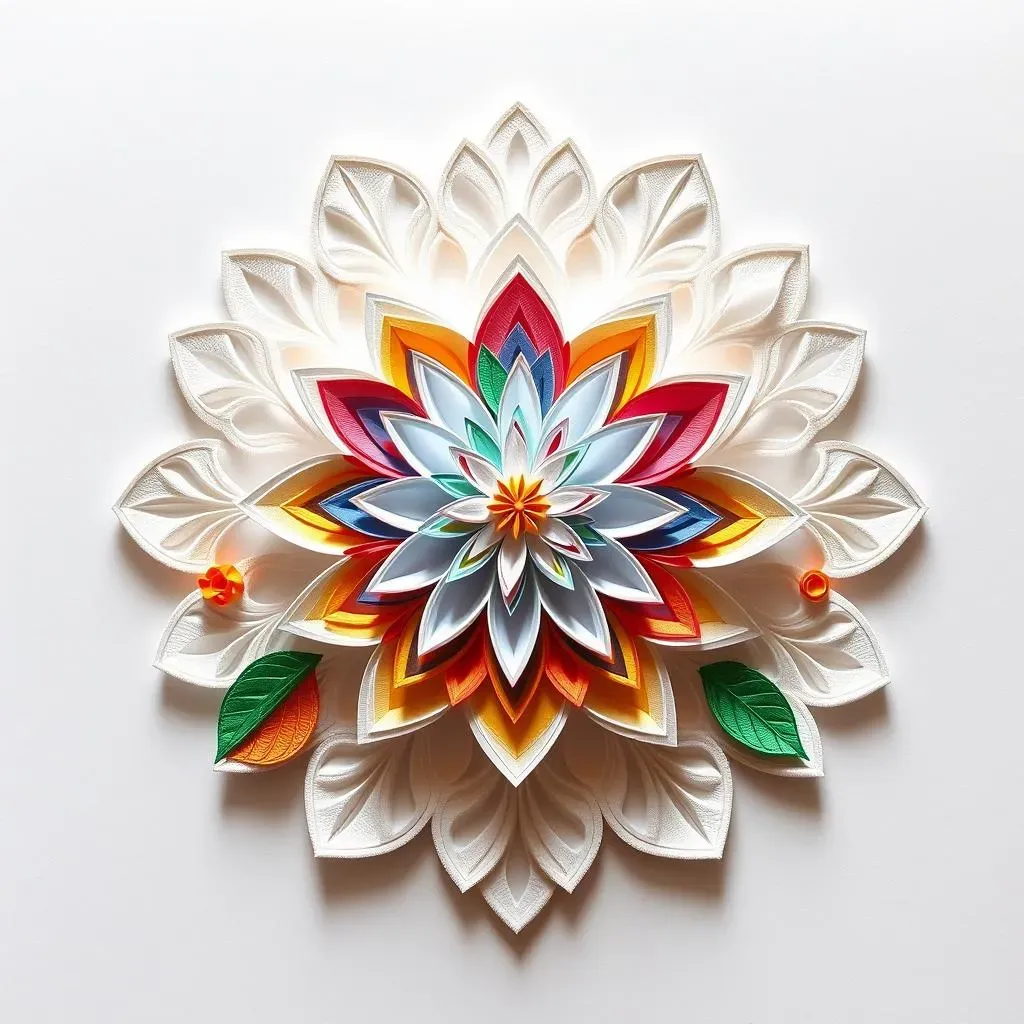
let's talk inspiration! One of my favorite places to find ideas for 3D paper cutting is right outside my window: nature! Think intricate floral patterns, delicate leaves, or even majestic landscapes. You can recreate the beauty of the natural world in stunning three dimensions. Start by observing the shapes and textures of plants and animals. Take photos, sketch your ideas, and then translate them into paper. For example, you could create a layered paper cutting of a forest scene, with trees, mountains, and wildlife all rendered in intricate detail. Or you could focus on a single flower, capturing the delicate petals and vibrant colors in a 3D paper sculpture. Nature provides endless inspiration for paper cutting 3D.
I find that looking at real-life examples helps me when I'm stuck. When I wanted to make a paper-cut hummingbird, I went to a local garden that had tons of them! I watched how they hovered, the colors that flashed in the sun, and then I tried to capture *that* in my art. Don't be afraid to simplify complex shapes and focus on the key elements that make your design recognizable. And remember to experiment with different colors and textures to bring your nature-inspired creations to life.
Geometric Abstraction: Exploring Shapes and Patterns
If you're looking for a more modern and abstract approach, geometric designs are a fantastic option. Think about the interplay of shapes, lines, and angles, and how you can use them to create visually stunning 3D paper cuttings. Start with basic geometric forms like squares, triangles, and circles, and then experiment with different arrangements and combinations. You can create complex tessellations, optical illusions, or even abstract sculptures using paper. The key is to play around with different patterns and see what emerges. I usually start with a simple shape and then build upon it, adding layers and details until I'm happy with the result.
Don't be afraid to break the rules and try something unexpected. You can also incorporate elements of symmetry and asymmetry to create more dynamic and interesting compositions. Geometric abstraction offers endless possibilities for creative exploration. When I first started, I was intimidated, but then I realized that there's no right or wrong answer. It's all about experimenting and finding what you like. Try looking at Islamic art or even Art Deco designs for inspiration. They both use geometry in really cool ways!
Design Style | Description | Inspiration Source |
|---|---|---|
Floral Patterns | Intricate designs of flowers and leaves | Gardens, botanical illustrations |
Landscapes | Layered scenes of nature | Photography, landscape paintings |
Geometric Shapes | Abstract arrangements of shapes | Islamic art, Art Deco designs |
Storytelling with Paper: Narrative Scenes and Characters
want to tell a story with your 3D paper cutting? Narrative scenes and characters can add a whole new dimension to your art. Think about creating a layered paper cutting of a fairy tale scene, a historical event, or even a personal memory. You can use different colors and textures to create mood and atmosphere, and you can add details like text or symbols to enhance the narrative. One of my favorite things to do is to create paper cutouts of my favorite book characters and place them in elaborate scenes. It's like bringing the story to life in three dimensions!
When creating narrative scenes, consider the composition and the placement of your characters. You want to create a sense of depth and perspective, and you want to draw the viewer's eye to the most important elements of the story. You can also use lighting to create a sense of drama and highlight certain aspects of the scene. Don't be afraid to get creative and experiment with different techniques. The possibilities are endless when you're telling stories with paper.
The End is Just the Beginning: Continuing Your 3D Paper Cutting Journey
So, you've taken your first steps into the mesmerizing realm of 3D paper cutting. Remember, the possibilities are as limitless as your imagination. Don't be afraid to experiment with different paper types, intricate designs, and innovative layering techniques. Each project is a learning opportunity, a chance to refine your skills and discover your unique artistic voice. Share your creations, connect with fellow paper artists, and most importantly, keep cutting! The world of 3D paper art is constantly evolving, and your next masterpiece is just waiting to be brought to life.