Table of Contents
Ever struggled with jagged edges or uneven paper cuts? You're not alone. Whether it's for crafting, office work, or school projects, precise paper cutting is essential. This article is your guide to navigating the world of "officeworks paper cutting," helping you choose the right tools and techniques. We'll explore the various cutting implements available at Officeworks, from simple scissors to heavy-duty guillotines, and discuss how to use each effectively. We will also touch on safety tips to ensure you don't end up with any unwanted cuts, and how to maintain your tools for lasting performance. So, if you're ready to elevate your paper cutting game, stick around and let's get started. We'll go from basic tools to advanced tips, so you will be a paper-cutting pro in no time.
Choosing the Right Officeworks Paper Cutting Tool
Choosing the Right Officeworks Paper Cutting Tool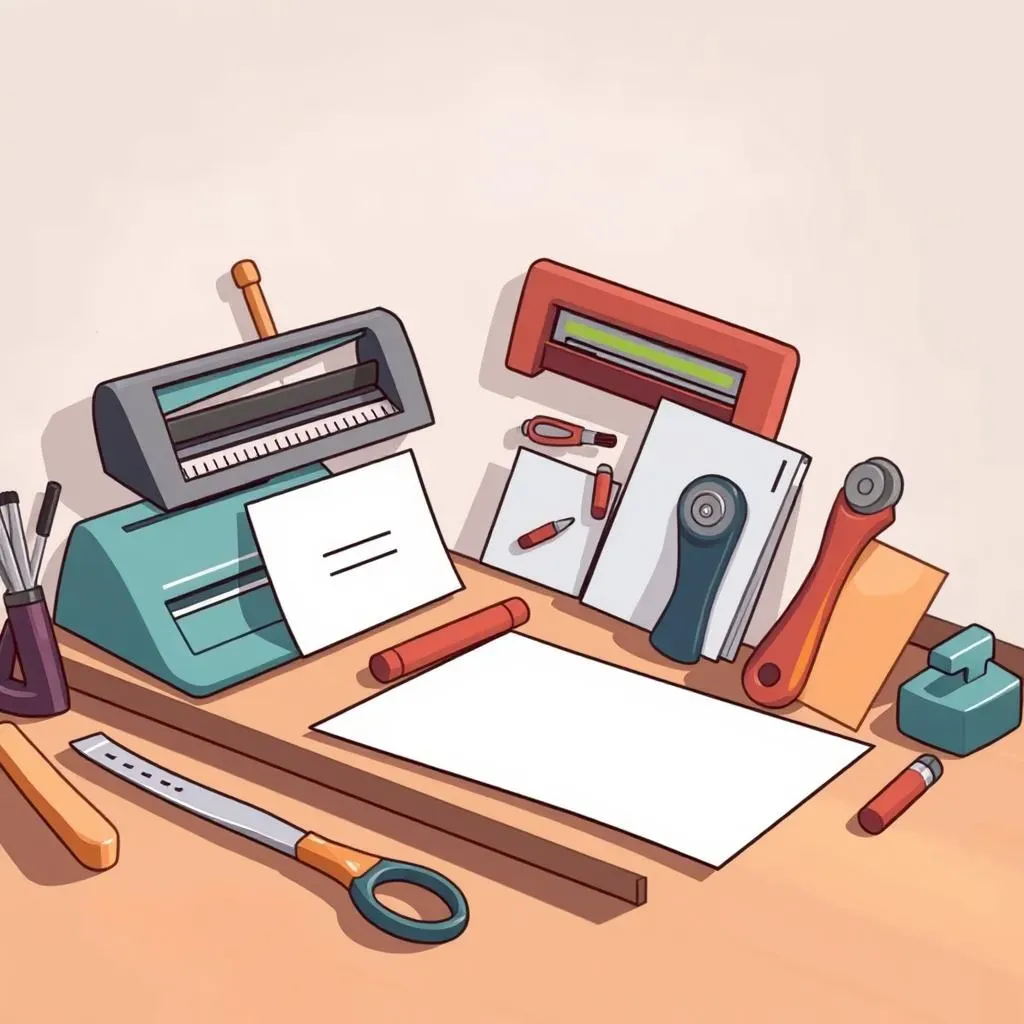
The Paper Cutter Lineup
so you're staring at the Officeworks website, maybe even standing in the aisle, and it's a bit overwhelming, right? They've got all sorts of contraptions for cutting paper, it’s not just scissors! We have paper trimmers, guillotines, and even rotary cutters. Each has its own strengths, and picking the right one makes all the difference. For small jobs, like a few sheets of paper, a simple trimmer is your friend. It's like a mini-guillotine, but more compact and easier to handle. But, if you're tackling a stack of invitations or need a super straight edge, then a guillotine is the way to go. Then you have rotary cutters, they are great for curved shapes and soft materials, these are more for craft type work.
It really comes down to what you're cutting and how often you're doing it. I remember when I first started crafting, I tried using scissors to cut a straight line on a big piece of card stock. Let’s just say, the result wasn't pretty. It looked like a toddler had a go at it. That's when I learned the value of having the correct tools for the job! So, think about your needs, don't just grab the first thing you see. Choosing the right tool will save you time, frustration, and a lot of paper.
Tool | Best For | Pros | Cons |
|---|---|---|---|
Paper Trimmer | Small jobs, few sheets | Compact, easy to use, good for straight lines | Not for thick stacks, can have blade wear |
Guillotine | Large stacks, straight cuts | Precise, efficient, handles thick paper | Bulky, requires more space, can be dangerous if not used properly |
Rotary Cutter | Curved shapes, fabric, soft materials | Great for curves, smooth cuts | Not good for straight lines, requires a mat |
Considering Your Cutting Needs
Before you decide, think about the types of projects you'll be working on. Are you a scrapbook enthusiast, or are you mainly dealing with office documents? If you're into crafting, you might want a variety of tools. A trimmer for straight edges, and a rotary cutter for those fancy curves. If you just need to cut a few documents here and there, a basic paper trimmer should do the trick. Don't feel like you need to buy the most expensive, heavy-duty guillotine if you only cut the occasional piece of paper. Start with what you need, and you can always upgrade later as your needs change.
Also, think about how much space you have. Guillotines can take up a lot of room, while trimmers are much more compact. If you're working in a small space, the portable paper trimmers that Officeworks offer are a great choice. They are easy to store and move around. It's all about finding the right balance between functionality and practicality. And, of course, price is a factor. Officeworks has options for every budget, so you don't have to break the bank to get the right paper cutting tool. I have a small portable trimmer at home, and it's perfect for my needs. It’s not fancy, but it gets the job done.
Mastering Different Paper Cutting Techniques at Officeworks
Mastering Different Paper Cutting Techniques at Officeworks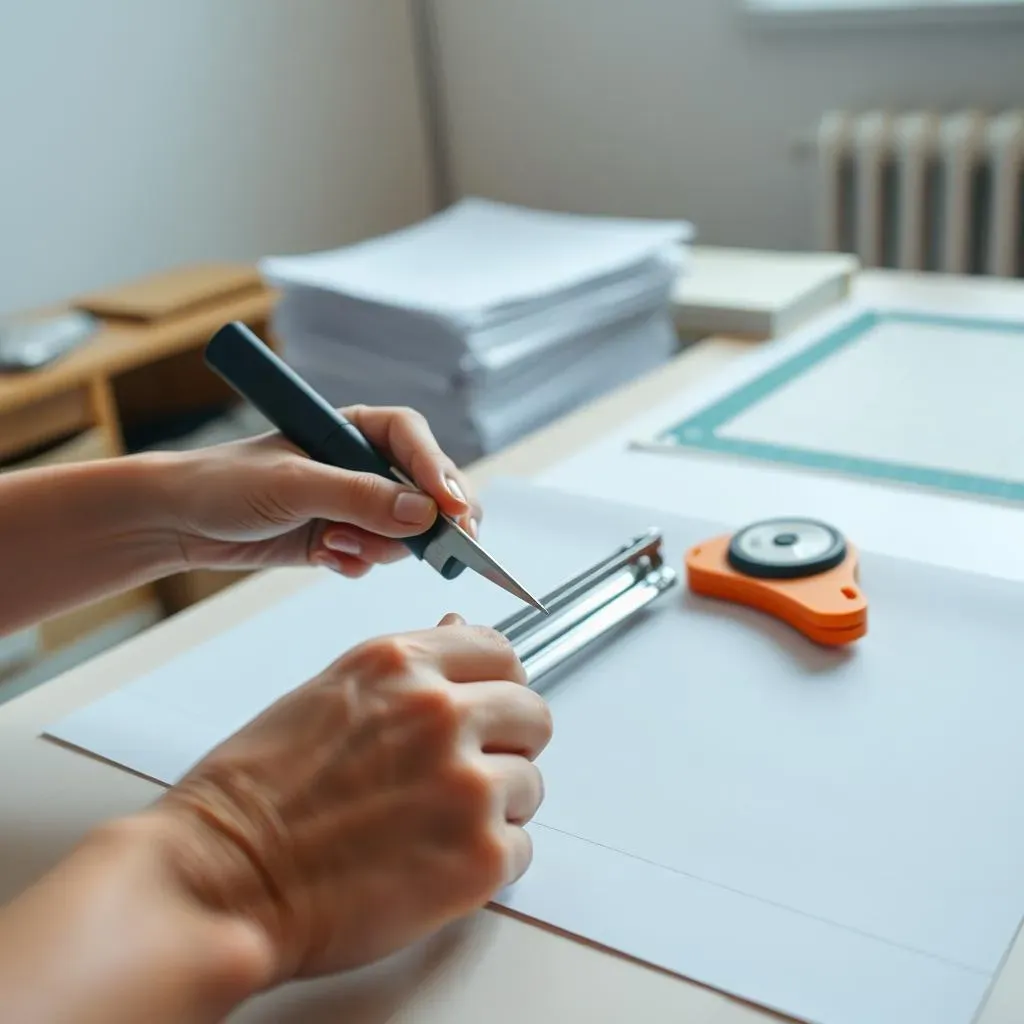
The Art of the Straight Cut
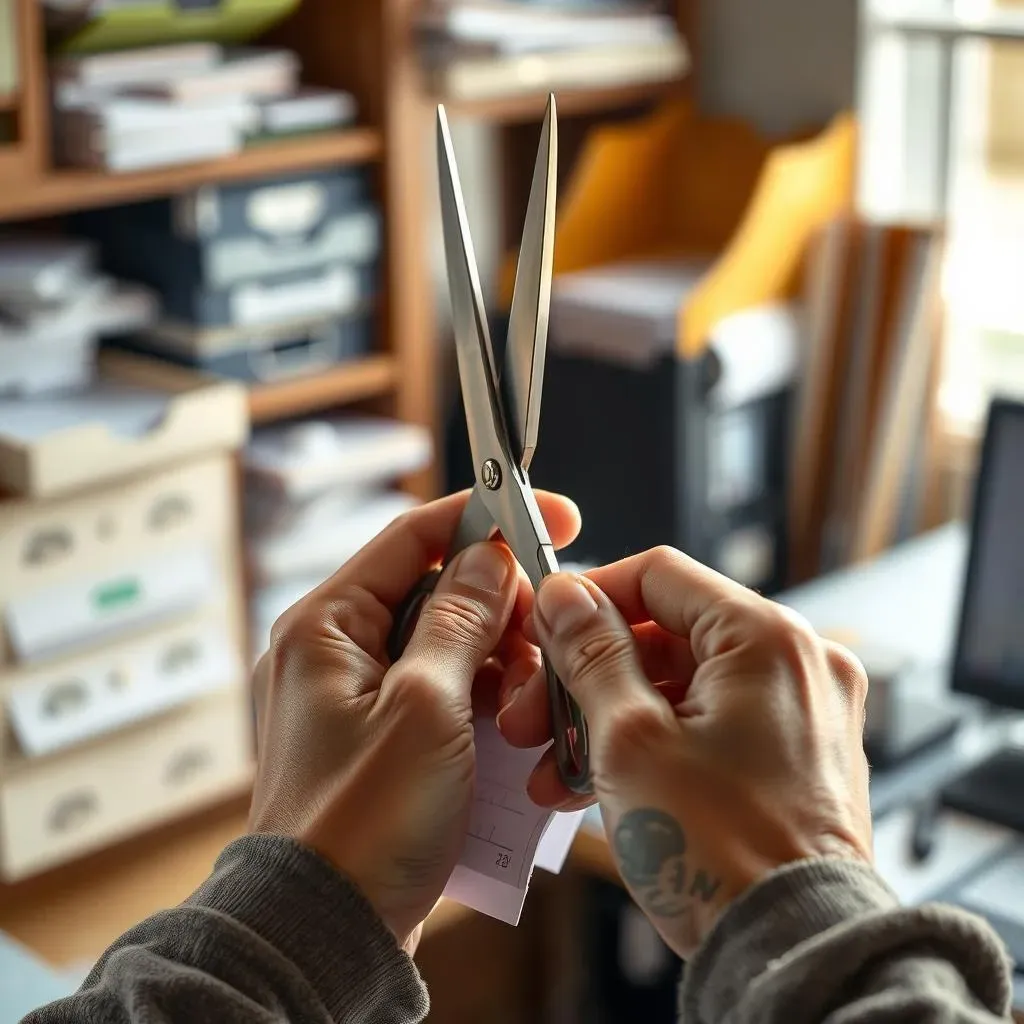
so you've got your paper cutting tool, now what? Getting a perfectly straight cut isn't as simple as it looks, especially when you're using a trimmer or a guillotine. The key is to line everything up properly. Always make sure your paper is flush against the guide or the edge of the cutter. If it's even a little bit off, your cut will be crooked. It's like trying to draw a straight line without a ruler, it just won’t work. I've learned this the hard way, so trust me on this one. Take your time, don't rush, and double-check the alignment before you make the cut. It's a small step that makes a huge difference. I have a habit of breathing out as I'm making the cut, it helps me to keep the pressure even.
Another trick is to use your non-cutting hand to hold the paper firmly in place. This prevents it from shifting during the cutting motion. Think of it like a steady hand holding a canvas when you are painting. The more stable the paper, the cleaner your cut will be. Also, when using a guillotine, make sure you bring the blade down with a smooth, even motion, don't slam it down, or you could damage the blade or get a jagged edge. Practice makes perfect, so don't be discouraged if your first few cuts aren't perfect. I still have the first few cuts I made with a guillotine, and I can see how much I have improved over time.
Technique | Description | Tips |
|---|---|---|
Straight Cut with Trimmer | Align the paper with the guide, bring the blade down smoothly | Double-check alignment, hold paper firmly, use even pressure |
Straight Cut with Guillotine | Align paper with the guide, bring the blade down with a smooth motion | Hold paper securely, don't slam the blade, use a consistent motion |
Curved Cut with Rotary Cutter | Use a cutting mat, follow the line or shape you want to cut | Use gentle pressure, move the cutter smoothly, practice on scrap paper |
Cutting Curves and Shapes
Now, let's move on to the fun stuff: cutting curves and shapes. If you're using a rotary cutter, then you are in luck, this tool is perfect for creating circles, swirls, and other designs. The trick here is to use a cutting mat and to guide the cutter along the line you want to cut. It's like tracing, but with a blade! Don't try to cut too fast, slow and steady wins the race here. If you're using scissors, it's all about patience and small cuts. Don't try to cut the entire curve in one go, instead, move the paper as you cut, and try to avoid making big, choppy cuts. It's like sculpting, you're slowly removing the excess to reveal the shape you want. I remember trying to cut a heart shape with scissors, the first one looked more like a blob, but after a few tries, I got the hang of it.
And if you're feeling extra adventurous, you can try using stencils as well. Just place the stencil on your paper, and carefully cut around the edges. This is perfect for creating consistent shapes. You can find stencils at Officeworks, or you can even make your own! There are many different ways to cut shapes and curves, the most important thing is to be patient and practice. Don't be afraid to experiment and try out different techniques. It's all part of the fun of crafting and paper cutting. I like to put on some music and just get into the creative flow. It's really therapeutic.
Officeworks Paper Cutting: Safety and Maintenance
Officeworks Paper Cutting: Safety and Maintenance
Safety First, Always
so we've talked about the fun stuff, but let's get real for a second: paper cutting tools can be dangerous if you're not careful. I know, it sounds a bit dramatic, but those blades are sharp! The first rule of thumb is to always keep your fingers away from the cutting edge. It sounds obvious, but it's easy to get distracted, especially when you're working on a big project. I have a friend who wasn't paying attention and ended up with a little cut on his finger, it wasn't pretty. So, always make sure you're focused on what you're doing, and never rush the process. Rushing is when accidents happen.
Also, be extra careful when you're using a guillotine. These are powerful machines, and they can do some serious damage if you're not cautious. Always keep your hands clear of the blade's path, and never leave the blade in the down position when you're not using it. It's like leaving a loaded gun lying around. And, if you have little ones around, make sure to store all your cutting tools in a safe place, out of their reach. You never know what kids are going to get into. It’s better to be safe than sorry. Remember, safety should always be your top priority when you are cutting paper.
Safety Tip | Description |
|---|---|
Keep Fingers Away | Always keep your fingers clear of the cutting edge. |
Be Careful with Guillotines | Use guillotine with caution, keep hands clear of the blade's path. |
Store Tools Safely | Store cutting tools in a safe place, away from children. |
Keeping Your Tools in Top Shape
Now, let’s talk about maintenance. If you want your paper cutting tools to last, you need to take care of them. It’s like having a car, you need to do regular check ups. For paper trimmers and guillotines, make sure to clean the blades regularly. You can do this with a dry cloth or a soft brush. This will remove any paper dust or debris that can build up and dull the blade. I remember when I didn't clean my trimmer for a while, the cuts were getting really rough, and I was wondering why. It's amazing how much of a difference a quick clean can make. It's like night and day.
Also, for rotary cutters, make sure to change the blades regularly. Dull blades can cause uneven cuts and can even be more dangerous than sharp blades. It's like using a dull knife, you're more likely to slip and cut yourself. You can find replacement blades at Officeworks, so it's easy to keep your rotary cutter in top condition. And, if you notice that your tool is not cutting as smoothly as it used to, it might be time for a replacement. It's a small investment that will make a big difference in the quality of your cuts. Think of it as a little TLC for your tools, and they’ll keep serving you well for a long time.
- Clean Blades Regularly: Use a dry cloth or soft brush to remove paper dust.
- Change Rotary Cutter Blades: Replace blades regularly for smooth, clean cuts.
- Replace Tools When Needed: If a tool isn't cutting properly, it might be time for a replacement.
Wrapping Up Your Officeworks Paper Cutting Journey
Mastering the art of paper cutting at Officeworks doesn't need to be daunting. With the right tools, a bit of practice, and a focus on safety, you can achieve clean, precise cuts every time. From choosing the perfect trimmer for your needs to learning different techniques and maintaining your equipment, this guide has covered the essentials. Remember, precision paper cutting is about more than just sharp tools; it's about patience and skill. So, go forth, explore the range at Officeworks, and create with confidence. Whether you're crafting intricate designs or preparing documents, you now have the knowledge to make every cut count. Now go create something amazing and remember to keep those blades sharp!