Table of Contents
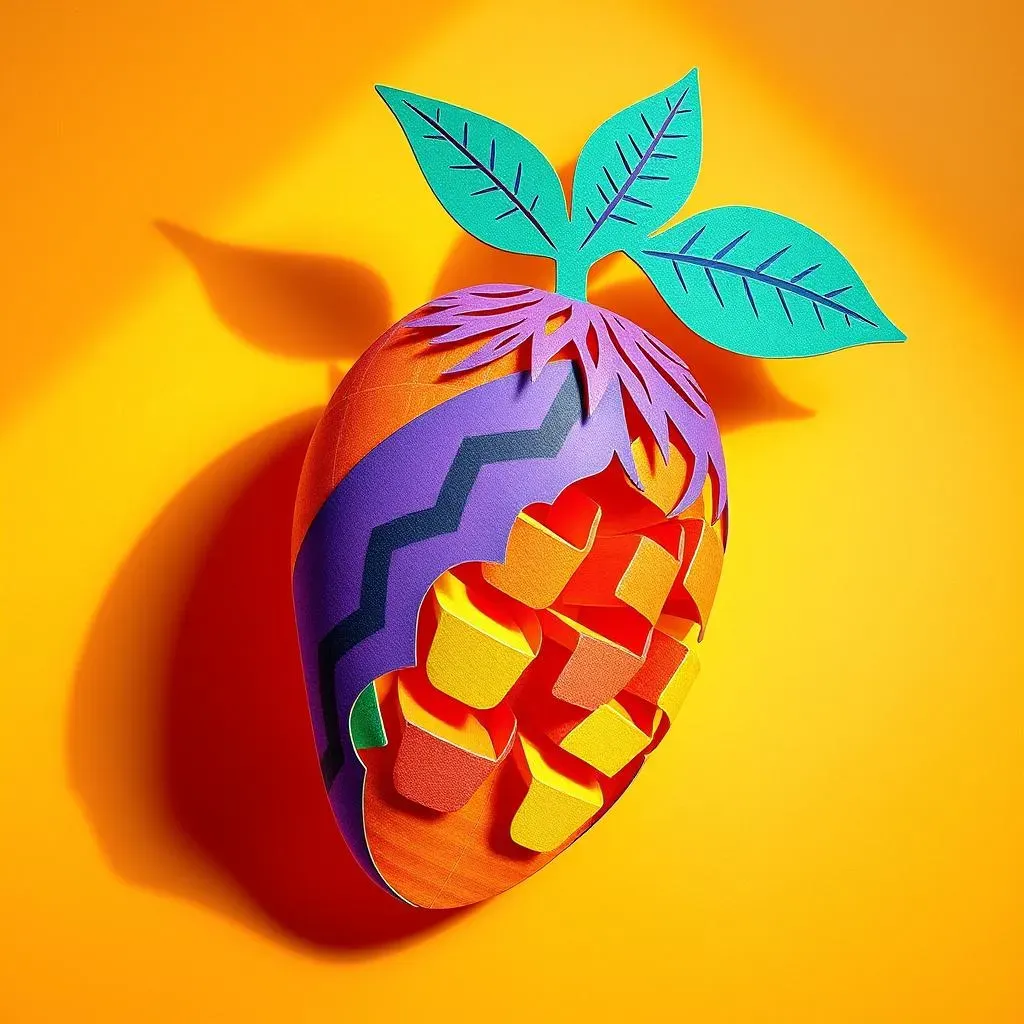
Ever wondered how to bring the vibrant joy of a juicy mango to life with just paper? Well, you're in for a treat! This guide will walk you through the delightful process of mango paper cutting, transforming simple colored strips into a stunning zig-zag mango. It’s not just a craft; it’s a fun way to connect with the national fruit of India and explore your creative side. We'll start by gathering our easy-to-find materials, then dive into the step-by-step instructions for creating that eye-catching zig-zag pattern. I'll show you how to add those special touches that make your paper mango pop, including a cute brown stem and a green leaf. Finally, we’ll talk about how you can show off your amazing work. Whether you’re a beginner or a seasoned crafter, this project is perfect for all ages. Get ready to learn, create, and have some fun with mango paper cutting! Let's turn plain paper into something extraordinary.
Gathering Your Supplies for Mango Paper Cutting
Gathering Your Supplies for Mango Paper Cutting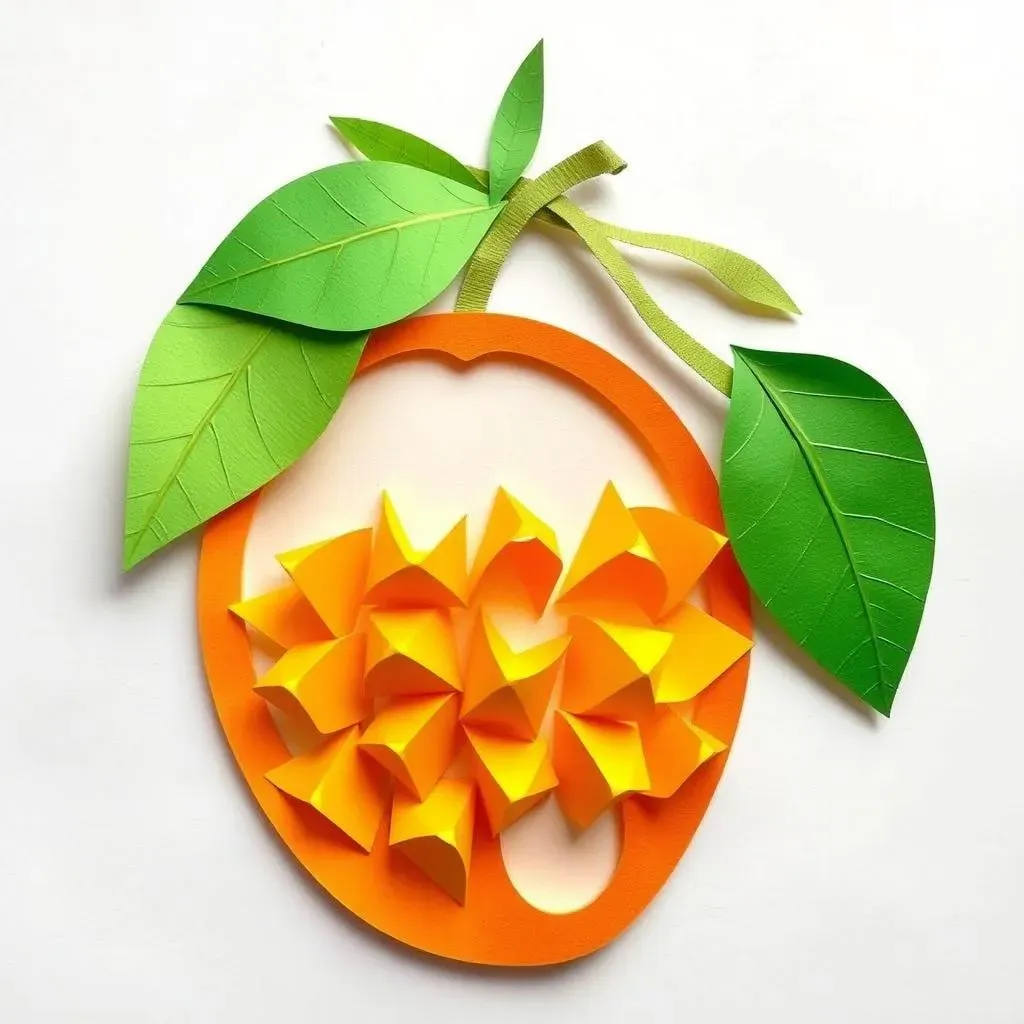
The Essentials for Paper Mango Magic
Alright, so you're ready to dive into making your own paper mango masterpiece? Awesome! First things first, let's gather the troops—or rather, the supplies. You won't need a ton of fancy stuff, which is part of the beauty of this craft. Think of it like setting up your art station, but for a tropical fruit adventure. We're going for simplicity and fun, so grab some construction paper in the colors of a ripe mango – that’s yellow and maybe a bit of orange. A brown paper for the stem, and some green for the leaf. It's like bringing a tiny piece of summer indoors.
Next up, you will need some tools to make it all happen. Get your hands on a good pair of scissors or a paper cutter, whatever you feel most comfortable with. If you're using scissors, make sure they're sharp enough to cut clean lines. We need glue, too. A regular glue stick works perfectly. And, of course, the star of the show: the free mango template. This template has handy reference lines to guide your zig-zag cuts. Think of it as the secret map to your paper mango. Now that you have everything, it's time to get crafting!
Why These Supplies?
You might be wondering why these specific supplies? Well, the construction paper is sturdy enough to hold its shape but still easy to fold and cut. The glue stick is mess-free and quick-drying, perfect for little hands and impatient crafters. The template? It makes sure your mango looks like a mango and not some abstract blob. Trust me, it's a game changer. Using these simple tools and materials ensures that the project is accessible to everyone, regardless of age or skill level. So, no need to stress about having the perfect stuff; just grab what you have and let's get started.
Having the right supplies isn't just about making the craft easier, it’s also about making it more fun. When you’re not struggling with dull scissors or runny glue, you can focus on the creative process. It’s like having the right ingredients for a recipe; it makes all the difference in the final result. And who doesn't love a craft that's easy and enjoyable from start to finish? With everything in place, you're ready to bring your paper mango to life. Let the fun begin!
Supply | Purpose | Why it's important |
|---|---|---|
Yellow/Orange Construction Paper | Main body of the mango | Provides the mango's color |
Brown Construction Paper | Stem of the mango | Adds detail and realism |
Green Construction Paper | Leaf of the mango | Completes the look |
Scissors or Paper Cutter | Cutting the paper | Ensures clean, accurate cuts |
Glue Stick | Adhering paper pieces | Provides a mess-free adhesive |
Free Mango Template | Guiding the zig-zag pattern | Ensures the mango shape is consistent |
StepbyStep Guide: Creating Your ZigZag Mango
StepbyStep Guide: Creating Your ZigZag Mango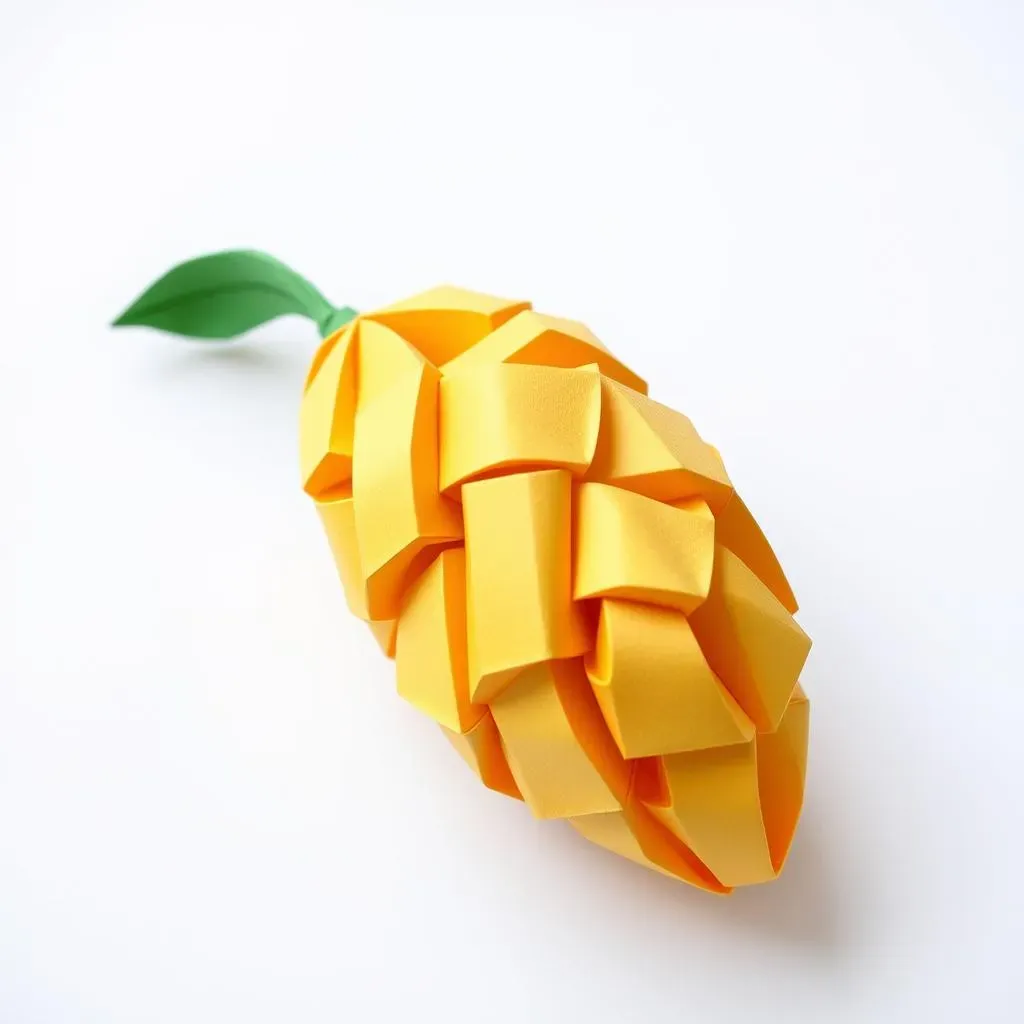
Okay, so you've got your supplies ready, now for the fun part! Let's get into the nitty-gritty of making that zig-zag mango. First, grab your mango template and that yellow or orange paper. If you have two mango templates on one page, like I did, cut the page in half so you're working with just one. This keeps things nice and manageable. Now, carefully cut out the mango shape along the solid lines. This is where your scissors or paper cutter skills come into play. Take your time to follow the lines precisely; accuracy now means a better-looking mango later. Once you've cut out the mango, you should see those handy horizontal reference lines on the template. These are your guides for making the zig-zag folds.
Next, it's time to start folding. Think of it like creating a mini accordion. Begin at one end, folding along the first reference line. Make a nice, crisp fold. Then, flip the paper over and fold along the next line, going in the opposite direction. Keep alternating the direction of your folds, following each reference line carefully. This creates the zig-zag pattern that gives our mango its unique look. Keep going until you've folded the entire mango. You should end up with a neatly folded, zig-zag shape. It's like magic, watching that flat piece of paper transform into a textured mango. Now, it's time to give it some dimension.
With your mango fully folded, it's time to secure those folds to create the final shape. Take your glue stick and apply a bit of glue along the edge of one side of the folded mango. Then, carefully bring the opposite edge of the mango to meet the glued edge. Press the glued edges together firmly, holding for a few seconds to allow the glue to adhere. This joins the two sides and creates the 3D effect of the mango. Be patient here, making sure the edges line up nicely. Once the glue is dry, you'll have a beautiful, stand-up zig-zag mango. It's starting to look like the real deal now! You've successfully completed the main structure of the mango. Now, let's add some details to make it even more mango-like.
Step | Action | Tip |
|---|---|---|
1 | Cut out the mango template | Follow the solid lines for accuracy. |
2 | Fold along reference lines | Alternate the direction of folds to create a zig-zag pattern. |
3 | Glue the edges together | Press firmly to secure the shape. |
Adding Details and Finishing Touches to your Paper Mango
Adding Details and Finishing Touches to your Paper Mango
Crafting the Mango's Crown
Now that you have your zig-zag mango shape, it's time to make it look even more realistic. Let’s start with the stem. Grab that brown paper and cut out a small, thin strip. This strip will be the little brown part at the top of the mango where it connects to the tree. It doesn't have to be perfect; a slightly curved strip will look great. Think of it as the mango's crown. Apply a bit of glue to one end of the brown strip and attach it to the top of your yellow mango. Press it gently to make sure it sticks. This simple addition adds a lot of character and makes the mango look more complete. It's like giving your mango a tiny hat!
While the stem is drying, let’s move to the leaf. Take your green paper and cut out a small leaf shape. It can be oval, pointy, or whatever leaf shape you like best. Remember, leaves come in all shapes and sizes in nature. Once you've cut out the leaf, it’s time to attach it to the base of the stem. Add a little glue to the bottom of the leaf and carefully press it onto the brown stem. You can position the leaf so it's sticking out a bit from the mango, which makes it look more natural. Now, your paper mango has both a stem and a leaf – it’s really coming to life!
Adding the Final Flourishes
With the stem and leaf in place, your mango is almost ready for its debut. But, if you're feeling extra creative, you can add some additional touches. You can use markers or crayons to draw some light lines on the mango. This could add more depth and texture, making it look even more like a real mango. You could even add a touch of orange to the yellow to give it that ripe mango gradient. It’s all about having fun and letting your imagination run wild. These small details can make a big difference and show off your personal style.
Remember, crafting is about expressing yourself, so don’t be afraid to experiment. If you want to make it a sparkly mango, go ahead and add some glitter. If you want to make it a striped mango, that's awesome too! The beauty of this project is that it allows for so much creativity. Once you are happy with all the details, give your paper mango a final look-over. Make sure everything is glued down properly and that you are happy with how it looks. You’ve now successfully transformed a few pieces of paper into a beautiful, handcrafted mango.
Detail | Material | How to add it |
|---|---|---|
Stem | Brown paper strip | Glue to the top of the mango |
Leaf | Green paper cutout | Glue to the base of the stem |
Additional details | Markers, crayons, glitter | Add to the mango's surface for creativity |
Tips for a Perfect Finish
Before you consider your mango complete, here are a few tips to ensure your paper mango looks its absolute best. First, make sure all the glue is fully dried before you handle your mango too much. This will prevent any accidental smudges or tears. Second, if you have access to cardstock paper, consider using it for your next mango. Cardstock is a bit thicker and sturdier than regular construction paper, which can make your mango a bit more durable. This is especially helpful if you plan to display your mango somewhere it might get knocked around.
Lastly, don't be afraid to make mistakes. Crafting is all about learning and having fun. If your first mango isn't perfect, that’s totally fine. Each one you make will be a little bit better than the last. Enjoy the process and celebrate your creativity. You’ve taken simple pieces of paper and transformed them into something beautiful and unique. And now, you have a fantastic paper mango ready to brighten your day. So, go ahead, show it off and enjoy your accomplishment!
Displaying and Enjoying Your Mango Paper Cutting Art
Displaying and Enjoying Your Mango Paper Cutting Art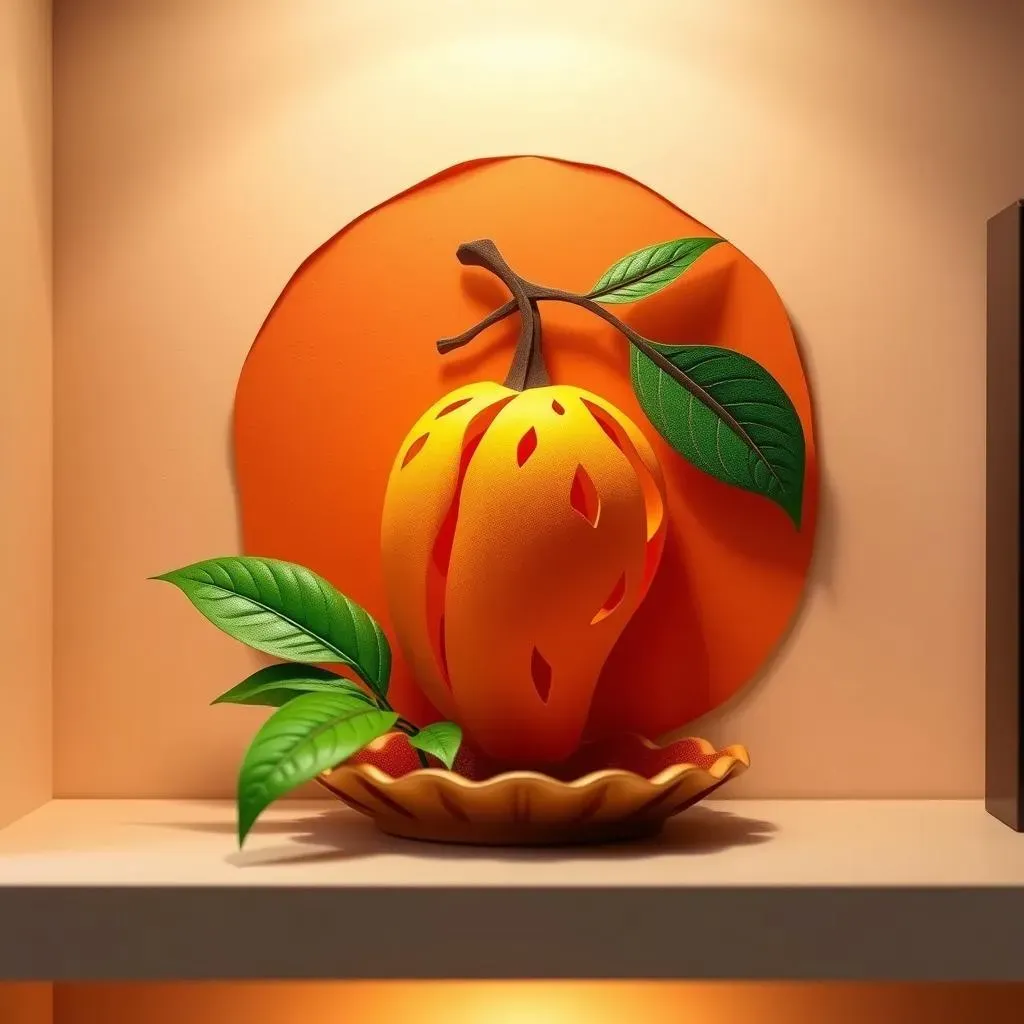
Showcasing Your Mango Creations
Alright, you've poured your heart into crafting these awesome paper mangoes, and now it’s time to show them off! Think of your finished mango as a little piece of art, and just like any art, it deserves to be displayed proudly. One of the easiest ways to show off your creation is to simply place it on a shelf, desk, or windowsill. These spots make great little stages for your mango to shine. You could also use them to brighten up your workspace, adding a touch of color and a reminder of your creative spirit. If you're feeling extra fancy, you can even set up a mini mango exhibition on a mantelpiece or a side table. It's like giving your mangoes their own little art gallery!
Another fun way to showcase your paper mango is to hang them up. Use a bit of string or thread to create a mobile or garland. This is a great way to add a playful touch to a kids' room or classroom. You can hang them from the ceiling, a window, or even a doorway. Imagine a whole bunch of these colorful mangoes swaying gently in the breeze – it's like bringing a bit of the tropics indoors. If you're planning a party or a gathering, these hanging mangoes can be great decorations, adding a festive and unique touch. And let's be honest, who wouldn't love seeing a bunch of these paper mangoes floating around?
Creative Ways to Use Your Paper Mangoes
Beyond just displaying them, there are tons of creative ways to use your paper mangoes. You can use them as props for storytelling or puppet shows. Imagine your paper mango characters going on grand adventures! They’re also great for educational activities, helping kids learn about different fruits and where they come from. If you have a scrapbook or journal, you can glue your paper mangoes to the pages, adding a touch of 3D flair. They make really cute additions to handmade cards or gift tags too, adding a touch of personal charm to your presents. Your paper mangoes can also be turned into magnets for your fridge by gluing a small magnet to the back.
Don't forget that these paper mangoes are fantastic for teaching. You can teach kids about the national fruit of India, or use them as visual aids for lessons about colors and shapes. They can also be used to develop fine motor skills and creativity. The possibilities are endless! Your paper mangoes are not just pretty decorations; they're also tools for learning, creating, and having fun. So, let your imagination be your guide and explore all the different ways you can use your handcrafted mangoes. And remember, the most important part is to enjoy the process and celebrate your creativity!
Display Method | Idea | Best For |
|---|---|---|
On a surface | Place on shelves, desks, or windowsills | Simple display, everyday enjoyment |
Hanging | Create mobiles or garlands | Playful decoration, kids' rooms, parties |
Creative use | Use as props, learning tools, or scrapbook additions | Interactive fun, educational activities |
Sharing the Mango Love
Lastly, don't forget to share the mango love! If you've had fun making these paper mangoes, why not share your creations with your friends and family? They make wonderful handmade gifts, and it's a great way to spread some joy and creativity. You can also host a paper mango-making party and teach others how to make their own. This is a fantastic activity for kids and adults alike, and it's a great way to bond with loved ones. Plus, it's really fun to see all the different mangoes people create, each one unique and special. You can even take pictures of your paper mangoes and share them on social media, inspiring others to try this fun craft. And who knows, your paper mangoes might just become the next big trend!
Remember, crafting is not just about the end product; it's also about the joy of creating, the fun of learning, and the connection with others. So, display your mangoes proudly, use them creatively, and most importantly, share them with the world. Let your paper mangoes remind you of your creativity and the simple pleasures of making things with your own hands. And now that you've learned how to make your own zig-zag paper mango, you can continue to explore other crafts and activities. Each new project is a chance to learn something new and express yourself in a different way. So, go ahead, keep crafting, keep creating, and keep enjoying the process!
Wrapping Up Your Mango Paper Cutting Adventure
So, there you have it! You've successfully navigated the world of mango paper cutting and created your very own zig-zag masterpiece. Hopefully, this craft has sparked some joy and maybe even a little bit of pride in your artistic skills. Remember, crafting isn't just about the final product, it's about the fun you have along the way. Feel free to experiment with different colors and sizes, and if you’re feeling extra creative, try turning your mango into a card or a fun decoration. Don’t forget to share your creations, and keep an eye out for more fun craft projects. Now, go on and enjoy your colorful, paper mango!