Table of Contents
Ever dreamt of creating your own stylish kurtis but felt intimidated by complex patterns? You're not alone! Many beginners find the world of garment making a bit daunting. That's where the magic of "kurti paper cutting" comes in. This method lets you create accurate patterns before you even touch the fabric, making the sewing process much smoother and less stressful. This article will demystify the process, taking you through the essential tools, step-by-step instructions, and some clever tips to get you started. We'll explore how to understand different pattern pieces, select the right tools, and follow a simple cutting process. Whether you're a complete novice or have some sewing experience, this guide will equip you with the knowledge and confidence to conquer your next kurti project. So, grab your scissors and let's get started with the exciting world of kurti paper cutting!
Understanding Kurti Paper Cutting Patterns
Understanding Kurti Paper Cutting Patterns
The Basics of Kurti Patterns
So, you're diving into the world of kurti paper cutting, awesome! Think of a kurti pattern like a roadmap for your sewing project. It's basically a set of paper pieces, each representing a different part of your kurti. You'll have pieces for the front, back, sleeves, and sometimes even extra bits like panels or collars. Each piece has markings, like lines and notches, that show you where to cut, sew, and join the fabric. It's like a puzzle, but way more fun because you get to wear the final result!
These patterns aren't just random shapes. They're carefully designed to fit different body types and sizes. You'll see sizes ranging from small to large, often using numbers like 32, 34, 36, and so on. Understanding these numbers is key. They usually relate to your bust measurement, so knowing your size will help you pick the right pattern. Trust me, choosing the right size is half the battle won! And, don't worry if the pattern looks like a bunch of scribbles at first. With a little practice, it will all start to make sense.
Decoding the Pattern Pieces
Okay, let’s talk about the different parts you'll usually find in a kurti paper cutting pattern. The front and back pieces are pretty self-explanatory. They make up the main body of the kurti. Sleeve patterns can vary a lot, from simple straight sleeves to more elaborate shapes. You'll notice that each pattern piece will have a grainline, which is a line with arrows on both ends. This line is super important because it tells you how to align the pattern on the fabric. If you ignore the grainline, your kurti might not hang right or could end up wonky.
Also, pay attention to the notches. These are small triangles or lines along the edges of the pattern pieces. They help you match up different sections correctly when you're sewing. For example, notches on the sleeve piece will match up with notches on the armhole of the front and back pieces. It’s like having little guides to make sure everything lines up perfectly. So, before you even start cutting, make sure you understand what each of these markings means. It will save you a lot of headaches later on.
Pattern Element | Description | Importance |
|---|---|---|
Front Piece | The main front panel of the kurti | Determines the shape and fit of the front |
Back Piece | The main back panel of the kurti | Determines the shape and fit of the back |
Sleeve Piece | The pattern for the sleeves | Determines the style and fit of the sleeves |
Grainline | A line with arrows on the pattern | Ensures the fabric is cut correctly |
Notches | Small markings on the edges | Helps match pieces during sewing |
Essential Tools for Kurti Paper Cutting
Essential Tools for Kurti Paper Cutting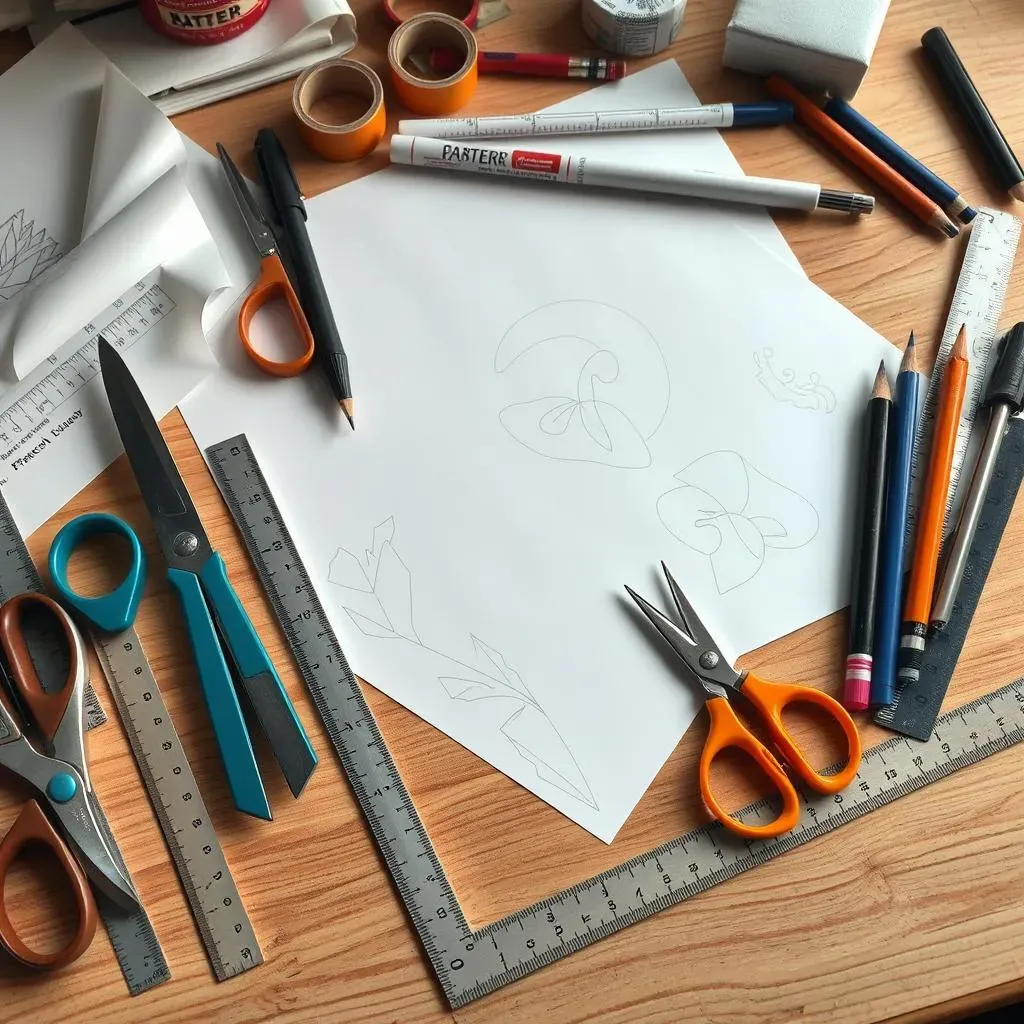
Gather Your Gear
Alright, let's talk about the goodies you'll need for successful kurti paper cutting. Think of this as your crafting arsenal! First up, you absolutely need a good pair of paper scissors. Don’t even think about using your fabric scissors – those are sacred and must be kept sharp for fabric only! You'll also want a ruler, preferably a long one, for drawing straight lines, and a flexible measuring tape for checking curves and sizes. A pencil is a must for marking your patterns, and it's helpful to have a few different colored pens or markers to distinguish between different lines and markings. Oh, and don’t forget some paper! I like using pattern paper, but even newsprint works in a pinch. Finally, a French curve ruler can be a total lifesaver when you are dealing with curves.
Having the right tools can make a world of difference. Imagine trying to cut a pattern with dull scissors – it's frustrating! And trying to measure with a flimsy ruler? Forget about it! So, investing in a few quality tools will save you time, stress, and a whole lot of frustration. It's like having the right ingredients for a cake; you can't expect a delicious result if you are using subpar elements. Plus, having your own set of tools just makes the whole process feel more official and exciting. You’re not just cutting paper; you’re crafting something awesome!
Tool | Purpose | Why You Need It |
|---|---|---|
Paper Scissors | Cutting paper patterns | Sharp, precise cuts, keeps fabric scissors safe |
Ruler | Drawing straight lines | Ensures accurate pattern shapes |
Measuring Tape | Measuring curves and sizes | Helps with precise pattern measurements |
Pencil/Markers | Marking pattern lines | Clear, visible markings on paper |
Pattern Paper | Creating the pattern | Durable and easy to work with |
French Curve Ruler | Drawing curved lines | Helps create smooth, accurate curves |
StepbyStep Guide to Kurti Paper Cutting
StepbyStep Guide to Kurti Paper Cutting
Prepare Your Pattern
Alright, let's get down to business! Before you even think about picking up your scissors, make sure you've got your pattern pieces ready. If you're using a pre-made pattern, carefully iron it to remove any creases. This makes it much easier to trace and cut accurately. If you are drafting your own pattern, use a pencil and a ruler to draw the basic shapes on your pattern paper. Remember to include all the necessary markings like grainlines, notches, and seam allowances. Double-check your measurements against your body to make sure everything is accurate. It's better to spend a little extra time at this stage than to end up with a kurti that doesn't fit right. Trust me, a little preparation goes a long way!
Once your pattern is all set, lay it out on a flat surface. I like to use a big table or even the floor, as long as it's clean. If you're using a pattern that has multiple sizes, make sure you are cutting out the correct size lines. Use your ruler to ensure that your lines are straight and your curves are smooth. It's like drawing a picture, but this time it's a blueprint for your clothing. If you are using a pattern that has different pieces, make sure you keep them all organized. I like to use clips or pins to keep the different pieces together. This will make it easier to assemble the pattern on the fabric later on. This is where all your hard work starts to pay off!
Cutting the Pattern Pieces
Okay, now the moment of truth – it's time to cut! Grab your paper scissors and carefully follow the lines you've drawn or the lines of the pre-made pattern. Remember, patience is key here, there's no need to rush. Take your time and make sure your cuts are smooth and precise. Don't try to cut through multiple layers of paper at once; it's better to cut one layer at a time to ensure accuracy. If you are cutting curved lines, use your French curve ruler to guide your scissors. As you cut, make sure you follow the notches and markings. These are important for aligning your pieces when you get to the sewing stage.
Once you've cut out all of your pattern pieces, double-check them against your measurements one last time. It's better to catch any mistakes now than to discover them when you're cutting the fabric. If you need to make any adjustments, now is the time to do it. Remember, a well-cut pattern is the foundation of a well-made kurti, so take the necessary time. Now, you're ready for the next step, which is laying out your pattern on the fabric. But first, let’s take a quick look at a checklist to make sure you're on the right track.
Step | Action | Tip |
|---|---|---|
1 | Prepare the pattern | Iron or redraw to remove creases |
2 | Double-check measurements | Ensure accuracy against your body |
3 | Cut carefully | Follow lines precisely with paper scissors |
4 | Use French Curve | Use to achieve smooth curved lines |
5 | Double-check again | Verify all pieces against measurements |
Tips and Tricks for Perfect Kurti Paper Cutting
Tips and Tricks for Perfect Kurti Paper Cutting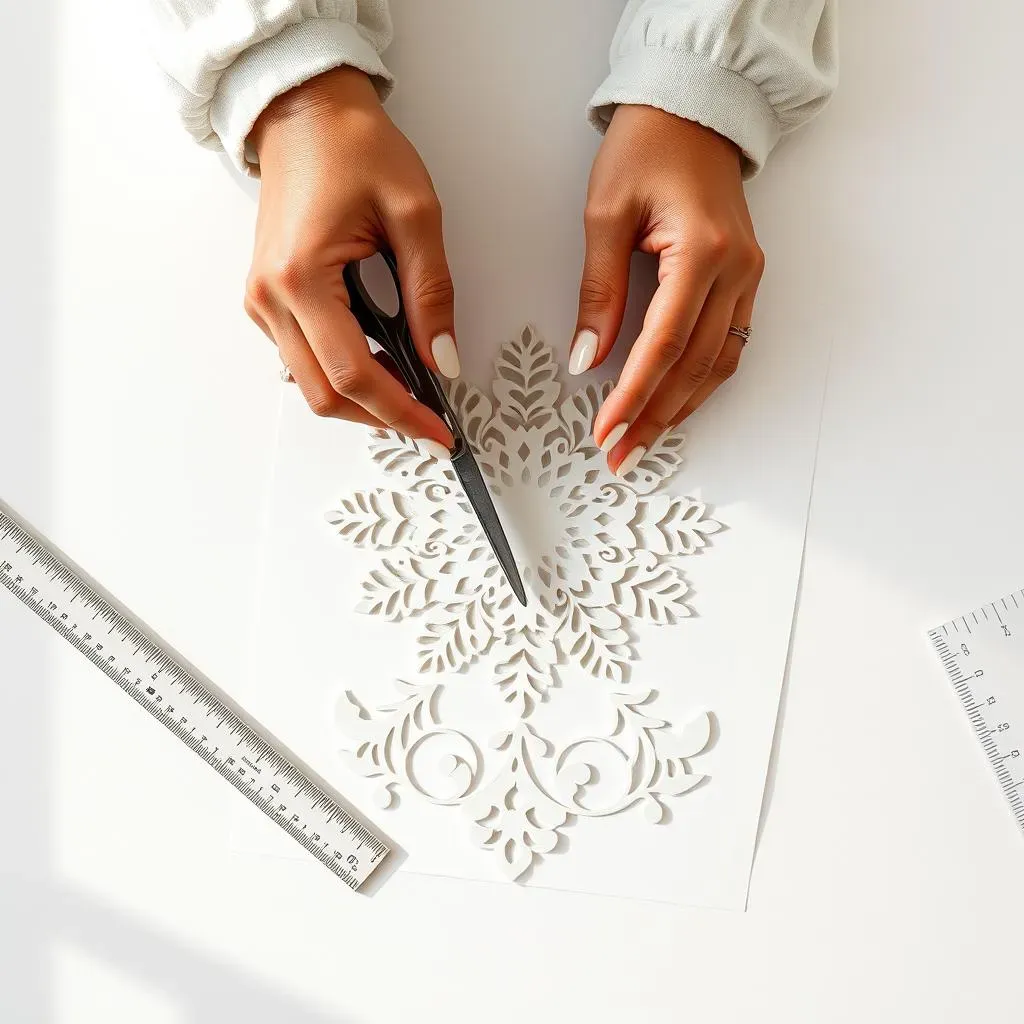
Mastering the Art of Precision
Okay, let's talk about some insider secrets to really nail your kurti paper cutting. First off, always, and I mean always, double-check your measurements before cutting. It's like the golden rule of sewing – measure twice, cut once! If you're using a pre-made pattern, don't be afraid to make adjustments. Sometimes, those patterns aren't a perfect fit for everyone, and that’s totally okay. You can tweak the pattern to better match your body shape. And here's a pro tip: use pattern weights instead of pins to hold your pattern in place. Pattern weights are those little metal or heavy things that keep the pattern from shifting around while you cut. This will prevent your paper from getting wrinkly and ensure a cleaner, more accurate cut. It's one of those simple things that makes a huge difference.
Another thing to keep in mind is the grainline. I know we talked about it before, but it's so important that it deserves a second mention. Always align your pattern pieces on the fabric according to the grainline. If you ignore it, your kurti might twist or hang unevenly. Think of the grainline as the backbone of your garment – it needs to be strong and straight. And, when you're cutting, try to cut just inside the lines. This way, you are cutting off the line and not adding to the lines. This ensures that your finished garment will be the exact size you intended. Finally, don't throw away your pattern pieces after you've used them! Store them in a safe place for future projects. You never know when you might want to make another kurti, and it’s so much easier if you already have the patterns ready to go.
Tip | Description | Why It Helps |
|---|---|---|
Double-Check Measurements | Verify measurements before cutting | Ensures accurate fit |
Adjust Patterns | Customize patterns to your body | Improves garment fit |
Use Pattern Weights | Hold pattern in place with weights | Prevents shifting and wrinkles |
Follow the Grainline | Align pattern to fabric grain | Ensures garment hangs correctly |
Cut Inside the Lines | Cut just inside the marked line | Achieves accurate size |
Store Patterns | Keep patterns for future use | Saves time in future projects |
Wrapping Up Your Kurti Paper Cutting Journey
So, there you have it! You've now explored the world of kurti paper cutting, from understanding patterns to mastering the cutting process. Remember, like any skill, practice makes perfect. Don't be discouraged if your first few attempts aren't flawless. The key is to keep experimenting, learning from your mistakes, and most importantly, enjoying the creative process. With a bit of patience and these techniques under your belt, you'll be crafting your own unique and beautiful kurtis in no time. Now go forth, create, and show off your amazing style!