Table of Contents
Ever wanted to see your own creation soar through the sky? Well, get ready to make that happen! This article isn't about complex engineering or fancy gadgets; it's about the simple joy of kite paper cutting. We're going to dive into how you can craft your very own paper kite using just a few basic supplies you probably already have around the house. Forget those store-bought kites that always seem to break; we’re making something that’s uniquely yours. From gathering your materials to the final moment of watching your kite dance in the wind, I'll guide you through each step. I will cover the materials you'll need, how to assemble the kite, and some tips for a successful flight. It’s a super fun project that anyone can do, and it's a great way to spend an afternoon. So, let's grab some paper, scissors, and string, and get ready to make something amazing!
Getting Started with Kite Paper Cutting: Materials and Prep
Getting Started with Kite Paper Cutting: Materials and Prep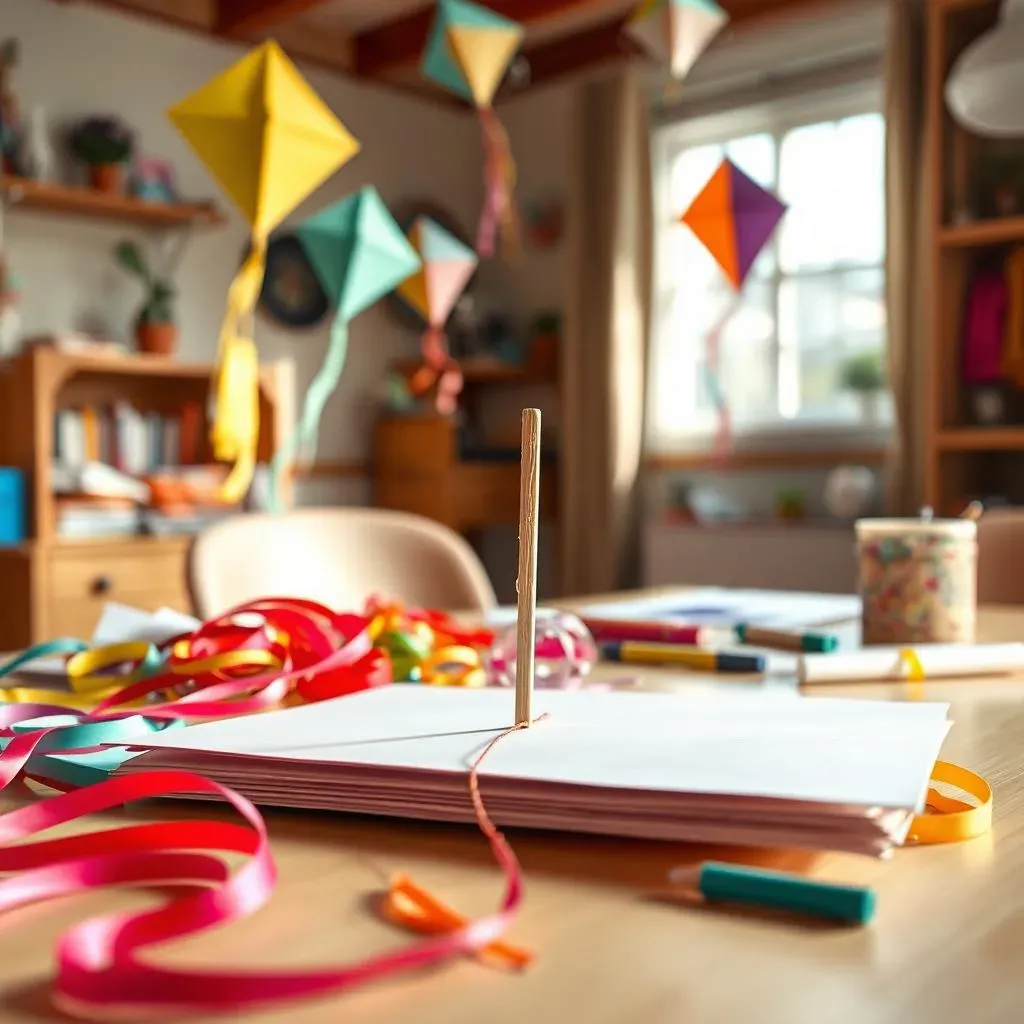
Gathering Your Kite-Making Arsenal
Alright, so you're pumped to make a kite, that's awesome! Before we get into the folding and cutting, let’s make sure we have everything we need. It's like gathering your tools before a big LEGO build, you know? For this paper kite adventure, we're keeping it simple. First, you'll need some paper. I like using card stock because it’s a bit stronger than regular printer paper, but honestly, anything will do. If you want to get artsy, grab some colored paper or let your imagination run wild with markers or crayons. It's your kite, make it awesome!
Next up, you'll need a stick. A wooden skewer works perfectly, but if you don't have one, a thin, straight twig from the yard will do the trick. Think of it as the spine of your kite, it needs to be straight. You will need some tape to hold things together. Clear tape is fine, but colorful tape adds a bit more flair. Last but not least, you'll need some string for the kite line, and a ribbon or strip of fabric for the tail. Don't worry if you don't have ribbon. A plastic bag cut into strips or even some strips of paper will do the trick. Okay, now you're armed and ready to rock!
Material | Why You Need It |
|---|---|
Paper (8.5" x 11") | The body of your kite. Card stock is best for durability. |
Wooden Skewer or Thin Stick | The spine of your kite, providing structure. |
Tape | To hold the kite together and attach the spine. |
String | The kite line for flying your creation. |
Ribbon or Fabric Strips | The tail for stability in flight. |
Prepping Your Workspace for Paper Kite Cutting
Okay, now that we have all our stuff, let’s talk about where we’re going to make this kite. You'll want a clear flat surface. A table or even the floor works great. Make sure there’s enough room to spread out your paper and move your scissors around. It's like setting up your lab for a science experiment, everything in its place. Also, make sure to have good light, you don’t want to accidentally cut your finger instead of the paper. So, give your space a quick clean and let's prepare to create some magic!
Before you start cutting, take a moment to think about the design of your kite. Do you want a classic diamond shape, or something more unique? You can draw some lines on the paper to help you with your cutting. If you're using plain white paper, now’s the time to color it up. Let your imagination go wild with whatever colors and designs you like. I love to draw some funny faces on my kites, but you do you. Once you’re happy with the look of your paper, you're ready to move on to the next step, the actual cutting part. Get ready to get your hands dirty!
"The best way to predict the future is to create it." - Peter Drucker
StepbyStep Guide to Making Your Paper Kite
StepbyStep Guide to Making Your Paper Kite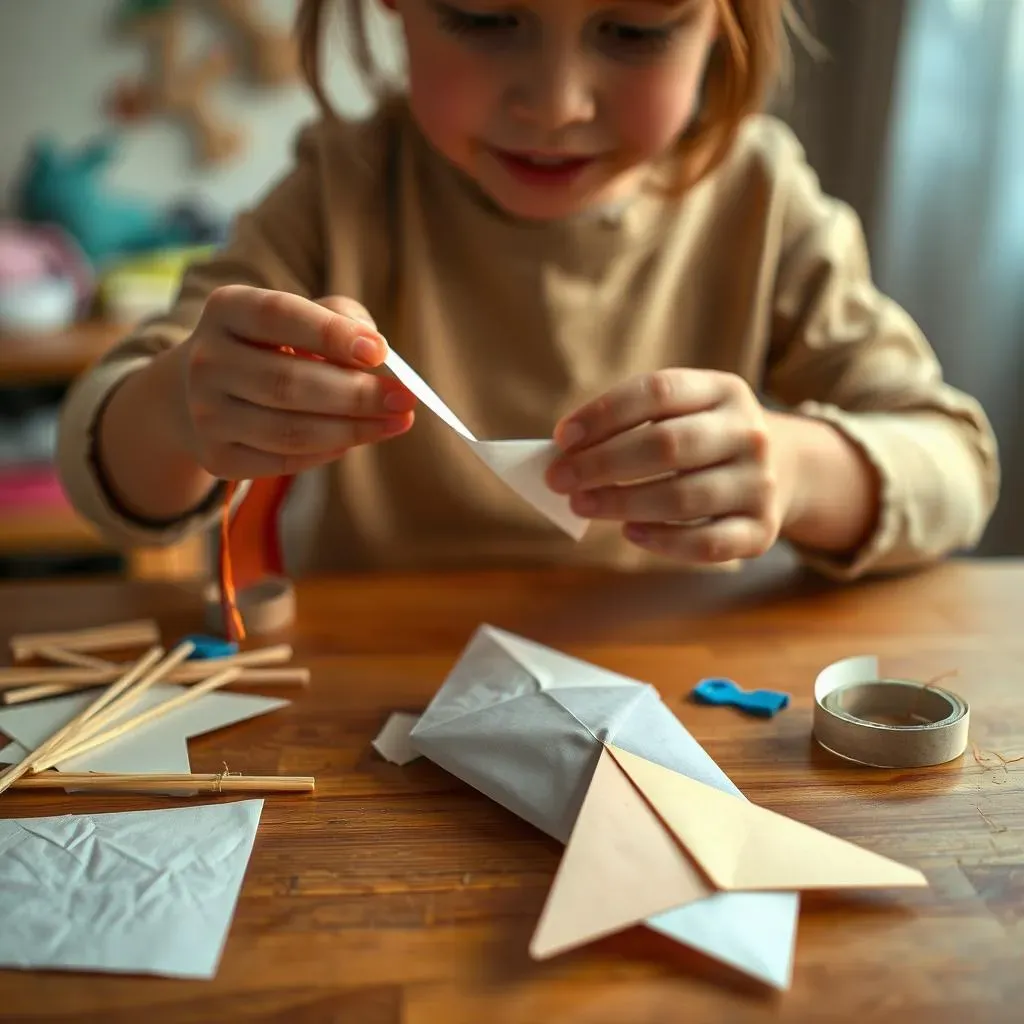
Crafting the Kite's Foundation
Alright, let’s get to the fun part, making the actual kite shape. First, take your 8.5" x 11" piece of paper and fold it in half lengthwise, like making a hotdog. This fold will act as the center line of your kite, so make sure it's nice and crisp. Now, unfold the paper and lay it flat again. Next, you will need to fold the top two corners down, making sure they meet at the center line you just created. Think of it like you're making a paper airplane, but instead of making the wings, you're creating the top edge of the kite. Make sure these folds are nice and neat as well. This is the basic shape of your kite. Now, isn’t that cool? You're starting to see a kite taking shape, right?
Once you have your basic shape, it’s time to secure the middle seam. Grab your tape and run a strip of tape down the center fold, joining the two sides together. This will help the kite keep its shape. Now, take your wooden skewer or stick and place it along the center line on the back of the kite. Make sure the skewer is straight and aligned with the center of the kite. Use more tape to secure the skewer to the paper, creating the kite's spine. This spine is what will give the kite its structure and make it fly so make sure it's well attached. It's like adding bones to a skeleton, now your kite is ready for lift-off!
Step | Action |
|---|---|
1 | Fold paper in half lengthwise. |
2 | Unfold and flatten the paper. |
3 | Fold top corners to meet at the center line. |
4 | Tape the middle seam. |
5 | Attach the skewer to the back of the kite with tape. |
Adding the Finishing Touches
Now that you have your kite’s basic shape and spine, it’s time to add the string and tail. Carefully poke a small hole near the top of the kite, where the skewer is attached. This is where you'll tie the string. Make sure the hole isn't too big, or the string will rip the paper. Take your kite string and thread it through the hole, then tie a good knot to secure it. You want to make sure it won’t come undone while flying. The string is what will connect your kite to you, so it is very important. Give the string a gentle tug to make sure it is securely attached.
Finally, it's time to add the tail. Take your ribbon or strip of fabric and tape it to the bottom of the kite. The tail is essential for the kite’s stability and helps it fly. A longer tail will provide more stability, so you can experiment with different lengths. You can use a single strip or even multiple strips of ribbon for a more fun look. Now that you have your string and tail attached, your paper kite is ready to fly! You've taken a flat piece of paper and turned it into something amazing that will fly with the wind. High five!
"The winds of grace are always blowing, but you have to raise the sail." - Ramakrishna
Flying High: Tips for Launching and Enjoying Your Kite
Flying High: Tips for Launching and Enjoying Your Kite
Finding the Perfect Spot to Fly
Okay, you've got your awesome kite, now where do you go to actually fly it? It's not like you can just step outside and expect to become a kite master. You need a good open space, away from trees and buildings. Think of a park, a beach, or even a big field. You want a spot that is free from any obstacles that could get in the way of your kite. Also, you need some wind. Not too much that it will rip your kite to shreds, but enough to get it off the ground. If you're not sure if there's enough wind, hold a piece of paper up and see if it flutters. If it does, you're good to go. Now you're ready to take to the skies!
Once you've found a good spot, make sure you're facing away from the wind. This will help the kite catch the wind and take off. Hold the kite in one hand and the string in the other. Now, here's the fun part, let's get that kite in the air! Start by letting out some string, and then gently toss the kite up into the wind. Don't throw it super hard, just give it a little nudge. As the wind catches the kite, it should start to rise. If it doesn't, try letting out a little more string or moving around a bit to find a better wind direction. It's all about playing around and finding the sweet spot. It might take a few tries, but don't give up! Once your kite is up, you can start to feel the pull of the wind. It's an amazing feeling, isn't it?
Tip | Why it Matters |
|---|---|
Open Space | Avoids tangles with trees and buildings. |
Steady Wind | Provides lift for your kite. |
Face Away From Wind | Helps the kite catch the breeze. |
Gentle Toss | Starts the kite's flight smoothly. |
Adjust String | Finds the perfect balance for flight. |
Keeping Your Kite Soaring
So, your kite is up in the air, that's fantastic! But what do you do now? Well, it's not just about watching it float. You'll want to keep an eye on how your kite is flying. If it starts to dip or wobble, you might need to adjust the string. Try letting out some string if the kite is struggling to stay up, or reeling it in if it's getting too high. It's all about finding that perfect balance between the wind and the string. Also, remember the tail? It's there to keep your kite steady. If you find your kite is still wobbling a lot, you might need to adjust the length of the tail. A longer tail usually provides more stability, but you might need to experiment a bit to find what works best. It's like fine-tuning a musical instrument, it takes a bit of practice to get it just right.
"The sky is the limit." - Unknown
Troubleshooting and Having Fun
Sometimes, things don’t go as planned, and that's okay. If your kite keeps crashing, don't get discouraged. It could be that the wind isn't cooperating, or that the kite's spine isn't straight, or maybe the tail is too short. Go back and check all the parts to make sure they're secure and aligned. If the wind is too strong, it might be best to try again another day. Kite flying is supposed to be fun, so don't stress too much about it. The most important thing is to enjoy the process. Experiment with different designs, different tail lengths, and different flying techniques. You can even get your friends to make their own kites and have a kite flying competition. It’s all about having a good time and creating memories. So go out there, let your kite fly, and enjoy the simple pleasure of watching your creation dance in the wind!
Ready to Fly: Your Kite Paper Cutting Adventure
And there you have it, your very own paper kite, ready to take to the skies! We’ve covered everything from gathering your simple materials to the final, exciting moment of launch. Remember, kite paper cutting isn't just about the end result; it's also about the fun you have during the process. So, don't worry if your first few attempts don't go perfectly, keep practicing and experimenting. Now that you've got the hang of it, why not try making kites with different paper, or add some decorations to make each one unique? The sky's the limit, both literally and figuratively. Go on, get out there and enjoy the thrill of seeing something you made fly!