Table of Contents
Ever admired those perfectly fitted katori blouses and wondered how they're made? Well, you're in the right place! This article is your friendly guide to mastering the art of "katori blouse paper cutting marathi". Forget those confusing patterns; we're breaking it down step-by-step, just like you're learning from a friend who knows their way around a sewing machine. We'll start with the basics, making sure you understand the fundamental principles before moving on to the practical side. You'll get a detailed, easy-to-follow process for creating your own katori blouse paper cutting pattern. We'll also share some insider tips and tricks to ensure your blouses fit like a dream, every single time. If you're ready to ditch the store-bought patterns and create something uniquely yours, keep reading. We're about to make "katori blouse paper cutting marathi" not just achievable, but actually fun!
Understanding the Basics of Katori Blouse Paper Cutting
Understanding the Basics of Katori Blouse Paper Cutting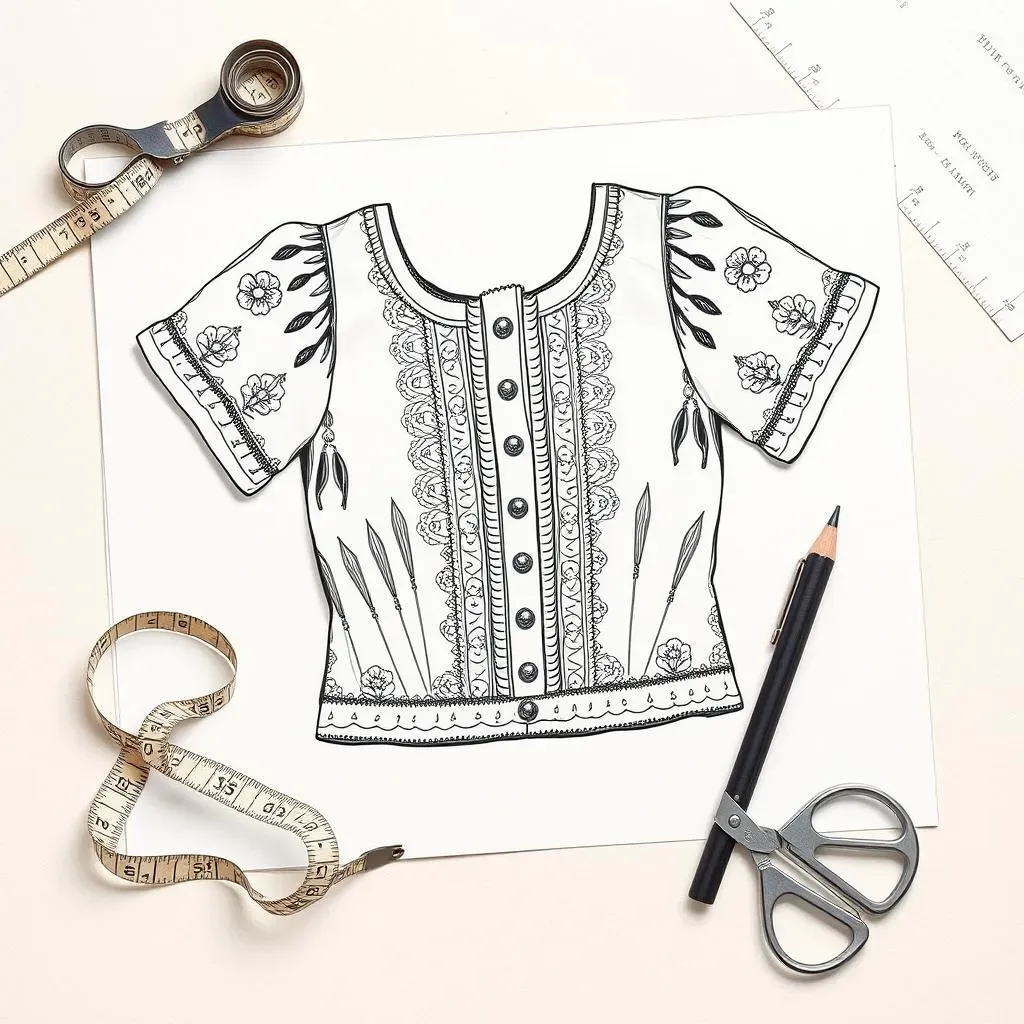
What's the Katori All About?
Okay, so you've probably seen a katori blouse, right? It's that blouse with the distinct rounded cup shape in the front. That's the "katori," which literally means "bowl" in Marathi, and that's what we're learning to create today. The katori isn't just a design element, it's key to getting a blouse that fits well, especially for those of us with a bit more curve. It's like the secret ingredient in a recipe for a perfect fit. The magic is in the way it shapes the bust area, providing support and a flattering silhouette. So before we grab our scissors and paper, let's get familiar with this essential component.
Think of it like this: you're not just cutting a flat piece of fabric; you're sculpting a three-dimensional shape. The katori is the main piece that does this work. Understanding this will make the paper cutting process much smoother.
Essential Measurements for Success
Before you even think about cutting, you've got to get your measurements right. It's like building a house; if the foundation is off, the whole thing is going to be wonky. You'll need your bust size, your waist size, the length of your blouse, and the all-important "katori" measurement (which we'll get to later). Don't just guess! Grab a measuring tape and get accurate numbers. It's worth the time, trust me. I once tried to guess and ended up with a blouse that looked like it belonged to someone else entirely!
Accuracy is key here. It's better to measure twice and cut once. Use a flexible measuring tape and make sure it's snug but not too tight. Record your measurements carefully; they are your blueprint for the perfect fitting blouse.
Measurement | How to Measure | Why it's important |
|---|---|---|
Bust Size | Around the fullest part of the bust | Determines the overall fit in the chest area |
Waist Size | Around the natural waistline | Ensures the blouse fits comfortably at the waist |
Blouse Length | From the shoulder to the desired hemline | Dictates the overall length of the blouse |
Katori Measurement | Specific measurement, will be explained later | Defines the shape and size of the katori piece |
Tools of the Trade
Now, let's talk tools! You don't need a fancy setup to do katori blouse paper cutting. You'll need some pattern paper (or even newspaper will do in a pinch), a pencil, a ruler, a measuring tape, and a pair of scissors. It's all very basic, but having the right tools makes the job so much easier. Think of it like a chef needing their knives and cutting board. If you have a good set, you are already halfway there. Also, I always have an eraser handy since I make mistakes all the time. It's just part of the process, don't worry about that.
A good pair of sharp scissors is a must for clean cuts. A pencil with a good point will help you draw precise lines. And a clear ruler will ensure you get accurate measurements and straight lines. Don't underestimate the importance of these basic items; they are your partners in this creative process.
StepbyStep Guide to Katori Blouse Paper Cutting in Marathi
StepbyStep Guide to Katori Blouse Paper Cutting in Marathi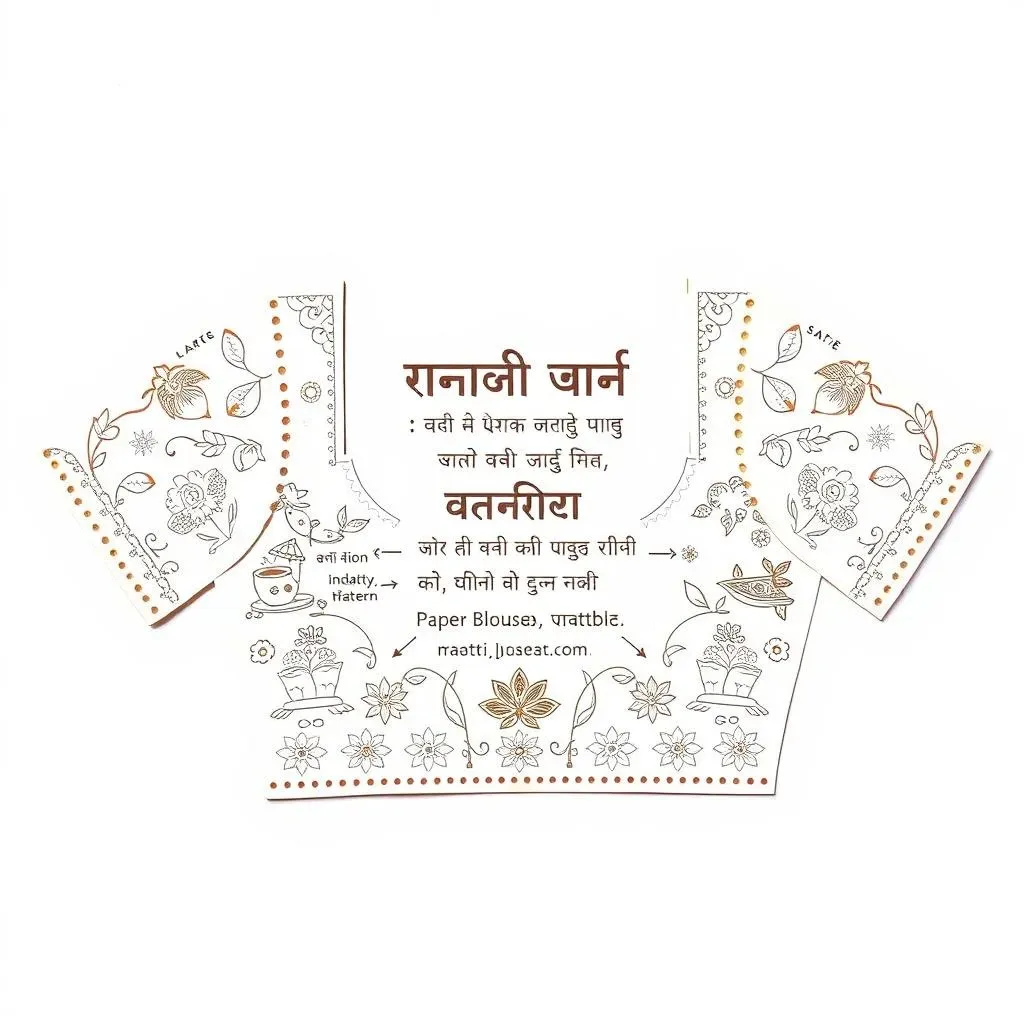
Drafting the Basic Bodice
Alright, let's get to the fun part: drawing the actual pattern. First, we're going to create a basic bodice block. Think of this as the foundation of your blouse. On your pattern paper, draw a rectangle. The width should be half of your bust measurement, plus a little extra for ease. The length should be your desired blouse length. It's like drawing a simple box, but this box is going to turn into something amazing! Then, add the shoulder line, neckline, and armhole, using your measurements as a guide. Don't worry if it looks a bit rough at this stage; we'll refine it later. Remember, this is just a starting point.
Use your ruler to get straight lines, and don't be afraid to use your eraser if things aren't quite perfect. This step is all about creating the basic shape that will support the katori. Think of it like sketching out a rough draft before starting the final drawing. And yes, it's okay to feel a little unsure at first, we've all been there!
Creating the Katori Shape
Now, for the star of the show: the katori! This is where your special katori measurement comes in. You'll need to mark a point on your bodice that will be the base of the katori. Then, using your measurement, draw a curved line that will create the bowl shape. This is the trickiest part, but don't panic! There are different ways to do this and I encourage you to experiment. This is where the magic of the katori happens. The curve might seem daunting at first, but with a bit of practice, you will get the hang of it.
Think of it like drawing a half-circle, but with a slight curve on top. The key is to make it smooth and flowing, not angular. I always find it useful to draw it lightly first, then refine the shape. Don't get discouraged if it takes a few tries; even the pros don't get it right every time. It's all about practice and patience.
Step | Action | Notes |
|---|---|---|
1 | Draw a basic bodice block | Use your bust and blouse length measurements |
2 | Mark the katori base | A specific point on the bodice |
3 | Draw the katori curve | Use your katori measurement, make it smooth |
4 | Refine the shape | Make sure it flows naturally |
Cutting and Adjusting the Pattern
Okay, you've drawn your pattern, now it's time to cut it out. Carefully cut along your drawn lines, separating the katori piece from the rest of the bodice. Remember, this is a paper pattern, so we can always make changes. Once you have your cut pieces, try them on your body, holding them up to see how they fit. This is where you can make adjustments. Is the katori too big? Too small? The beauty of paper patterns is that you can tweak them until you get the perfect fit. Don't be afraid to make changes, this is part of the process.
It's like tailoring a garment, but on paper. Use your pencil to make any changes, and then cut again. This iterative process helps you get the best result. Some people prefer to make a muslin mockup first, before cutting into their actual fabric. This allows for even more detailed adjustments. However, you can do it this way as well. Remember, patience is key here. The goal is to have a pattern that fits you perfectly.
Tips and Tricks for Perfect Katori Blouse Paper Cutting
Tips and Tricks for Perfect Katori Blouse Paper Cutting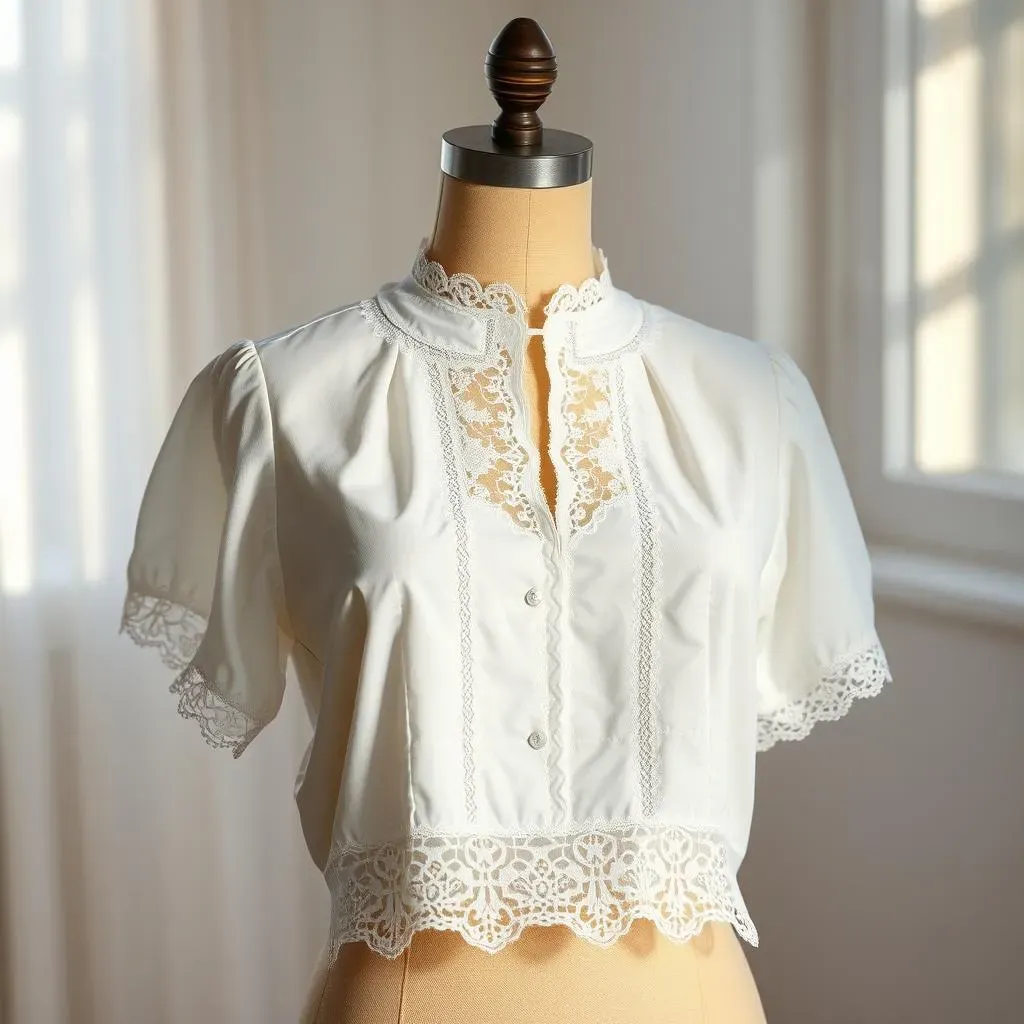
Understanding Fabric Choices
Okay, so you've got your paper pattern ready, but before you rush to cut your precious fabric, let's talk about fabric choices. Not all fabrics are created equal, especially when it comes to katori blouses. Stiffer fabrics like cotton or linen will hold the katori's shape well, giving you a structured look. On the other hand, softer fabrics like silk or rayon will drape beautifully but might need a bit more support. This is where understanding your fabric and the kind of finish you want is important. I learned this the hard way, making a katori blouse with a super flimsy fabric, and it just didn't look right. Now, I always test my fabrics before cutting.
Think of it like choosing the right paint for a canvas. The type of fabric will affect how your katori blouse looks and feels. Also, consider the occasion for which you're making the blouse. A cotton blouse might be perfect for a casual day out, while a silk one might be more suited to a party. So, take your time to choose the right fabric, and you will thank yourself later.
The Importance of Seam Allowances
Seam allowances are your best friends! They are the extra bit of fabric you leave beyond the cutting line, which you will use to stitch the blouse pieces together. Most patterns come with a standard seam allowance, but it's always good to double-check. I usually use a 1/2 inch seam allowance for most parts of the blouse. However, for the katori, I like to give myself a little extra, just in case I need to make adjustments. It's like having a safety net; you might not need it, but it's good to have it. Imagine if you cut too close to the edge and the fabric frays; having that little bit of extra fabric can be a life saver.
Consistency is also very important. Make sure you use the same seam allowance for all the pieces of the blouse. This will make sure all the pieces fit together correctly. It's like making sure all the puzzle pieces are the same size. A little inconsistency can throw everything off. Also, remember to mark your seam allowance on the paper pattern, so you don't forget it when you're cutting the fabric.
- Always double-check seam allowances.
- Use a consistent seam allowance for all pieces.
- Mark seam allowances on the pattern.
Tips for a Perfect Fit
Alright, let's talk about the fit. This is where a lot of people struggle, but here are a few tips that have helped me. First, try on your paper pattern before you cut your fabric. Yes, you read that right! Hold the paper pieces up to your body and see if they match your shape. This might sound silly, but it can save you a lot of time and frustration. Second, don't be afraid to make adjustments. If the katori is too big, take it in a little. If it's too small, let it out. Paper is cheap, fabric is not. Finally, always remember to do a muslin mockup first, especially if you're trying a new style or fabric. A muslin mockup is like a practice run before the real show, and it can help you avoid costly mistakes.
Also, understand that every body is different. What works for one person might not work for another. So, don't be afraid to experiment and customize the fit to your needs. Think of it like cooking; you might need to adjust the recipe a bit based on your personal preferences. The goal is to create a blouse that not only looks good but also feels good. This is your masterpiece, so make it perfect for you.
Dealing with Complex Curves
Those curves in the katori can be tricky, I know. But here is a trick. Use a flexible ruler to draw the katori curve. This helps you draw smooth lines, instead of jagged ones. Also, cut the fabric slowly and carefully when cutting curves. This prevents you from making mistakes and allows you to follow the curve more precisely. It's like driving a car on a curvy road; you need to go slow and steady. Also, when sewing those curves, use a lot of pins to hold the fabric in place. This prevents the fabric from shifting as you sew and helps you to get a clean and smooth seam. It's like making sure your puzzle pieces are aligned before putting them together.
Remember that practice makes perfect. The more you practice drawing and cutting curves, the better you will become at it. This is a skill that improves with time and experience. Also, don't be afraid to seek help from others. There are a lot of online resources and tutorials that can give you guidance. Also, find a local sewing group, and join that. It's always good to learn from others, and to share your experiences.
Tip | Description |
|---|---|
Use a flexible ruler | Helps draw smooth curves |
Cut slowly and carefully | Prevents errors on curves |
Use pins when sewing | Keeps fabric in place when stitching curves |
Practice regularly | Improves skill over time |
Wrapping Up Your Katori Blouse Paper Cutting Journey
So, there you have it! You've taken a big step into the world of katori blouse paper cutting marathi. Remember, like any new skill, practice makes perfect. Don't worry if your first attempt isn't flawless; that's part of the learning process. The key is to understand the fundamentals, follow the steps carefully, and most importantly, have fun with it. With each blouse you create, you’ll gain more confidence and skill. You're not just making clothes; you're creating pieces that reflect your personal style and fit you perfectly. So go ahead, grab your paper, scissors, and get cutting! You've got this!