Table of Contents
Ever wanted to create intricate and beautiful artwork, but thought it was too difficult? Think again! This comprehensive guide will teach you exactly how to make paper cutting, unlocking a world of creative possibilities. Whether you're a complete beginner or looking to refine your skills, we'll cover everything from gathering the essential tools and materials to mastering advanced techniques. We'll walk you through a step-by-step process, making paper cutting accessible and enjoyable for everyone. Get ready to transform simple paper into stunning works of art! From simple shapes to complex designs, you’ll discover how to bring your ideas to life. We’ll explore different types of paper, the best tools to use, and how to overcome common challenges. We'll even share some handy tips and tricks to help you create truly professional-looking paper cuts. So, grab your scissors, sharpen your blades, and let's dive into the fascinating world of paper cutting. Prepare to be amazed by what you can achieve!
Essential Tools and Materials for Paper Cutting
Essential Tools and Materials for Paper Cutting
The Cutting Tool: Your Precision Weapon
First things first: you need a sharp blade! A craft knife, X-ACTO knife, or even really sharp scissors will do the trick. Don't skimp here; a dull blade makes for frustrating, uneven cuts. Trust me, a good blade is your best friend in the world of paper cutting. Think of it as your trusty sword, ready to conquer any design. For more information on choosing the right blade, check out our guide on paper cutter blades.
Consider getting a few extra blades. They get dull quickly, especially if you're working on thicker paper. Having spares prevents mid-project panic. It’s like having backup weapons in a battle – always be prepared!
Tool | Description | Importance |
|---|---|---|
Craft Knife | Sharp blade for precise cuts | Essential for detail work |
X-ACTO Knife | Similar to craft knife, often preferred for intricate designs | Excellent control and precision |
Sharp Scissors | Suitable for simpler cuts and larger areas | Good for beginners or quick projects |
Paper Power: Choosing the Right Medium
Next up, the paper itself! The thickness and type of paper significantly impact your cutting experience. Too thin, and it'll tear. Too thick, and it'll be tough to cut cleanly. Experiment to find what you like best. Cardstock is a popular choice for its sturdiness and ability to hold intricate details. But you can use everything from thin printer paper to heavier watercolor paper, depending on your design and desired effect. Learn more about selecting the perfect paper in our comprehensive guide: Choosing the Right Paper.
Think about the final look you want. A delicate design might work better on thinner paper, while bold designs might need something more substantial. It’s all about finding the perfect match!
- Cardstock: Sturdy, holds detail well.
- Printer Paper: Thin, easy to cut, but tears easily.
- Watercolor Paper: Thicker, good for larger pieces.
Protecting Your Workspace: The Cutting Mat
Finally, protect your table (and your fingers!) with a self-healing cutting mat. These mats are designed to withstand repeated blade punctures, preventing damage to your work surface. They also provide a stable, non-slip base for your paper. It’s like wearing armor – essential for your safety and the longevity of your workspace. For a more in-depth look at safety, see our guide on paper cutter safety.
Don't underestimate the importance of a good cutting mat! It makes a huge difference in the precision and overall ease of your cutting experience. Think of it as a shield protecting both your work and yourself!
StepbyStep Guide to Creating Stunning Paper Cut Designs
StepbyStep Guide to Creating Stunning Paper Cut Designs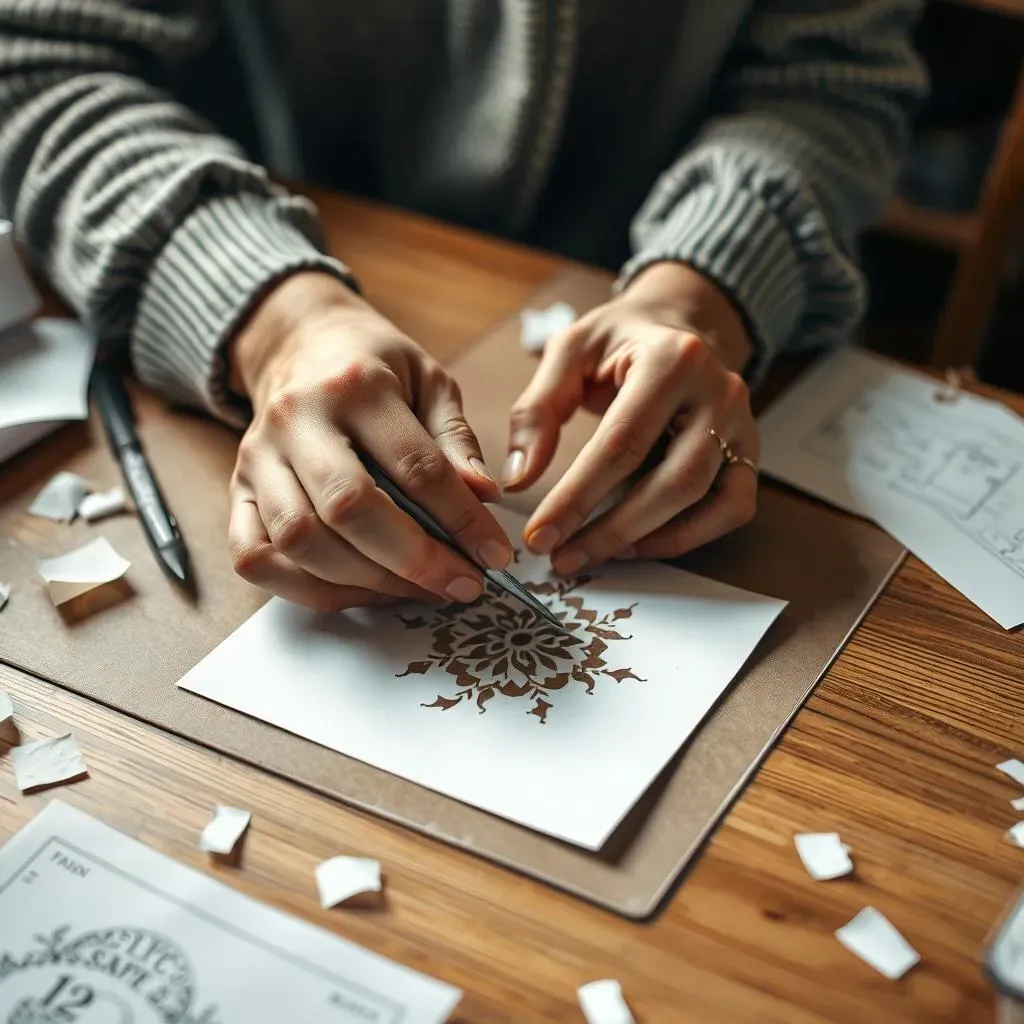
Preparing Your Design
First, you need a design! You can find free templates online or create your own. Keep it simple for your first few attempts. Think of a design that has bold lines and not too many tiny details. Once you've got your masterpiece chosen, print it out. If you're feeling creative, try sketching your own design! For some inspiration, check out our gallery of intricate paper cutting designs.
Next, carefully tape your printed design to your chosen paper. Make sure it's securely fastened to avoid any unwanted movement while cutting. This step is crucial for accuracy and prevents your design from shifting mid-cut. A little preparation goes a long way!
- Choose a simple design to start.
- Print or sketch your design.
- Securely tape the design to your paper.
Cutting Your Design
Now for the fun part – the cutting! Start with the outermost shapes, working your way inwards. Take your time and be patient. Remember, a steady hand is key. If you’re using a craft knife, use short, controlled cuts to maintain precision. Don't rush; accuracy is more important than speed. For more advanced techniques, check out our guide on mastering paper cutting techniques.
As you cut, carefully remove the pieces you've already cut out. This will prevent them from interfering with your progress and help you see your work more clearly. It’s like clearing the battlefield to improve your view of the next stage. Remember to use your cutting mat to protect your work surface and your fingers!
Step | Action | Tip |
|---|---|---|
1 | Cut outermost shapes first. | Use short, controlled cuts. |
2 | Remove cut pieces as you go. | Keep your workspace clear. |
3 | Be patient and take your time. | Accuracy over speed! |
Tips, Tricks, and Troubleshooting for Paper Cutting Success
Tips, Tricks, and Troubleshooting for Paper Cutting Success
Mastering Intricate Details
For those fiddly bits, try using a smaller blade or even a sharp needle for ultimate precision. Think of it like using a tiny, super-sharp scalpel for surgery – delicate and precise. Take your time and don't be afraid to use a magnifying glass if needed! Patience is key here, especially when dealing with tiny shapes and intricate designs. Remember, a steady hand wins the race!
Another helpful trick is to use a swiveling motion with your knife, rather than just pushing it straight down. This allows for smoother curves and more control, especially on tighter corners. It's like navigating a winding road; small adjustments make a big difference.
- Use smaller blades for detail work.
- Employ a magnifying glass for better visibility.
- Use a swiveling motion for smoother curves.
Troubleshooting Common Paper Cutting Problems
Paper tearing? A dull blade is the usual culprit. Change it immediately! A dull blade is like trying to cut with a butter knife – it's just not going to work. For more on blade selection, check out our guide on choosing the right blades. If the paper still tears, try using a slightly thicker paper.
Cuts not clean? You might be applying too much pressure. Gentle, controlled pressure is key. Think of it like a surgeon's touch – precise and controlled, not forceful. If you're still struggling, make sure your cutting mat is clean and free from debris. A dirty mat can cause the blade to slip, leading to inaccurate cuts.
Problem | Solution |
|---|---|
Paper tearing | Change blade; use thicker paper. |
Uneven cuts | Use less pressure; clean cutting mat. |
Inaccurate cuts | Check blade sharpness; use a ruler as a guide. |
Finishing Touches and Presentation
Once you've finished cutting, carefully remove the excess paper. Be gentle to avoid damaging your delicate design. Then, consider mounting your creation on a contrasting background to make it pop! It’s like framing a painting – it enhances the overall impact. You can also add embellishments like glitter or paint, depending on your design and personal style. Check out our gallery of intricate designs for inspiration!
Finally, display your masterpiece proudly! Consider framing it, using it as a decorative element, or even turning it into a unique greeting card. Your hard work deserves to be showcased! Remember, the presentation is just as important as the craft itself. It’s the final flourish that elevates your creation to a true work of art.