Table of Contents
Ever wanted to create a beautiful Ganesha, the beloved Hindu god of wisdom and good fortune, using just paper and your creativity? This comprehensive guide will walk you through the art of "how to make ganesha with paper cutting," from simple designs perfect for beginners to more intricate techniques for experienced crafters. We'll cover everything you need to know, from gathering the right materials to mastering the essential skills for creating a truly stunning Ganesha. Get ready to unlock your artistic potential and craft a unique piece of art that celebrates this revered deity. Whether you're a seasoned paper artist or a complete novice, this step-by-step tutorial will guide you through each stage of the process, ensuring you create a Ganesha you'll be proud to display. Prepare to be amazed by the transformation of simple paper into a captivating work of art. So, grab your scissors, paper, and let's embark on this creative journey together!
Essential Materials for Paper Cutting Ganesha
Essential Materials for Paper Cutting Ganesha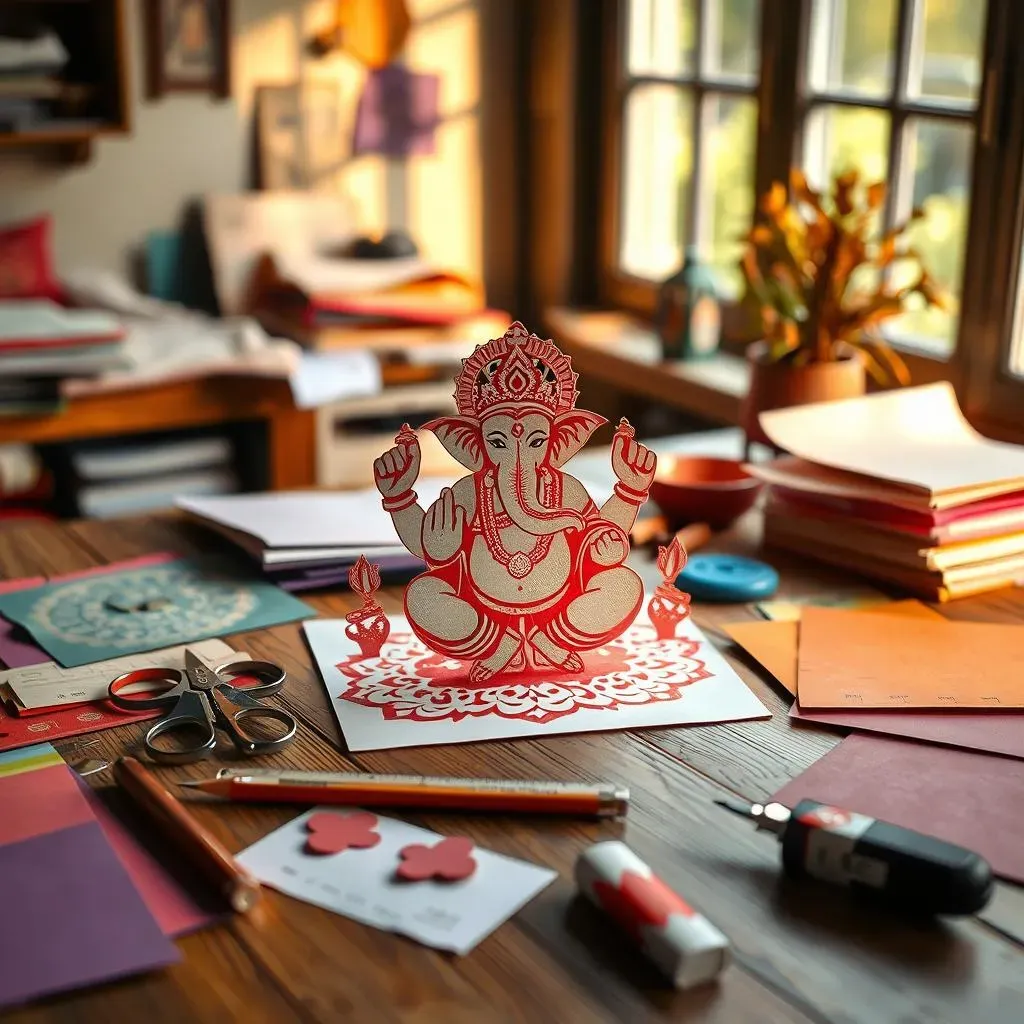
Choosing the Right Paper
The paper you choose is crucial for a successful Ganesha paper cutting. Thicker papers, like cardstock or even construction paper, are ideal for intricate designs and will hold their shape better. Avoid flimsy paper; it'll tear easily and make precise cuts difficult. Consider the color too! A vibrant red or a deep gold would look stunning, but ultimately, the color is a matter of personal preference. Experiment with different textures and weights to find what works best for you.
Think of the paper as the canvas for your artwork. Just like a painter selects their canvas based on the texture and the type of paint they’ll use, you need to choose the paper carefully. A smooth cardstock will give you clean lines, while a textured paper might add a unique element to your finished Ganesha. Don't be afraid to try different types of paper to find your favorite!
Paper Type | Pros | Cons |
|---|---|---|
Cardstock | Durable, holds detail well | Can be more expensive |
Construction Paper | Affordable, wide variety of colors | Less durable than cardstock |
Specialty Paper | Unique textures, colors | May be more difficult to cut |
Essential Tools for Precise Cuts
Beyond the paper itself, you'll need a few key tools to ensure your Ganesha paper cutting is a success. A sharp pair of scissors is essential for clean, precise cuts. Dull scissors will tear the paper, resulting in a messy and unprofessional-looking Ganesha. Consider investing in a good quality pair specifically designed for craft work. They'll make all the difference in the world!
A ruler and a pencil are also important for planning your design. If you're working from a template, accurately transferring the design onto your chosen paper is crucial. Take your time and measure carefully. A steady hand and precise measurements are key to creating a well-proportioned and aesthetically pleasing Ganesha. Think of these tools as your guiding stars, ensuring your Ganesha cutting journey is smooth and successful.
- Sharp Scissors
- Ruler
- Pencil
- Eraser
- (Optional) X-ACTO Knife for finer details
Simple Ganesha Paper Cutting Designs for Beginners
Simple Ganesha Paper Cutting Designs for Beginners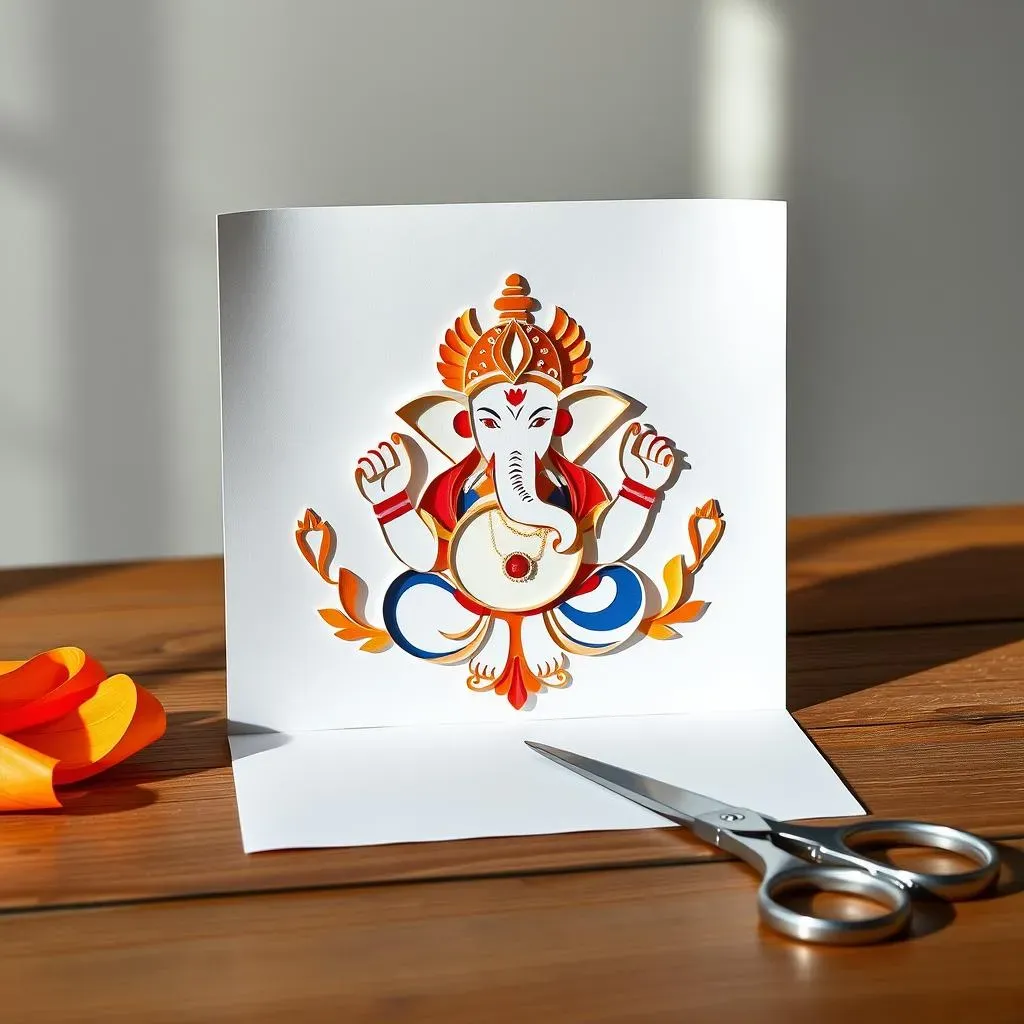
Geometric Ganesha
Let's start with the easiest Ganesha design: a geometric one! This involves creating a simplified Ganesha using basic shapes like circles, triangles, and squares. It's perfect for beginners because it doesn't require intricate details or fine motor skills. You can find plenty of free templates online, or even design your own using simple shapes. The key is to keep it simple and fun!
Think of it as building blocks for your Ganesha. Each shape contributes to the overall form, and the simplicity allows you to focus on clean cuts and precise assembly. Once you've mastered the geometric Ganesha, you can experiment with adding more detail or creating variations on the theme. It's a great stepping stone to more complex designs.
Shape | Ganesha Feature |
|---|---|
Circle | Head, Belly |
Triangle | Ears, Trunk |
Square/Rectangle | Body |
Silhouette Ganesha
Next up is the silhouette Ganesha. This is a great option if you're looking for a more elegant and less detailed design. It involves cutting out a solid shape of Ganesha against a contrasting background. This technique focuses on the overall form and shape, rather than intricate details. You can experiment with different poses and styles to create a unique silhouette.
Imagine the silhouette as a shadow play. The focus is on the outline and the overall impression. You can use a single color of paper, or create a more dramatic effect by using contrasting colors for the Ganesha and the background. This simple method is surprisingly effective and produces a visually striking result.
- Find a simple Ganesha image online.
- Print it out and trace it onto your paper.
- Carefully cut out the Ganesha shape.
- Mount it on a contrasting background.
Simple Line Art Ganesha
For a more detailed but still beginner-friendly option, try a simple line art Ganesha. This involves creating a Ganesha using only lines and basic shapes. You can find templates online, or even sketch your own simple design. This technique allows for more detail than the geometric version, but it's still manageable for beginners.
Think of it as drawing with scissors! The focus is on creating clean lines and accurately representing the key features of Ganesha. You can add simple shading or coloring to enhance the design, but the essence lies in the elegance of the lines themselves. It's a perfect way to practice your cutting skills and develop your artistic eye.
"Simplicity is the ultimate sophistication." - Leonardo da Vinci
Advanced Ganesha Paper Cutting Techniques
Advanced Ganesha Paper Cutting Techniques
Intricate Detailing and Layering
Once you've mastered the basics, it's time to explore intricate detailing and layering. This involves creating a more realistic and three-dimensional Ganesha by adding finer details like the folds in his clothes, the texture of his skin, or the intricate patterns on his crown. This requires patience, precision, and a steady hand. You can achieve depth by layering multiple cutouts on top of each other, creating a sense of perspective. Don't be afraid to experiment with different techniques to achieve the desired effect. Think of it like sculpting with paper; each layer adds to the overall form and texture.
Consider using a sharp X-ACTO knife for finer details, or even try incorporating different paper textures to add visual interest. For example, you could use a textured paper for the body of Ganesha and a smooth paper for his jewelry. The possibilities are endless! Remember, the key is to take your time and focus on the small details. A little patience goes a long way in creating a truly stunning piece of art.
Technique | Description | Effect |
|---|---|---|
Layering | Cutting multiple pieces and overlapping them | Creates depth and dimension |
Intricate Cuts | Using a sharp blade for fine details | Adds realism and texture |
Textured Paper | Using different paper types | Adds visual interest |
Incorporating Different Paper Types and Textures
To elevate your Ganesha paper cutting to the next level, experiment with different types and textures of paper. Think beyond basic construction paper. Consider using metallic papers for a luxurious look, patterned papers for added visual interest, or even textured papers for a more tactile experience. Combining different paper types can also add depth and dimension to your design. For example, you could use a smooth, colored paper for the main body of Ganesha and a textured, metallic paper for his crown or jewelry.
Imagine the possibilities! You could create a Ganesha with a shimmering crown, intricately patterned clothes, or even a textured skin that looks almost real. The key is to let your imagination run wild and experiment with different combinations to see what works best. Don't be afraid to step outside of your comfort zone and try something new. The most rewarding creations often come from unexpected combinations and approaches.
- Metallic paper
- Patterned paper
- Textured paper
- Embossed paper
- Specialty craft papers
How to Make a Stunning Ganesha with Paper Cutting: A Detailed Tutorial
How to Make a Stunning Ganesha with Paper Cutting: A Detailed Tutorial
Choosing Your Design and Template
First, select a Ganesha design that excites you! There are countless options available online, ranging from simple silhouettes to incredibly intricate designs. Consider your skill level and the time you have available. Don't be afraid to start with a simpler design and gradually work your way up to more complex ones. Once you've found a design you love, print it out. This will serve as your template. Make sure the printout is clear and easy to trace.
Think of this stage as the planning phase of a grand architectural project. You wouldn't start building a skyscraper without blueprints, right? Similarly, a well-chosen template is the foundation of a successful Ganesha paper cutting project. Take your time to browse different options and find one that inspires you. A beautiful design will make the entire process more enjoyable.
Design Type | Skill Level | Time Commitment |
|---|---|---|
Simple Silhouette | Beginner | Short |
Intricate Line Art | Intermediate | Medium |
Highly Detailed Design | Advanced | Long |
Tracing and Cutting
Carefully trace your chosen design onto your selected paper using a pencil. Make sure the lines are clear and precise. A light touch is key here; you don't want to press too hard and dent the paper. Once you've finished tracing, it's time for the most crucial part: the cutting! Use your sharp scissors to carefully cut along the traced lines. Take your time and be patient; rushing can lead to mistakes. Pay attention to the details, particularly in intricate designs.
Think of this as delicate surgery for your paper Ganesha. Precision is paramount. Sharp scissors are your best friend here; dull scissors will only frustrate you and ruin your work. If you're working with a particularly intricate design, consider using an X-ACTO knife for finer details. Remember, a steady hand and patience are key to achieving clean, precise cuts.
- Trace the design lightly with a pencil.
- Use sharp scissors for clean cuts.
- Take your time and be patient.
- Consider using an X-ACTO knife for fine details.