Table of Contents
Have you ever been captivated by the delicate beauty of intricate paper cut designs? Perhaps you've admired the stunning detail in a greeting card or a piece of wall art, and wondered, "How do they do that?" Well, wonder no more! This comprehensive guide will unlock the secrets of paper cutting, teaching you everything you need to know to create your own breathtaking masterpieces. We'll start by exploring the essential tools and materials you'll need – from sharp blades to sturdy cutting mats – ensuring you're well-equipped for your paper cutting journey. Then, we'll dive into a step-by-step tutorial, guiding you through the process of how to do paper cutting with precision and confidence. We'll cover essential techniques like transferring designs, making clean cuts, and handling delicate details. But that's not all! We'll also share expert tips and tricks to elevate your paper cutting skills, helping you achieve professional-looking results. Finally, we'll inspire your creativity with a gallery of stunning project ideas, showcasing the versatility and endless possibilities of this captivating craft. Get ready to unleash your inner artist and discover the joy of how to do paper cutting!
Essential Tools and Materials for Paper Cutting
Essential Tools and Materials for Paper Cutting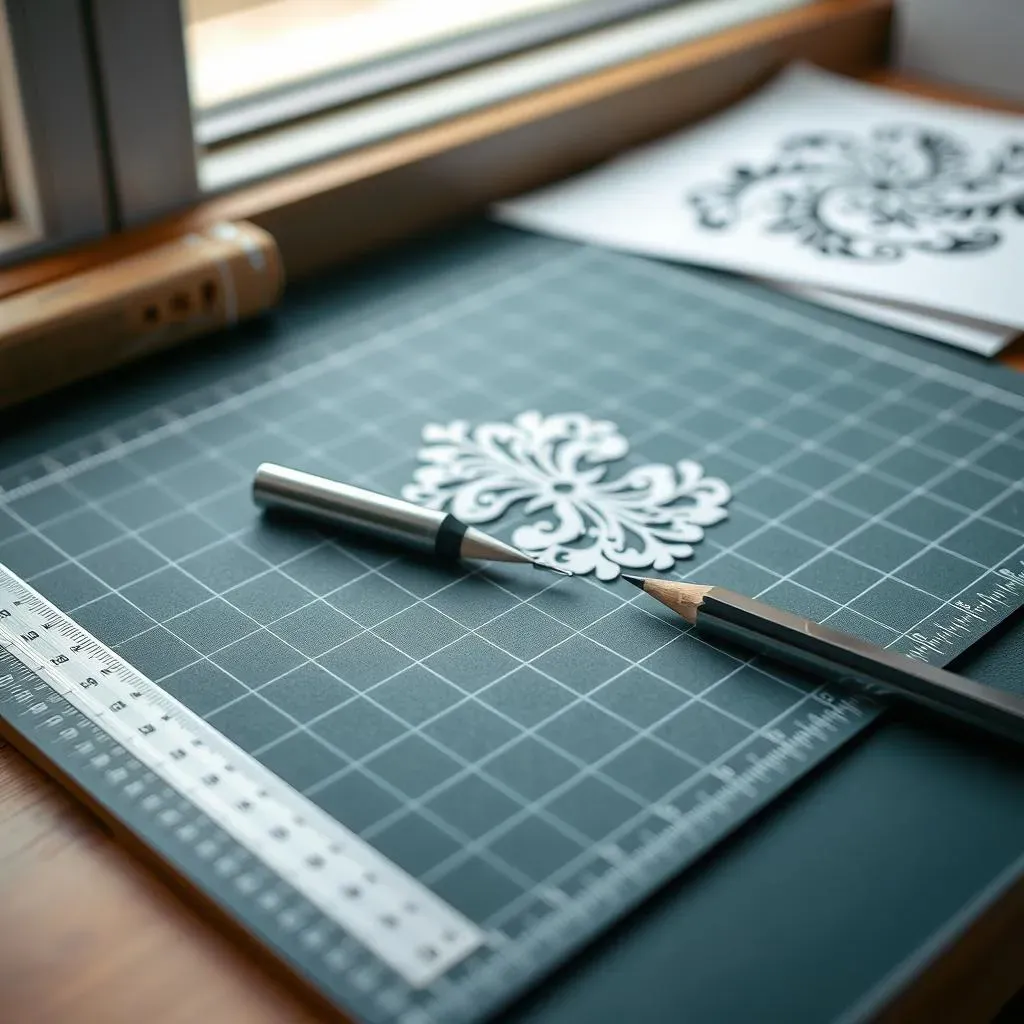
The Cutting Blade: Your Precision Partner
First things first: you'll need a sharp blade! A scalpel or craft knife with replaceable blades is ideal. Think of it as your paintbrush – the sharper it is, the cleaner and more precise your cuts will be. Dull blades lead to ragged edges and frustration. Invest in a good quality blade and keep spares on hand; a sharp blade is your best friend in the world of paper cutting. Don't skimp on this; it's the heart of the operation. For more on choosing the right tool, check out our guide on best scissors for paper cutting.
Remember to always handle your blade with care. Never leave it lying around where little fingers (or clumsy adults!) might reach it. And always dispose of used blades safely.
Blade Type | Pros | Cons |
|---|---|---|
Scalpel | Precise, versatile | Requires careful handling |
Craft Knife | Durable, good for larger cuts | Can be less precise than scalpels |
Protecting Your Workspace: The Cutting Mat
Next, you need a self-healing cutting mat. This isn't just some fancy accessory; it's your work surface protector. Think of it as a superhero cape for your table, shielding it from the inevitable scratches and cuts. A large mat is preferable, giving you ample space to spread out your project and maneuver your blade. A smaller mat will restrict your movement and make precise cuts more difficult. For more details on essential supplies, see our guide on essential paper cutting supplies.
Choose a mat with a grid pattern; the grid lines will help you keep your lines straight and maintain consistent spacing. Plus, a non-slip mat will keep your paper from shifting around while you're working, preventing frustrating accidents. Trust me, a good cutting mat is a game-changer!
- Self-healing cutting mat
- Metal ruler
- Pencil
StepbyStep Guide on How to Do Paper Cutting
StepbyStep Guide on How to Do Paper Cutting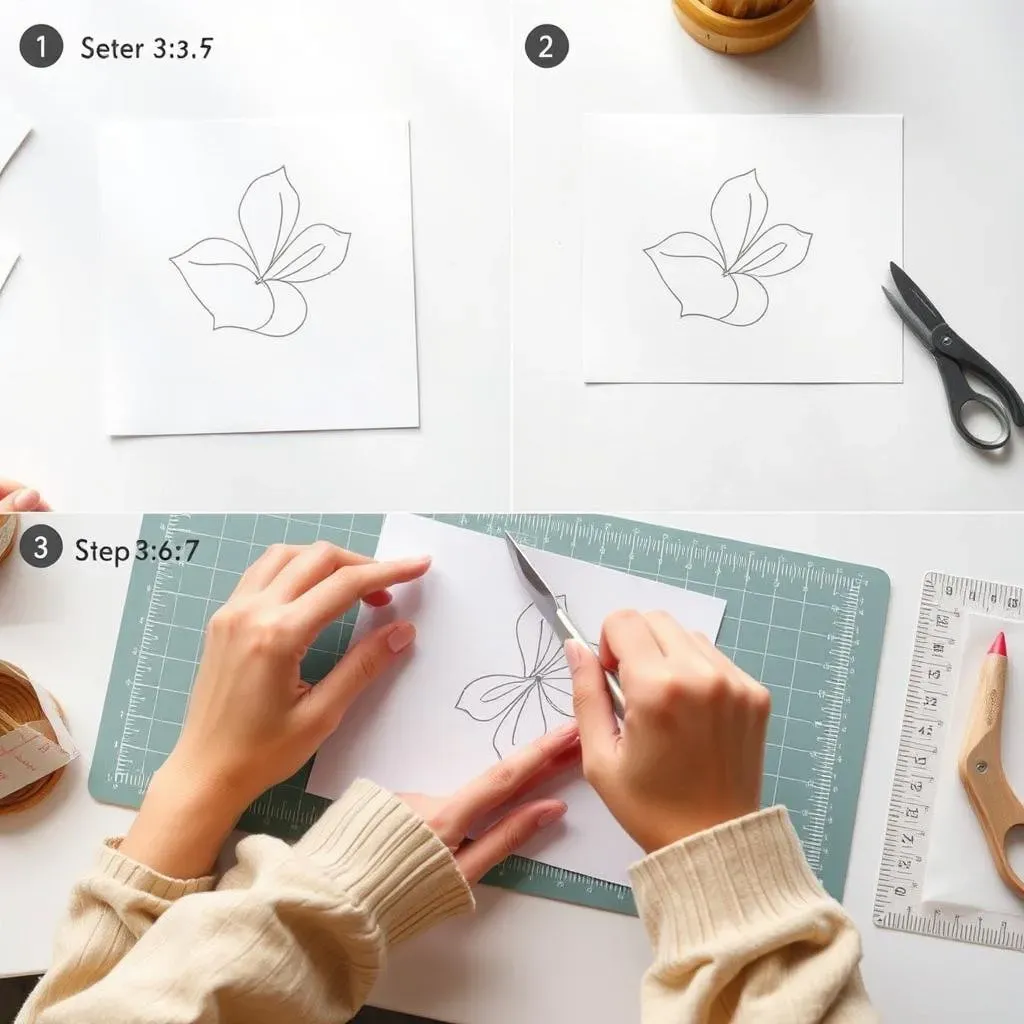
Transferring Your Design
First, you need a design! You can draw your own, trace a picture, or use a pre-made template. Many free templates are available online; a quick search will reveal a treasure trove of options. For inspiration, check out our collection of free paper cutting templates. Once you've chosen your design, carefully trace it onto tracing paper. This creates a clean, easy-to-follow guide for cutting. If you're using a printed design, consider printing it on thinner paper to make tracing easier. Don't forget to reverse your design if necessary, depending on whether you want to cut out the positive or negative space.
Place the tracing paper, design-side down, onto your chosen paper. Secure it with tape to prevent shifting. Use a pencil to trace the design onto the main paper. This step ensures your design is accurately transferred to the paper you'll be cutting. Take your time, and make sure your lines are clear and easy to follow. For more tips on choosing the right paper, see our guide on paper cutting paper.
- Choose your design.
- Trace onto tracing paper.
- Transfer to cutting paper.
Cutting Your Design
Now for the fun part – cutting! Secure your paper firmly onto the cutting mat. Begin by cutting out the smallest, most intricate details first. This is easier than trying to tackle large sections while surrounded by tiny pieces. Work slowly and carefully, using the tip of your blade for precise control. For detailed instructions on techniques, explore our guide on mastering paper cutting techniques.
As you cut, gently remove the smaller pieces. This prevents them from getting in the way and helps avoid accidental cuts. For straight lines, use a metal ruler as a guide. Remember to always cut away from yourself to avoid injury. When cutting curves, use short, controlled strokes, pivoting the blade as you go. Don't rush this process; patience is key to achieving clean, precise cuts. Take breaks if your hand gets tired to avoid mistakes. For more intricate designs, consider using a paper cutting machine; check our guide on paper cutting machines for more information.
Step | Action | Tip |
|---|---|---|
1 | Cut small details first | Use tip of blade for precision |
2 | Remove small pieces as you go | Prevent accidental cuts |
3 | Use ruler for straight lines | Maintain control |
Tips and Tricks for Perfect Paper Cuts: How to Do Paper Cutting Like a Pro
Tips and Tricks for Perfect Paper Cuts: How to Do Paper Cutting Like a Pro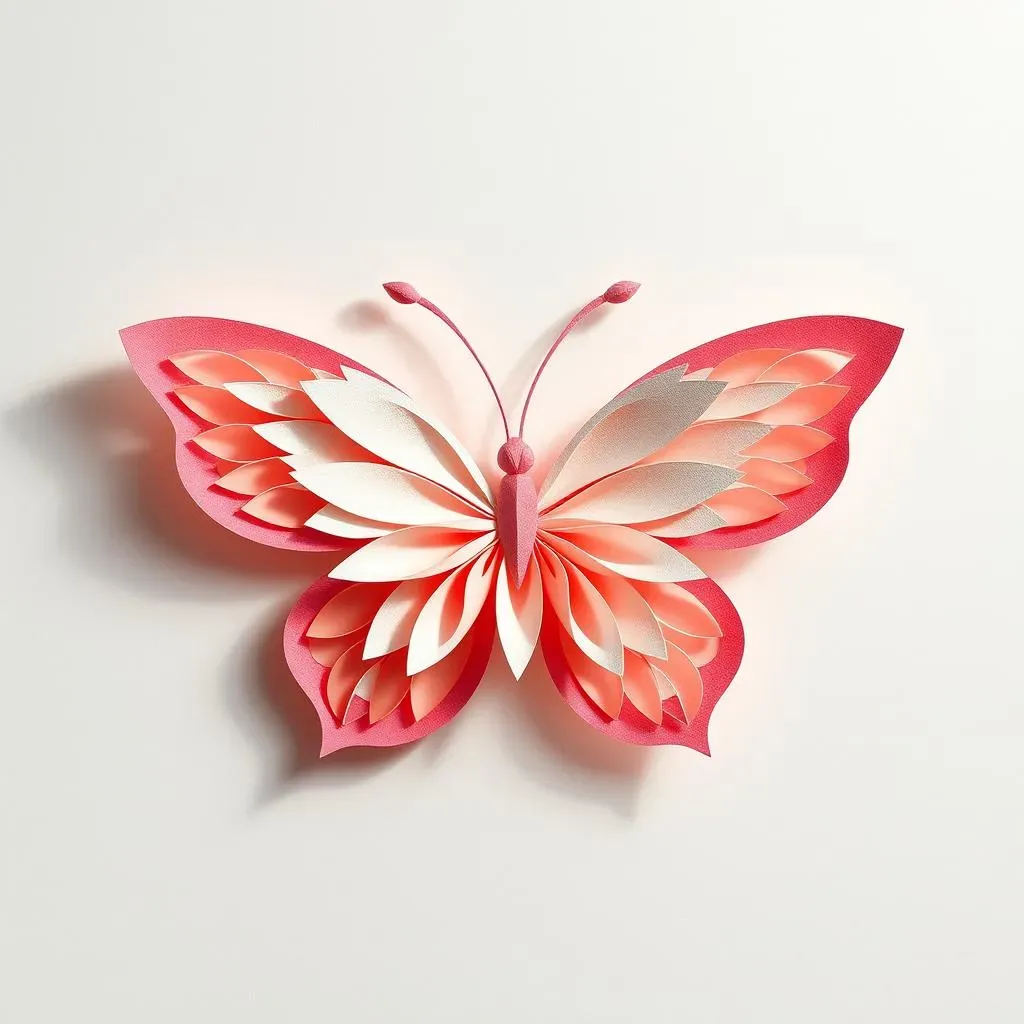
Mastering the Art of the Cut
Let's talk technique! A light, even pressure is your friend. Think of it like drawing; you don't want to stab the paper, but gently guide the blade along your lines. Too much pressure leads to jagged edges and tears. Practice makes perfect, so don't be afraid to experiment with different pressures to find what works best for you and your paper. For more advanced techniques, check out our guide on advanced paper cutting techniques.
Always keep your blade sharp! A dull blade is a recipe for frustration. Replace your blades regularly, and consider investing in a blade sharpener to extend their lifespan. Think of it this way: a sharp blade is a happy blade, and a happy blade makes for happy paper cuts. Remember to always handle your blades with care, as well as to dispose of used blades correctly.
- Use light, even pressure.
- Keep your blade sharp.
- Practice regularly.
Working with Different Paper Types
The type of paper you use significantly impacts your results. Thinner papers are easier to cut but tear more easily. Thicker papers are more durable but require more effort to cut. Experiment with different weights to discover which you prefer. For a comprehensive guide on paper selection, see our guide on choosing the right paper. Different papers also have different textures and colors that can affect the final look of your project. Remember to always test your paper before you start your project.
Consider the overall design and the level of detail. Intricate designs might call for a thinner paper, while bolder designs can handle thicker paper. The color of the paper also plays a role in the final aesthetic. Darker colors provide a nice contrast for cut-out designs, while lighter colors can create a more delicate look. Experiment with different types of paper to find what works best for your style.
Paper Type | Pros | Cons |
|---|---|---|
Thin Paper | Easy to cut | Tears easily |
Thick Paper | Durable | Requires more effort |
Troubleshooting Common Issues
Even experienced paper cutters encounter snags. If you accidentally cut into a section you didn't intend to, don't panic! A tiny piece of tape can often seamlessly repair the mistake. For more tips and tricks, check out our article on amazing paper cutting decorations. Sometimes, a small mistake can even enhance the design, adding a unique touch. The beauty of handmade art is that imperfections often add character.
If you find your cuts are uneven, it's time to re-evaluate your technique. Ensure you're using a sharp blade and applying consistent pressure. Practice cutting straight lines and curves until you feel comfortable. Remember, patience and persistence are crucial. Don't be discouraged by mistakes; they're simply opportunities to learn and improve. For more information on troubleshooting, read our beginner tutorials.
Stunning Paper Cutting Projects and Design Ideas: How to Do Paper Cutting for Every Occasion
Stunning Paper Cutting Projects and Design Ideas: How to Do Paper Cutting for Every Occasion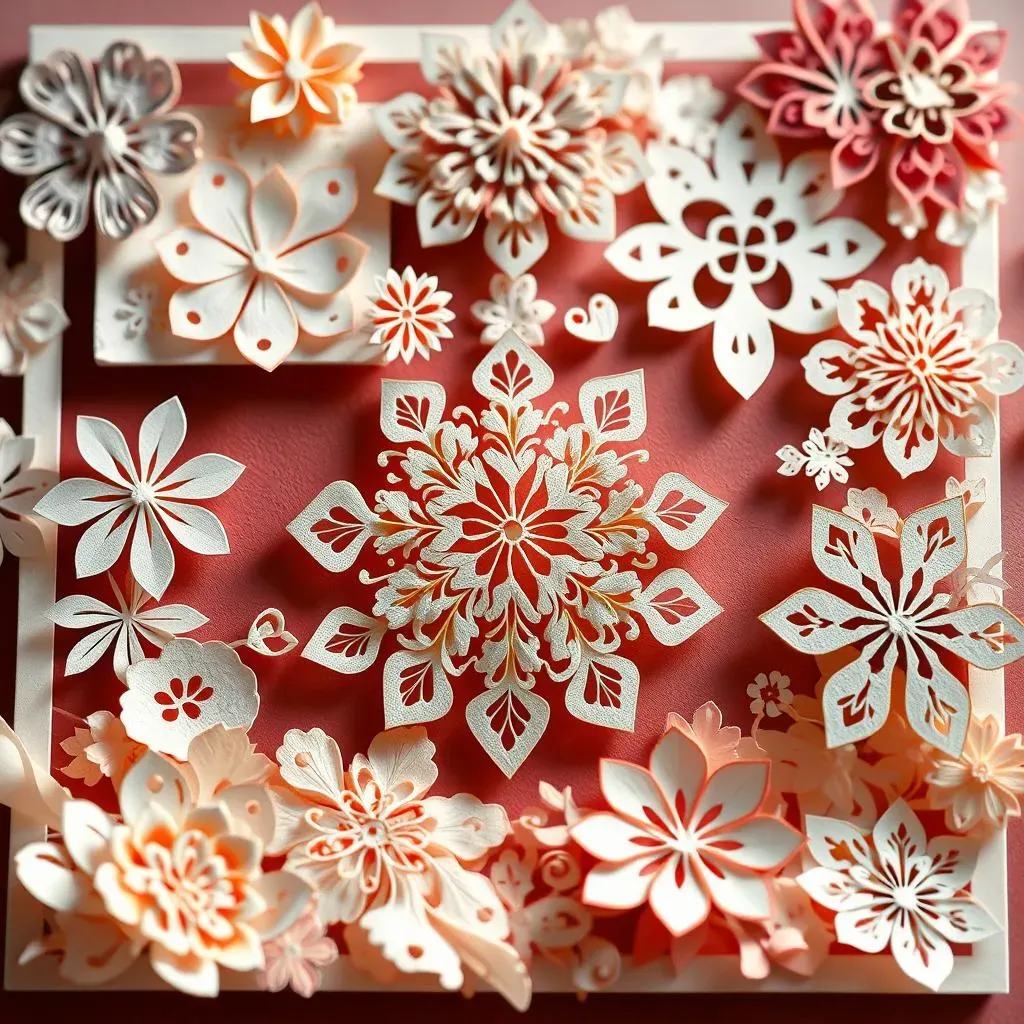
Intricate Greeting Cards
Let's start with a classic: greeting cards! Paper cutting transforms simple cards into works of art. Imagine a delicate snowflake design for a winter holiday card, or a whimsical floral pattern for a birthday greeting. The possibilities are endless! You can easily create personalized cards for any occasion, making them truly unique gifts. For more inspiration, check out our guide on stunning greeting cards.
Consider incorporating different paper colors and textures to add depth and visual interest. You can layer different cut-out elements to create a three-dimensional effect, or use metallic papers to add a touch of sparkle. Don't be afraid to experiment and have fun with it! The key is to let your creativity flow and create something that reflects your personal style.
- Birthday cards
- Holiday cards
- Anniversary cards
Decorative Wall Art and Home Decor
Beyond cards, paper cutting opens up a world of decorative possibilities for your home. Create stunning wall art by mounting your finished pieces on contrasting backgrounds or framing them. Think intricate mandalas, geometric patterns, or nature-inspired scenes – the possibilities are truly endless. For more ideas, see our post on amazing paper cutting decorations.
Paper cut designs can also be incorporated into other home décor projects. Imagine creating unique lampshades, adding delicate paper cut embellishments to picture frames, or even crafting intricate snowflakes for festive window displays. The beauty of paper cutting is its versatility; it can be adapted to a wide range of applications, allowing you to personalize your living space with unique, handmade details. For more creative ideas, check out our collection of free paper cutting frame downloads.
Project | Paper Type | Color Scheme |
|---|---|---|
Wall Art | Thick, textured paper | Monochromatic or complementary |
Lampshade | Thin, translucent paper | Warm, inviting colors |