Table of Contents
Ever looked at a plain piece of paper and thought, "This needs more… grass?" Okay, maybe not. But trust me, learning how to make paper grass is surprisingly fun and super useful. Whether you're jazzing up a school project, adding a touch of nature to a craft, or just looking for a simple way to get creative, grass paper cutting is the answer. This isn't about complicated origami; it’s about simple snips and folds that transform ordinary paper into something that looks like blades of grass. In this article, I’ll walk you through all the steps, from gathering your supplies to mastering the basic cutting techniques. We'll also explore some fun ways to use your newly made paper grass, and we’ll even tackle some common hiccups you might encounter. So, grab your scissors, and let's get snipping, I promise this grass paper cutting adventure will be more exciting than it sounds!
What You'll Need for Grass Paper Cutting
What You'll Need for Grass Paper Cutting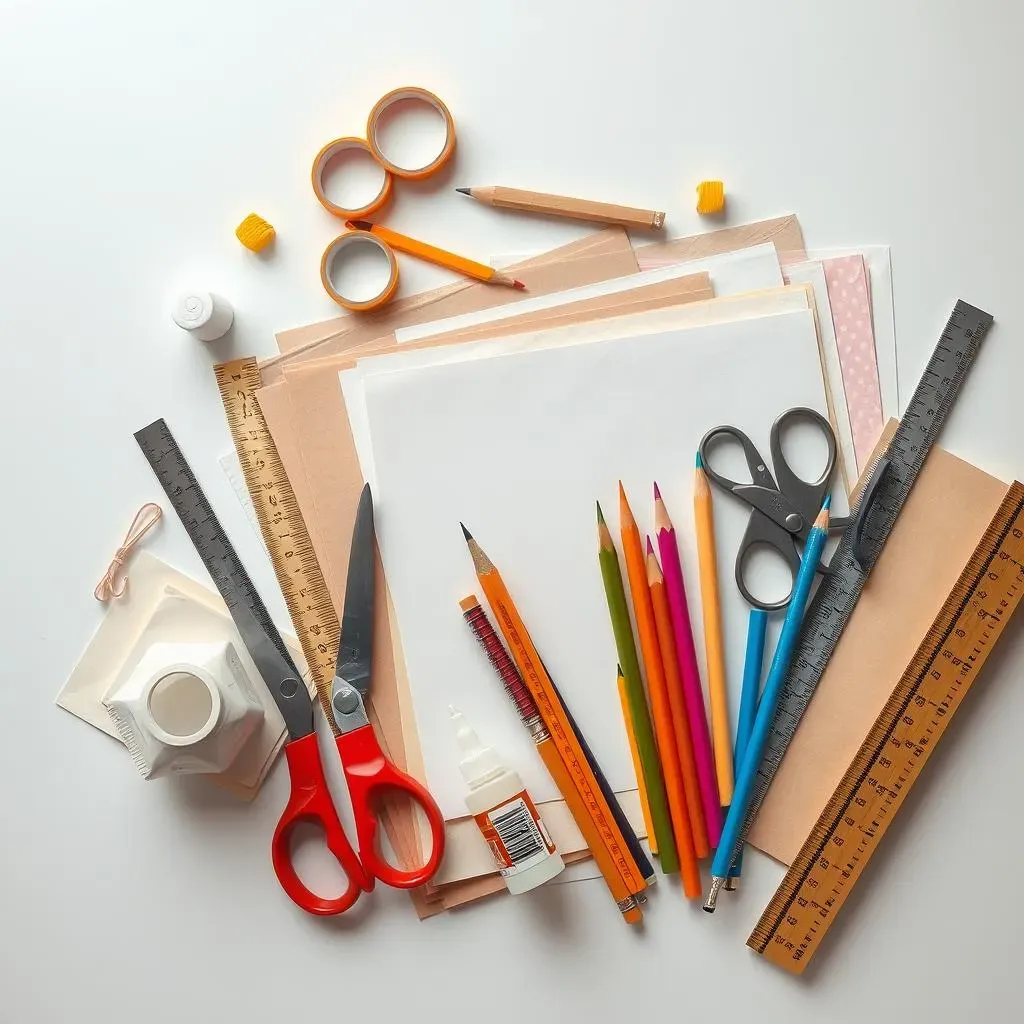
Alright, so you're diving into the world of paper grass, huh? First things first, let's gather the gear. You don't need a fancy art studio for this, just some basic stuff you probably already have lying around. Think of it like prepping for a cooking show, but instead of making a cake, we're making a meadow. You'll need paper, of course. Construction paper works great, especially if you want that vibrant green look, but any paper will do if you're going for a more subtle vibe. Then, grab a pair of scissors, the sharper the better, or the duller, it depends on how you want to spend your time. A ruler can be handy for straight cuts if you're into that sort of thing, and a pencil for marking those cuts is useful, too. Finally, if you're feeling fancy, some glue or tape to stick your paper grass wherever your heart desires.
Item | Why you need it |
|---|---|
Paper | The base for your grass |
Scissors | To cut the paper into grass shapes |
Ruler | To make straight cuts (optional) |
Pencil | To mark your cuts (optional) |
Glue or tape | To stick your grass to whatever surface you want |
Easy Paper Grass Cutting Techniques
Easy Paper Grass Cutting Techniques
Okay, so you've got your supplies, now let's actually make some paper grass. It's way simpler than you might think. The most basic way is to take your paper and fold it in half lengthwise. Then, starting from the folded edge, make a series of cuts with your scissors, going towards the open edge, but not all the way through. Think of it like making fringe, but for a paper lawn. The closer together your cuts, the thinner your grass blades will be. You can also play around with the angle of your cuts for a more natural, slightly chaotic look; nature isn't always perfectly straight, so neither should your paper grass be. Once you've made a bunch of cuts, unfold the paper, and voila, you've got a patch of paper grass!
For a bit more variety, try making some jagged cuts instead of straight ones. It’s super easy, just wiggle your scissors a bit as you cut. This gives your grass blades a more textured and realistic feel. Another cool trick is to vary the length of your cuts. This creates a more layered look, like real grass that grows at different heights. You can also experiment with different widths for your blades. Some thick, some thin – it all adds to the charm. Don’t be afraid to play around and try different things, there's no right or wrong way to cut grass, it's all about having fun and seeing what you can create. It’s like being a tiny paper landscaper, and that’s pretty cool.
- Straight Cuts: Simple, classic grass blades.
- Jagged Cuts: Adds texture for a realistic look.
- Varying Lengths: Creates a layered effect.
- Different Widths: Adds variety and interest.
Creative Uses for Your Paper Grass
Creative Uses for Your Paper Grass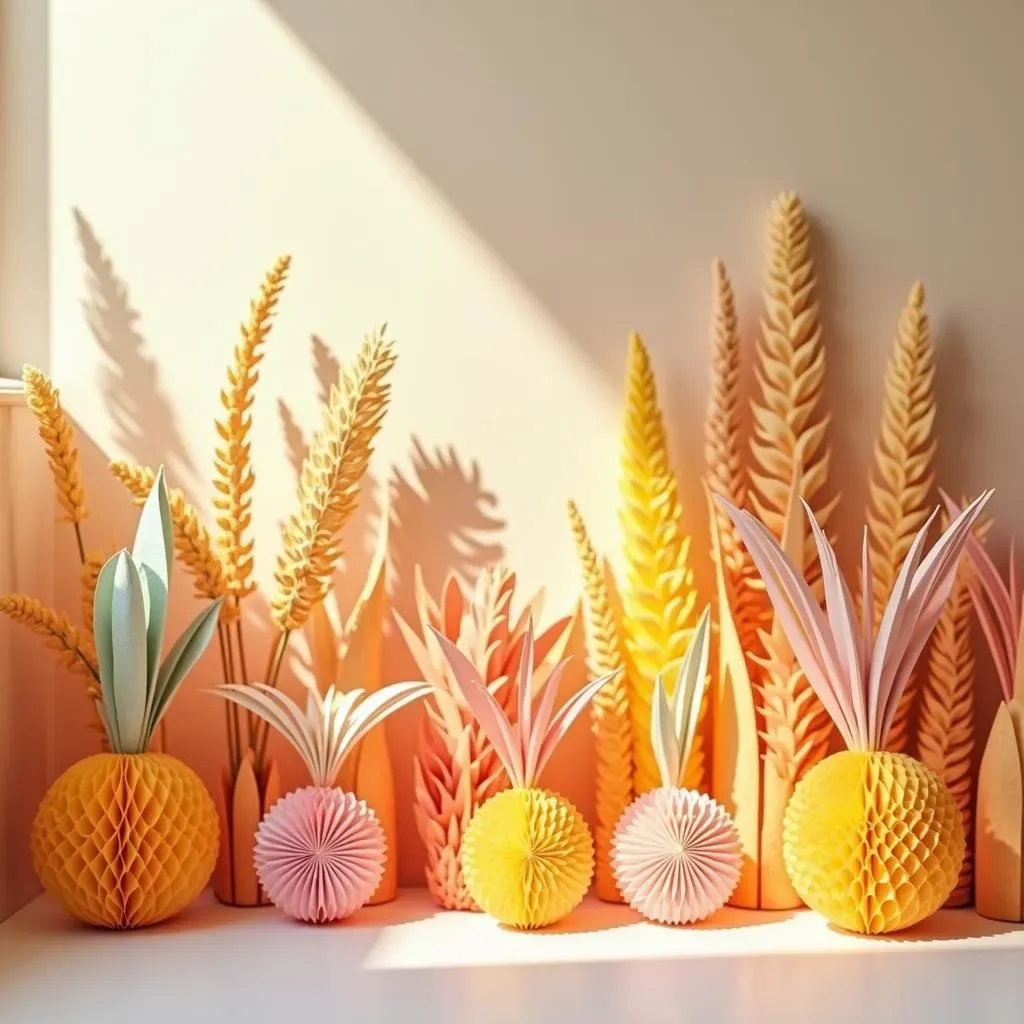
Crafty Decorations
Alright, so you've got a pile of paper grass, now what? Well, the possibilities are pretty much endless! One of the most obvious is using it for decorations. Think about it: you can create a mini-meadow on a school project, like a diorama of a farm or a wildlife scene. It adds a super cool 3D effect that flat paper just can't match. You could also use it to decorate greeting cards; imagine a birthday card with a little patch of paper grass at the bottom, it's way more interesting than just plain old cardstock. I once made a whole scene for a school play using just paper grass and some cardboard, it looked surprisingly good.
You can even take it a step further and use it to make paper wall hangings, or add it to your scrapbook pages. If you’re throwing a party, little tufts of paper grass can make table decorations more festive. You can stick them around centerpieces, or even use them as confetti (though maybe not the best idea if you're trying to keep things tidy). The great thing about paper grass is that it's so versatile; you're only limited by your own creativity. It's like having a little bit of spring indoors, no matter the season.
Educational Fun
Beyond just decorations, paper grass is also great for educational projects. If you're a teacher or a parent trying to get kids excited about nature, this is a fantastic tool. You can use the paper grass to teach about different types of environments. For example, you can make short grass for a lawn scene and long, wavy grass for a prairie scene. Or even a jungle. You can also use it to teach about colors by using different shades of green or even adding some yellows and browns for dead grass. It's a hands-on way for kids to learn and engage with the material. I remember when I was a kid, we made a whole ecosystem using paper and other craft materials, and it was one of the most memorable lessons I had.
Plus, it's a great way to get kids using their fine motor skills. Cutting out the grass blades helps with hand-eye coordination, and it's just a fun and tactile activity. It can also be a good way to introduce the concept of recycling; you can use old newspapers or magazines to make the grass, showing that everyday things can be transformed into something new. It's a win-win, fun and educational, that's what I called it, a good way to spend an afternoon.
Use | Description |
|---|---|
Dioramas | Add 3D texture to scene projects. |
Greeting Cards | Make cards more interesting and unique. |
Wall Hangings | Create decorative paper art. |
Table Decorations | Festive accents for parties. |
Educational Projects | Teach about nature and colors. |
Fine Motor Skills | Improve hand-eye coordination. |
Paper Grass Art
If you want to get really creative, you can use paper grass as an artistic medium. Think of it like painting, but with paper. You can create textured backgrounds for artwork, or use the grass as the main element. You can even experiment with layering different shades of green to create depth and dimension. You could make a paper-grass portrait, or a paper-grass landscape. There are no rules when it comes to art, so don't be afraid to experiment. I saw a really cool art piece once that used paper grass to create a 3D effect on a flat canvas, it was incredible.
Another fun thing to do is combine it with other art materials. You can use watercolors to paint the grass, or add other paper cutouts to create a more complex scene. You can even use the grass to make little paper animals or insects. It’s a great way to mix different techniques and create something totally unique. The key is to let your imagination run wild and see where it takes you. It's a simple craft, but it can lead to some pretty amazing creations. So, grab your scissors, some paper, and let's make some art!
Troubleshooting Your Grass Paper Cutting
Troubleshooting Your Grass Paper Cutting
The Dreaded Uneven Cuts
Okay, so you're cutting along, feeling like a paper-grass pro, and then BAM! Your cuts are all wonky and uneven. It's like your scissors decided to take a detour. This happens, it's totally normal, especially when you're first starting out. The most common reason is that you're not keeping your scissors steady. Try to make sure your hand is firm, and you're not wiggling it around too much. Also, try using the full length of the scissor blades, rather than just the tips. This gives you a longer, smoother cut. Don’t be afraid to take it slow and steady, it’s not a race.
Another tip is to make sure your paper is folded evenly, if you're doing the folded method. If the fold isn’t straight, your cuts are going to follow suit. You can also use a ruler to mark your cut lines, so you have a guide to follow. And remember, practice makes perfect, don’t get discouraged if your first few attempts look a bit rough, it's all part of the learning process. It’s like learning to ride a bike, you might fall a few times, but eventually, you'll be cruising along without any issues.
Paper That Just Won't Cooperate
Sometimes, you have the issue that your paper simply isn’t working with you. Maybe it's too thin and keeps tearing, or maybe it's too thick, and your scissors are struggling. The type of paper you use can make a huge difference. If your paper is too thin, like tissue paper, it can tear easily, and it’s hard to get clean cuts. Thicker paper, like cardstock, is more durable but can be harder to cut, especially if your scissors aren’t sharp enough. Try experimenting with different types of paper to find one that works best for you, construction paper is usually a good middle ground.
If you’re using thicker paper, make sure your scissors are sharp. Dull scissors will just mangle the paper, and it can be frustrating. You can also try folding the paper in half, or even quarters, to make it easier to cut through multiple layers at once. But be careful, too many layers might make it hard for you to make clean cuts. It’s all about finding that sweet spot where the paper is easy to work with, and you can get the look that you want. Don’t be afraid to experiment and find what works best, every paper and scissors are different.
Problem | Solution |
|---|---|
Uneven Cuts | Steady hand, full blade use, even folds. |
Paper Tearing | Use thicker paper, sharper scissors. |
Difficult to Cut | Use thinner paper, sharper scissors, fold less. |
The 'Too Perfect' Problem
Okay, so this might sound a bit weird, but sometimes, your paper grass can look too perfect. Like, it's so straight and uniform that it doesn’t look natural. Real grass is messy and chaotic, it grows in all sorts of directions. If your paper grass is looking too stiff, try mixing up your cuts. Make some blades longer than others, and wiggle your scissors a bit as you cut. This adds a more organic and realistic look. You can also try crumpling the grass a bit after you cut it to add some texture and make it look less rigid. It's all about embracing the imperfections.
Another trick is to vary the width of your cuts. Some thick, some thin, just like real grass. You can also try using different shades of green, or even adding some yellow or brown pieces to represent dead grass. It’s the small details that can make a big difference. The goal is to make your paper grass look like it’s growing in a real field, not like it was made in a factory. It’s about adding a bit of personality to your creations, and that’s part of the fun. So, don’t be afraid to get messy and mix it up, that’s where the magic happens.
Scissors That Just Don't Want To Cut
Alright, let’s talk about a common issue: your scissors are just not cooperating, and it’s making the whole process a lot harder than it needs to be. Dull scissors are the enemy of paper crafting. They can make it difficult to make clean cuts, and they can even cause your paper to tear. If your scissors are struggling, it might be time to sharpen them or invest in a new pair. Sharp scissors make a world of difference, and they’ll make the whole process much more enjoyable. It’s like cooking with a good knife, it makes everything easier.
Also, make sure you’re using the right type of scissors. Small, detail scissors are great for small cuts, but you might want a bigger pair for longer cuts. It’s all about having the right tools for the job. And remember, sometimes it’s not the scissors, it’s you. Make sure you’re holding the scissors correctly and applying even pressure. Don’t force the scissors, let them do the work. And if all else fails, take a break and come back to it later, sometimes a fresh perspective can help. It’s like trying to solve a puzzle, sometimes you need to step away for a bit before you can see the solution.
- Too Perfect Grass: Mix up cut lengths and widths.
- Dull Scissors: Sharpen or replace scissors, use the right type.
- Paper Not Cooperating: Experiment with different paper types.