Table of Contents
Ever wondered how to turn a simple piece of paper into a majestic elephant? It's easier than you think! This article is your go-to guide for all things "elephant paper cutting," whether you're a kindergarten whiz or a crafty teen. We'll start with super simple projects perfect for little hands, then move on to more complex designs that will challenge your skills. Think of it like leveling up in a game, but instead of digital points, you get awesome paper elephants! We'll also share some handy tips and tricks, so you can create perfect paper elephants every time. So, grab your scissors, some colorful paper, and let's get started on this exciting paper adventure! This isn't just about cutting paper; it's about learning, creating, and having fun. Get ready to be amazed by what you can make.
Simple Elephant Paper Cutting Projects for Little Hands
Simple Elephant Paper Cutting Projects for Little Hands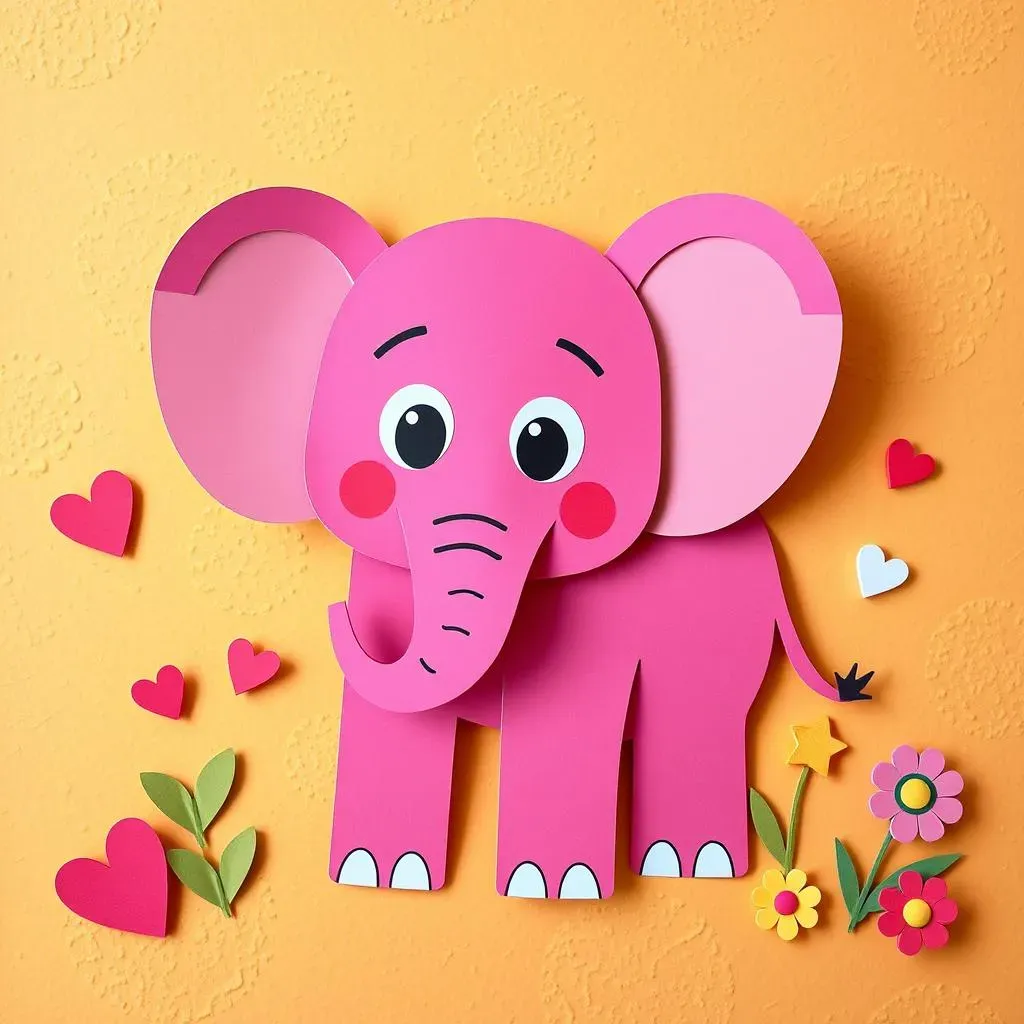
Easy Peasy Elephant Shapes
Okay, let's start with the basics! We're talking super simple shapes here, perfect for little ones just getting the hang of scissors. Think big, easy-to-cut curves and straight lines. We're not aiming for perfection, just fun and a little bit of elephant-ness. You can start with a basic oval for the body and a smaller oval for the head, then add a trunk that’s just a simple curve. Don't worry about making it look exactly like an elephant; the goal is to get those tiny hands moving and creating. Remember, safety first! Always supervise kids when they're using scissors.
I remember when my nephew first tried this, he ended up with something that looked more like a potato with a weird nose, but he was so proud! That's what it's all about—the process, not necessarily the perfect product. You can use construction paper in different colors to make a whole herd of colorful elephants. It can be a great way to introduce colors as well.
Step-by-Step: The Basic Elephant
Alright, let’s break it down into super simple steps. First, fold your paper in half. This will make your elephant symmetrical, which makes things a whole lot easier. Next, draw a simple half-elephant shape on the folded paper, starting with a rounded body and head, and don’t forget that cute little trunk. Keep it big and chunky. The bigger the parts, the easier it is to cut. Now, carefully cut along the lines while still keeping the paper folded. Once you’re done, unfold to reveal your very own paper elephant. You can add some simple details, like an eye, with a marker. Voila, a basic but adorable elephant.
Step | Action |
|---|---|
1 | Fold paper in half |
2 | Draw a simple half-elephant shape |
3 | Cut along the lines |
4 | Unfold the paper |
Adding Simple Details
Now that you’ve got the basic shape down, let’s add some simple details to bring your elephant to life. Think about adding a small circle for an eye, or maybe some simple lines to represent wrinkles on the trunk. You can also cut out small paper circles to add as ears. If the kids are old enough to handle it, they can try cutting out small triangles for tusks, but remember to keep it simple and safe. I love using different colored markers to add the details. You can draw some simple patterns on the elephant, or even give it some fun spots. Let those imaginations run wild! We can use it to teach them about colors and shapes in an interactive way.
The key here is to keep it fun and engaging, and to let the kids explore and experiment. Remember, there are no mistakes in art, just happy accidents. It is all about enjoying the process of creating, not aiming for a perfect result. Let them be creative and enjoy it. You might be surprised at the awesome things they come up with.
Advanced Elephant Paper Cutting Techniques for Older Kids
Advanced Elephant Paper Cutting Techniques for Older Kids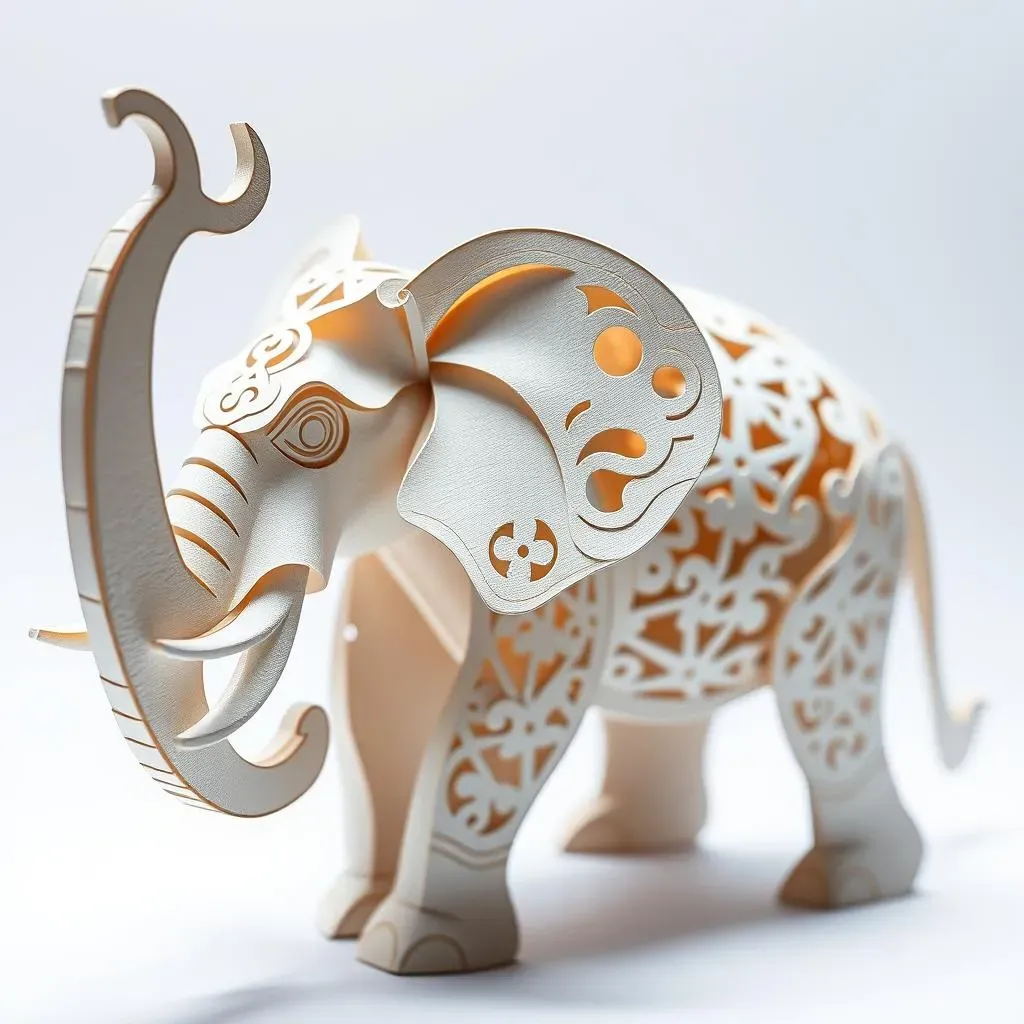
Intricate Designs and Folds
Alright, so you've mastered the basic elephant? Now, let's crank things up a notch! We're moving into the realm of intricate designs and clever folds. Instead of just cutting out a simple shape, we'll start thinking about how to create more detailed elephants with layers and textures. Picture this: an elephant with detailed ears, a trunk with delicate curves, and even tiny toenails! We can also start introducing the idea of paper folding to add dimension. Think of it like origami, but with scissors involved. It’s about combining cutting and folding to make the elephant look more realistic and interesting. It's like turning your paper into a tiny, three-dimensional sculpture.
I remember trying this with my niece, and she was amazed at how a few extra cuts and folds could make the elephant look so much more lifelike. It’s all about experimenting and seeing what you can create. Don't be afraid to try new things and push your creative boundaries.
Layering and Textures
One of the coolest ways to make your paper elephants stand out is by adding layers and textures. This means cutting out different parts of the elephant separately and then layering them on top of each other. For example, you could cut out the main body of the elephant, then cut out separate ears, tusks, and even decorative blankets to layer on top. This gives the elephant a three-dimensional feel and makes it look so much more impressive. You can use different colored papers to add contrast and make the details pop. Think about using textured paper to add even more depth and visual interest. It’s like adding the final brushstrokes to a painting, taking it from good to great.
Technique | Description |
|---|---|
Layering | Cutting separate parts and stacking them. |
Texturing | Using paper with different textures. |
Folding | Adding folds to create dimension. |
Using Templates and Stencils
If you’re feeling a little intimidated by the idea of creating intricate designs from scratch, don't worry, there are plenty of templates and stencils you can use. You can find tons of free templates online, or you can even buy stencils specifically designed for paper cutting. Using a template is a great way to ensure that your elephant is symmetrical and has all the right proportions. You can trace the template onto your paper and then cut along the lines. It's like having a cheat sheet for amazing paper cutting! But remember, templates are just a starting point. Don't be afraid to add your own creative touches and personalize your elephants. It's all about making it your own.
My first time trying this, I was so relieved to have a template. It really helped me get the basic shape right. Then, I added my own details, like different patterns and textures. It’s like having a road map to guide you, but with plenty of room to explore and take detours.
Tips and Tricks for Perfect Elephant Paper Cutting
Tips and Tricks for Perfect Elephant Paper Cutting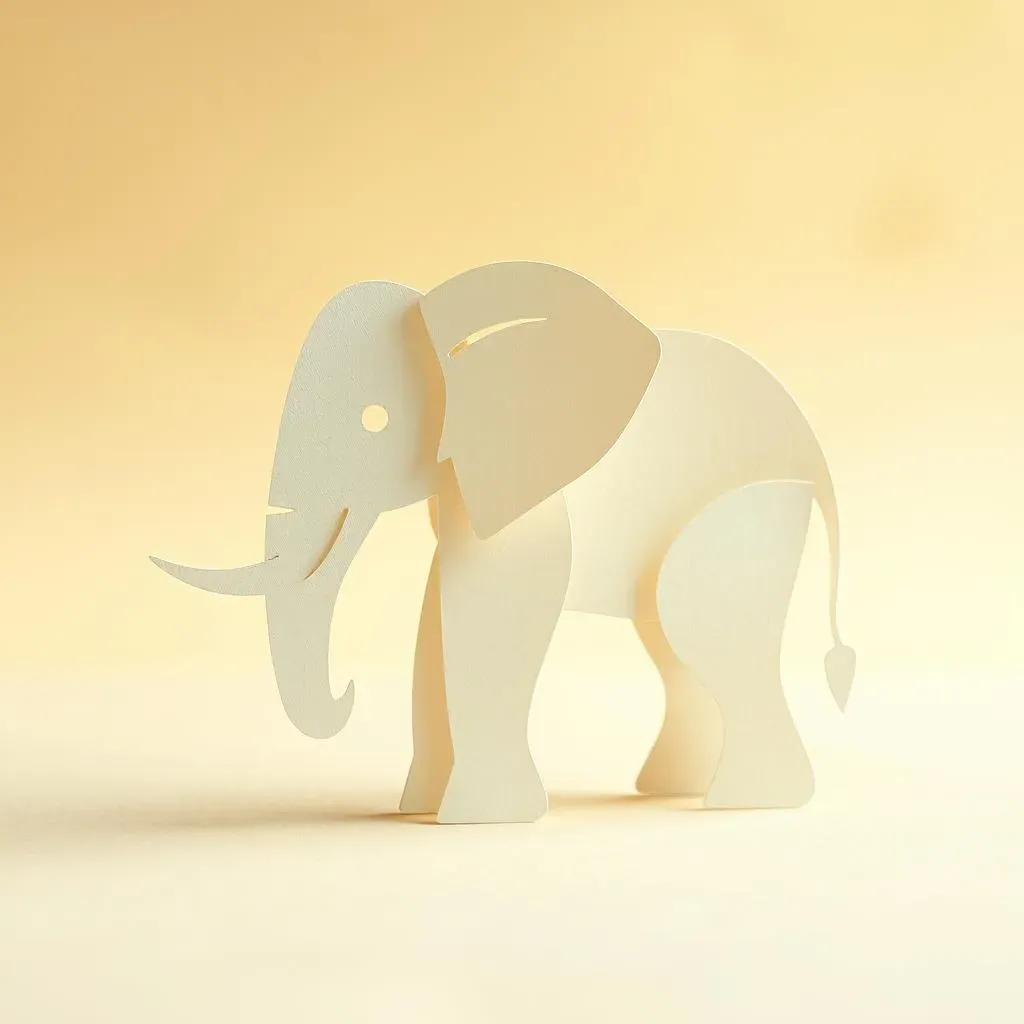
Choosing the Right Tools
Alright, let’s talk tools! Having the right gear can make a huge difference in your paper-cutting adventures. First up, scissors. You need a pair that's sharp and comfortable to hold. Little hands will do better with smaller, rounded-tip scissors, while older kids might prefer something with a bit more precision. Don't underestimate the power of good paper! Thicker paper, like cardstock, is great for sturdier elephants, but regular construction paper works fine too. And don't forget a good pencil for drawing your designs. A sturdy eraser is also a must-have, because let's be honest, we all make mistakes. Having the right tools is like having a good set of brushes for painting; it makes the process so much smoother and more enjoyable. It is all about making the process easier and more pleasant.
I remember when I started, I was using these awful, dull scissors, and it was a nightmare. Once I got a decent pair, it was like night and day. The paper cut so much easier, and I wasn't getting frustrated every five seconds. It's worth investing in good tools.
Cutting Techniques and Tips
Now that you have your tools, let’s talk about cutting techniques. The key is to go slow and steady. Don't rush it! It's better to cut slowly and accurately than to try and speed through it and end up with jagged edges. Try to keep the scissors moving smoothly and continuously. If you need to change direction, lift the scissors slightly and turn the paper. This will help you get those nice, clean curves. And here’s a pro tip: if you're cutting out intricate shapes, try cutting away the excess paper in small pieces. This makes it easier to see what you're doing and reduces the risk of tearing your design. It’s like carving wood—you take away small bits at a time to reveal the final shape.
Tip | Description |
|---|---|
Slow and Steady | Cut slowly for accuracy. |
Smooth Motion | Keep scissors moving continuously. |
Turn Paper | Lift scissors and turn paper to change direction. |
Remove Excess | Cut away excess paper in small pieces. |
Adding Personal Touches
Okay, so you've cut out your elephant, and it looks pretty awesome, but now it’s time to add your personal touch to make it really stand out. Think about adding different patterns, colors, and textures. You can use markers, crayons, or even glitter to decorate your elephant. You can also try adding small paper cutouts, like flowers or stars. Don’t be afraid to get creative and experiment. It’s your elephant, so make it unique! Remember, there are no rules in art, only possibilities. Let your imagination run wild, and see what amazing creations you come up with. It’s like adding your own secret ingredient to a recipe—it makes it special.
I once saw a kid who had glued tiny buttons all over his paper elephant, and it looked so cool! It's those little personal touches that really make a project memorable. Don’t be afraid to try something new and different.