Table of Contents
Ever wanted to make something beautiful with just paper and scissors? Then you've got to try easy Chinese paper cutting! It's an old art form that's surprisingly simple to get into. For centuries, people in China have used these paper cutouts to decorate for celebrations, wishing good luck, and just making things look pretty. These aren't just random snips; they're carefully planned designs that create amazing patterns. Think snowflakes, but way cooler. In this article, I'll walk you through the process. We'll start with the basic tools you need to gather, then move on to folding techniques that create super symmetrical designs. I'll also share some easy patterns that are perfect for beginners, so don't worry if you've never tried this before! Finally, we'll talk about ways to display your finished artwork because you’re going to be so proud of your work! Get ready to unlock your inner artist and have some fun with easy Chinese paper cutting!
Tools for Easy Chinese Paper Cutting
Tools for Easy Chinese Paper Cutting
The Bare Necessities
Okay, so you want to get into easy Chinese paper cutting? Awesome! First things first, you don’t need a fancy setup. We're talking about the basics here. You probably have most of this stuff lying around already. Grab a pair of scissors, nothing too big or too small, just something you can handle comfortably. A pencil is essential for sketching out your designs before you cut. And of course, the star of the show: paper! For traditional designs, you'll want red paper, because it symbolizes good luck and happiness, but any color will do if you're just experimenting.
I remember using old magazines for practice when I first started. It's a great way to get the hang of it before using the good stuff.
Paper Choices and Cutting Surfaces
Let’s talk paper. While red paper is traditional, any thin paper will work for practicing, like printer paper or even colorful construction paper. Avoid anything too thick, because it’ll be a pain to cut through, especially when you are folding multiple layers. Also, consider a cutting surface. You don't want to ruin your table. A simple cutting mat or even a stack of old magazines will do the trick. It's all about making the process easier and less messy. I've definitely learned that the hard way, after accidentally making some interesting patterns on my desk.
Tool | Purpose | Notes |
|---|---|---|
Scissors | Cutting paper | Small, comfortable to handle |
Pencil | Drawing designs | Any pencil will work |
Paper | Main material | Red is traditional, thin paper recommended |
Cutting surface | Protecting your table | Cutting mat or old magazines |
Optional But Helpful Tools
So, you've got the essentials down. Now, here are some extra tools that can make your paper cutting even more fun. A craft knife can be helpful for intricate designs, but be careful. Also, a ruler can be useful if you want to make straight lines and sharp angles. Some folks like to use a bone folder to make crisp folds, but honestly, your fingers work just fine. These are not must-haves, but they can be nice to have as you get more into the hobby. It’s like leveling up your paper cutting game!
I once tried using a pizza cutter instead of scissors, it didn't go well, stick with the basics, trust me.
Folding Techniques for Symmetrical Paper Cuts
Folding Techniques for Symmetrical Paper Cuts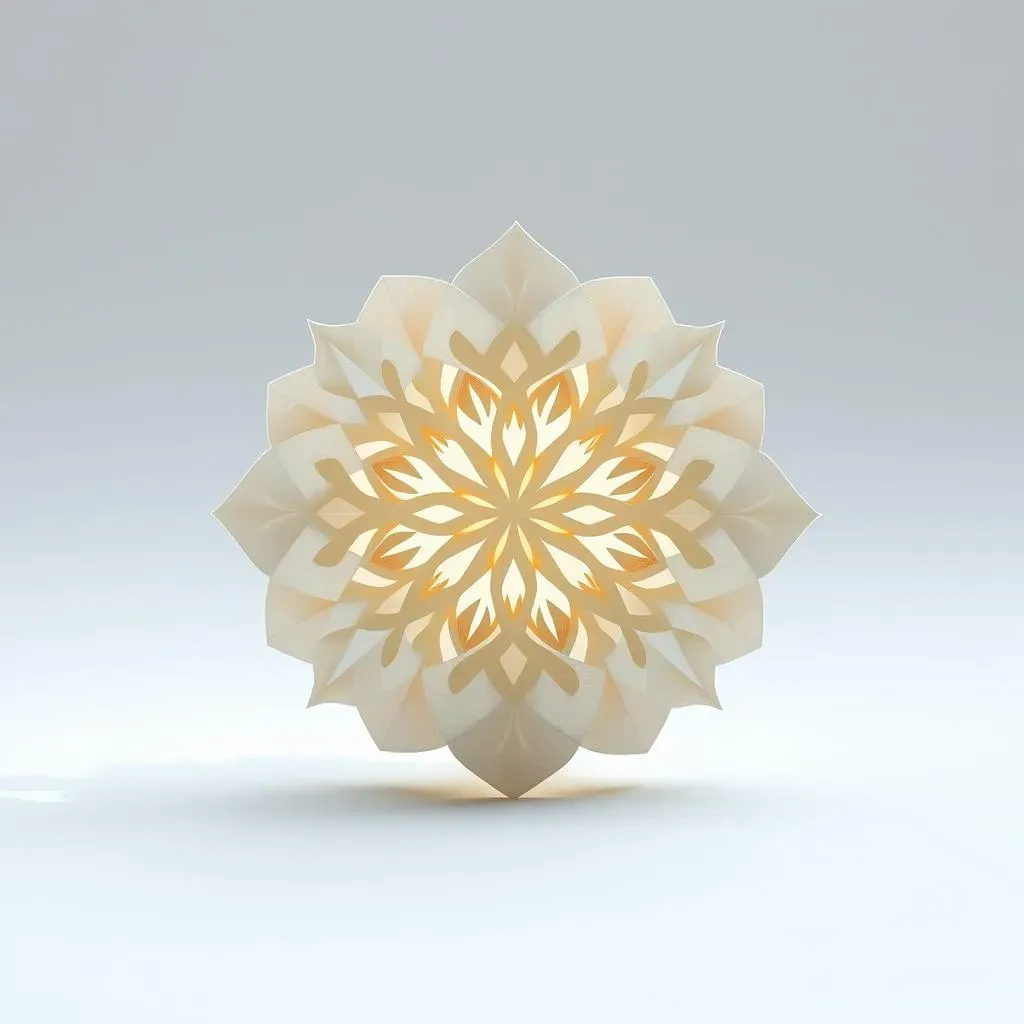
The Magic of Folding
Okay, so you've got your tools, now for the fun part: folding! This is where the magic happens, turning a plain square of paper into a symmetrical masterpiece. The way you fold the paper dictates the overall pattern of your paper cut. Think of it like creating a mirror image. The most basic fold is in half, creating a rectangle. Then, you can fold it in half again to make a smaller square. This gives you a four-way symmetry, which is perfect for beginner designs. It's kind of like creating a secret code for your paper cut, each fold adds a new layer of complexity.
I remember my first attempt looked like a crumpled mess, but with practice, it's become second nature, you'll get the hang of it.
Beyond the Basics
Want to get a little fancier? Try folding your paper diagonally! Fold it once to make a triangle, then fold it again to make a smaller triangle. This gives you a different kind of symmetry, perfect for creating star-like or circular designs. It's like unlocking a new level in a game. You can also fold your paper into thirds, like a letter, for even more unique patterns. The trick is to make your folds as crisp as possible, so the layers don't shift when you cut. This can be a bit tricky at first, but it's worth the effort to get those clean lines. I once tried folding with a wet paper, let's just say it didn't end well.
Fold Type | Shape | Symmetry | Best For |
|---|---|---|---|
Half Fold | Rectangle | Two-way | Simple designs |
Quarter Fold | Square | Four-way | Common patterns |
Diagonal Fold | Triangle | Radial | Star-like designs |
Third Fold | Long Rectangle | Unique | Creative patterns |
Tips for Perfect Folds
So, how do you get those perfect folds? Well, practice is key, but here are a few tips that'll help. Use your fingernail or a bone folder to create a sharp crease. This makes the paper stay folded and prevents it from shifting when you cut. Make sure your edges are aligned perfectly before creasing. Any little misalignment can throw off the symmetry of your final design. Don't be afraid to unfold your paper and start again if your folds aren't quite right. It’s better to start with a good fold than to struggle with a bad one. It's like building a foundation for your paper cut, the stronger the foundation, the better the final result.
Remember, even if your folds aren't perfect, it's all part of the learning process, so just have fun with it!
Simple Designs for Beginners: Easy Chinese Paper Cutting
Simple Designs for Beginners: Easy Chinese Paper Cutting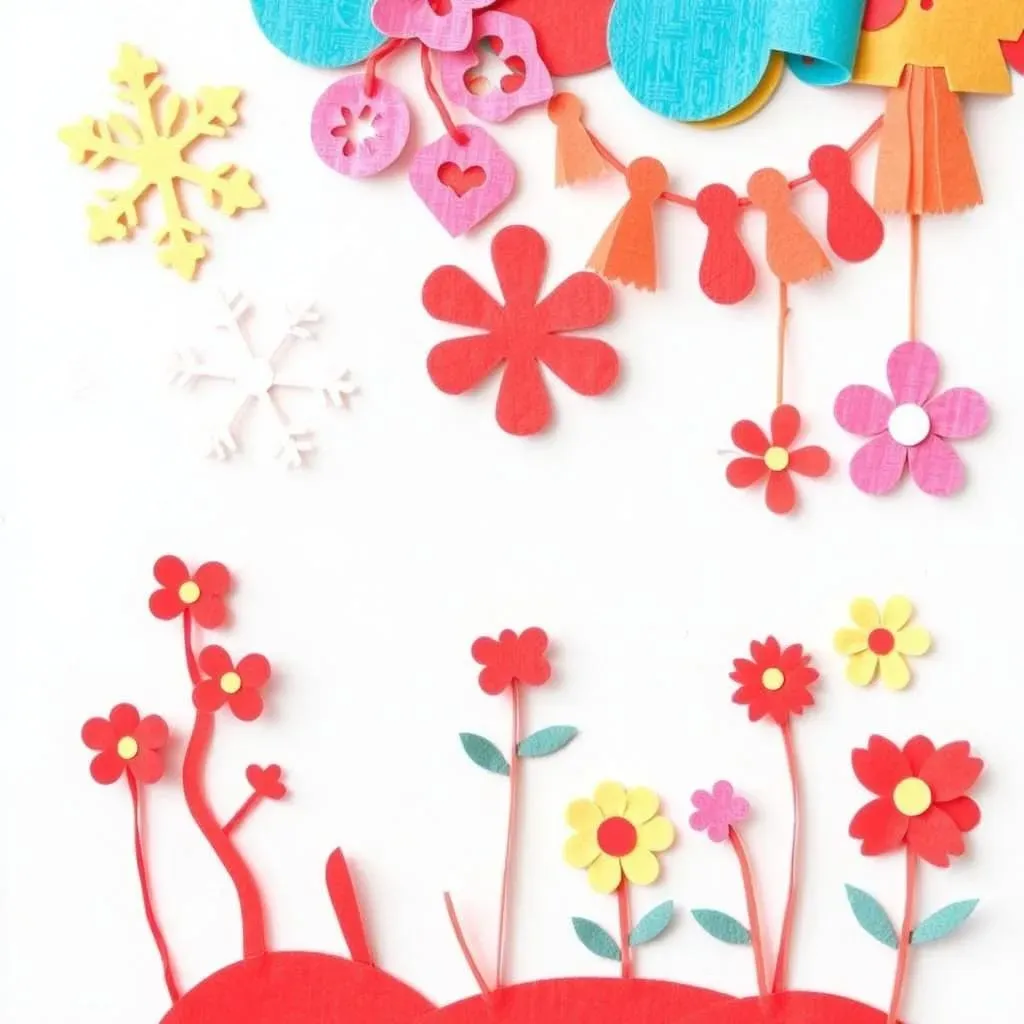
Starting Simple: Basic Shapes
Alright, now that you're a folding master, let’s talk designs, and remember we're talking easy Chinese paper cutting here. Forget about those super complicated patterns for now. We're starting with the basics: simple shapes. Think circles, squares, triangles, and lines. The trick is to focus on the cuts you make on the folded edges. For example, if you make a series of small snips on a folded edge, you'll get a row of little shapes when you unfold it. If you cut a triangle, you'll get a diamond. It's all about experimenting and seeing what happens. Think of it like building blocks for your paper cut, each cut adds a new element to the overall design.
I remember thinking my first design looked like a kid's drawing, but hey, everyone starts somewhere, right?
Easy Patterns to Try
Okay, so you've got the basic shapes down. Now, let's put them together to make some easy patterns. A super simple one is the "snowflake." Just fold your paper into a triangle and make random cuts along the edges. When you unfold it, you'll have a unique snowflake design. Another easy one is a chain of people. Fold your paper like an accordion and cut out half of a person shape on the edge. When you unfold it, you'll have a chain of people holding hands. It's a classic and fun for beginners. Don’t overthink it, just go with the flow and see what happens. Remember, it's all about having fun and exploring your creativity, even if it's a little wonky at first.
Pattern | Description | Difficulty |
|---|---|---|
Snowflake | Random cuts on folded triangle | Easy |
Chain of People | Half-person shapes on accordion fold | Easy |
Simple Flowers | Rounded cuts on folded square | Easy |
Geometric Shapes | Straight cuts on folded paper | Easy |
Tips for Cutting Simple Designs
So, how do you get those clean cuts when making easy Chinese paper cutting? First, make sure your scissors are sharp. Dull scissors will just tear the paper and make your cuts look jagged. Second, take your time! Don't rush the process. Slow, steady cuts are better than fast, sloppy ones. Start with small cuts and work your way up to bigger ones. If you are cutting curves, rotate the paper as you cut, instead of trying to move the scissors in a curve, that will make it more smooth. And lastly, don't be afraid to make mistakes! It's all part of the learning process, and sometimes the mistakes turn out to be the most interesting part of the design. It's like a happy accident, a surprise that makes your paper cut unique.
I've definitely had my fair share of happy accidents, some of my best designs came from a slip of the scissors.
Displaying Your Easy Chinese Paper Cutting Art
Displaying Your Easy Chinese Paper Cutting Art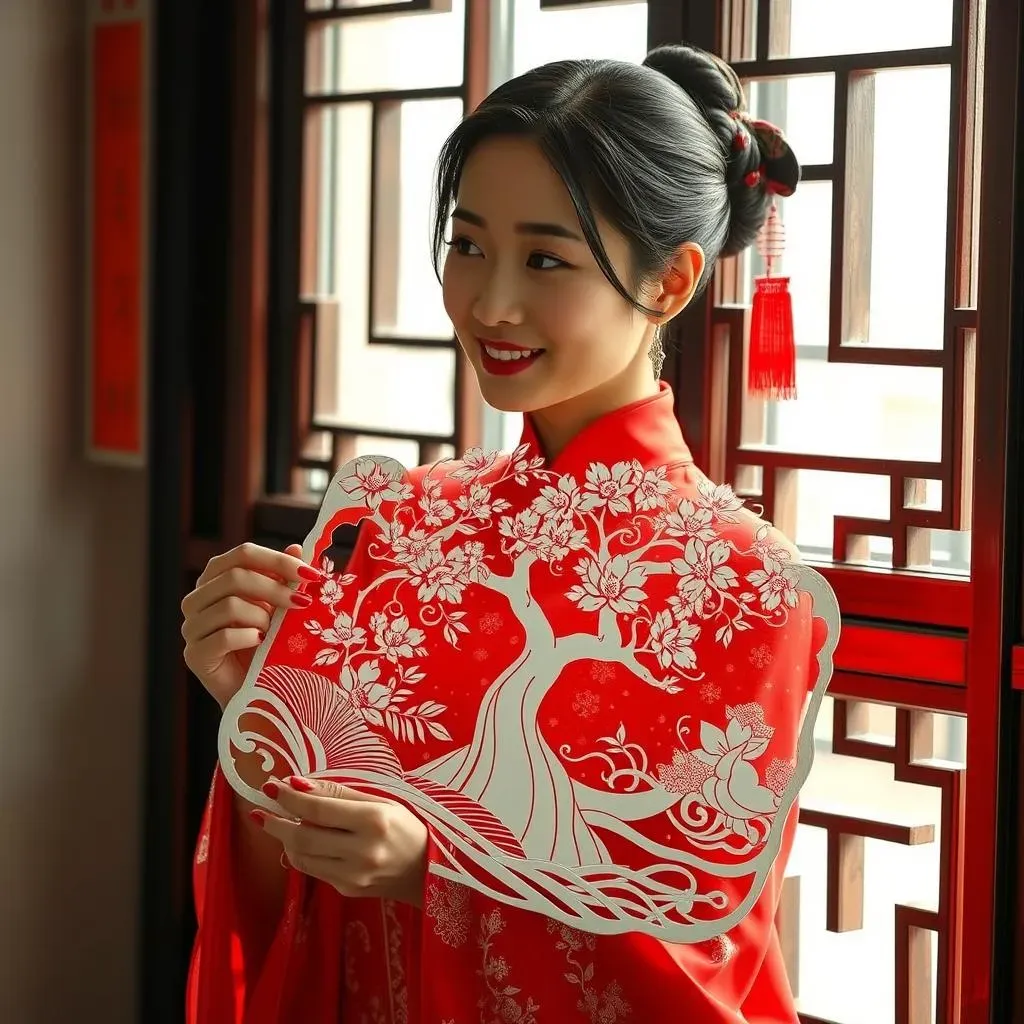
Traditional Displays: Windows and Doors
Okay, so you’ve spent time crafting your amazing paper cuts; now it's time to show them off! Traditionally, Chinese paper cuttings are displayed on windows and doors. The red color pops beautifully against the glass, and the light shining through the paper creates a stunning effect. You can use a bit of tape or glue to stick them on. It's like giving your home a festive, artistic touch. I've seen houses decorated like this during Chinese New Year, and it's absolutely breathtaking. It's a simple way to bring a bit of culture and charm to any space.
I remember the first time I saw a window covered in paper cuts, it felt like stepping into a magical world.
Modern Ways to Show Off Your Art
While the traditional way is cool, there are also tons of modern ways to display your paper cuts. You can frame them and hang them on the wall, like a piece of art. You can use them to decorate cards and gifts, adding a personal touch. You can even use them in scrapbooks or as part of a collage. The possibilities are endless! It's about finding what works best for you and your style. I once used my paper cuts to decorate a plain lampshade, and it turned out amazing, it’s all about thinking outside the box!
Display Method | Description | Best For |
|---|---|---|
Windows and Doors | Taped or glued directly | Traditional, festive look |
Framed Art | Placed in picture frames | Modern, sophisticated look |
Cards and Gifts | Attached to cards or gifts | Personal, thoughtful touch |
Scrapbooks and Collages | Integrated into creative projects | Unique, artistic expression |
Tips for Displaying Your Paper Cuts
So, how do you make sure your paper cuts look their best when you display them? First, make sure the surface you are sticking them on is clean and dry. This will help the paper cuts adhere better. If you are using tape, try to use clear tape so it doesn’t distract from the design. If you are framing them, try using a contrasting background to make the design pop. And lastly, don’t be afraid to experiment with different ways of displaying your paper cuts. It’s about finding what you love and what makes your art shine. It’s like giving your paper cuts a stage to show off, so make it a good one!
Remember, the best way to display your art is the way that makes you the happiest!