Table of Contents
Ever wanted to transform simple sheets of paper into intricate works of art? Welcome to the captivating world of cutting paper craft! It might seem daunting at first, but with the right tools, a bit of patience, and this guide, you'll be crafting stunning designs in no time. Forget those expensive store-bought cards and decorations; imagine creating personalized gifts and unique artwork that truly reflects your style. Whether you're a complete beginner or looking to refine your skills, this article will walk you through everything you need to know. We'll start with the essential tools and materials, from selecting the perfect paper to choosing the right cutting tool. Then, we'll dive into basic techniques, teaching you how to make clean cuts and create basic shapes. Ready to level up? We'll explore advanced techniques for creating intricate designs and patterns. Finally, we'll tackle common challenges and share troubleshooting tips to ensure your paper cutting projects are a success. So, grab your craft knife and let's get started!
Essential Tools and Materials for Paper Cutting Craft
Essential Tools and Materials for Paper Cutting Craft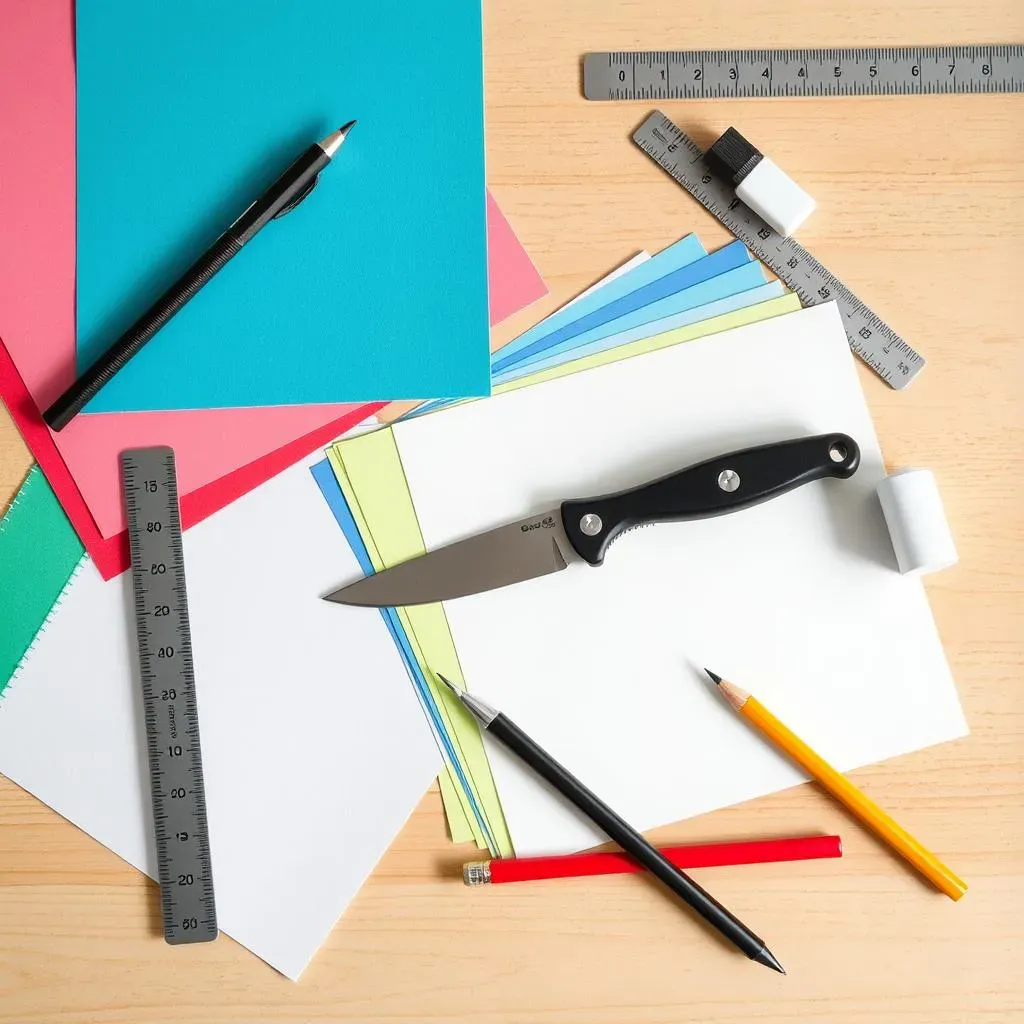
The All-Important Cutting Tool
Let's be real, you can't do much cutting paper craft without something to cut with! A sharp craft knife, also known as a scalpel, is your best friend here. Look for one with a comfortable grip and replaceable blades. A flexible blade is key for navigating curves and intricate details. Don't skimp on quality; a dull blade is more dangerous and will tear your paper, not cut it cleanly. Trust me, I've learned that the hard way!
I personally swear by the Excel Blades K1 Knife. It's got a great grip, the blades are super sharp, and it just feels right in my hand. Experiment with different knives to find what works best for you. You might even want a couple – one for fine detail work and another for heavier cuts.
Paper, Paper Everywhere!
Not all paper is created equal when it comes to cutting paper craft. The weight and texture of your paper will significantly impact the final result. For beginners, I recommend starting with medium-weight paper (around 60-80 lb). It's sturdy enough to hold its shape but still easy to cut. As you get more experienced, you can experiment with lighter or heavier weights, depending on the project.
Colored paper is a must for adding visual interest to your creations. Consider investing in a variety pack to have a range of options on hand. Also, think about the finish – matte, glossy, or textured. Each will give your paper cuts a unique look and feel. For example, I love using metallic paper for creating elegant cards and decorations.
Essential Materials Checklist
- Cutting Mat: Protect your work surface!
- Craft Knife: Sharp and comfortable.
- Replacement Blades: Keep 'em sharp!
- Paper: Variety of weights and colors.
- Ruler: For straight lines and precise measurements.
- Pencil: For transferring designs.
- Eraser: For removing pencil marks.
- Tweezers: For removing small paper pieces.
- Glue or Tape: For assembling your creations.
Mastering Basic Paper Cutting Techniques
Mastering Basic Paper Cutting Techniques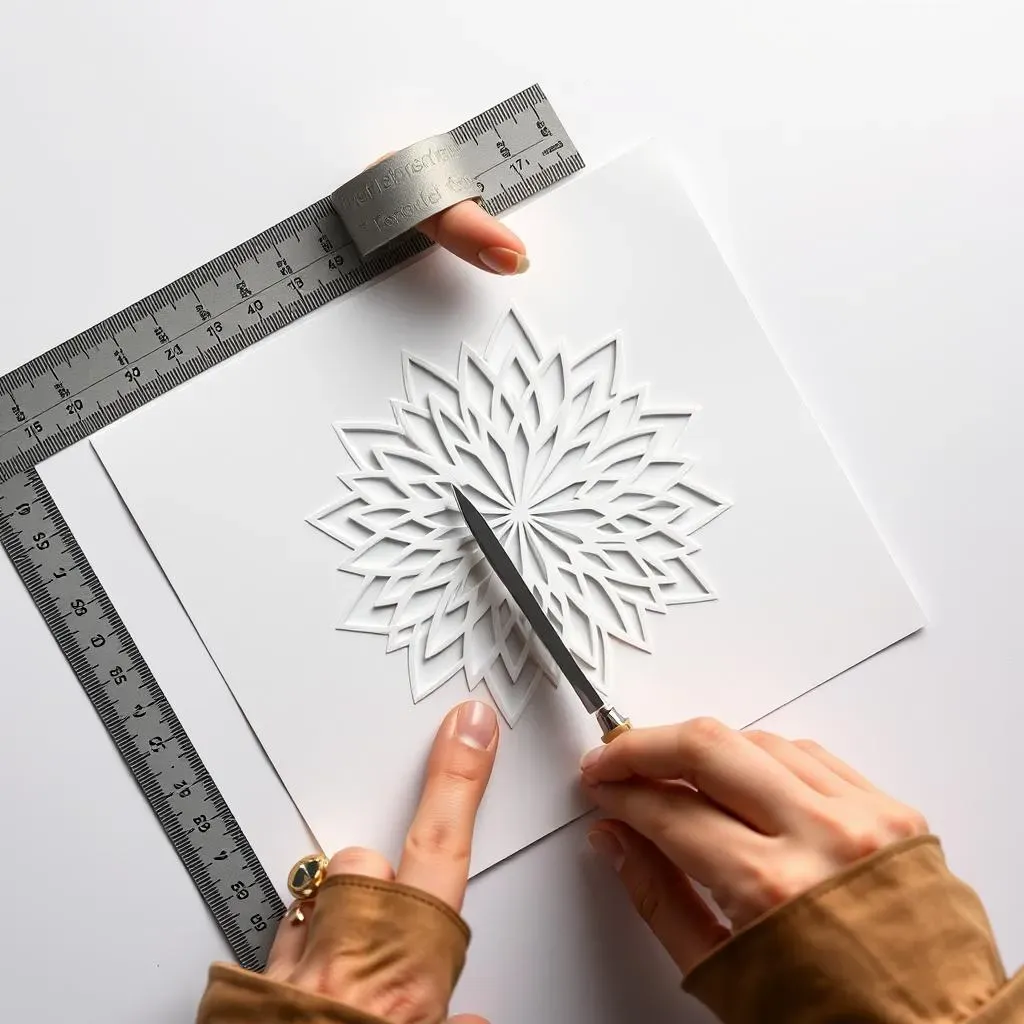
Getting a Grip on Your Craft Knife
Alright, you've got your tools, now let's talk technique! The way you hold your craft knife is crucial for control and precision. Grip it like a pencil, not a dagger! Keep your index finger close to the blade for maximum control. Don't death-grip it, though. You want a relaxed but firm hold. Think of it like holding a conductor's baton – you want to guide the blade, not wrestle it.
Practice on scrap paper first! Get a feel for how the knife moves and how much pressure you need to apply. Start with simple lines and shapes. The goal is to develop a smooth, consistent cutting motion. Remember, it's better to make multiple light cuts than to try to force the blade through in one go. Patience, my friend, patience!
The Art of the Controlled Cut
Now for the actual cutting. Always cut away from yourself, and keep your fingers out of the path of the blade. Safety first, people! Use your non-dominant hand to gently rotate the paper as you cut, allowing the blade to follow the curve of the design. This is way easier than trying to twist the knife itself. Think of it like drawing with your whole arm, not just your wrist.
When cutting straight lines, use a ruler as a guide. But be careful! It's easy to slip and slice into the ruler. I recommend using a metal ruler with a non-slip backing. And always double-check that the ruler is securely in place before you start cutting. There's nothing more frustrating than ruining a perfectly good piece of paper because of a wobbly ruler.
Simple Shapes, Big Impact
Start with basic shapes like squares, triangles, and circles. These will help you develop your cutting skills and get a feel for different paper weights and textures. Try cutting out a simple geometric pattern, like a repeating triangle design. This is a great way to practice cutting straight lines and sharp corners.
Once you've mastered the basics, move on to more complex shapes like leaves, flowers, and animals. You can find free templates online or create your own designs. Don't be afraid to experiment and get creative! The most important thing is to have fun and keep practicing. The more you cut, the better you'll get. And who knows, maybe you'll discover your inner paper-cutting Picasso!
Troubleshooting Tips for Beginners
- Torn Paper: Use a sharper blade or lighter pressure.
- Jagged Edges: Practice a smoother cutting motion.
- Slipping Knife: Ensure a firm grip and a stable work surface.
Advanced Cutting Paper Craft: Intricate Designs and Patterns
Advanced Cutting Paper Craft: Intricate Designs and Patterns
Taking Your Paper Cutting to the Next Level
So, you've mastered the basics, huh? Ready to dive into the deep end of advanced cutting paper craft? This is where things get really exciting! We're talking intricate designs, complex patterns, and mind-blowing detail. Forget simple shapes; we're about to create paper masterpieces that will leave people speechless. But be warned, this requires patience, precision, and a whole lot of practice. It's not for the faint of heart, but the rewards are well worth the effort. Trust me, once you see what you can create, you'll be hooked!
The key to success in advanced paper cutting is planning and preparation. Before you even pick up your craft knife, spend time designing your pattern. You can find inspiration everywhere – nature, architecture, even abstract art. Once you have a design you love, transfer it carefully to your paper. I like to use a light box to make sure my lines are crisp and clear. And remember, every line matters! A small mistake in the planning stage can lead to big problems later on. So, take your time, be meticulous, and don't be afraid to ask for help. There are tons of online communities and tutorials that can offer guidance and support.
Mastering the Swivel Knife
One of the most essential tools for advanced cutting paper craft is a swivel knife. This allows you to make smooth, continuous cuts in any direction, without having to lift the blade from the paper. It takes some getting used to, but once you master it, you'll be amazed at the level of detail you can achieve. Start by practicing on scrap paper, focusing on maintaining a consistent pressure and speed. Try cutting out spirals, curves, and other complex shapes. The goal is to develop a fluid, natural motion. Don't get discouraged if it feels awkward at first; it just takes practice.
Another technique to master is layering. By cutting out multiple layers of paper and overlapping them, you can create stunning 3D effects. Experiment with different colors and textures to add depth and dimension to your designs. For example, you could create a layered paper flower with delicate petals that seem to float in the air. The possibilities are endless! Just remember to plan your layers carefully and use a strong adhesive to keep everything in place. And don't be afraid to experiment with different techniques. The best way to learn is by doing, so grab your craft knife and start cutting!
Advanced Techniques for Intricate Designs
Ready to tackle some truly intricate designs? This is where you'll need to combine all the skills you've learned so far. Patience is key here, as these projects can take hours, or even days, to complete. Start by breaking down the design into smaller, more manageable sections. This will make the process less daunting and allow you to focus on each detail individually. Use a magnifying glass to ensure your cuts are precise and clean. And don't be afraid to take breaks! It's easy to get burned out when working on a complex project. Step away from your work, stretch your legs, and come back with fresh eyes.
Another advanced technique is paper piercing. This involves using a needle or pin to create tiny holes in the paper, adding texture and detail to your designs. You can use a template to guide your piercings or create your own patterns. Paper piercing is a great way to add a subtle, elegant touch to your paper cuts. For example, you could create a delicate lace pattern by piercing tiny holes along the edges of a paper doily. The possibilities are endless! Just remember to use a soft surface underneath your paper to protect your work surface.
Technique | Description | Tips |
|---|---|---|
Swivel Knife | Allows smooth, continuous cuts in any direction. | Practice on scrap paper, maintain consistent pressure. |
Layering | Creating 3D effects by overlapping multiple paper layers. | Plan layers carefully, use strong adhesive. |
Paper Piercing | Adding texture and detail with tiny holes. | Use a template, soft surface underneath. |
Troubleshooting and Tips for Perfect Paper Cutting
Troubleshooting and Tips for Perfect Paper Cutting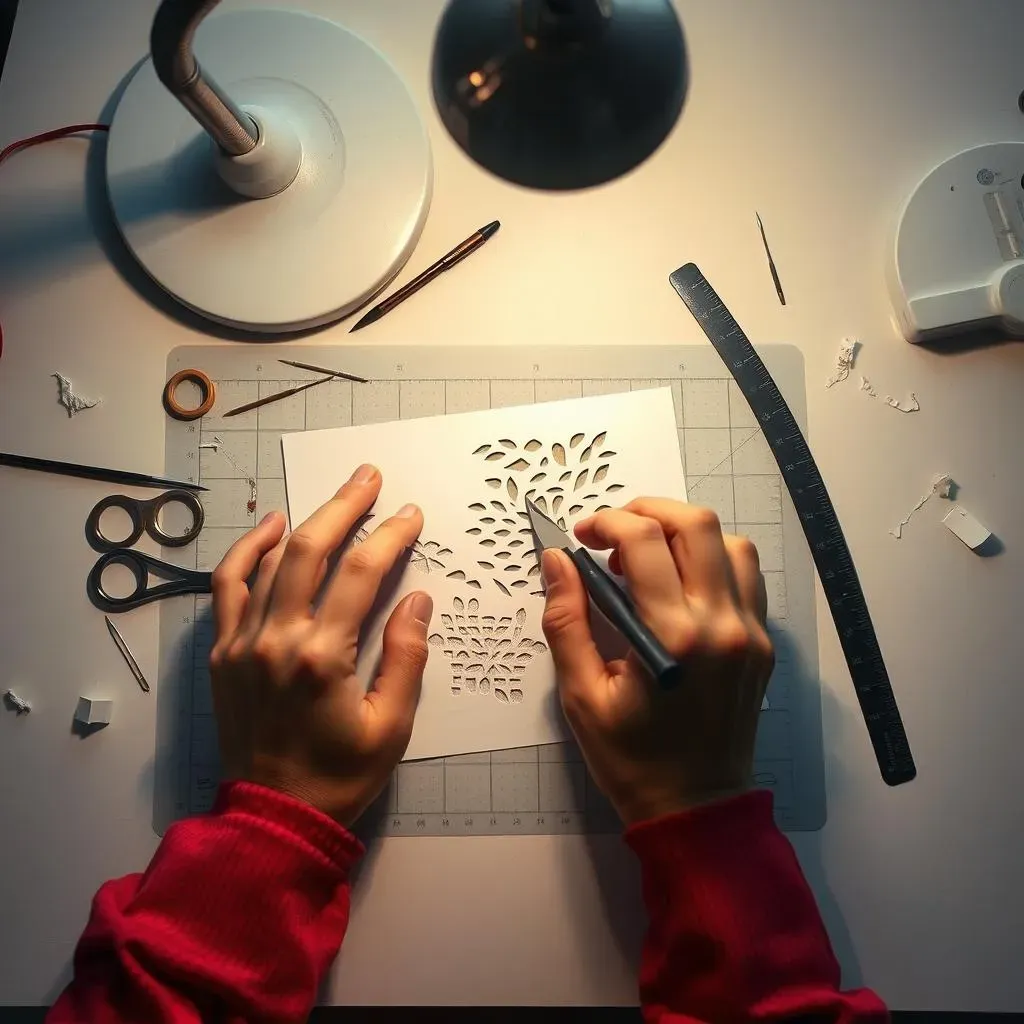
Common Paper Cutting Mishaps (and How to Fix Them!)
Let's face it, even the most experienced paper cutters run into snags. The good news is that most problems are easily fixable. One of the most common issues is accidentally severing a piece that should have been attached. Don't panic! A tiny piece of clear tape or a dab of glue can work wonders. Just be sure to use a minimal amount, so it doesn't create a bulky or unsightly repair. Another frequent frustration is tearing the paper. This usually happens when the blade is dull or you're applying too much pressure. Remember, it's better to make multiple light cuts than to force the blade through in one go. And always, always use a sharp blade! Trust me, your paper will thank you for it.
Another pesky problem is getting those tiny, intricate pieces of paper unstuck from your design. This is where a good pair of tweezers comes in handy. Gently lift the piece away from the paper, being careful not to tear anything. If the piece is really stubborn, try using a needle or pin to loosen it first. And if all else fails, just leave it! Sometimes, those little imperfections add character to your paper cuts. After all, handmade items are supposed to look handmade, right? Embrace the imperfections, and don't strive for robotic perfection. It's the little quirks that make your creations unique and special.
Pro Tips for Paper Cutting Success
Alright, now for some insider secrets to take your cutting paper craft skills to the next level. First, take breaks! Paper cutting can be surprisingly tiring, especially when you're working on a complex design. Step away from your work every hour or so to stretch your legs, rest your eyes, and clear your head. You'll come back feeling refreshed and ready to tackle the next section of your project. Second, review your composition periodically. Stand back and take a look at your work from a distance. This will help you spot any areas that need improvement or adjustment. And finally, don't be afraid to experiment! Try different paper weights, colors, and cutting techniques. The more you experiment, the more you'll learn and the more unique your creations will become.
Another pro tip is to invest in a good light source. Proper lighting is essential for seeing the details of your design and making accurate cuts. A desk lamp with a flexible arm is ideal, as it allows you to position the light exactly where you need it. And speaking of tools, don't forget to clean your cutting mat regularly! Paper scraps and debris can build up over time and make it difficult to cut cleanly. Use a soft brush or a damp cloth to wipe down your mat after each use. And finally, remember to have fun! Paper cutting is a relaxing and rewarding hobby. Don't get too caught up in the details or stress about making mistakes. Just enjoy the process and let your creativity flow.
Problem | Solution | Tips |
|---|---|---|
Severed Piece | Tape or glue | Use minimal amount |
Torn Paper | Sharper blade, lighter pressure | Multiple light cuts |
Stuck Pieces | Tweezers, needle | Be gentle, don't force it |
- Take breaks to avoid fatigue.
- Review your composition periodically.
- Experiment with different techniques.
- Invest in a good light source.
- Clean your cutting mat regularly.
- Have fun and let your creativity flow!
Crafting Your Paper Cutting Journey: From Novice to Artist
Embarking on the adventure of cutting paper craft opens up a world of creative possibilities. Armed with the foundational knowledge of tools, techniques, and troubleshooting tips discussed in this guide, you're well-equipped to transform simple sheets of paper into stunning works of art. Remember, the key to mastering this craft lies in practice and patience. Don't be discouraged by initial challenges; embrace them as opportunities to learn and refine your skills. As you continue to explore different designs and patterns, you'll develop your unique style and create personalized treasures that reflect your artistic vision. So, keep cutting, keep creating, and let your imagination soar!
