Table of Contents
Ever wanted to make something amazing with just paper and scissors? Then you're in for a treat! This article is your go-to guide for the colorful world of colour paper cutting. Forget complicated art supplies; we're diving into a craft that’s both simple and super satisfying. We'll start with the basics, like what tools you’ll need and how to make your first cuts. Then, we'll move on to creating cool shapes and patterns, because who doesn’t love a good design? If you're feeling adventurous, we'll explore how to layer paper for those wow-factor projects. And don't worry, if you're stuck for ideas, I’ve got a bunch to get you started! By the end, you'll be snipping and shaping your way to awesome paper art. So, grab your paper, scissors, and let’s get cutting!
Getting Started with Colour Paper Cutting: Tools and Materials
Getting Started with Colour Paper Cutting: Tools and Materials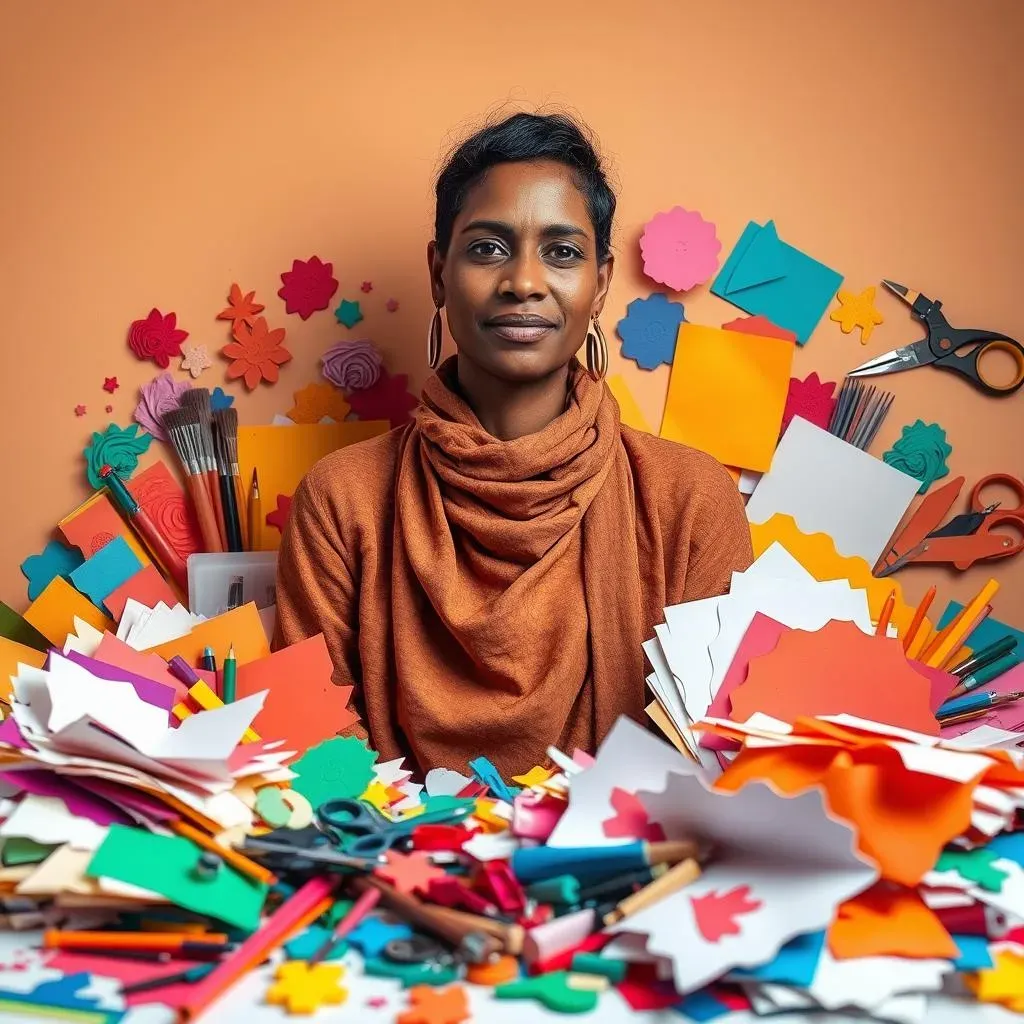
Paper Choices
Okay, first things first: paper! Not all paper is created equal, especially when you're getting into colour paper cutting. Think about the kind of project you want to make. If you're going for something delicate, like a lacy design, you'll want thinner paper that's easy to cut. Construction paper is great for beginners because it's sturdy and comes in tons of colors. If you want to get fancy, try cardstock. It's thicker and will give your finished piece a more substantial feel, but it can be a bit tougher to cut. Remember, the brighter the color, the more your design will pop!
Don't stress too much about getting it perfect right away. I’ve totally used scrap paper to practice, and it works just fine! The point is to have fun and see what you can create. Experiment with different weights and textures to see what you like best. You might find that you prefer a certain paper for certain projects. So, grab a stack of colorful paper and let’s get going. It is just paper, after all, and you can always start again.
Essential Tools
Now, let's talk tools. You don't need a fancy setup to start with colour paper cutting. A good pair of scissors is a must. Small, sharp scissors are your best friend. They give you more control when cutting curves and intricate details. I have a pair with a pointed tip that I love. Also, a craft knife (like an X-acto knife) is useful for more precise cuts. Just make sure you use a cutting mat underneath so you don’t ruin your table.
Another essential tool is a pencil. You’ll need it to draw your design onto the paper before you start cutting. A ruler can be handy, too, especially if you're working on geometric patterns. Don’t forget an eraser for those oops moments. You might also want some tape to hold your paper down if it keeps sliding around. And that’s pretty much it! With these basic tools, you're ready to start your color paper cutting adventure. So, grab your supplies, find a comfy spot, and let's get crafty!
Tool | Use | Why You Need It |
|---|---|---|
Small, Sharp Scissors | Cutting curves and small details | Offers control and precision |
Craft Knife (X-acto) | Precise and straight cuts | For fine lines and edges |
Cutting Mat | Protecting surfaces | Prevents damage to your work area |
Pencil & Eraser | Drawing and correcting | For planning and making changes |
Ruler | Creating straight lines | Helpful with geometric designs |
Tape | Securing paper | Keeps paper in place while cutting |
Basic Techniques for Colour Paper Cutting: Shapes and Patterns
Basic Techniques for Colour Paper Cutting: Shapes and Patterns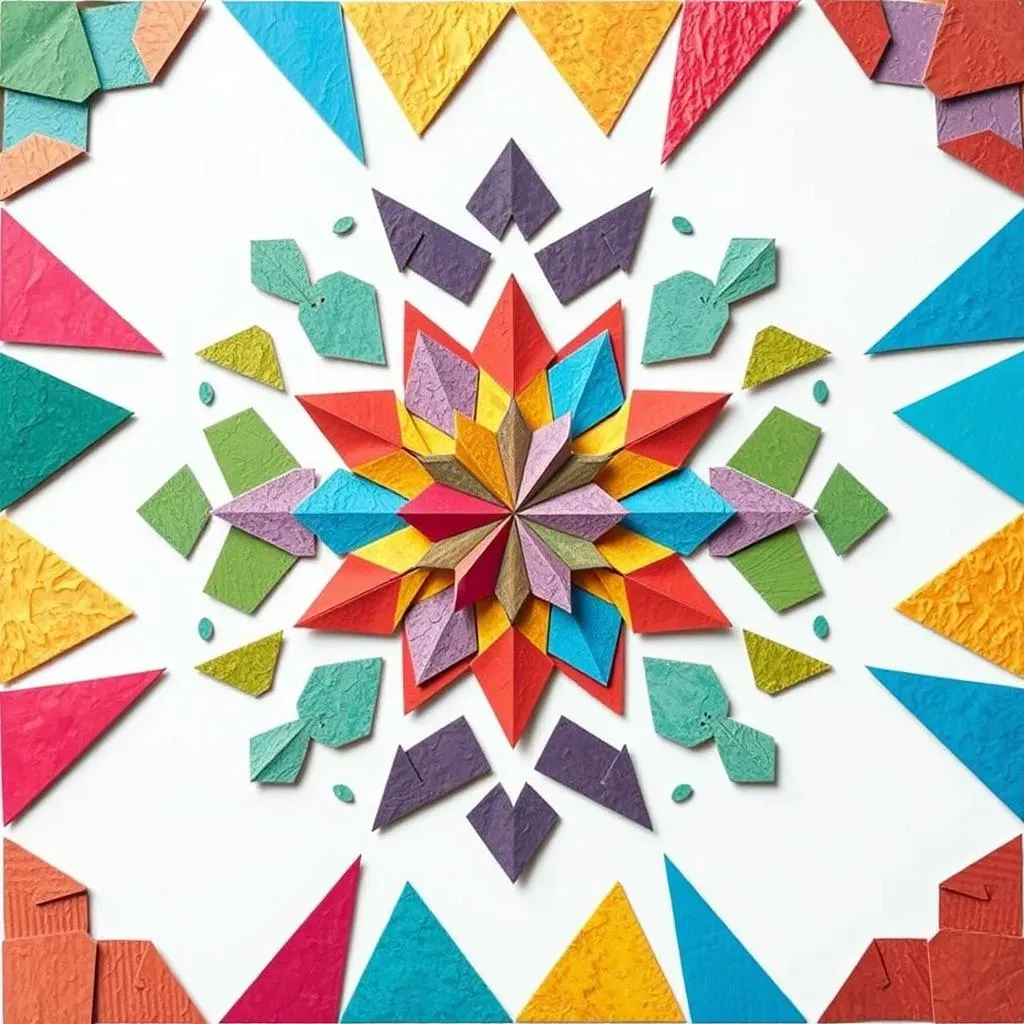
Cutting Basic Shapes
Alright, let's get to the fun part – cutting! Starting with basic shapes is the best way to get comfortable with your tools and the paper. Think simple: squares, circles, triangles, and rectangles. Don’t worry about being perfect; the goal here is to get a feel for how the paper moves under your scissors. Try cutting along straight lines first, then practice curves. I remember when I first started, my circles looked more like blobs, but hey, that’s part of the process! Just keep practicing, and you’ll get the hang of it. You can also try cutting out simple shapes from magazines or newspapers to warm up before moving to your colored paper.
Once you’re feeling good about those basic shapes, try combining them to make simple designs. For example, you can cut out a bunch of triangles and arrange them in a circle to make a star or a flower. Or, cut a few squares and rectangles and create a little house. It is like building blocks, but with paper. These simple shapes are the foundation of all the more intricate designs you’ll make later. So, have fun with it, experiment, and see what cool combinations you can come up with. Don’t be afraid to make mistakes; that’s how you learn!
Creating Simple Patterns
Now, let’s talk patterns! A pattern is just a repeated design, and it’s a great way to add flair to your color paper cutting. Start with something simple, like a row of triangles or a series of circles. Cut out a few shapes and then repeat them across your paper. You can even try alternating colors for a more vibrant look. One easy pattern to start with is just cutting straight lines across your paper, and then turning the paper 90 degrees and cutting again. This creates a cool grid pattern. It is like magic, but with paper!
Another cool technique is folding your paper before cutting. If you fold your paper in half, cut a design on the folded edge, and then unfold it, you'll get a symmetrical pattern. This is how you make paper snowflakes! You can also try folding the paper multiple times to create more complex symmetrical patterns. The possibilities are endless, and it's a great way to practice your cutting skills while creating something beautiful. So, go ahead, experiment with repeating and symmetrical designs and create your own unique patterns. It’s all about having fun and seeing what you can create!
Technique | Description | Tips |
|---|---|---|
Cutting Straight Lines | Cutting along a straight edge | Use a ruler for guidance |
Cutting Curves | Cutting rounded shapes | Rotate the paper while cutting |
Repeating Shapes | Cutting the same shape multiple times | Use a template if needed |
Symmetrical Patterns | Folding paper before cutting | Experiment with different folds |
Advanced Colour Paper Cutting: Layering and Intricate Designs
Advanced Colour Paper Cutting: Layering and Intricate Designs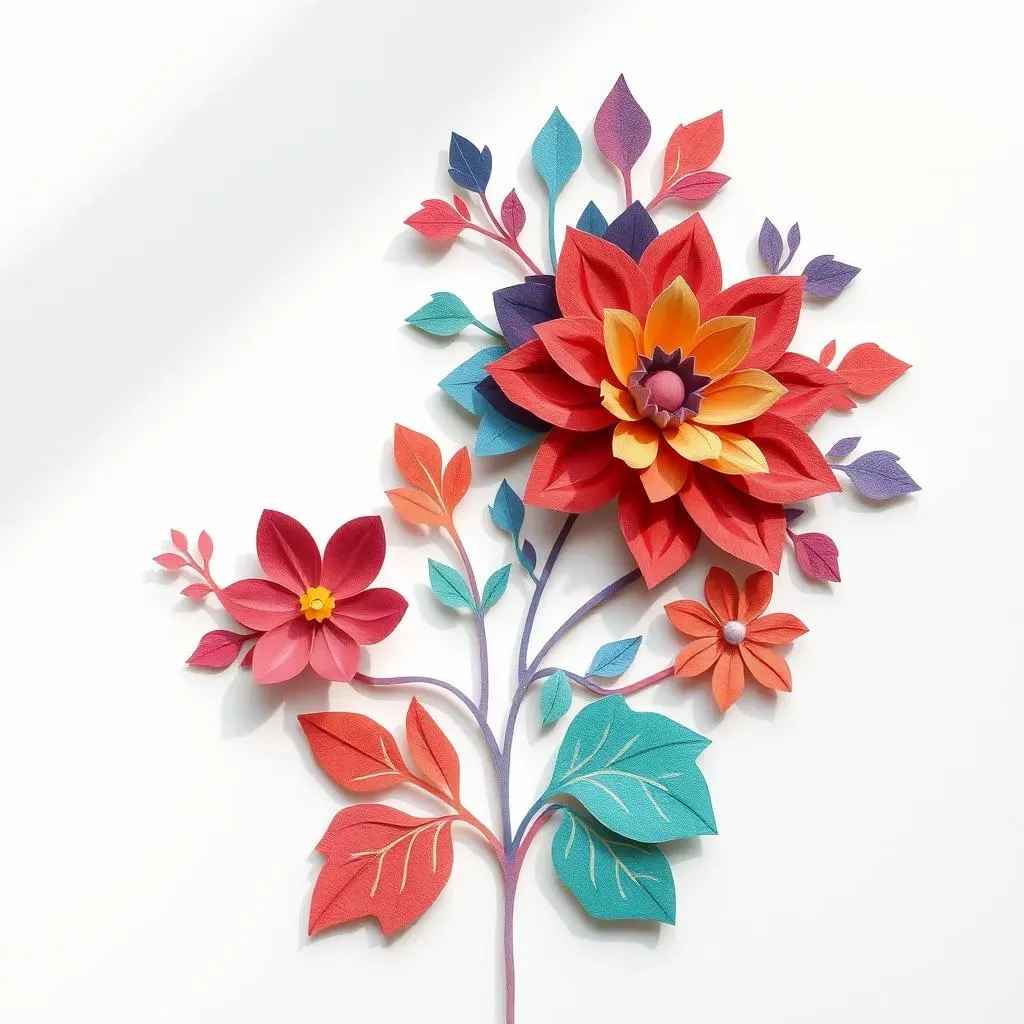
Layering Techniques
Okay, so you've mastered the basics, that's fantastic! Now, let's talk about layering, which is where things get really exciting. Layering is like adding depth to your paper cutting, making it look more like a 3D sculpture than just a flat piece of paper. The idea is simple: you cut out different shapes or designs from different colored papers and then stack them on top of each other. This adds dimensions and makes the colors pop even more. It's like building a paper sandwich, but way cooler! Start by cutting out a simple background, then add more detailed elements on top. I usually cut the background first, then work my way up to the most detailed piece on top. It helps me keep everything aligned.
When layering, think about contrast. Using different colors and shades will make your design stand out. Try using a darker color for the background and then brighter colors for the top layers. Also, don't be afraid to experiment with shapes and sizes. You can cut out the same shape in different sizes and stack them on top of each other to create a sense of depth. Or, you can use different shapes to create a more complex design. It’s all about playing around and seeing what looks best. You can use glue or double-sided tape to stick your layers together, but be careful not to use too much, or it will make your project look messy. I like to use small dots of glue so that it doesn’t squish out the sides.
Creating Intricate Designs
Now, for those of you who are ready for a challenge, let's talk about intricate designs. These are the kind of designs that make people say "wow!" They involve cutting out lots of small details, which can be tricky but also incredibly rewarding. The key to creating intricate designs is patience and a steady hand. Start by drawing your design on the paper with a pencil. You can find lots of inspiration online or in books, or you can create your own. The more detailed the design, the more time it will take, so make sure you have plenty of time set aside. It's not a race, it is a relaxing process.
When cutting intricate designs, make sure you have a sharp craft knife. A dull blade will make it much harder to cut clean lines. Also, make sure you are using a cutting mat, so you don’t damage your table. Cut slowly and carefully, and don’t be afraid to take breaks if your hand gets tired. If you mess up, don’t worry! It’s just paper, and you can always start again. The more you practice, the better you’ll get, and soon you'll be cutting out amazing, intricate designs. It is like learning a new language, it takes time and practice, but you'll get there. And the feeling of accomplishment when you finish a complex design is totally worth it!
Technique | Description | Tips |
|---|---|---|
Layering | Stacking different paper cuts | Use contrasting colors for depth |
Intricate Designs | Cutting detailed patterns | Use a sharp craft knife and take breaks |
Color Contrast | Using different colored paper | Enhances visual impact |
Patience | Taking your time | Improves accuracy and reduces mistakes |
Tips and Tricks
Before I let you go, I wanted to share a few tips and tricks that I’ve learned along the way. First, always keep your blades sharp! A dull blade is the enemy of clean cuts. Change your blades often, and you’ll notice a huge difference. Second, use a light touch when cutting. Don’t press down too hard, let the blade do the work. Third, always cut on a cutting mat. It will protect your table and keep your blades sharp. Another tip is to practice on scrap paper before you start on your final design. This will help you get a feel for the paper and your tools. And, most importantly, don’t be afraid to experiment and have fun. Paper cutting is a creative process, so let your imagination run wild!.
Remember that paper cutting is a journey, not a destination. There will be times when you struggle, and there will be times when you create something amazing. The key is to keep practicing, learning, and having fun. Don't compare your work to others; focus on your own progress and celebrate your achievements. It's all about the process, not just the end result. So, go ahead, grab your paper and scissors, and start creating. You might surprise yourself with what you can do. I know I did when I first started. And, if you ever need inspiration, just look around! There are tons of amazing paper cutting designs out there to spark your creativity, and don’t be afraid to make them your own!
Colour Paper Cutting Ideas and Inspiration: Projects to Try
Colour Paper Cutting Ideas and Inspiration: Projects to Try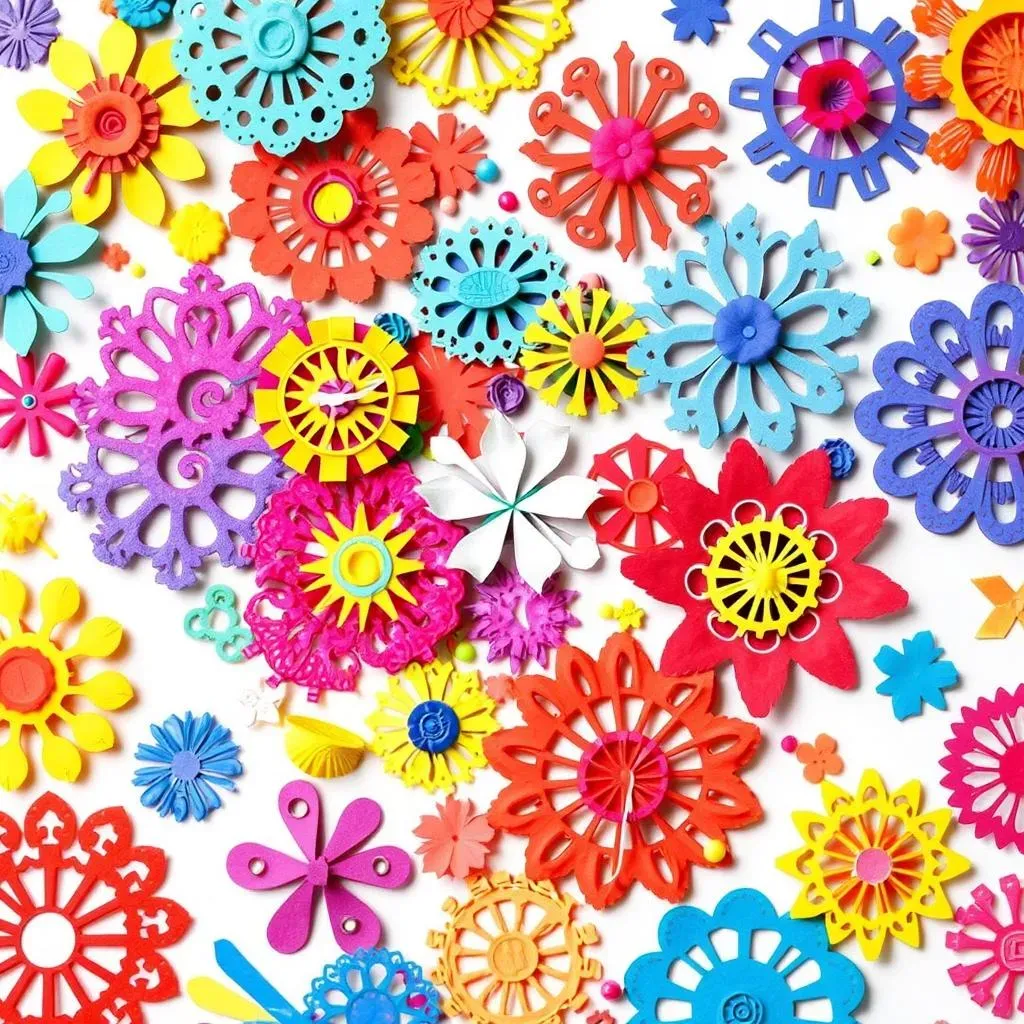
Greeting Cards
Okay, let's get those creative juices flowing with some project ideas! First up, greeting cards. Forget store-bought cards; you can make something way more special with color paper cutting. Think about the person you're making the card for. What are their favorite colors? What are their hobbies? Use that as inspiration for your design. You can cut out simple shapes like hearts or stars, or you can go for something more elaborate like a cityscape or a floral design. Layering different colors can add a really nice touch, making the card feel extra special. You could even add a little pop-up element to surprise the recipient!
For example, if you’re making a birthday card for a friend who loves cats, you can cut out a cute cat silhouette and layer it on top of a colorful background. Or, if you're making a thank-you card, you can cut out some flowers or leaves and layer them for a beautiful, handmade effect. The best part about making your own greeting cards is that they're one-of-a-kind. No one else will have a card exactly like yours, and that makes it extra special. So, grab your favorite colored paper, get your scissors ready, and start creating some personalized greeting cards!
Wall Art
Next up, let's talk wall art. This is where you can really let your imagination run wild. You can create anything from simple geometric patterns to complex landscapes. The best part is that you don't need to be an expert artist to make something beautiful. Start with a simple design and build from there. Think about the space where you'll be hanging your art. What colors would complement the room? What kind of mood do you want to create? You can cut out shapes, letters, or even abstract designs. Then, frame your art and hang it on the wall. It's a great way to add a personal touch to your home.
For example, you could create a series of geometric designs using different colored papers and then arrange them in a collage to create a modern art piece. Or, you could cut out a silhouette of a tree or a mountain range and then layer it on top of a contrasting background for a scenic effect. You can even use your paper cut designs to decorate picture frames or mirrors. The possibilities are endless, and it’s a great way to express yourself through art. So, gather your supplies, find a blank wall, and get ready to transform your space with some amazing paper art!
Project Idea | Description | Tips |
|---|---|---|
Greeting Cards | Personalized cards for any occasion | Use colors and designs that match the recipient |
Wall Art | Decorative pieces for your home | Think about the space and desired mood |
Bookmarks | Unique and practical gifts | Use sturdy paper or cardstock |
Gift Tags | Personalized tags for presents | Add names or special messages |
Bookmarks and Gift Tags
Lastly, let's explore some smaller projects that are perfect for gifts or just for adding a little flair to your everyday items. Bookmarks are a great way to use your color paper cutting skills. You can cut out simple shapes, letters, or even small intricate designs. Use thicker paper or cardstock so your bookmark will last longer. You can also laminate them to make them even more durable. These make great gifts for book lovers, and they’re a fun way to personalize your reading experience. Imagine a bookmark with a tiny paper-cut bird or a delicate flower design. It makes reading even more special!
Gift tags are another great way to get creative with color paper cutting. Instead of using plain old gift tags, why not make your own? You can cut out small shapes or letters and then attach them to your presents. You can even use different colored papers to match the wrapping paper. It’s a small detail that makes a big difference, and it shows that you’ve put some extra thought and effort into your gift. So, whether you're making bookmarks for yourself or gift tags for your friends, these little projects are a fun way to practice your color paper cutting skills and add a personal touch to your life. And that’s it for project ideas! I hope this inspires you to start your own color paper cutting journey, and remember that the most important thing is to have fun and let your creativity shine!
