Table of Contents
Ready to transform ordinary paper into extraordinary works of art? This article is your complete guide to the enchanting world of butterfly paper cutting. Whether you're a seasoned crafter or a curious beginner, you'll discover a wealth of techniques and inspiration to unleash your creativity. We'll start with simple, easy-to-follow instructions for butterfly paper cutting, perfect for those just beginning their paper-cutting journey. Then, we'll explore a range of creative projects, showing you how to use your newly acquired skills to make stunning decorations, personalized greeting cards, and even intricate wall art. For the more adventurous, we'll delve into advanced techniques that will help you master more complex and detailed butterfly designs. Get ready to be amazed by the possibilities of butterfly paper cutting – a craft that's both relaxing and rewarding, offering endless opportunities for self-expression and artistic exploration. Prepare to be captivated by the beauty you can create with just a few simple tools and your imagination. Let's dive in and discover the magic of butterfly paper cutting!
Easy Butterfly Paper Cutting Techniques for Beginners
Easy Butterfly Paper Cutting Techniques for Beginners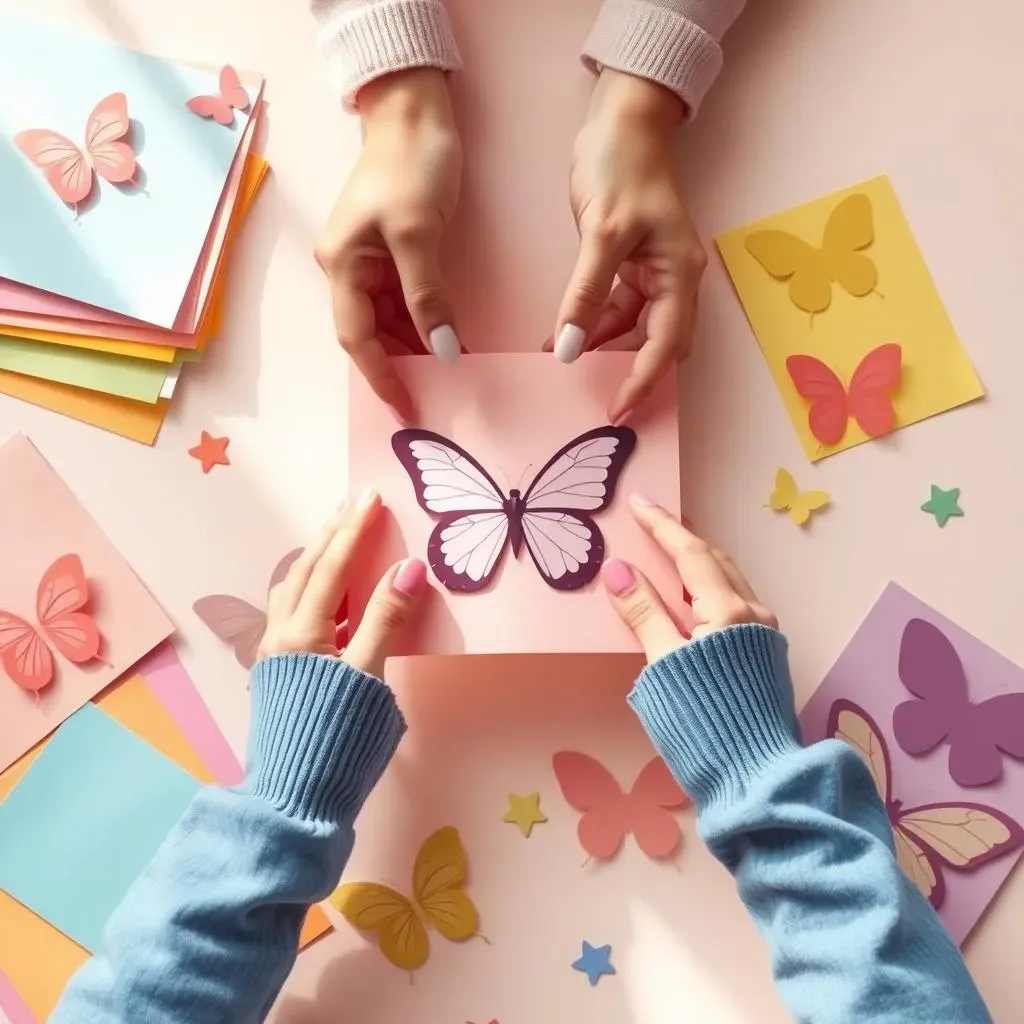
Getting Started: Simple Butterfly Shapes
Let's start with the basics! The easiest butterfly shapes are symmetrical, meaning they're the same on both sides. Think of a simple teardrop shape. Fold a piece of paper in half, draw half a teardrop shape along the fold, then cut it out. When you unfold it, you'll have a perfectly symmetrical butterfly body. From there, you can add simple antennae by cutting small, thin strips from the top. It's that simple!
Don't worry about making it perfect; the beauty of paper cutting is in its imperfection. Embrace the unique character of your creations! Remember, practice makes perfect, so don't be afraid to experiment with different shapes and sizes. You can use any kind of paper you like—construction paper, origami paper, even scrap paper works great! The most important thing is to have fun.
Paper Type | Pros | Cons |
|---|---|---|
Construction Paper | Bright colors, readily available | Can be slightly thicker, making intricate cuts harder |
Origami Paper | Thin, easy to cut, often has interesting patterns | Can be more expensive than construction paper |
Scrap Paper | Free, environmentally friendly | May have varying thicknesses and textures |
Adding Details: Antennae and Wings
Once you've mastered the basic butterfly body, let's add some detail! For the wings, you can experiment with different shapes. Try cutting simple rounded wings, or get a little more adventurous with pointed wings or wings with scalloped edges. Remember to keep your cuts symmetrical to maintain the balance of your butterfly.
To add antennae, simply cut two thin strips of paper from the top of the butterfly's head. You can leave them straight, curl them with scissors, or even add little details like tiny balls at the ends for a more whimsical look. Don't be afraid to get creative and experiment with different antennae styles!
- Simple rounded wings
- Pointed wings
- Scalloped wings
- Straight antennae
- Curled antennae
- Antennae with decorative ends
Creative Butterfly Paper Cutting Projects: From Cards to Decorations
Creative Butterfly Paper Cutting Projects: From Cards to Decorations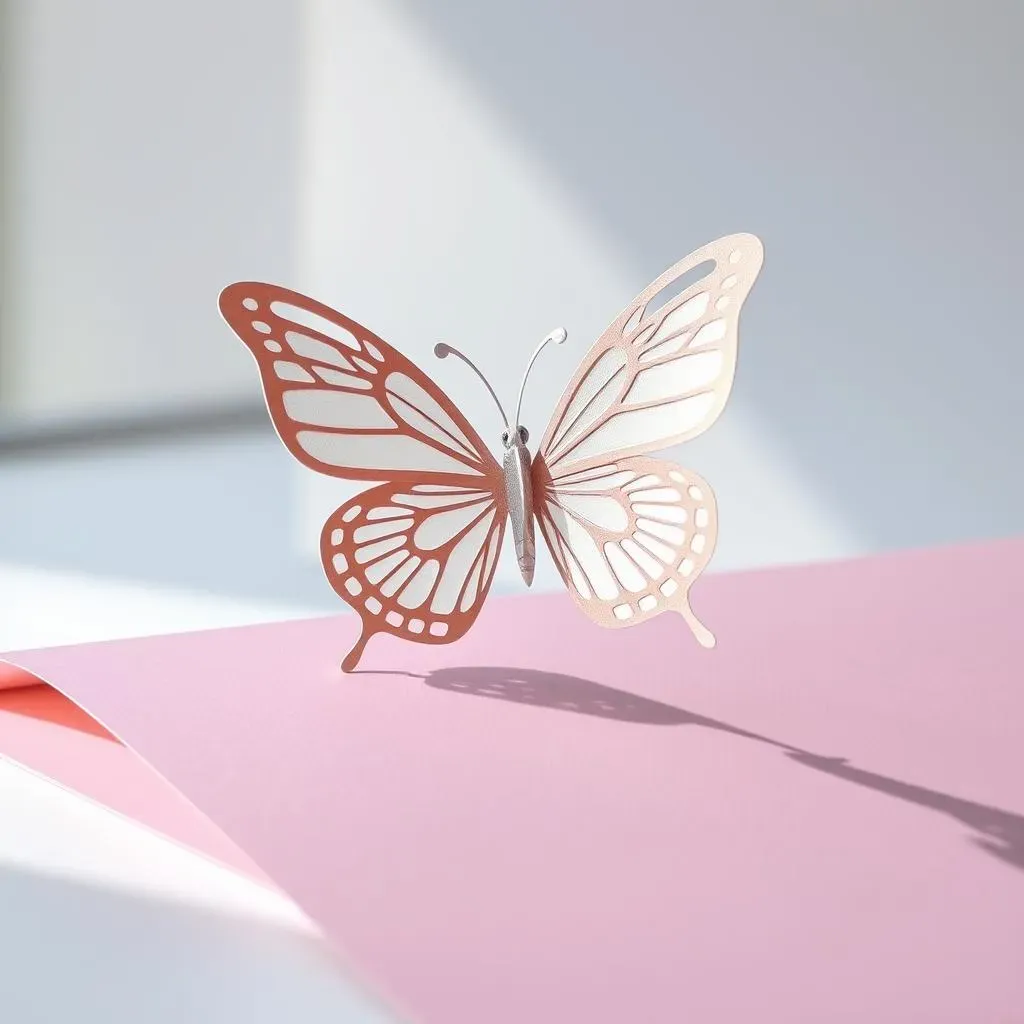
Greeting Cards with a Flutter: Adding Whimsy to Your Messages
Once you've got a few butterflies under your belt (pun intended!), it's time to get creative! Greeting cards are a fantastic way to showcase your paper-cutting skills. Imagine a simple birthday card, but instead of a generic store-bought design, you have a delicate, hand-cut butterfly perched on a corner, its wings seemingly ready to take flight. You can even incorporate the butterfly into the card's design, making it an integral part of the message itself. Think about different color schemes to match the occasion—pastel pinks and purples for a baby shower, vibrant reds and oranges for a celebratory message.
Adding a simple border or a few strategically placed smaller butterflies can add a touch of elegance. You can layer the butterflies, creating depth and dimension—a simple paper cut butterfly layered over another one of a slightly different color creates a beautiful effect. Don't be afraid to experiment with different positions and placements to find what works best for your card design. The possibilities are truly endless!
Card Type | Butterfly Placement | Color Scheme Suggestions |
|---|---|---|
Birthday Card | Corner, center, layered | Bright, cheerful colors |
Thank You Card | Subtle placement, layered | Pastels, muted tones |
Wedding Invitation | Elegant placement, intricate details | White, ivory, gold |
Decorative Butterflies: From Walls to Gift Wrapping
But the fun doesn't stop at cards! Your paper-cut butterflies can transform any space. Imagine a string of delicately cut butterflies strung across your bedroom wall, creating a whimsical, airy feel. Or, think about creating a mobile—a collection of butterflies of varying sizes and colors suspended from a central point—adding a touch of magic to a child's room. For a more sophisticated look, consider framing a single, exquisitely cut butterfly, showcasing its intricate details as a piece of art.
Don't forget about gift wrapping! A simple gift wrapped in plain paper can be elevated to a stunning present with a few strategically placed butterflies. You can arrange them in patterns, create symmetrical designs, or even use them to conceal the tape or ribbon. Consider adding other embellishments like glitter, small beads, or even hand-drawn details to further personalize your creation. Your paper-cut butterflies can add a touch of magic and personal expression to any gift.
- Wall hangings
- Mobiles
- Framed artwork
- Gift wrapping embellishments
- Bookmarks
- Decorative accents for scrapbooks
Advanced Butterfly Paper Cutting: Mastering Intricate Designs
Advanced Butterfly Paper Cutting: Mastering Intricate Designs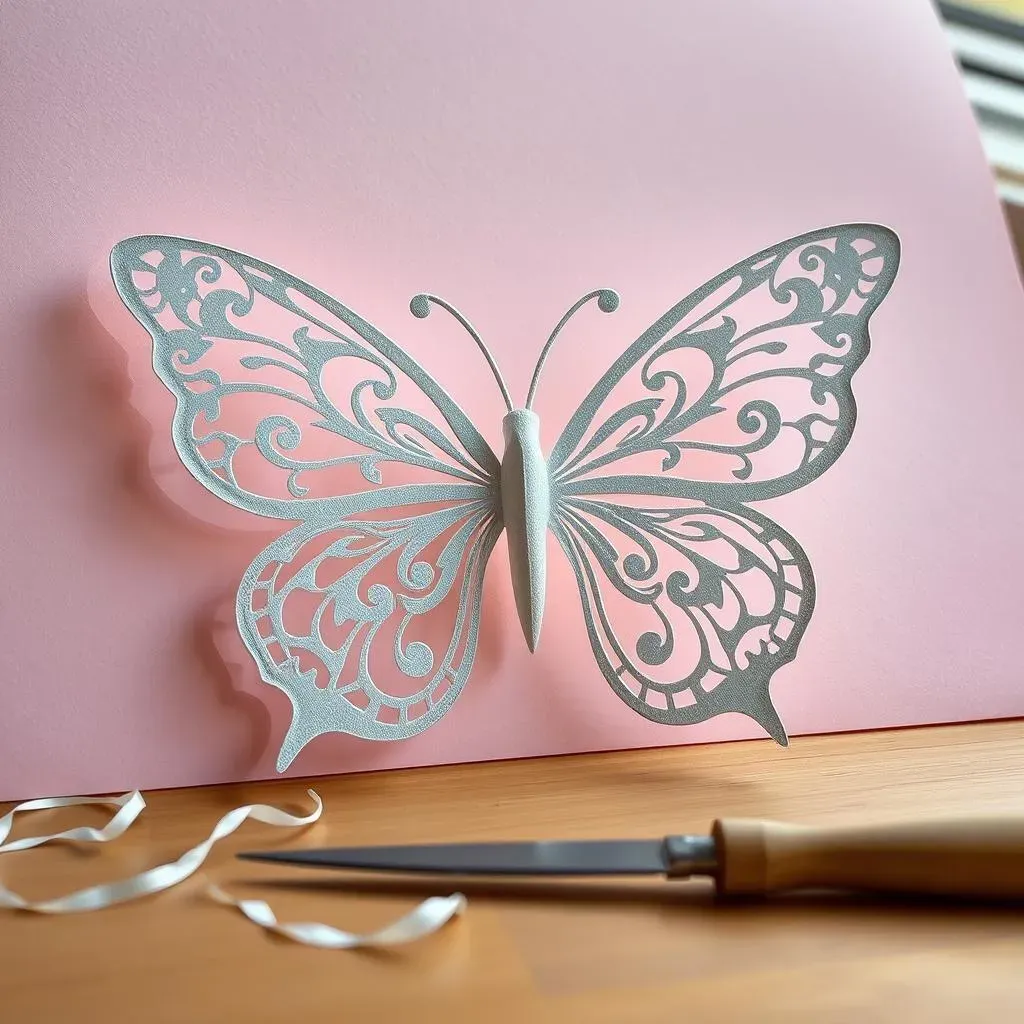
Exploring Intricate Designs: Beyond the Basics
So, you've mastered the simple butterfly? Fantastic! Now let's explore the world of intricate designs. This is where the real fun begins. Think delicate lace-like wings, swirling patterns, and even incorporating other elements like flowers or vines into your butterfly designs. It's all about layering and precision. Start by sketching your design on paper first – this helps you plan your cuts and avoid mistakes. Use a sharp blade, like an X-ACTO knife or a craft knife, for clean cuts. Take your time; patience is key when working on intricate details. Don't rush the process; enjoy the journey of creating something truly unique and beautiful.
One trick is to use different colored papers to create depth and visual interest. For example, you could cut out a base butterfly from a solid color, then layer on top of it wings cut from a patterned paper. Experiment with layering multiple layers of different colors and textures to create a 3D effect. You can even add small details like veins on the wings or tiny dots to add a touch of realism. The key is to experiment and have fun; there are no rules in this world of artistic expression!
Technique | Description | Tips |
|---|---|---|
Layering | Cutting multiple shapes and layering them to create depth | Use different colors and textures for a unique look. |
Pattern Cutting | Cutting intricate patterns within the wings | Practice on scrap paper first to perfect your technique. |
Incorporating other elements | Adding flowers, vines, or other elements to the design | Keep the overall design balanced and harmonious. |
Tools of the Trade: Essential Equipment for Intricate Cuts
To create truly intricate butterfly designs, you'll need the right tools. A sharp craft knife is essential for precise cutting, especially when working with small details. A self-healing cutting mat will protect your work surface and keep your blade sharp. Tweezers can help you handle small pieces of paper and remove excess paper carefully. And finally, a good pair of magnifying glasses can make it much easier to see the tiny details of your design as you are cutting. Investing in high-quality tools will significantly improve the precision and overall quality of your work.
Remember, the more you practice, the better you'll become at handling these tools. Start with simpler designs and gradually work your way up to more intricate ones. Don't be afraid to experiment with different techniques and approaches; the process of learning is just as important as the final result. The journey of mastering intricate butterfly paper cutting is a rewarding one, filled with opportunities for growth and creative expression.
- Sharp craft knife
- Self-healing cutting mat
- Tweezers
- Magnifying glass
- Good lighting