Table of Contents
Ever looked at a plain piece of paper and thought, "This needs some pizzazz"? Well, you're in the right place! I'm super excited to share my passion for border design paper cutting with you. It's not just about cutting paper; it's about transforming simple materials into eye-catching art. Forget those boring, store-bought borders, we're making our own! This article will guide you through easy-peasy paper cutting techniques that anyone can master. We’ll explore how to create unique designs that add flair to any project, from school displays to home decorations. Get ready to unleash your inner artist and discover how to make your own fantastic borders with paper. We’ll cover basic cuts, fun patterns, and even how to apply them to different boards. So, grab your scissors and let’s get cutting!
Easy Paper Cutting Border Designs for Any Project
Easy Paper Cutting Border Designs for Any Project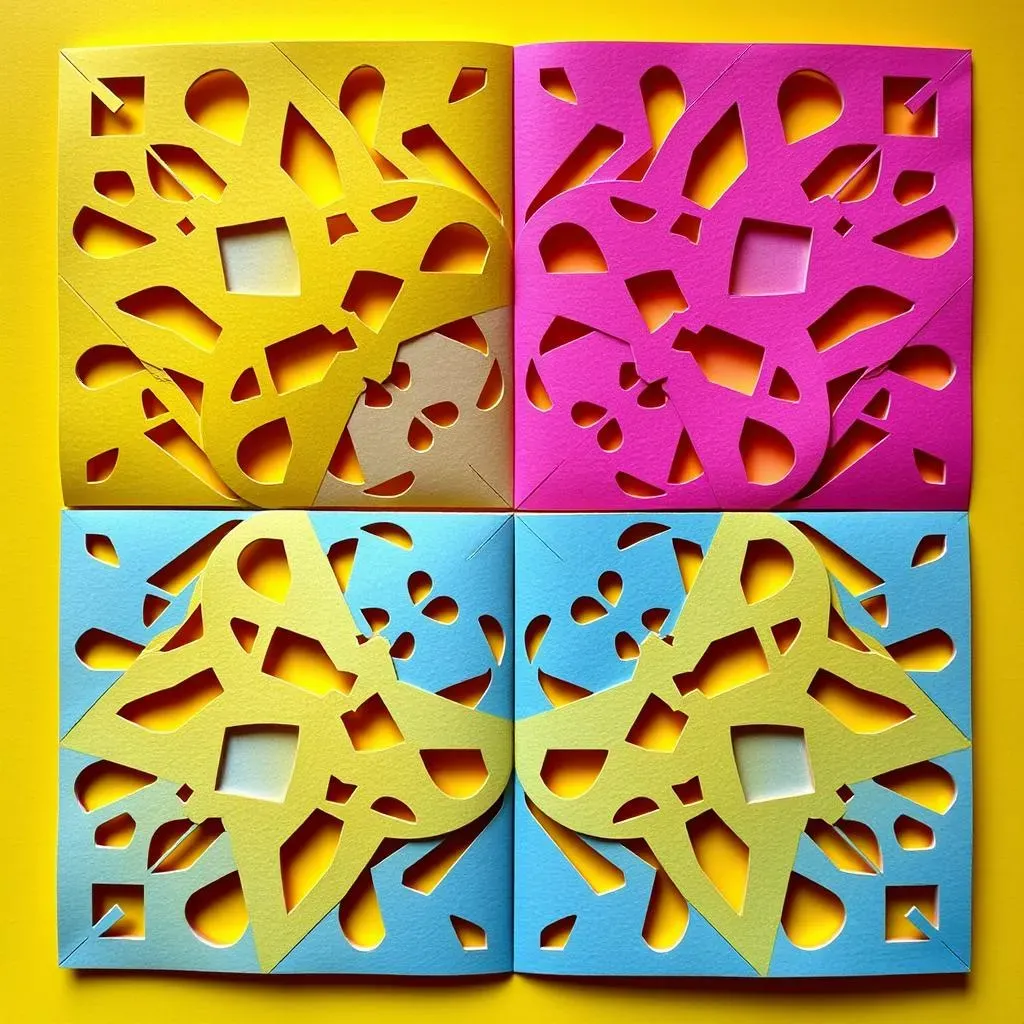
Getting Started with Simple Cuts
Okay, so you want to make awesome borders, but you're not sure where to begin? No sweat! Let's start with the basics: straight lines and simple shapes. Think of it like learning to ride a bike – you wouldn't start with a mountain trail, right? Instead, grab a piece of paper, any color you like, and some scissors. Start by cutting straight lines. Practice making them even and smooth. Then try squares, triangles, and circles. These simple shapes are the building blocks of more complex designs. Don't worry if they're not perfect at first; practice makes perfect, and even wonky shapes can look cool!
Another trick is to fold your paper before cutting. This lets you create symmetrical designs super quickly. For example, fold a piece of paper in half and cut out a triangle. When you unfold it, you'll have a diamond! It's like magic, but it's just smart paper cutting. You can try different folds, like folding in thirds or even accordion-style to make all sorts of cool patterns. It's all about experimenting and seeing what shapes you can make from simple cuts. Remember, the goal is to have fun and get creative, so don't be afraid to try new things.
Shape | Folding Technique | Resulting Design |
|---|---|---|
Straight Line | None | Simple Lines |
Triangle | Fold in half | Diamond |
Circle | Fold in half | Semi-circle |
Multiple Triangles | Accordion fold | Repeating Pattern |
Fun and Easy Pattern Ideas
Now that you’ve got the basics down, let’s kick it up a notch with some easy patterns. One of my favorites is the "chain" pattern. It’s super simple: cut a series of small, connected shapes along a folded edge. When you unfold it, you have a chain! You can make the shapes squares, circles, or even little hearts. Another fun one is the "fringe" border. Just make a series of cuts along the edge of your paper, like making grass. You can make the fringes thick or thin, long or short. It’s a great way to add texture to your borders.
Don't forget about using stencils! If you're not confident in your freehand cutting, stencils are your best friend. You can find them online or even make your own from cardboard or thick paper. Simply trace the design onto your paper and cut along the lines. This lets you create consistent and intricate patterns without having to be a paper-cutting pro. Plus, you can reuse stencils as many times as you want. Remember, the key is to make these borders your own. Mix and match different patterns and shapes to create something truly unique. It's your paper, your scissors, your rules!
- Chain Pattern: Connected shapes along a fold.
- Fringe Border: Series of cuts along the edge.
- Stencil Designs: Trace and cut for consistent patterns.
- Mix & Match: Combine different patterns for unique borders.
Creative Paper Cutting Techniques for Unique Borders
Creative Paper Cutting Techniques for Unique Borders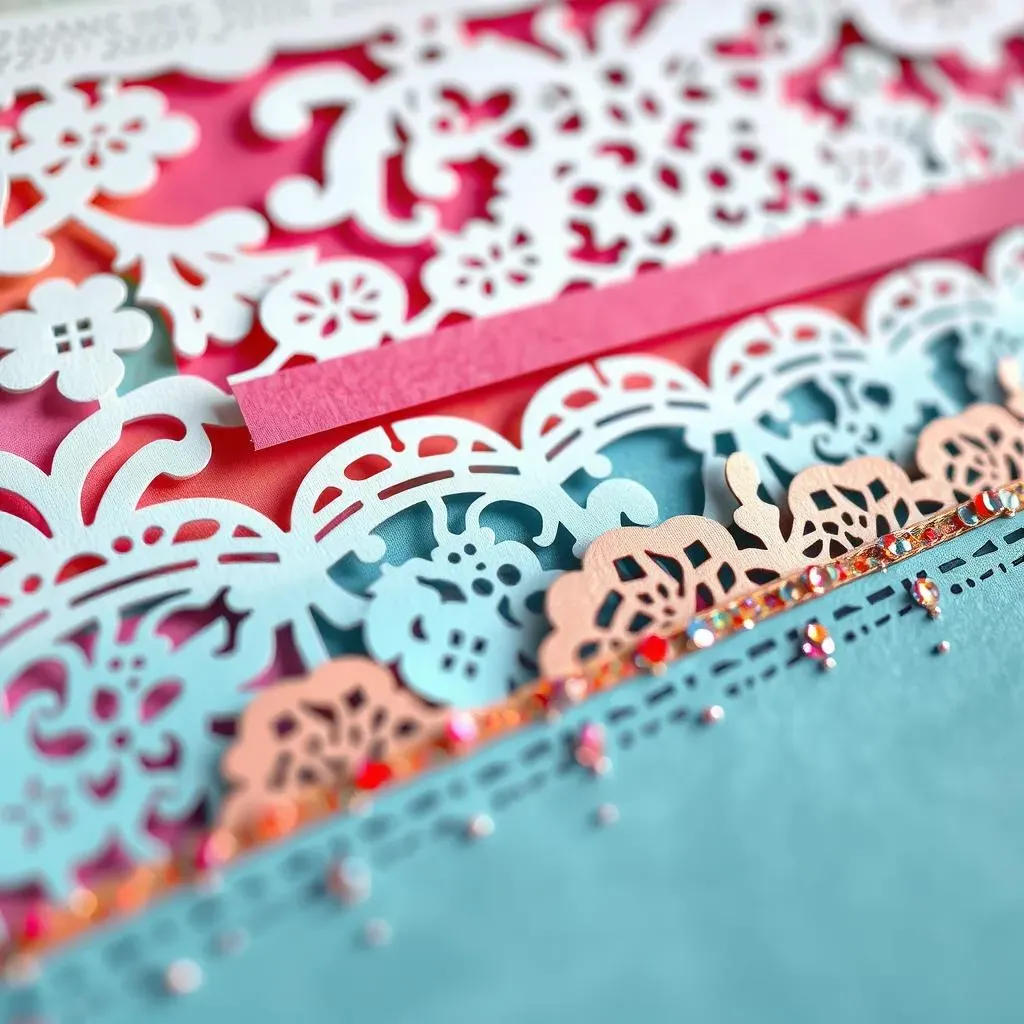
Layering for Depth
Alright, let's get a bit fancy! Layering is like adding sprinkles to an already awesome cake. To do this, you cut out several borders of different designs or colors. Then, you stack them on top of each other. Start with a basic border on the bottom, maybe a simple straight line or a zig-zag. Then, add a more intricate design on top. Think of it like building a paper sculpture. The different layers create depth and visual interest, making your border pop. It's not just flat anymore; it's got dimension! You can even use foam tape between the layers to make them stand out even more. Experiment with different colors and patterns to see what cool effects you can create.
Another great tip is to use negative space. This means cutting out shapes from the paper, not just cutting around them. For example, cut out a series of circles or stars from a strip of paper. When you layer this over a colored background, the background color shows through the cut-out shapes, creating a really cool and unique effect. It's like creating a stencil, but the stencil itself becomes part of the design. Layering and negative space are your secret weapons to make your borders look professional and super creative. It's a paper cutting game changer!
Technique | Description | Effect |
|---|---|---|
Layering | Stacking multiple cut-out borders | Adds depth and visual interest |
Negative Space | Cutting out shapes to reveal the background | Creates unique patterns and depth |
Foam Tape | Using foam tape between the layers | Makes them stand out even more |
Intricate Cuts and Folds
Now, let's talk about those really detailed, intricate designs that make people go "Wow!". These might seem hard but with patience and a few tricks, you can totally do them. One method is using a craft knife, but please be careful and always use a cutting mat. A craft knife lets you make very precise cuts, perfect for complicated patterns. Think of snowflakes or geometric shapes. Another cool technique is using paper punches. These come in all sorts of shapes and sizes. You can create consistent patterns quickly and easily. Paper punches are a great way to add small details without having to cut everything by hand.
Folds aren't just for basic shapes. You can use them to create intricate repeating patterns. For example, you can fold paper into a fan shape and then make a series of cuts along the edges. When you unfold it, you have a beautiful, symmetrical design. These detailed cuts and folds might take some practice, but they're totally worth it. The more you experiment, the more confident you'll get. Remember, it's all about the little details. Don't be afraid to push your skills and try new things. The more you practice, the more amazing your borders will become.
“The details are not the details. They make the design.” - Charles Eames
Combining Techniques and Materials
Okay, you've mastered basic cuts, layering, and intricate designs. Now, what if we mixed it all up? Combining different techniques is where the magic really happens. Try layering fringe borders over intricate cut-outs, or use stencils to create a base design and then add freehand details on top. Don't be afraid to use different types of paper. Try using colored paper, metallic paper, or even textured paper. Each type of paper will give your borders a different look and feel. The possibilities are endless!
And it's not just about paper, you can also incorporate other materials like glitter, beads, or string to add even more texture and sparkle. Glue some glitter to the edges of your borders or attach small beads to create a 3D effect. You can even use string to create a dangling effect. Think of your borders as a canvas and use all the tools and materials at your disposal to create something truly unique. It’s your art, so go wild! Don't be afraid to break the rules and explore new ideas. The more you experiment, the more amazing your borders will become.
- Combine: Layer fringe and intricate cut-outs.
- Materials: Use colored, metallic, or textured paper.
- Embellish: Add glitter, beads, or string.
- Experiment: Break the rules and try new ideas.
DIY Border Design Paper Cutting for Boards and More
DIY Border Design Paper Cutting for Boards and More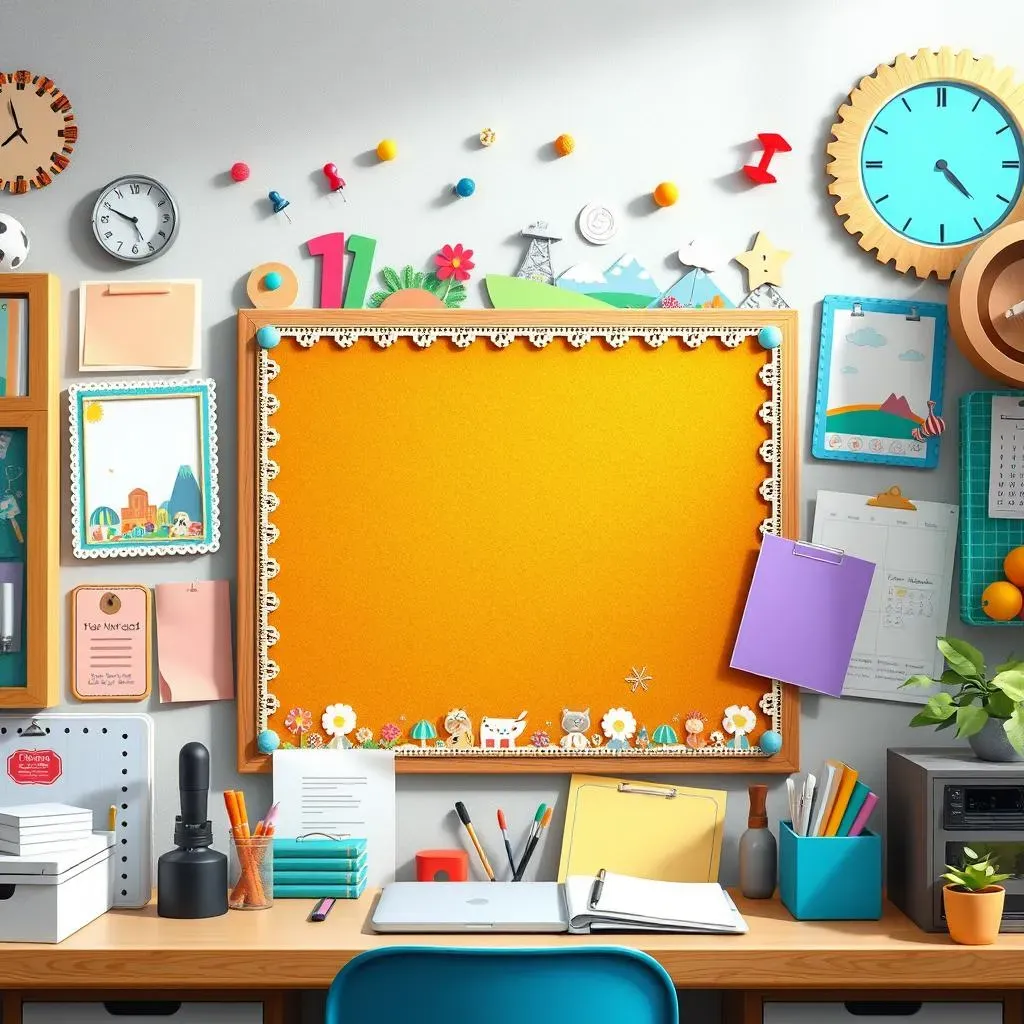
Making Borders for Bulletin Boards
So, you've got these awesome paper cutting skills, now what? Let’s talk bulletin boards! They're like a blank canvas just begging for some creative borders. Think about the theme of your board. Is it for a classroom, a party, or just for fun? The border design should match. For a school board, maybe try simple, colorful patterns. For a birthday party, you could create playful designs like balloons or streamers. You can even use themed stencils to cut out shapes that go with your topic, like stars for space or leaves for nature. The key is to make your border both eye-catching and relevant to what's on the board. It’s like the frame of a picture, it enhances what’s inside.
Attaching your paper cut borders is pretty easy. You can use tape, glue, or even staples, depending on what surface you’re working with. If you're using tape, make sure it's strong enough to hold the border in place. For glue, a glue stick works great to avoid making a mess. And if you're using staples, be careful not to staple through your beautiful designs! If you want to make your borders reusable, consider laminating them. This way, they’ll last longer and you can use them again and again. It's like giving your paper borders a superpower of durability. Remember, your borders should be fun and functional. It should make your bulletin board stand out and grab attention.
Decorating Notice Boards and Display Boards
Okay, notice boards and display boards are slightly different beasts from bulletin boards, but they still deserve awesome borders! Notice boards are often in more public places, so your borders should be clear and professional but also interesting. Try using geometric patterns or color-coordinated designs. You can even create a border that acts as a frame around the content. For display boards, you might want to get a bit more creative. These are often for showing off student work or projects, so you can use more intricate and artistic designs. Think about layering different colors and textures to make the borders pop. The point is to make the content of the board even more appealing and engaging.
When attaching borders to display boards, consider the material of the board. Some boards might be made of cork, while others could be made of metal or wood. Choose your adhesive accordingly. For cork boards, push pins or tacks work well. For metal boards, you can use magnets. And for wood boards, tape or glue will do the trick. Always make sure the borders are securely attached so that they don’t fall off. You want them to enhance the presentation, not distract from it. And remember, the best borders are ones that complement the display and make it look even more awesome. It's like putting the perfect outfit on a superstar.
Board Type | Border Style | Attachment Method |
|---|---|---|
Bulletin Boards | Themed, Colorful | Tape, Glue, Staples |
Notice Boards | Clear, Professional | Tape, Glue, Push Pins |
Display Boards | Intricate, Artistic | Tacks, Magnets, Tape |
Beyond Boards: Other Creative Uses
But wait, there's more! Paper cut borders aren't just for boards, they can be used for all sorts of cool things. Think about decorating your notebooks, journals, or even your scrapbooks. You can create unique borders for cards, invitations, and gift tags. Imagine a birthday card with a beautiful, handmade border, it adds a special touch. You can also use paper cut borders to decorate your room. Stick them on your walls, windows, or shelves to add a splash of color and personality. It's like giving your space a paper makeover, and it’s super fun.
And it’s not just about flat surfaces. Paper cut borders can also be used to decorate 3D objects. Think about wrapping a gift with a paper cut border or decorating a jar or vase. You can even use them to make paper lanterns or mobiles. The possibilities are endless! The key is to think outside the box and see how you can use your paper cutting skills to make ordinary objects extraordinary. It’s like turning your whole world into a paper art gallery, and you’re the curator. So, go ahead, unleash your creativity and see what amazing things you can create with your paper cut borders. It’s all about having fun and making something that’s uniquely you.
- Notebooks & Journals: Add unique borders.
- Cards & Invitations: Create handmade touches.
- Room Decor: Stick on walls, windows, shelves.
- 3D Objects: Wrap gifts, decorate jars, make lanterns.