Table of Contents
Tired of frustratingly uneven cuts when working with large sheets of material? An 8' cutting guide can be your secret weapon for achieving perfectly straight lines every time. This article is your comprehensive guide to mastering this essential woodworking tool. We'll explore how to choose the right 8' cutting guide based on your specific needs and projects, from the various types available to understanding key features like material and clamping mechanisms. Then, we'll dive into practical techniques for using your 8' cutting guide effectively, covering everything from proper setup and material preparation to mastering different cutting styles. Finally, we'll address common problems encountered when using an 8' cutting guide and offer solutions to help you avoid those frustrating moments. By the end, you'll be confident in your ability to make precise, professional-looking cuts with your 8' cutting guide, transforming your woodworking projects from challenging to enjoyable. Let's get started!
Choosing the Right 8' Cutting Guide for Your Needs
Choosing the Right 8' Cutting Guide for Your Needs
Material Matters: Aluminum vs. Steel
The material of your 8' cutting guide significantly impacts its durability, weight, and cost. Aluminum guides are lightweight and relatively inexpensive, making them a popular choice for occasional use or smaller projects. They're easy to handle and maneuver, but they might not be as robust as steel for heavy-duty applications or frequent use. Steel guides, on the other hand, are much more durable and can withstand more wear and tear. However, they're heavier and more expensive.
Consider the types of materials you'll be cutting and the frequency of use. For occasional cutting of lighter materials like plywood, an aluminum guide is perfectly suitable. For frequent cutting of denser materials or heavier-duty work, a steel guide offers superior durability and longevity.
Material | Pros | Cons |
|---|---|---|
Aluminum | Lightweight, Inexpensive, Easy to Handle | Less Durable, May Bend Under Pressure |
Steel | Durable, Strong, Suitable for Heavy Use | Heavy, More Expensive |
Clamping Down on Accuracy: Clamp Styles and Features
The clamping mechanism is crucial for ensuring your 8' cutting guide stays securely in place during cutting. Look for guides with robust clamps that provide sufficient clamping force to prevent slippage. Different designs exist; some use spring-loaded clamps, while others might incorporate screw-based clamps for more precise adjustment. Consider the type of material you'll be working with; thicker materials might require more clamping force.
Features like adjustable clamping pressure, multiple clamping points along the guide, and non-marring clamp pads can all add to the overall usability and prevent damage to your workpiece. Think about the size and weight of your materials—stronger clamps are essential for larger, heavier pieces to avoid any movement during the cutting process.
- Spring-loaded clamps: Quick and easy to use, but may not provide as much clamping force.
- Screw-based clamps: Allow for precise adjustment of clamping pressure, ideal for thicker or more delicate materials.
- Multiple clamping points: Offer enhanced stability, especially for longer cuts.
Beyond the Basics: Additional Features to Consider
While material and clamping are essential, several other features can enhance the functionality and usability of your 8' cutting guide. Some guides include extensions to increase cutting capacity beyond 8 feet. Others might feature integrated measuring scales or markings for added precision. Think about your typical cutting needs and whether these extra features would be beneficial for your projects.
Consider features like integrated level indicators to ensure your guide is perfectly aligned, and replaceable parts (like clamp pads) for longevity. A well-designed guide will make your cutting experience smoother and more efficient. Don't overlook the small details; they can significantly improve your overall workflow.
"The right tool for the job makes all the difference. Don't settle for less than the best 8' cutting guide for your needs." - Experienced Woodworker
Techniques for Accurate Cutting with an 8' Guide
Techniques for Accurate Cutting with an 8' Guide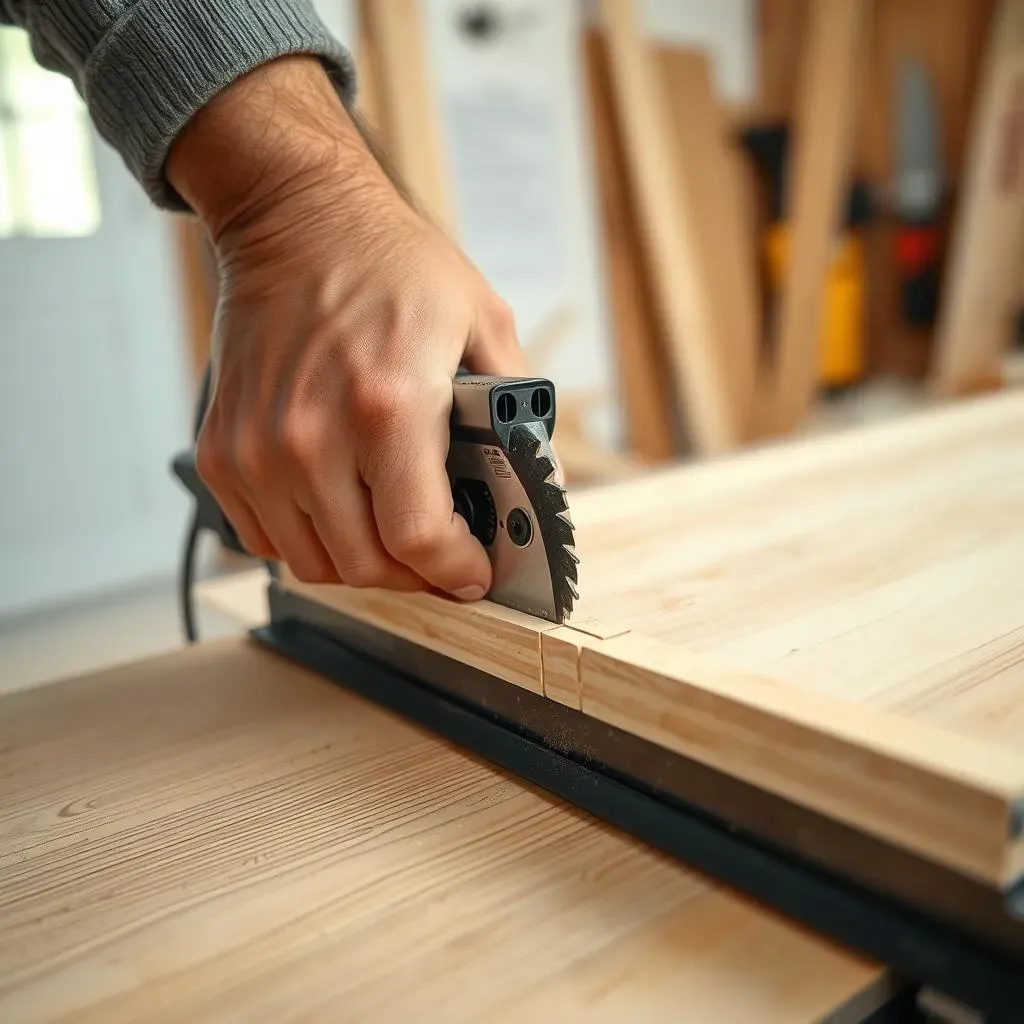
Preparing for Precision: Setting Up Your Workspace and Materials
Before you even think about firing up your saw, create a safe and efficient workspace. Ensure you have ample room around your work area to move freely and safely. Clear the area of any obstacles that could impede your progress or cause accidents. A stable, flat surface is crucial for accurate cutting; wobbly work surfaces will lead to uneven results. Secure your material firmly to the surface to prevent movement during cutting. This is especially important when working with larger sheets.
Proper material preparation is key to a successful cut. Make sure your material is free of any debris or obstructions that could interfere with the cutting process. If necessary, clean the surface of your material to ensure a smooth, clean cut. Pre-marking your cut lines with a pencil and straight edge helps improve accuracy and prevents accidental cuts outside your intended area. Take your time and double-check your measurements before making any cuts.
Preparation Step | Importance |
|---|---|
Clear Workspace | Safety and Efficiency |
Stable Work Surface | Accurate Cuts |
Secure Material | Prevents Movement |
Clean Material | Smooth Cuts |
Pre-marked Cut Lines | Accuracy and Prevention of Errors |
Mastering the Cut: Techniques for Straight and Accurate Lines
With your workspace prepared and material ready, it's time to make the cut. Align your 8' cutting guide precisely along your pre-marked cut line, ensuring it's firmly clamped and stable. Always maintain a firm grip on your power tool and move it smoothly and steadily along the guide. Avoid rushing; a slow, controlled movement will yield much better results. Pay close attention to the position of your saw blade relative to the guide to ensure consistent distance throughout the cut.
For best results, use a sharp blade appropriate for the material you're cutting. A dull blade can lead to uneven cuts and increased risk of material splintering. Maintain consistent pressure on your power tool throughout the cut, avoiding sudden changes in pressure that can cause the blade to deviate from the guide. Regularly check your alignment to ensure the blade remains on track; even slight deviations can accumulate over the length of the cut. Remember: practice makes perfect! The more you use your 8' cutting guide, the more comfortable and accurate you'll become.
- Align guide precisely with cut line.
- Maintain a firm grip on your power tool.
- Move the tool smoothly and steadily.
- Use a sharp blade.
- Maintain consistent pressure.
- Regularly check alignment.
Troubleshooting Common 8' Cutting Guide Problems
Troubleshooting Common 8' Cutting Guide Problems
Unwanted Wobble: Addressing Guide Instability
One of the most common frustrations with 8' cutting guides is instability during the cutting process. A wobbly guide leads to inaccurate cuts and can even be dangerous. This often stems from inadequate clamping, using the guide on an uneven surface, or working with excessively heavy materials. Always ensure your work surface is perfectly flat and level before starting. Use multiple clamping points whenever possible, especially for longer cuts or heavier materials. If your guide still wobbles, consider using additional clamps or weights to improve stability. Remember, a stable guide is essential for accurate and safe cutting.
Inspect your guide for any damage or wear that might contribute to instability. Bent or damaged components can compromise the guide's structural integrity, leading to unwanted movement. If you notice any damage, consider replacing the affected parts or the entire guide. Also, ensure the clamps are correctly positioned and tightened securely. Loose clamps are a major cause of instability. Regularly check your guide for wear and tear to maintain optimal performance and safety.
Cause of Wobble | Solution |
|---|---|
Inadequate Clamping | Use multiple clamps, add weights |
Uneven Surface | Ensure a flat and level work surface |
Damaged Guide | Repair or replace the damaged parts |
Heavy Materials | Use additional support or a stronger guide |
Inconsistent Cuts: Diagnosing and Fixing Accuracy Issues
If you're experiencing inconsistent cuts, despite a stable guide, several factors could be at play. A dull or damaged saw blade is a frequent culprit. A dull blade can cause the saw to wander, leading to uneven cuts. Always use a sharp blade appropriate for the material you're cutting. Check the blade for any chips or damage that could affect its performance. Replace the blade if necessary. Another potential source of inaccuracy is improper alignment of the guide to your cut line. Double-check your measurements and ensure the guide is precisely aligned before each cut. Even a slight misalignment can lead to noticeable errors, especially over longer cuts.
Inconsistent pressure on the power tool during cutting can also contribute to uneven results. Maintain consistent pressure throughout the entire cut; sudden changes in pressure can cause the blade to deviate from the guide. Practice smooth, controlled movements to minimize variations in pressure. Finally, consider the material itself. Some materials are more prone to splintering or chipping than others. Using the appropriate blade type and cutting techniques can help minimize these issues. Remember, consistency is key to achieving precise and repeatable cuts.
- Check for a dull or damaged saw blade.
- Verify proper alignment of the guide.
- Maintain consistent pressure on the power tool.
- Consider material properties and use appropriate techniques.